NAVEL PIERCING FULL GUIDE
Belly button piercing is one of the most searched piercings, but also one that raises the most questions: pain level, healing time, cost, types of jewelry, risks, and whether your anatomy is suitable.
In this complete belly button piercing guide, discover everything you need to know before getting pierced: how much it hurts, how long it takes to heal, how much it costs, the different types of navel piercings, and how to choose the right jewelry. A detailed guide to help you understand, avoid mistakes, and make the right choice from the start.
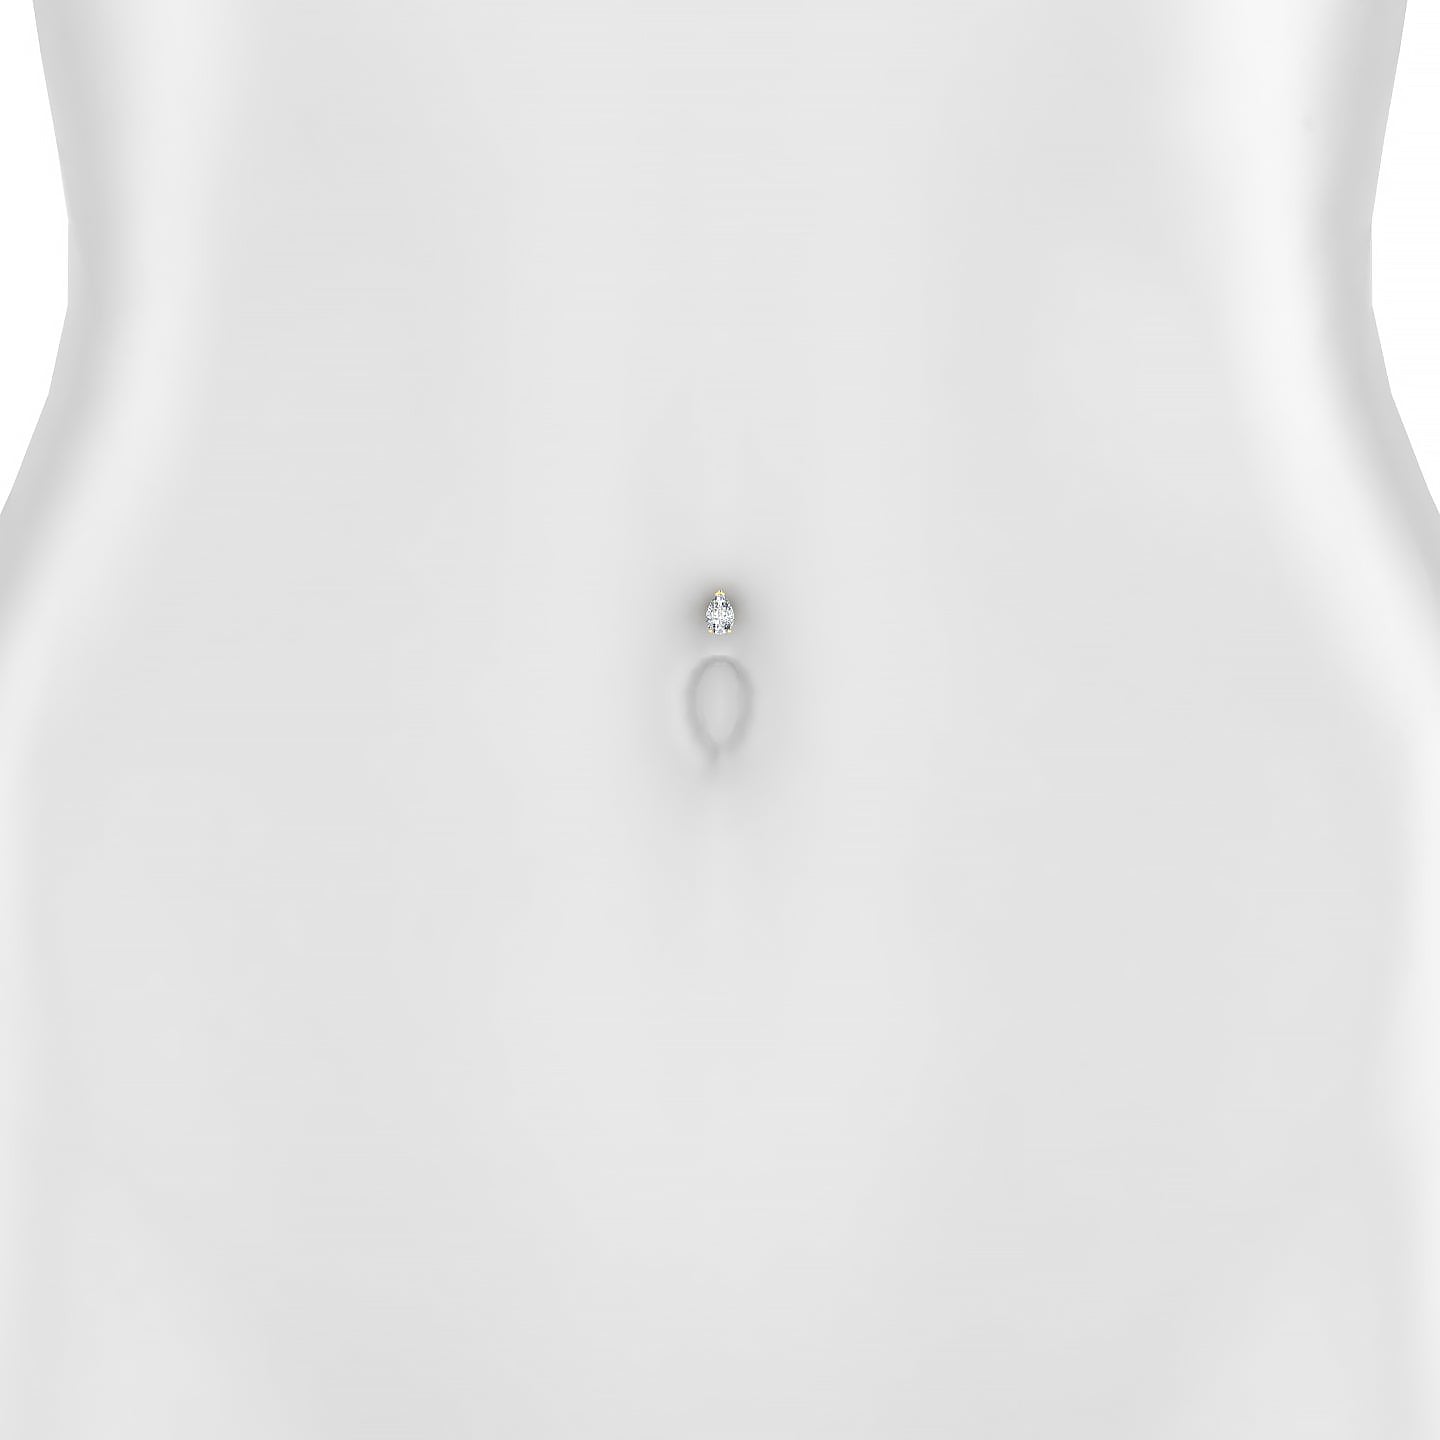
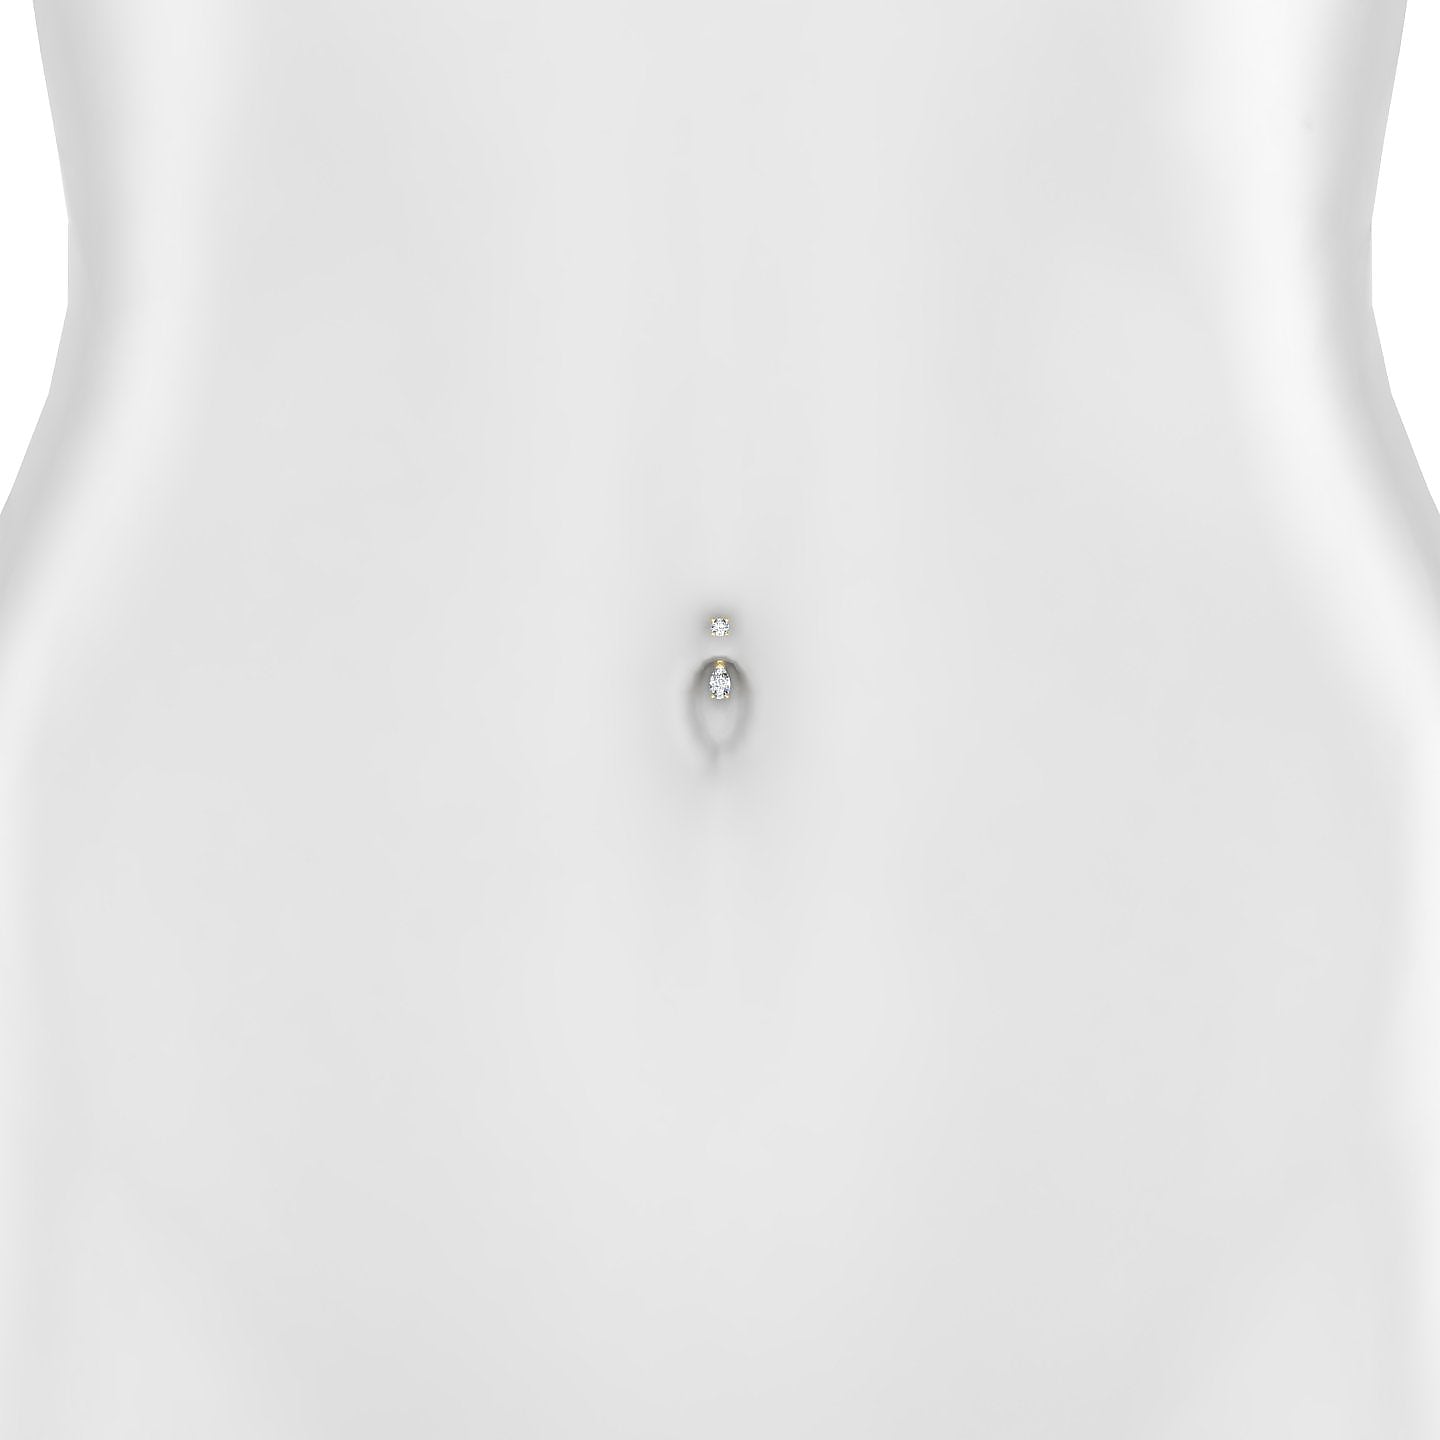
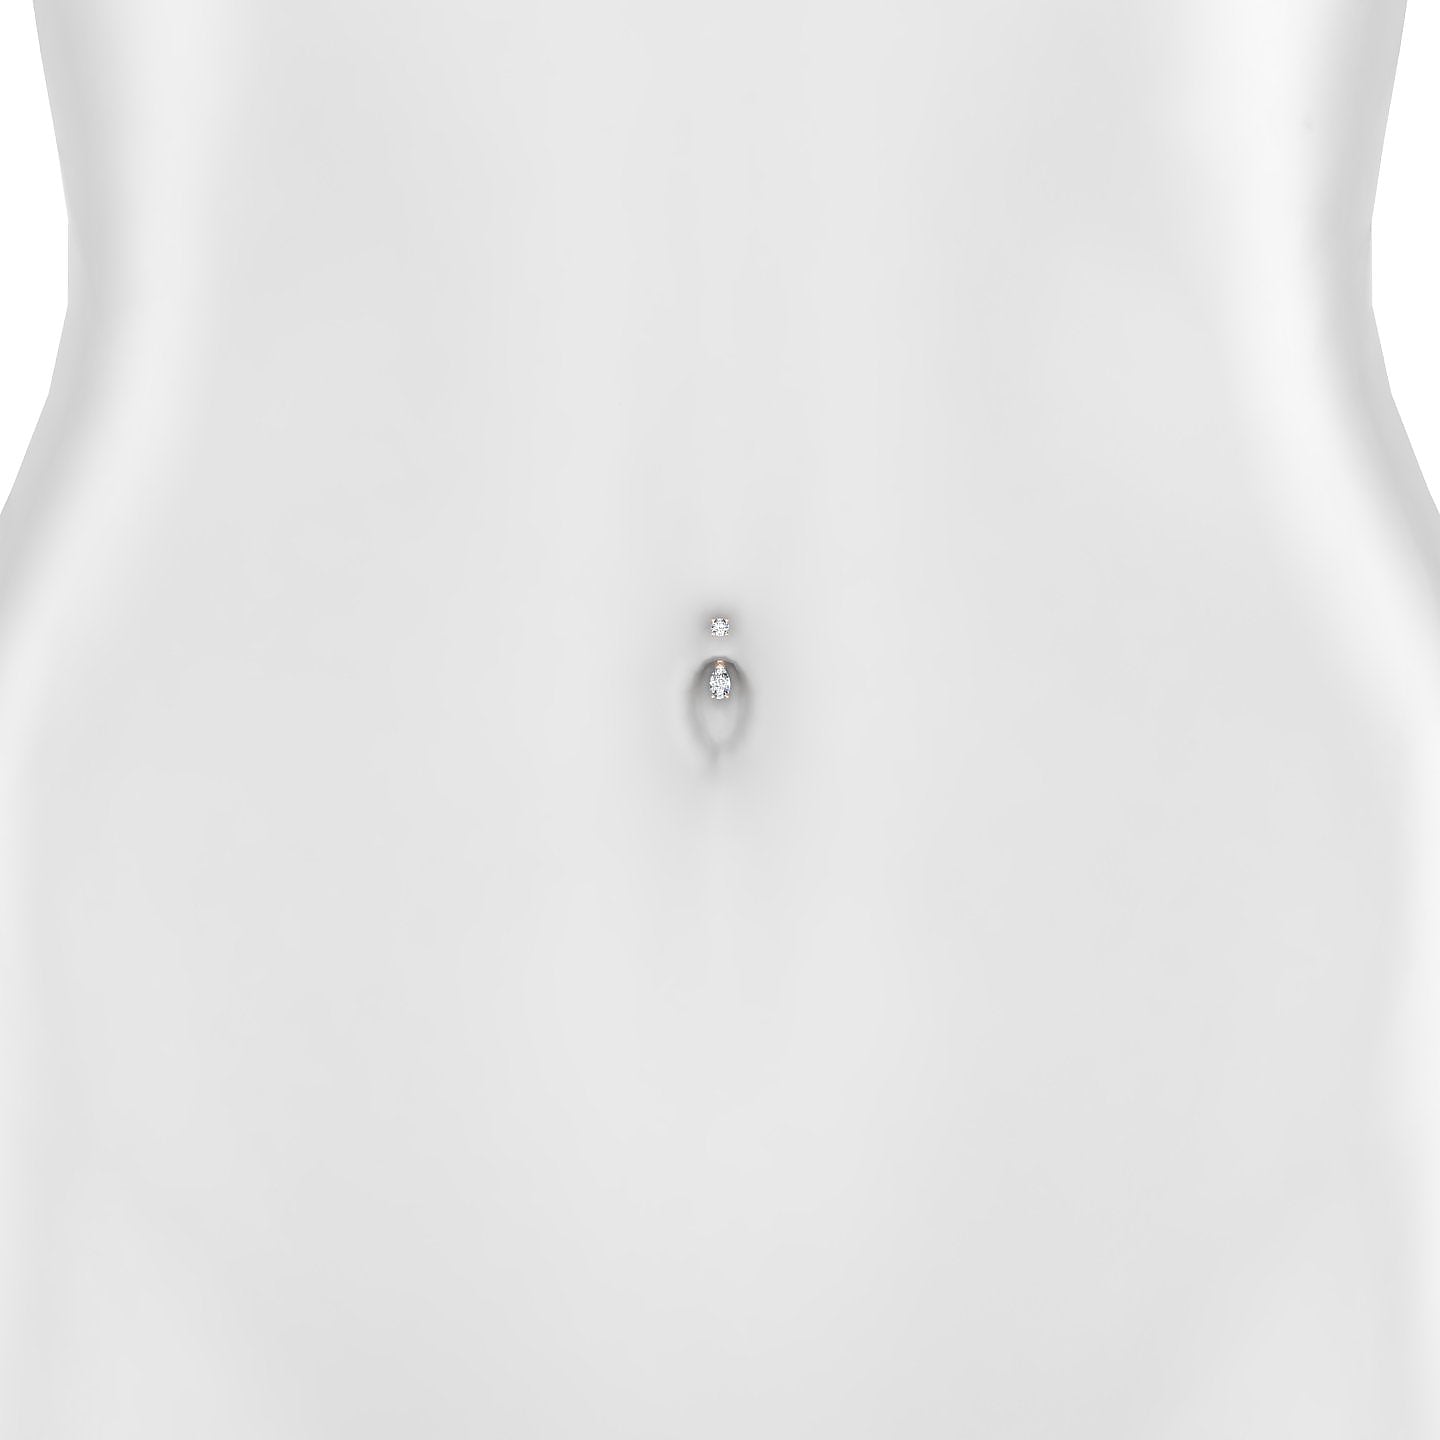
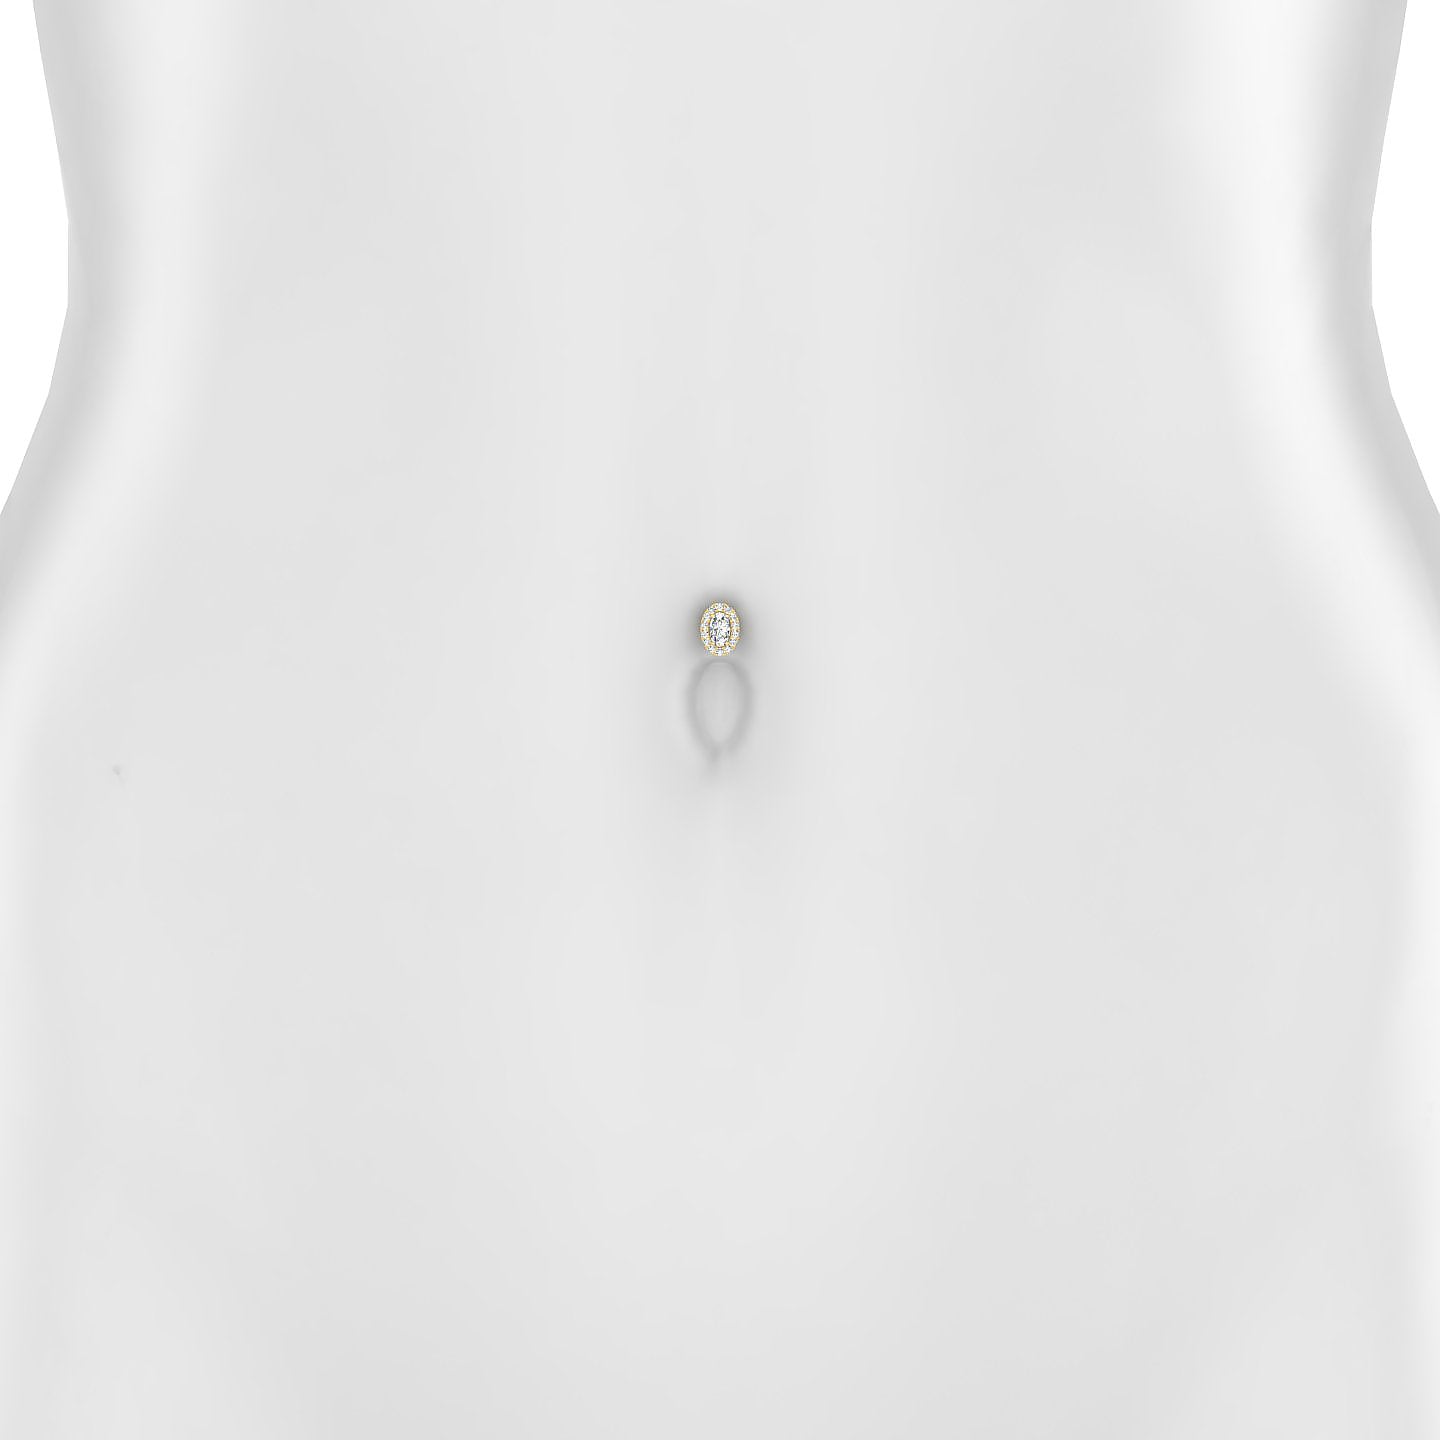
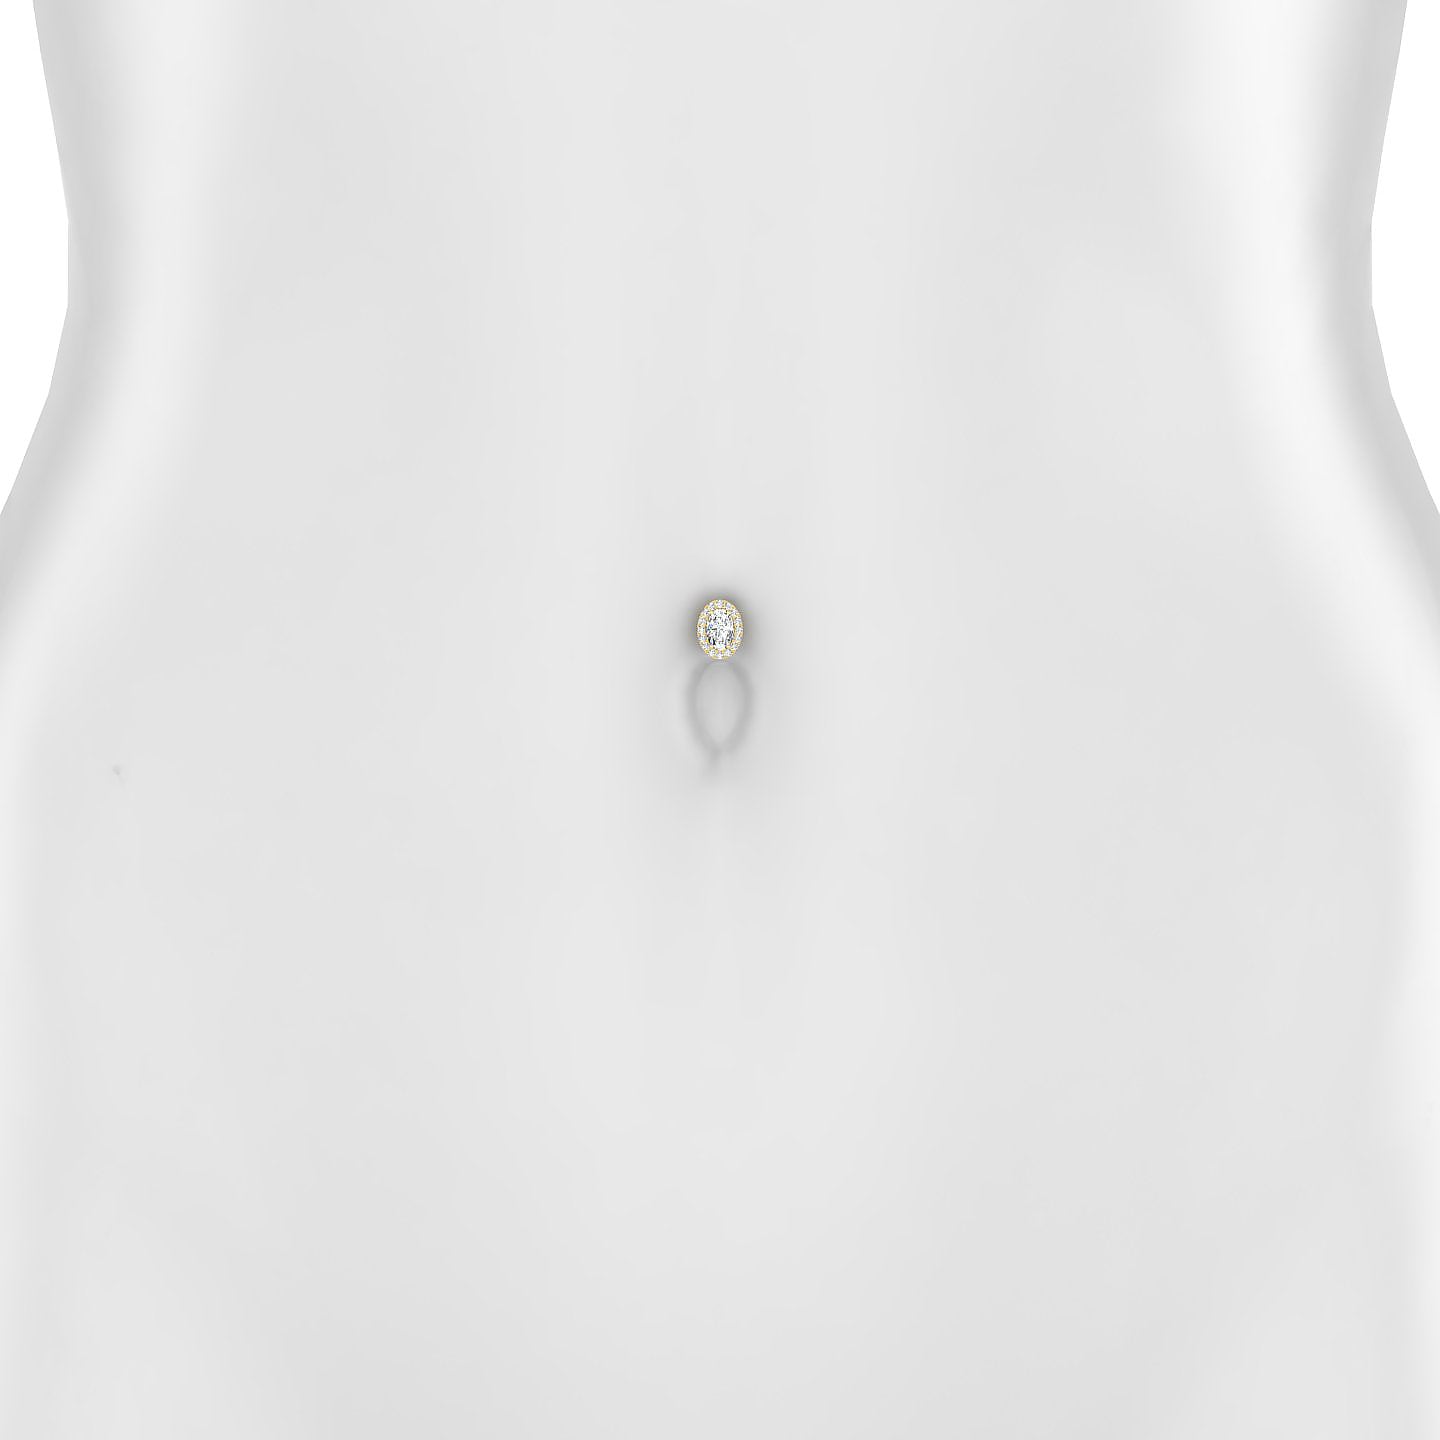
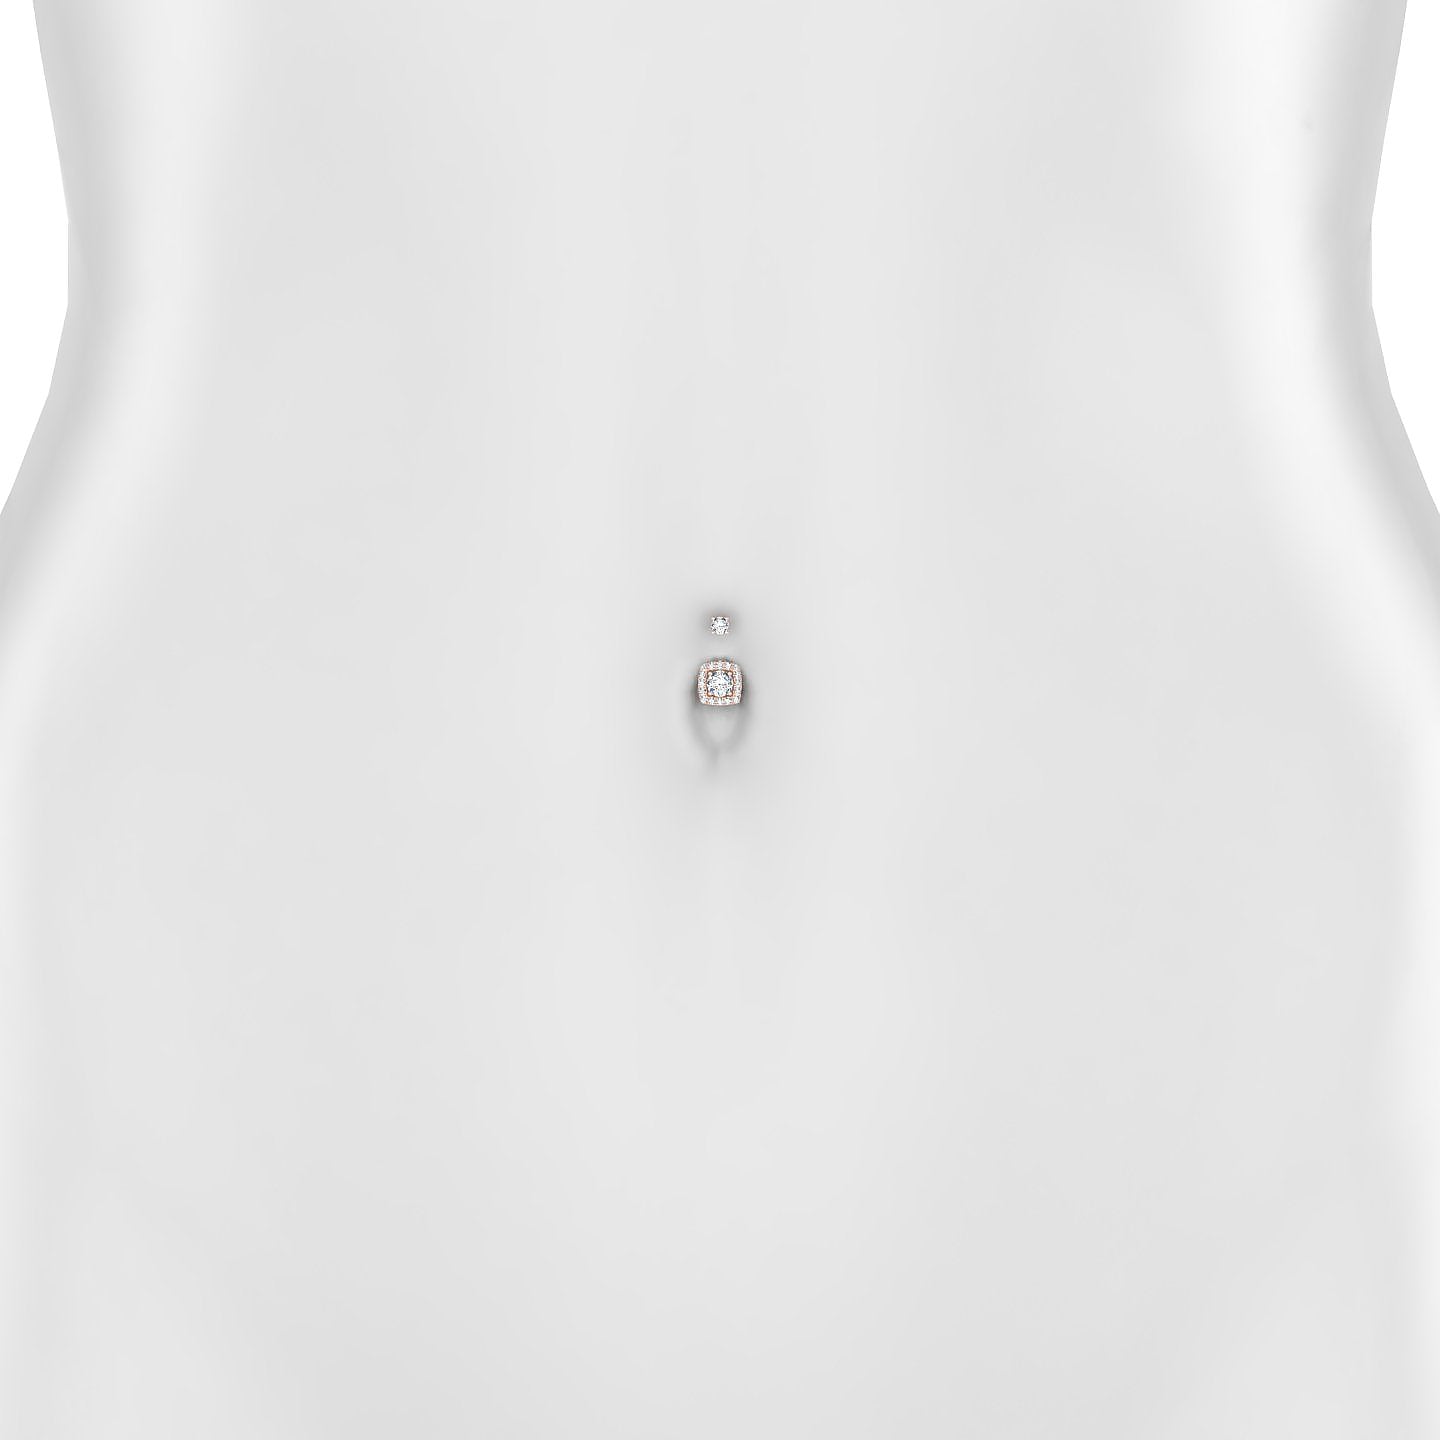
Belly Button Piercing Anatomy & Placement
A belly button piercing is not suitable for every anatomy. Before getting a belly button piercing, it’s essential to determine whether your navel anatomy is appropriate to ensure proper healing and a balanced, long-lasting result.
Innie vs. Outie Belly Button
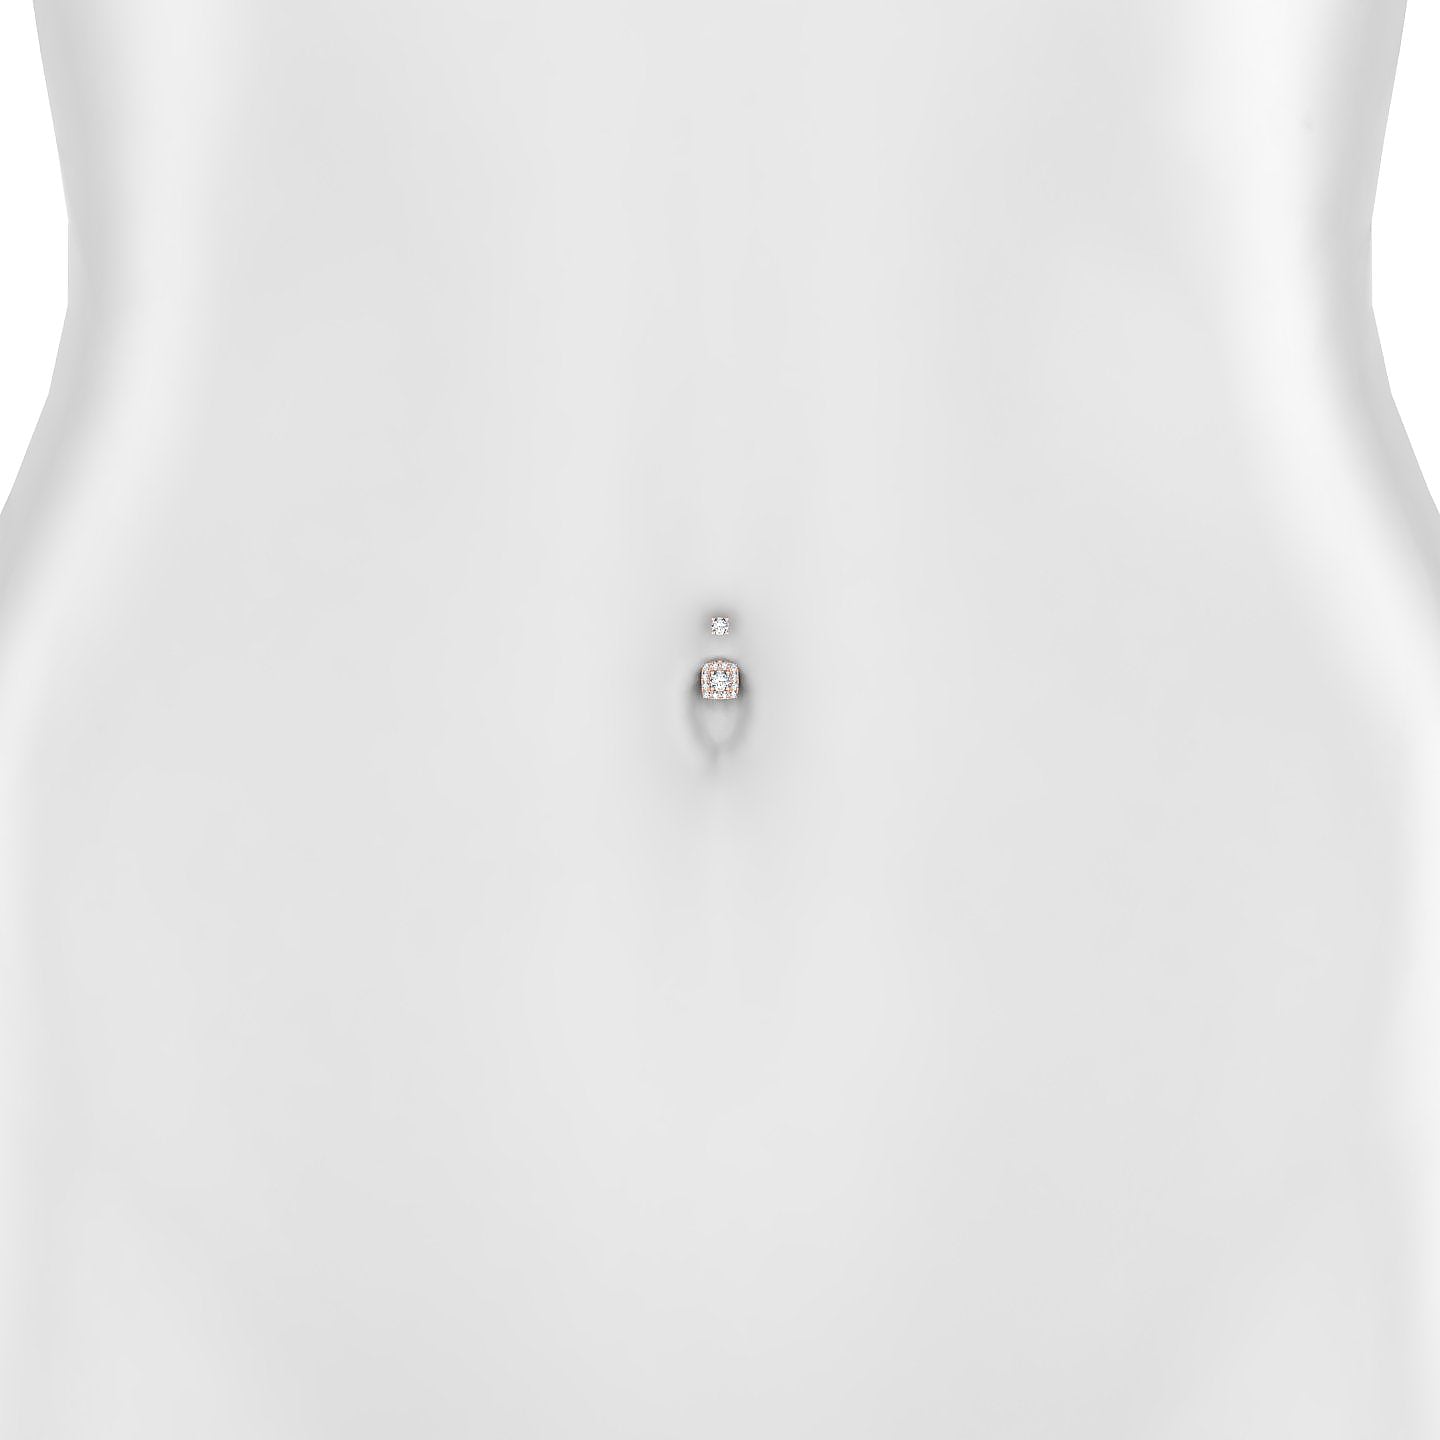
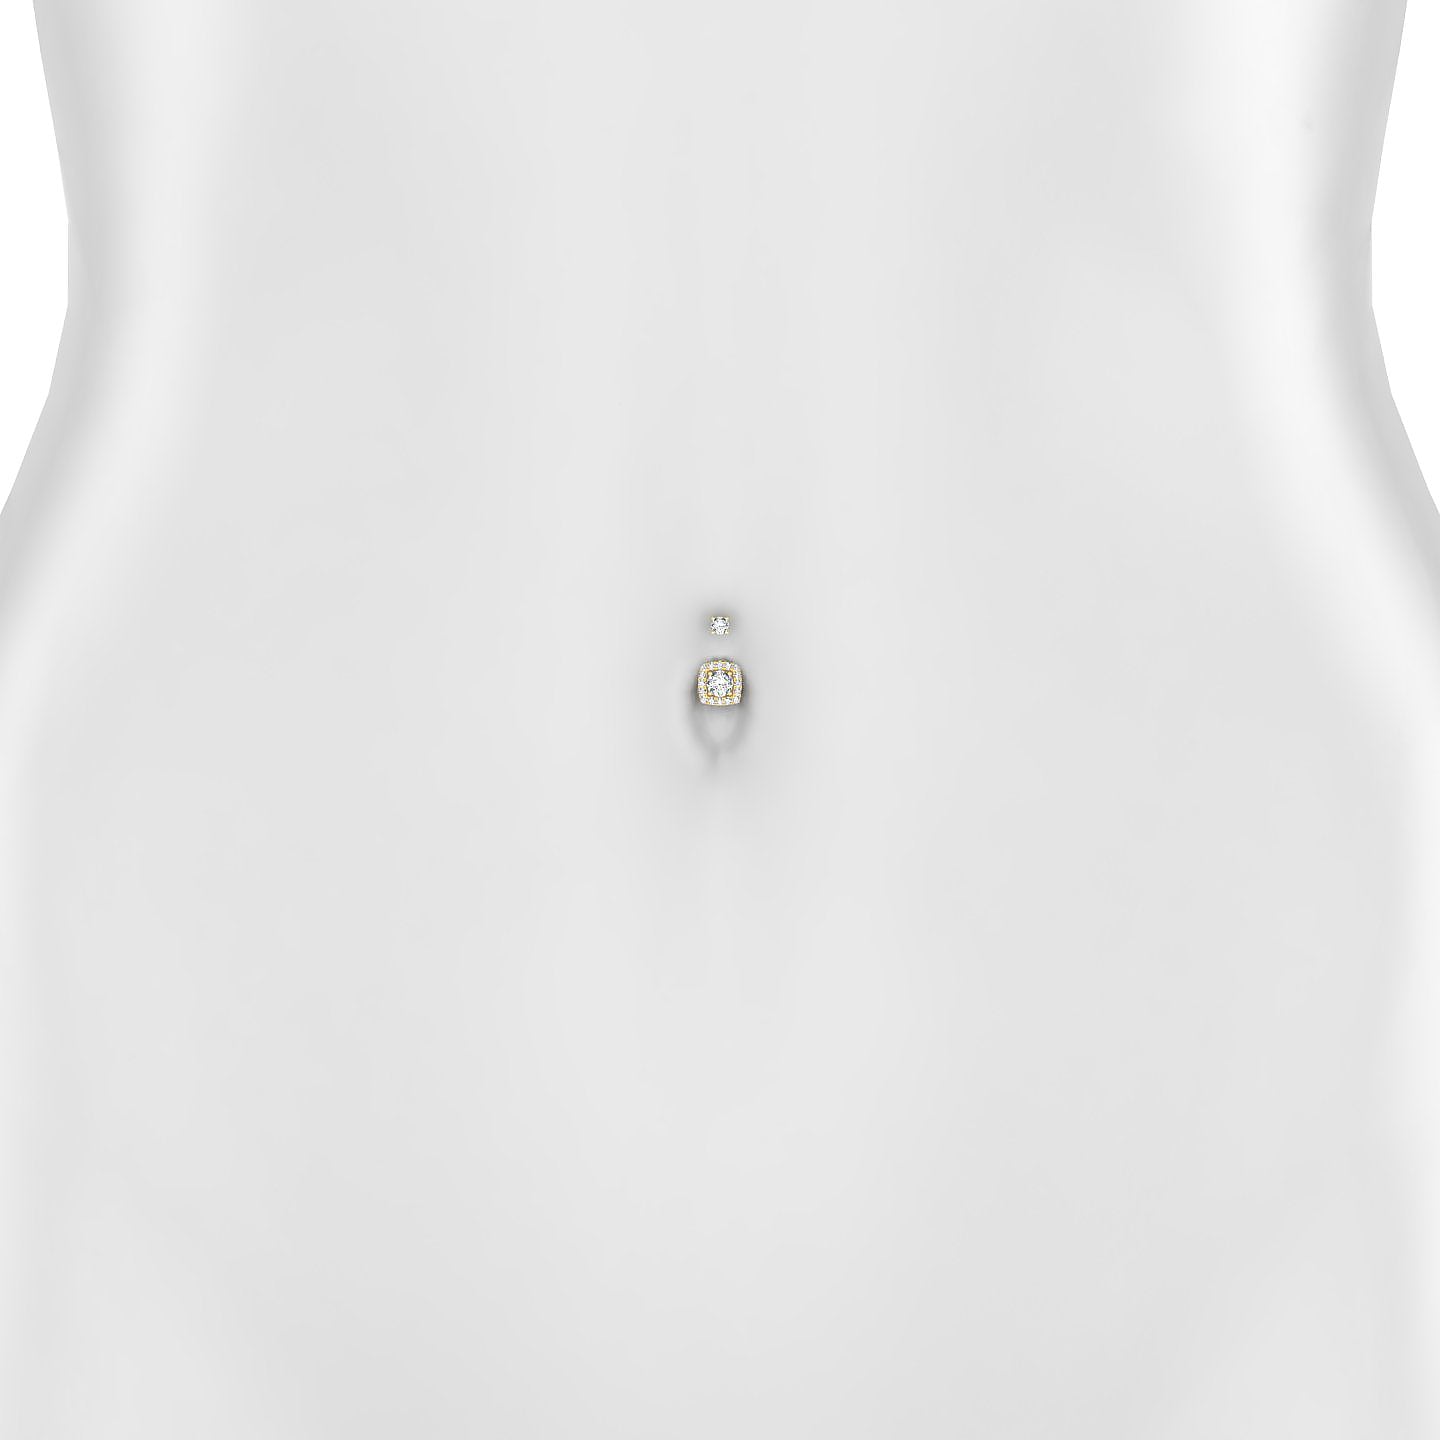
A standard belly button piercing (also known as a navel piercing) is typically performed on an “innie” navel, meaning it curves inward and provides enough skin to securely hold the jewelry.
An “outie” belly button, on the other hand, is generally not suitable for a belly button piercing. Due to the lack of adequate tissue, it can increase the risk of irritation, infection, or piercing rejection.
What anatomy is suitable for a belly button piercing?
For a safe and successful belly button piercing, the piercer must identify a clearly defined upper rim with enough skin between the entry and exit points (approximately 8 mm minimum).
If the anatomy is not suitable for a belly button piercing, it can lead to excessive pressure on the jewelry, slow healing time, and affect the final appearance of the navel piercing.
The sitting test
One of the simplest ways to check if your belly button is suitable for a piercing is to observe it while sitting.
If your navel folds, flattens, or closes completely when seated, the belly button piercing jewelry will be constantly compressed. This can cause irritation, discomfort, and significantly slow down the healing process.
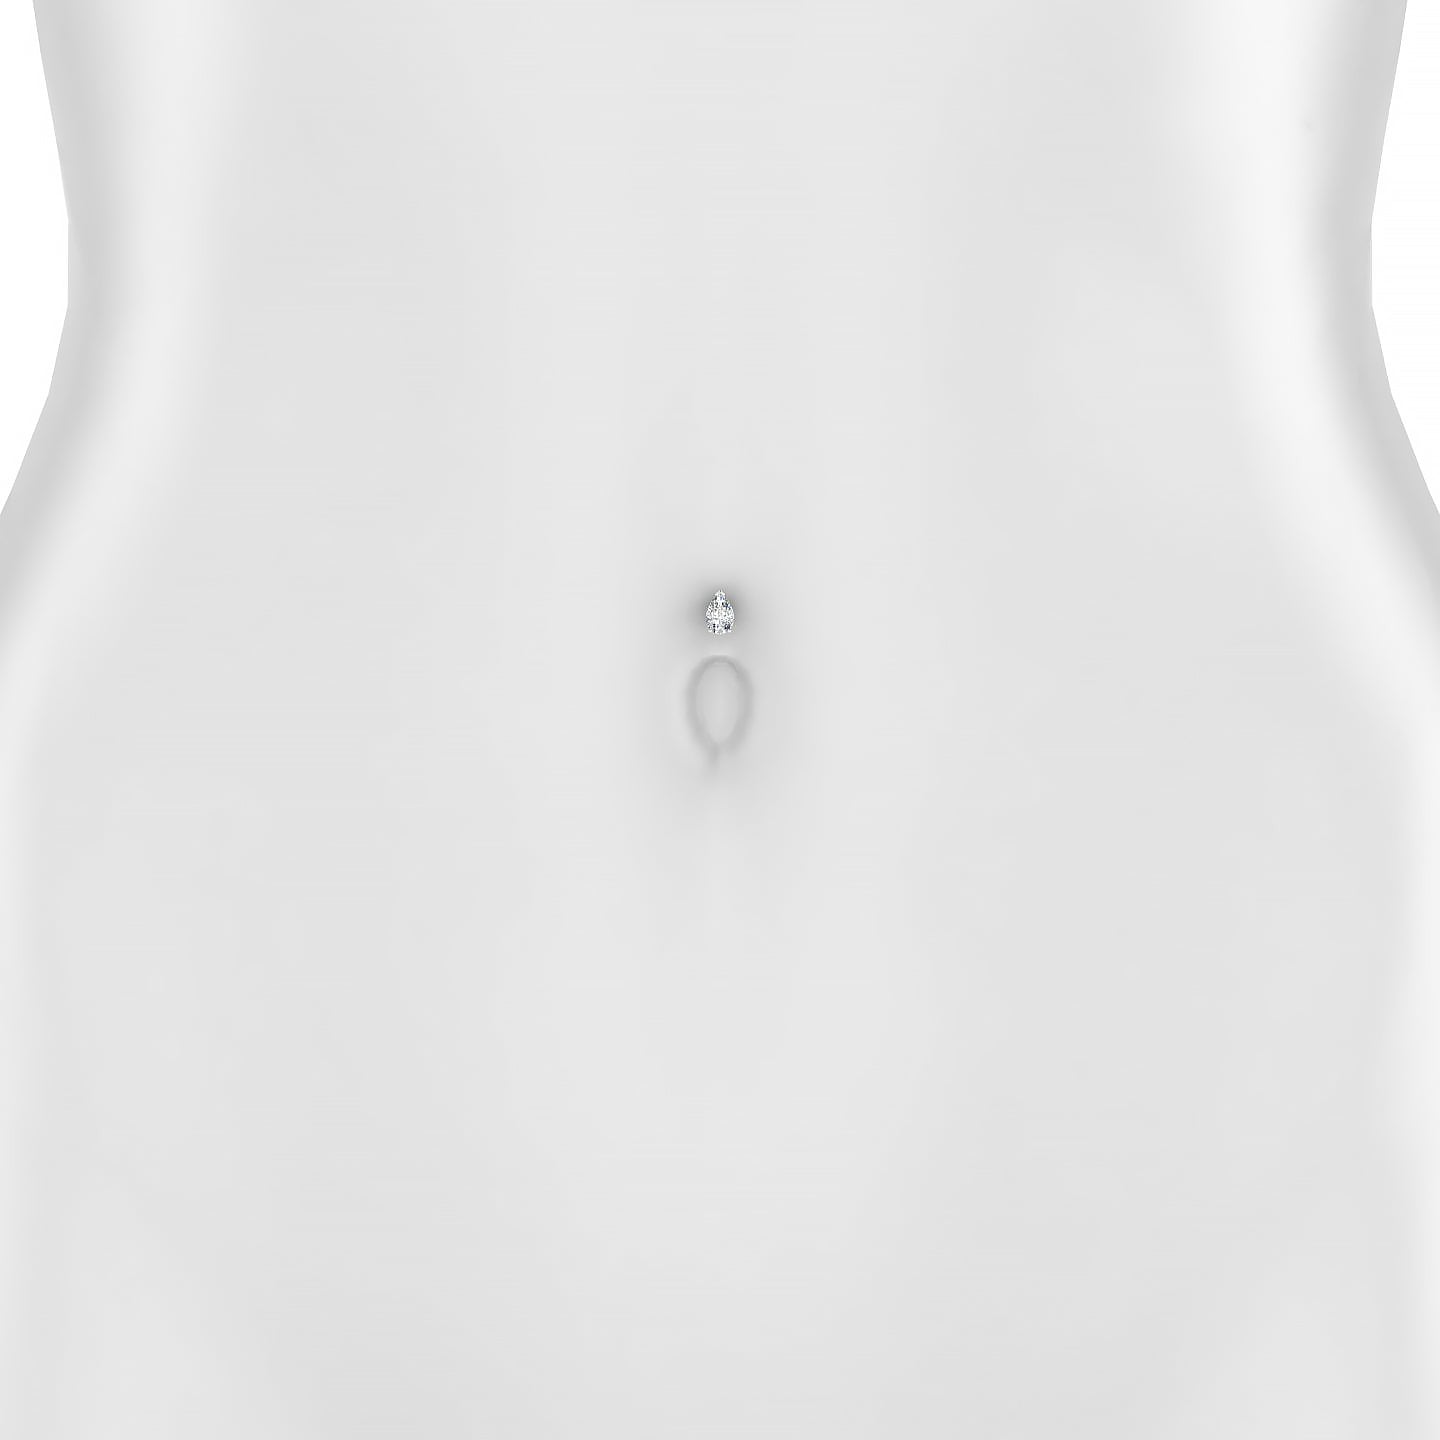
Alternative: Floating Belly Button Piercing
If your anatomy is not ideal for a traditional belly button piercing, a floating belly button piercing can be an excellent alternative.
This type of navel piercing is specifically designed for flatter navels or those that collapse when sitting. It uses adapted jewelry to create a more discreet, comfortable, and elegant result.
In all cases, it is strongly recommended to consult a professional piercer who can assess your anatomy and guide you toward the most suitable belly button piercing for your body.

Belly Button Piercing Pain: How Much Does It Hurt?
A belly button piercing (also known as a navel piercing) is generally considered a moderate pain level piercing, often rated around 5/10. The sensation is typically described as a quick pinch followed by slight pressure as the needle passes through the skin.
In most cases, belly button piercing pain is very brief and manageable, lasting only a few seconds. However, the level of pain can vary depending on your personal pain tolerance, stress level, and the experience of the piercer.
Does a belly button piercing hurt?
One of the most common questions is: does a belly button piercing hurt?
Compared to other piercings, belly button piercing pain is usually less intense than cartilage piercings (such as ear cartilage), but slightly more noticeable than piercings in fleshier areas.
Because the navel is made of soft tissue, the pain from a belly button piercing is generally quick, localized, and short-lived.
How to reduce belly button piercing pain
There are several ways to reduce pain during a belly button piercing:
- Choose an experienced professional piercer for a quick and precise procedure
- Stay relaxed before and during your appointment, as stress can increase pain perception
- Eat properly and stay hydrated beforehand
Numbing creams containing lidocaine (such as EMLA) are sometimes used to reduce belly button piercing pain, but they should only be applied under medical supervision. Many professional piercers advise against their use, as they can affect the skin’s texture and make the piercing procedure more difficult.
Types of Belly Button Piercings: Which One to Choose?
There are several types of belly button piercings, each suited to a specific anatomy and aesthetic result. Choosing the right type of navel piercing is essential to ensure proper healing, optimal comfort, and a harmonious look.

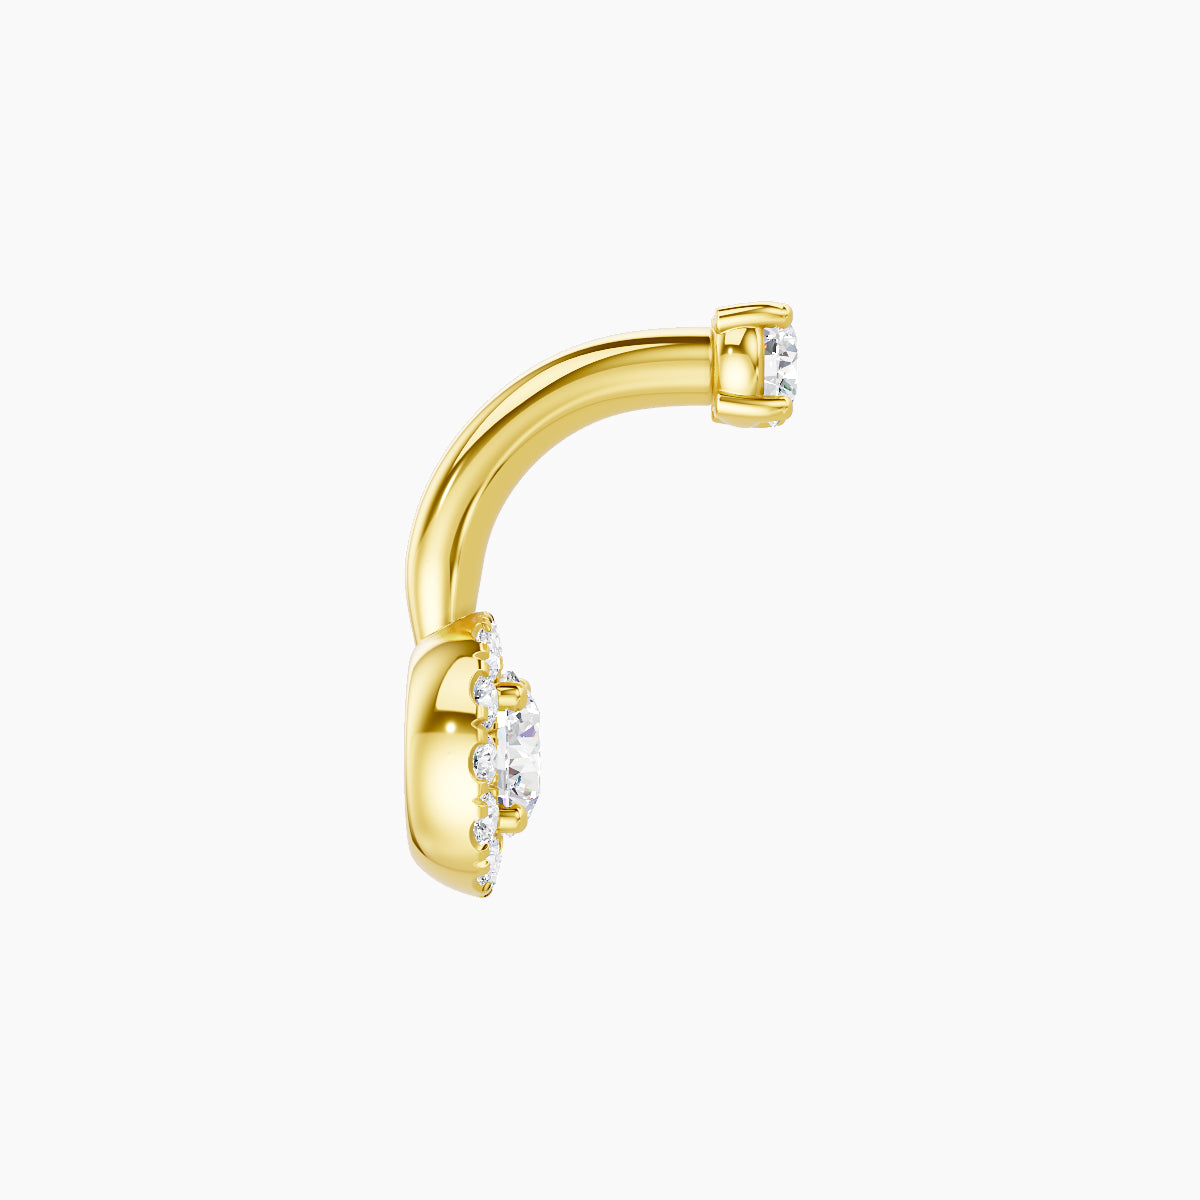
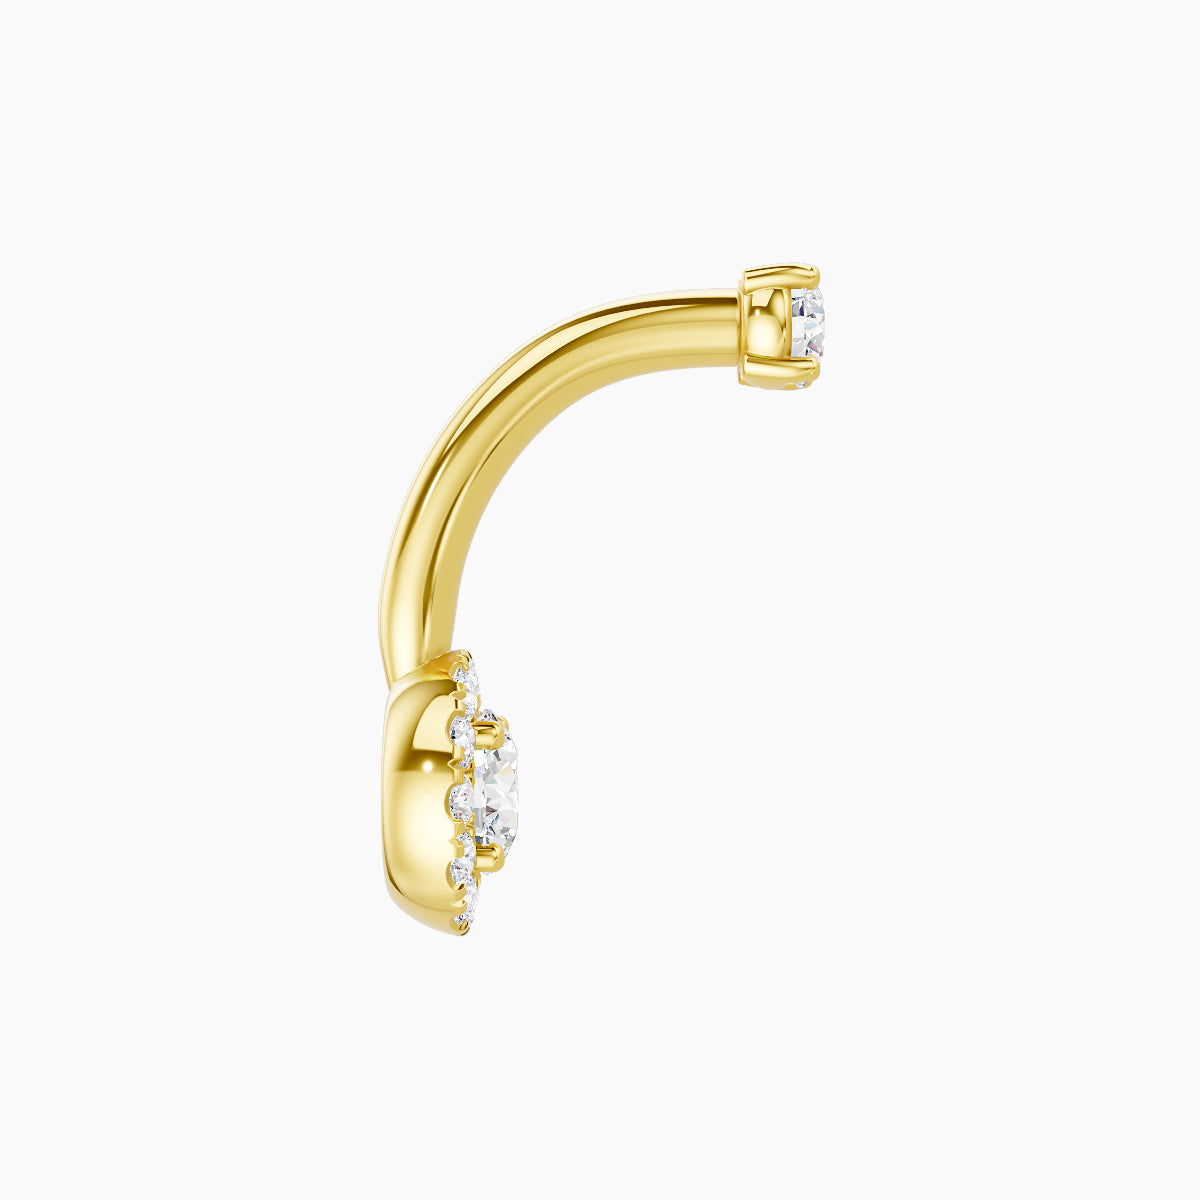
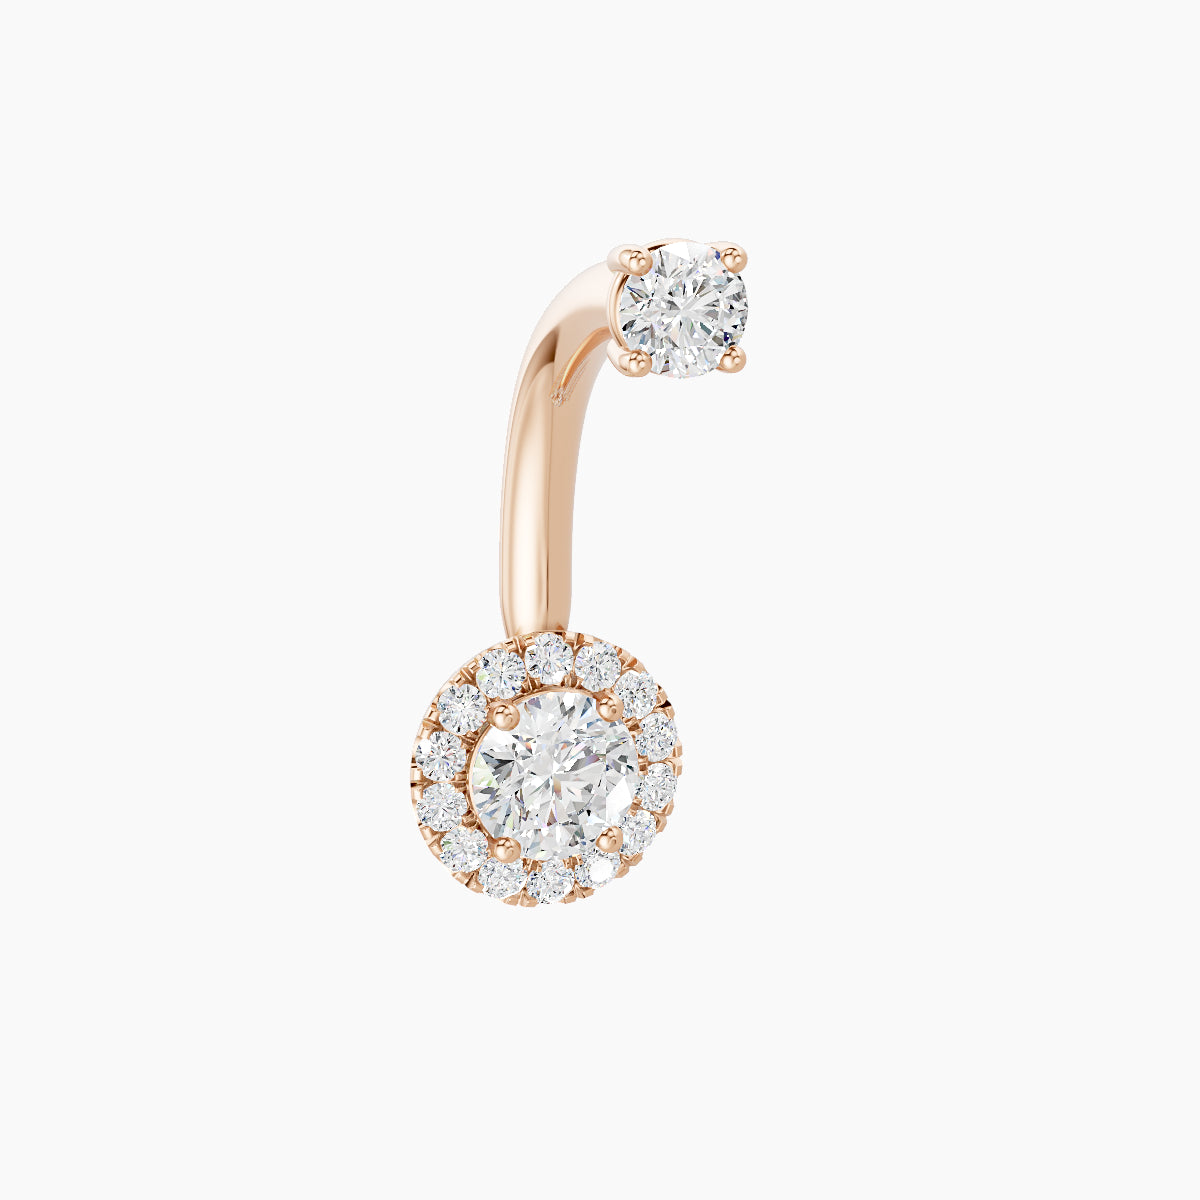
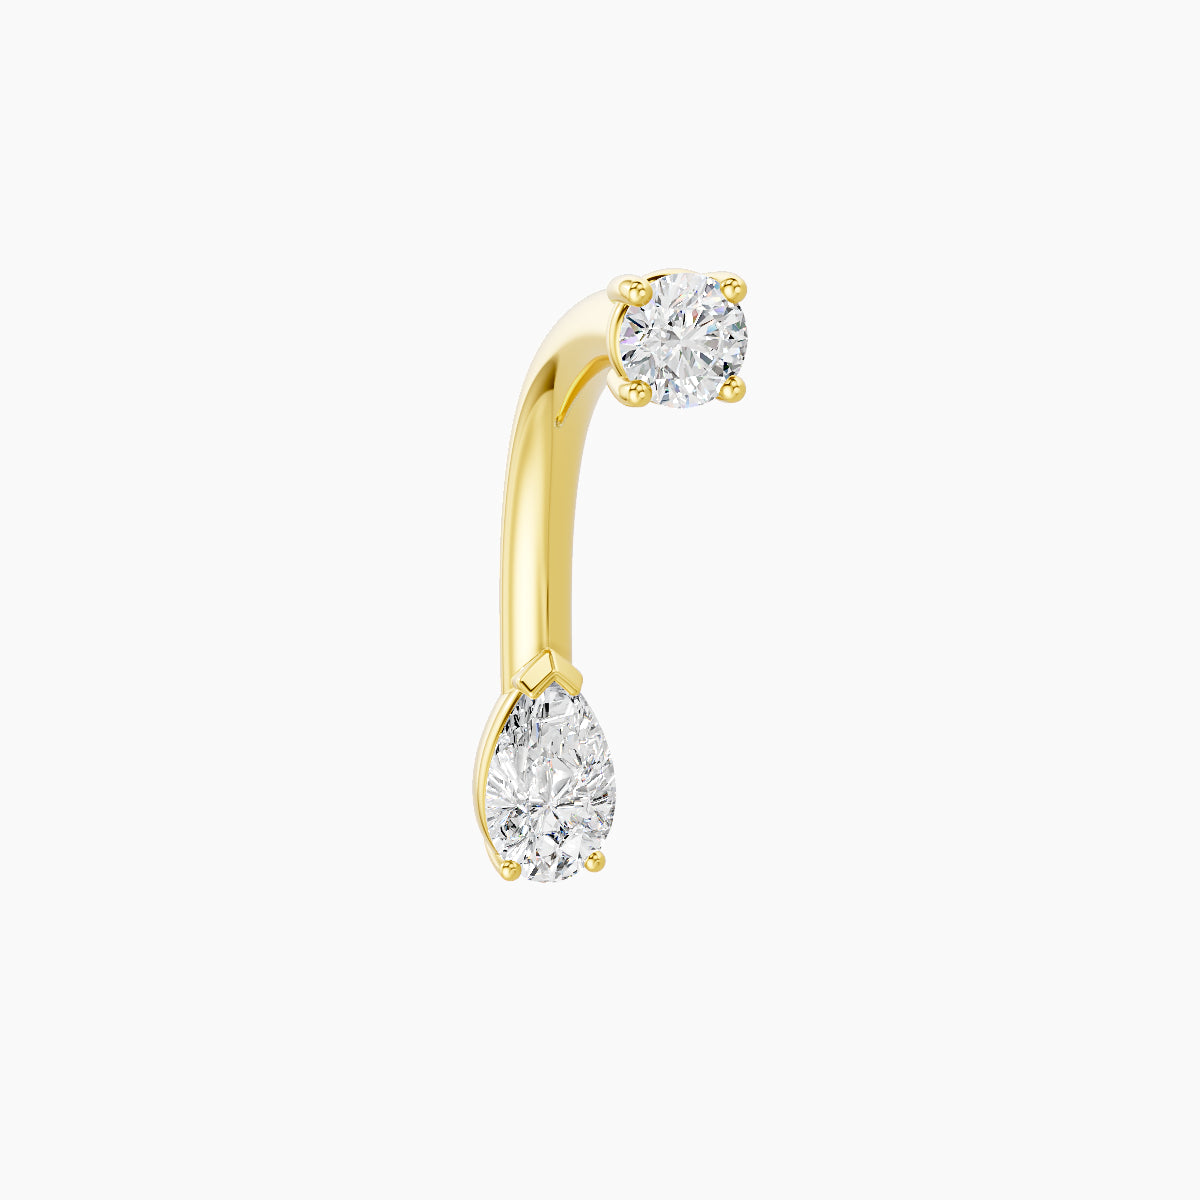
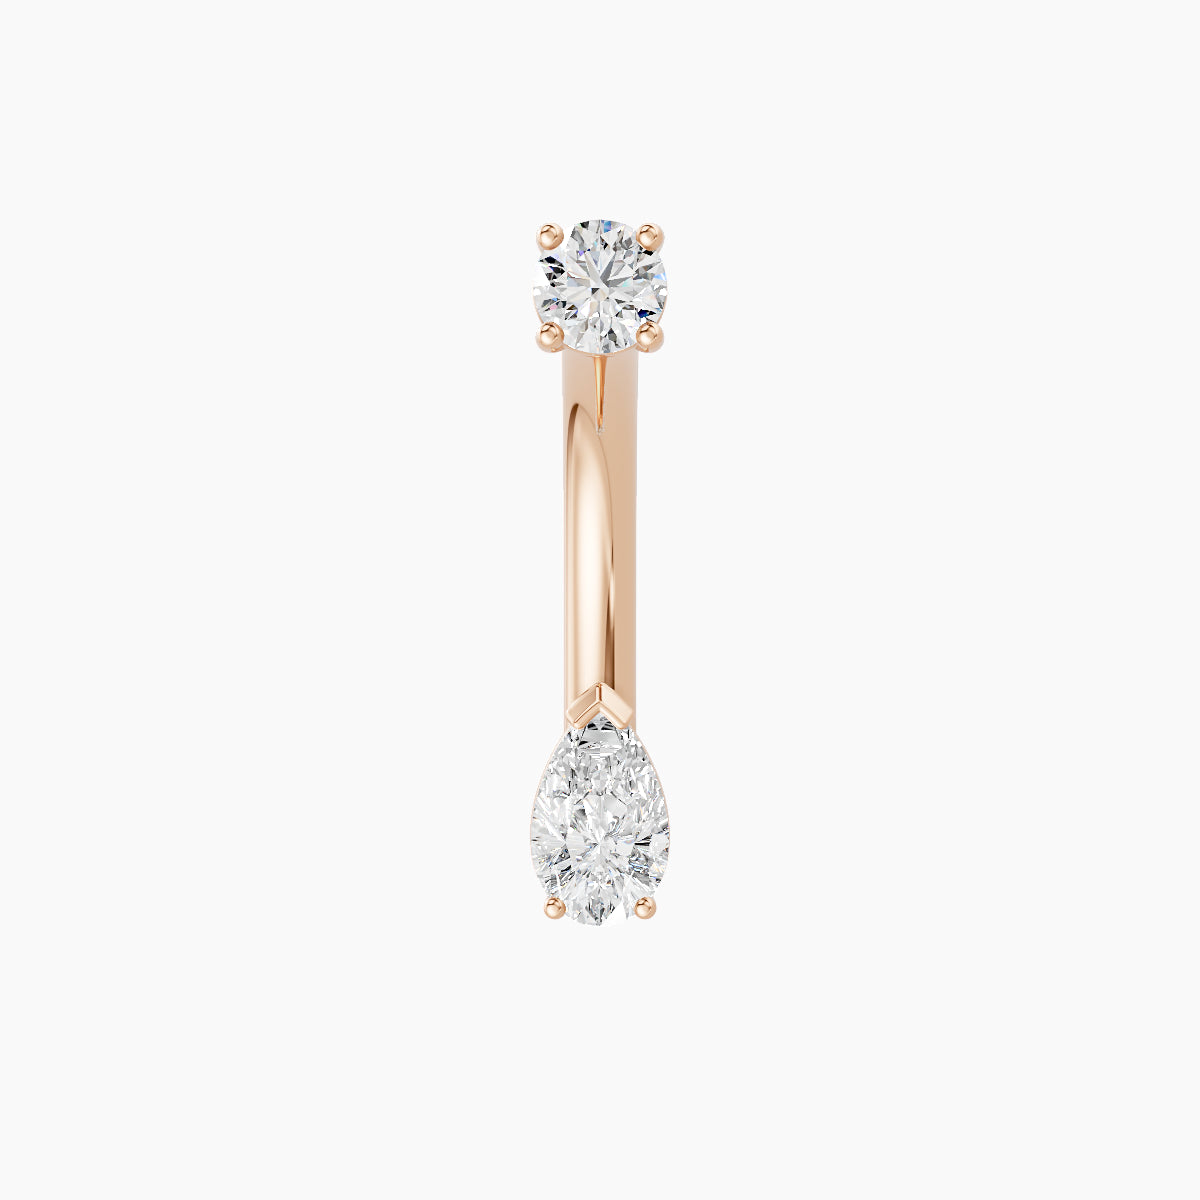
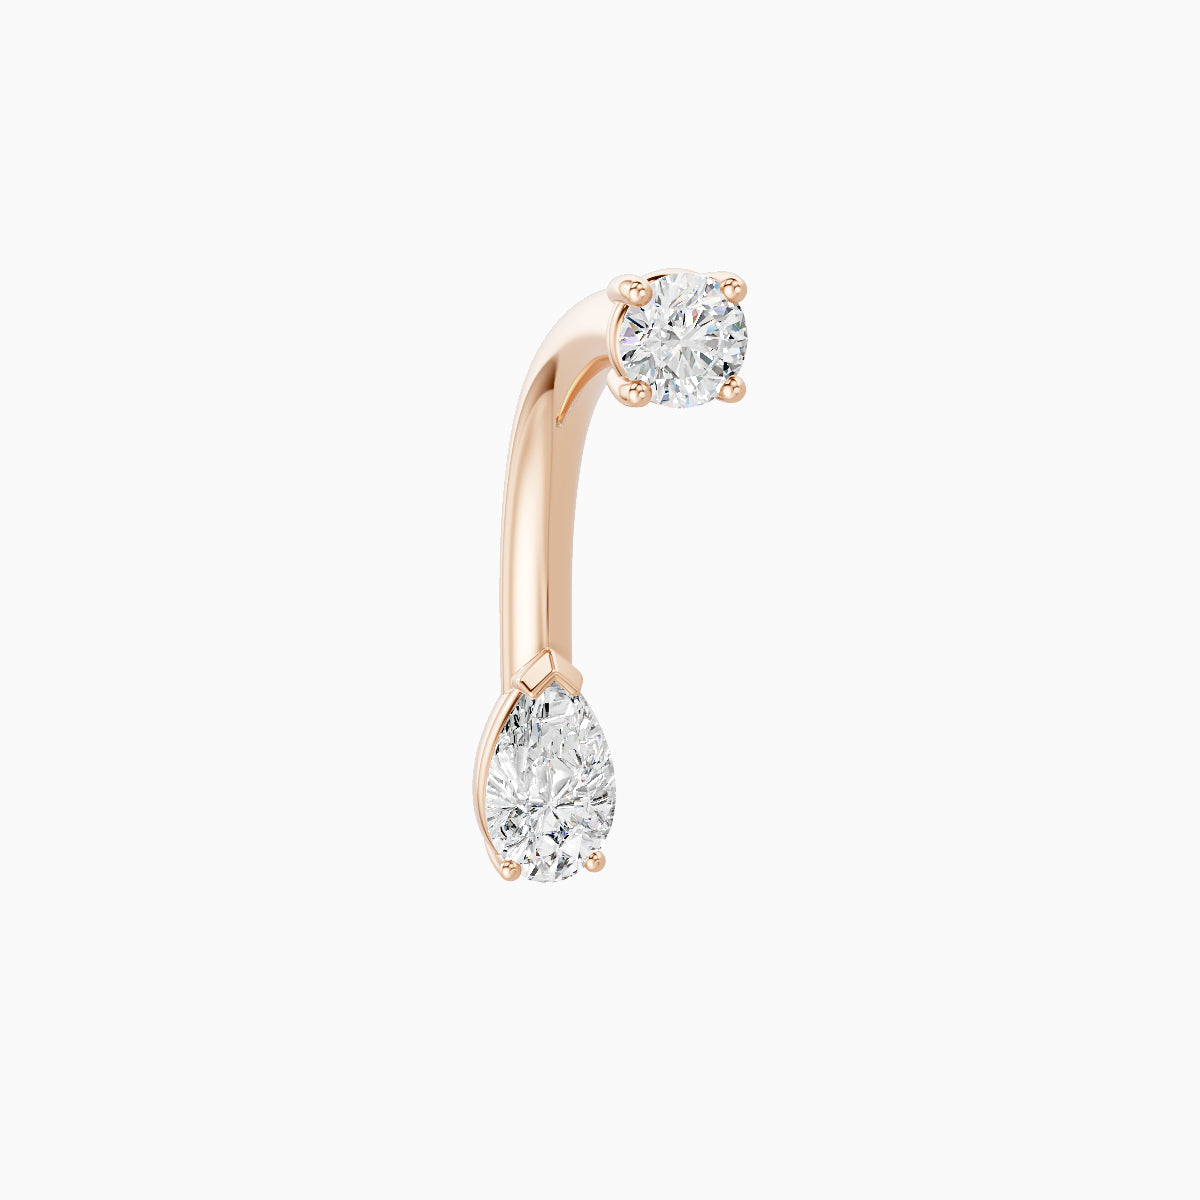
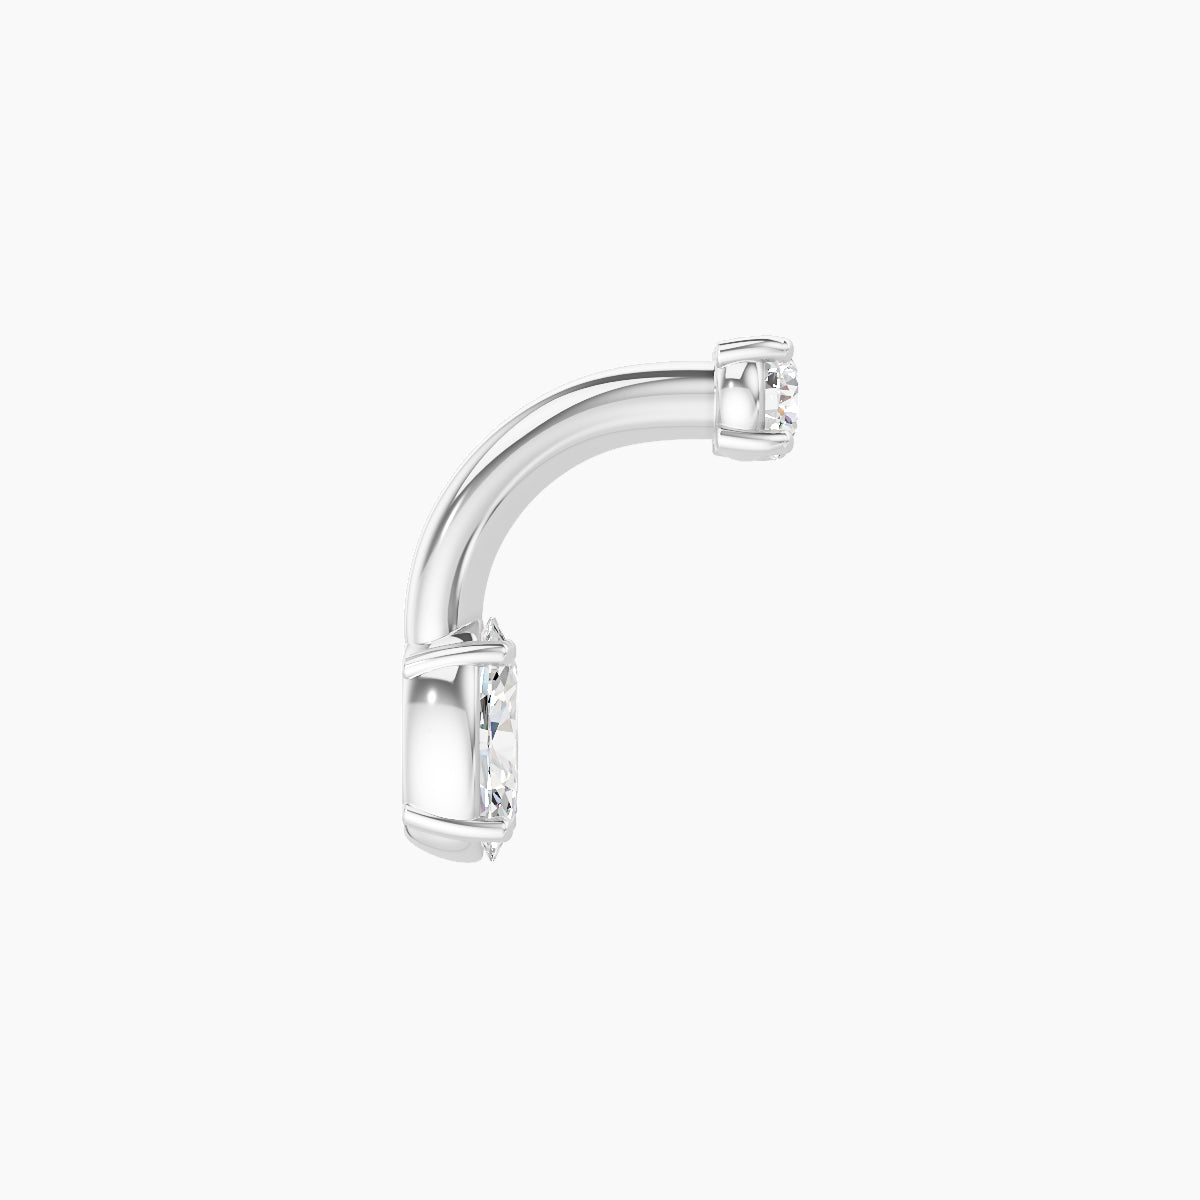
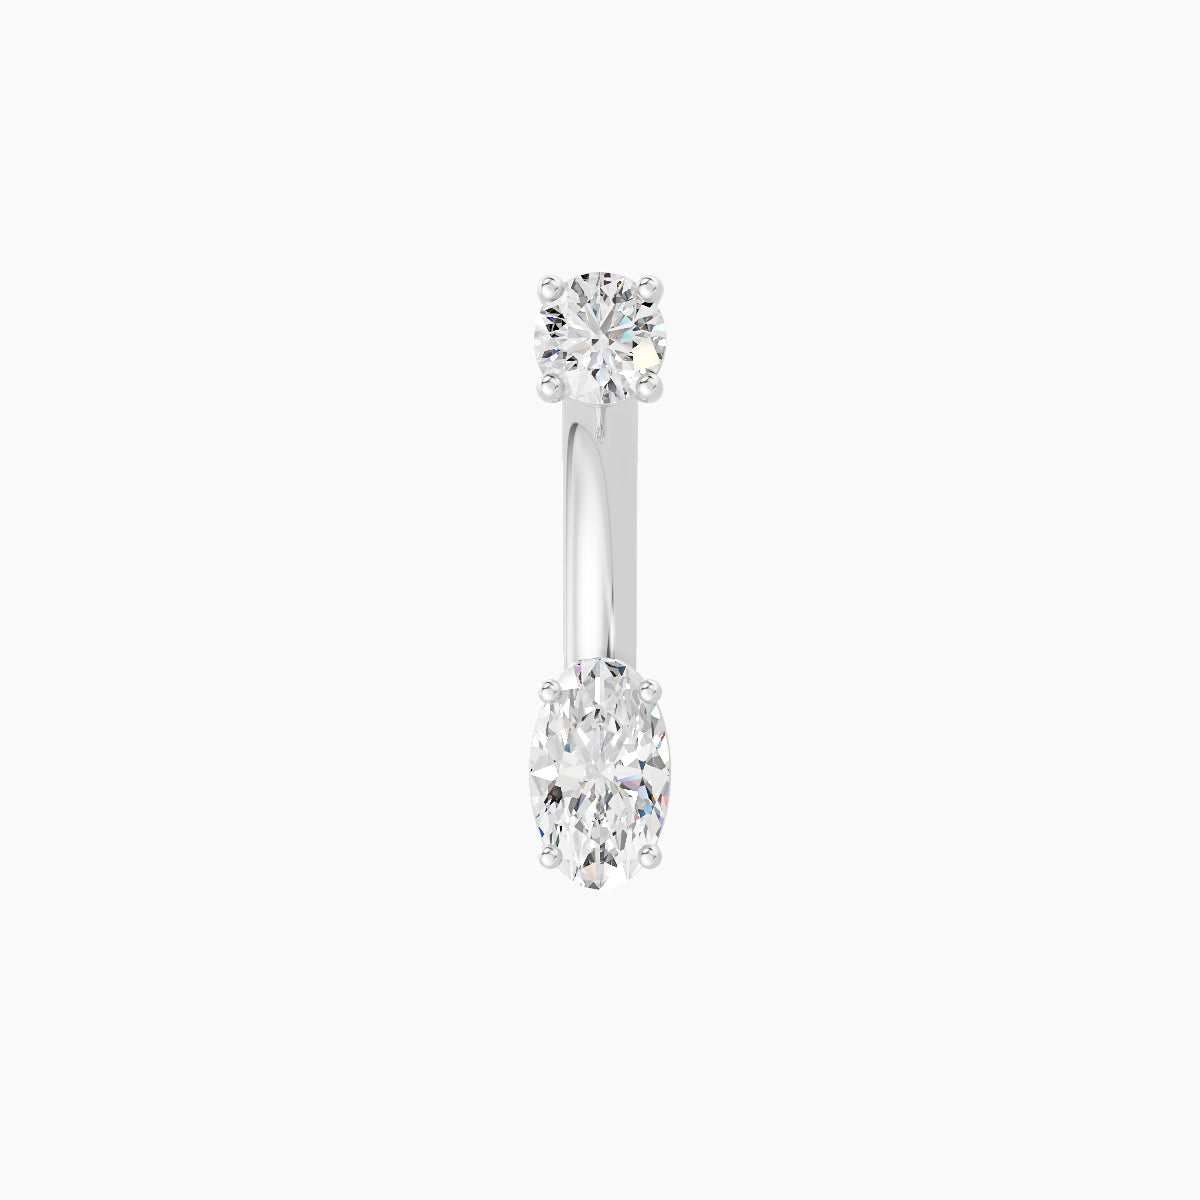
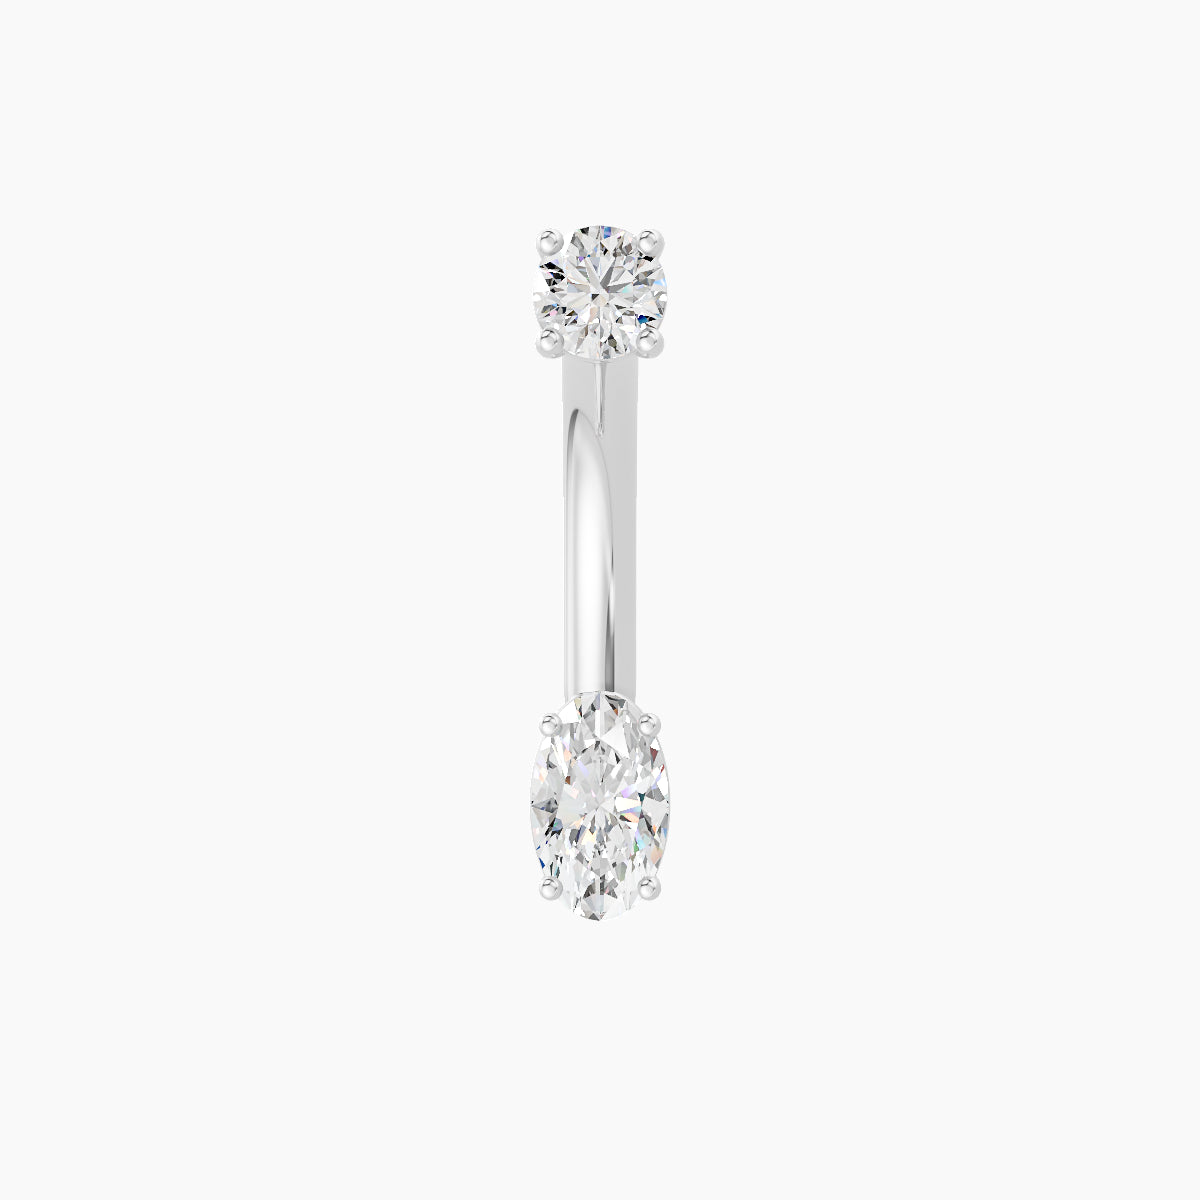
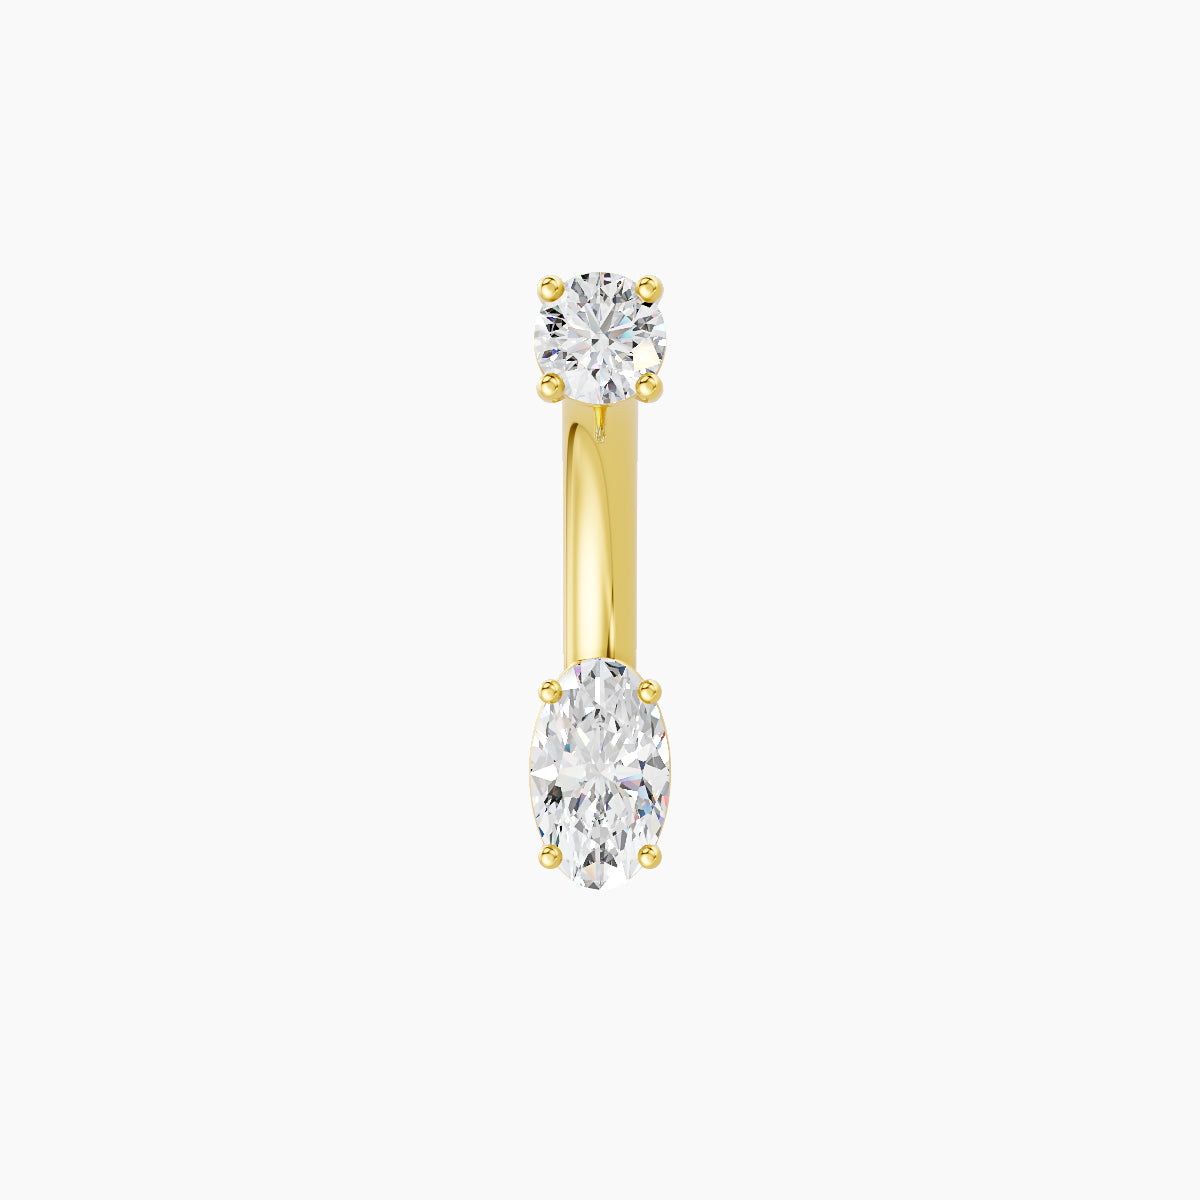
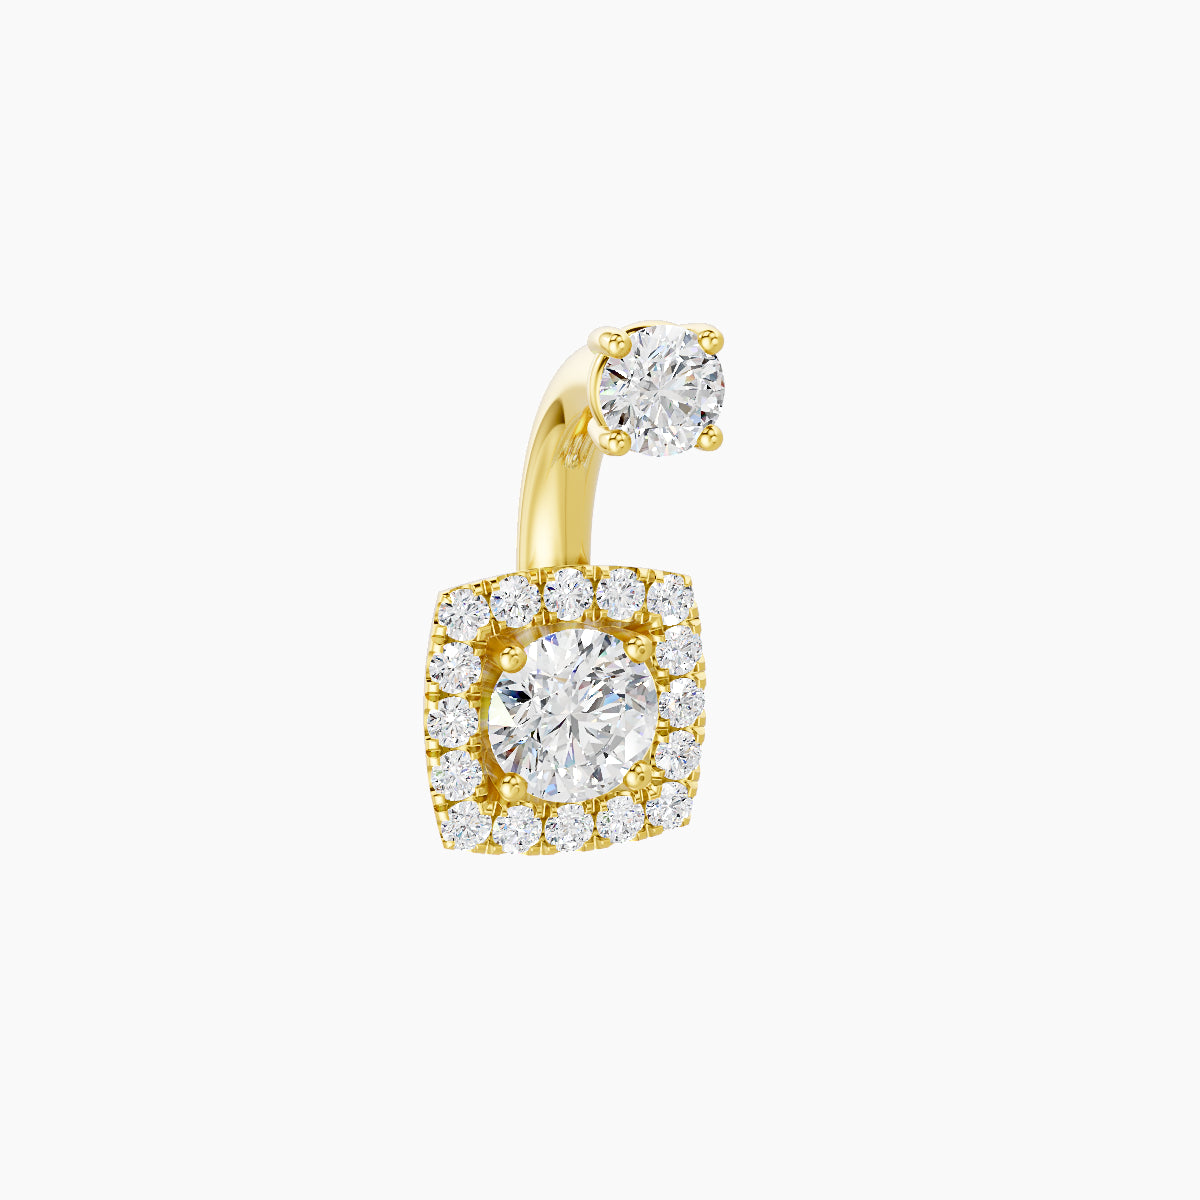
Standard Belly Button Piercing
The standard belly button piercing is the most common and widely requested.
Anatomy:
Suitable for most body types, as long as there is a well-defined upper rim of the navel with enough tissue.
Jewelry:
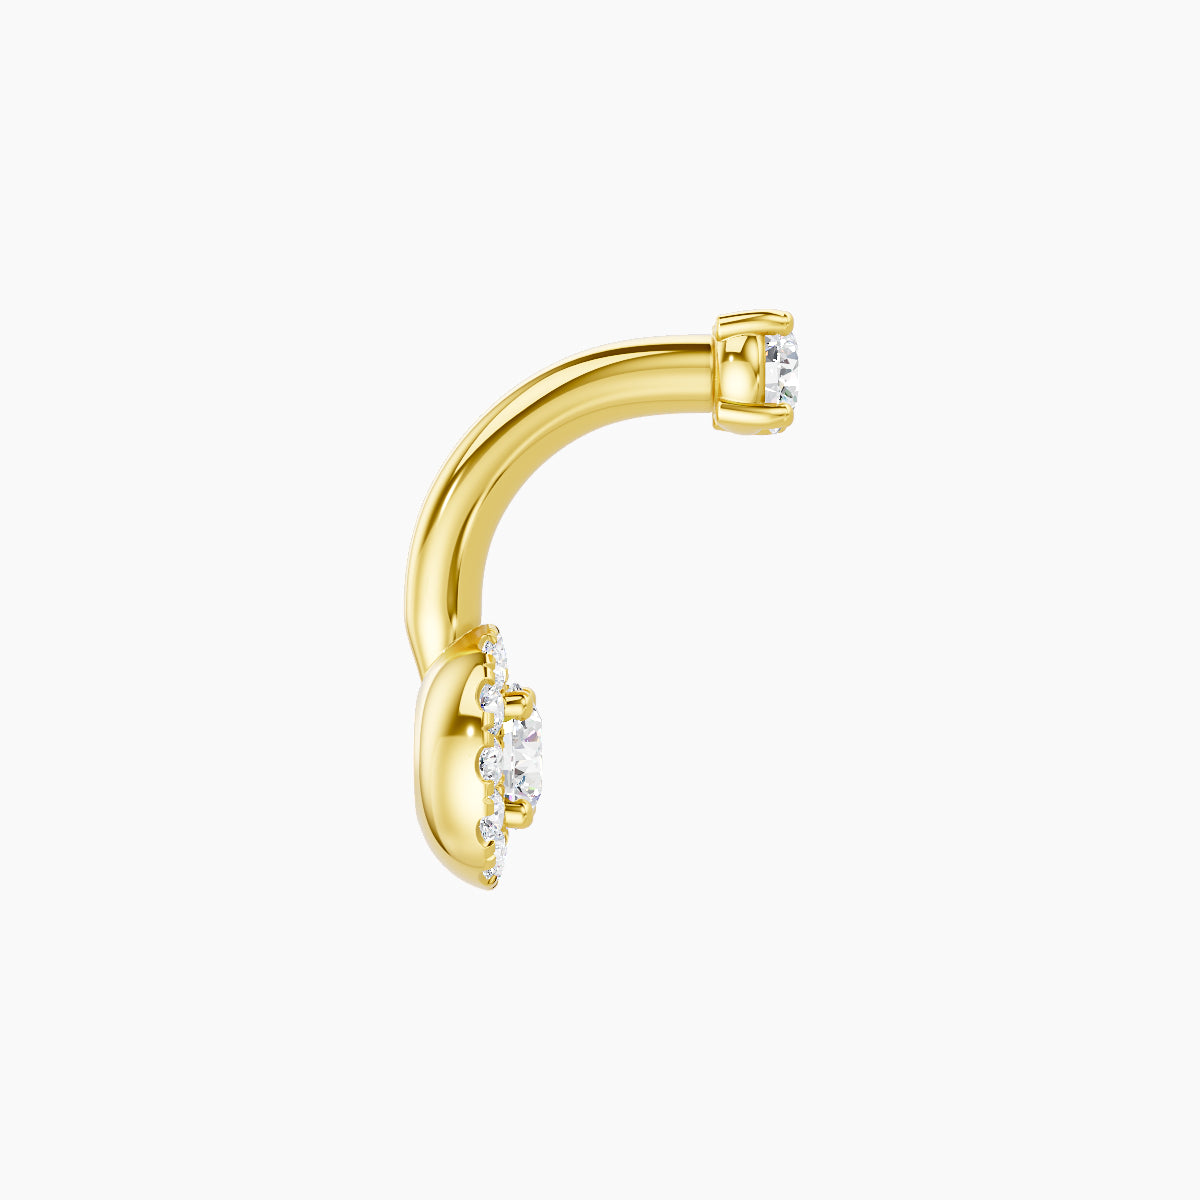
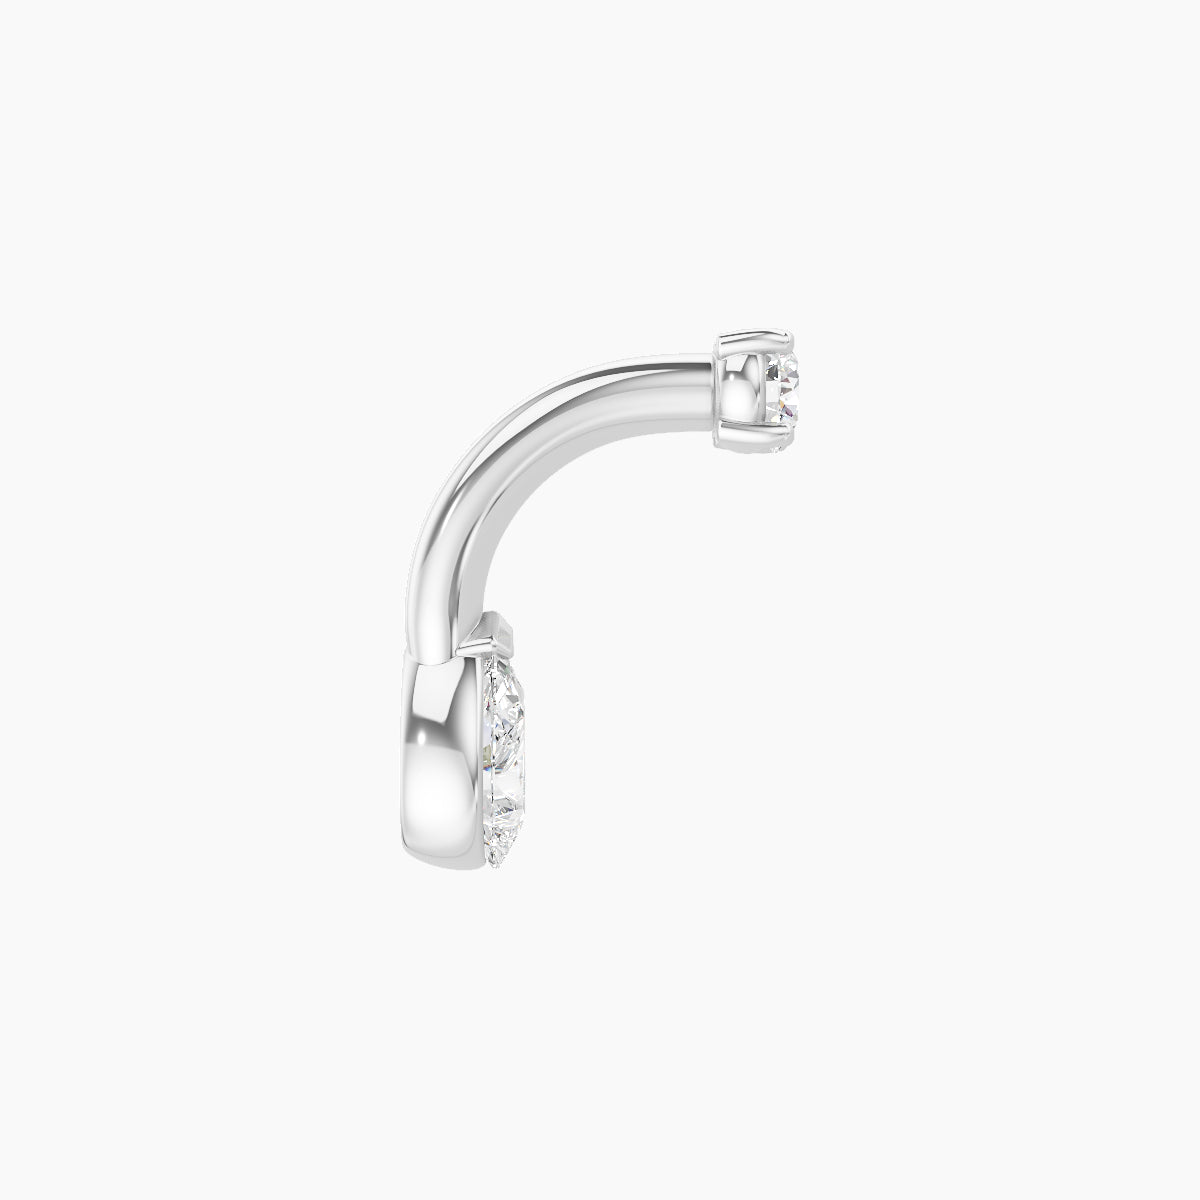
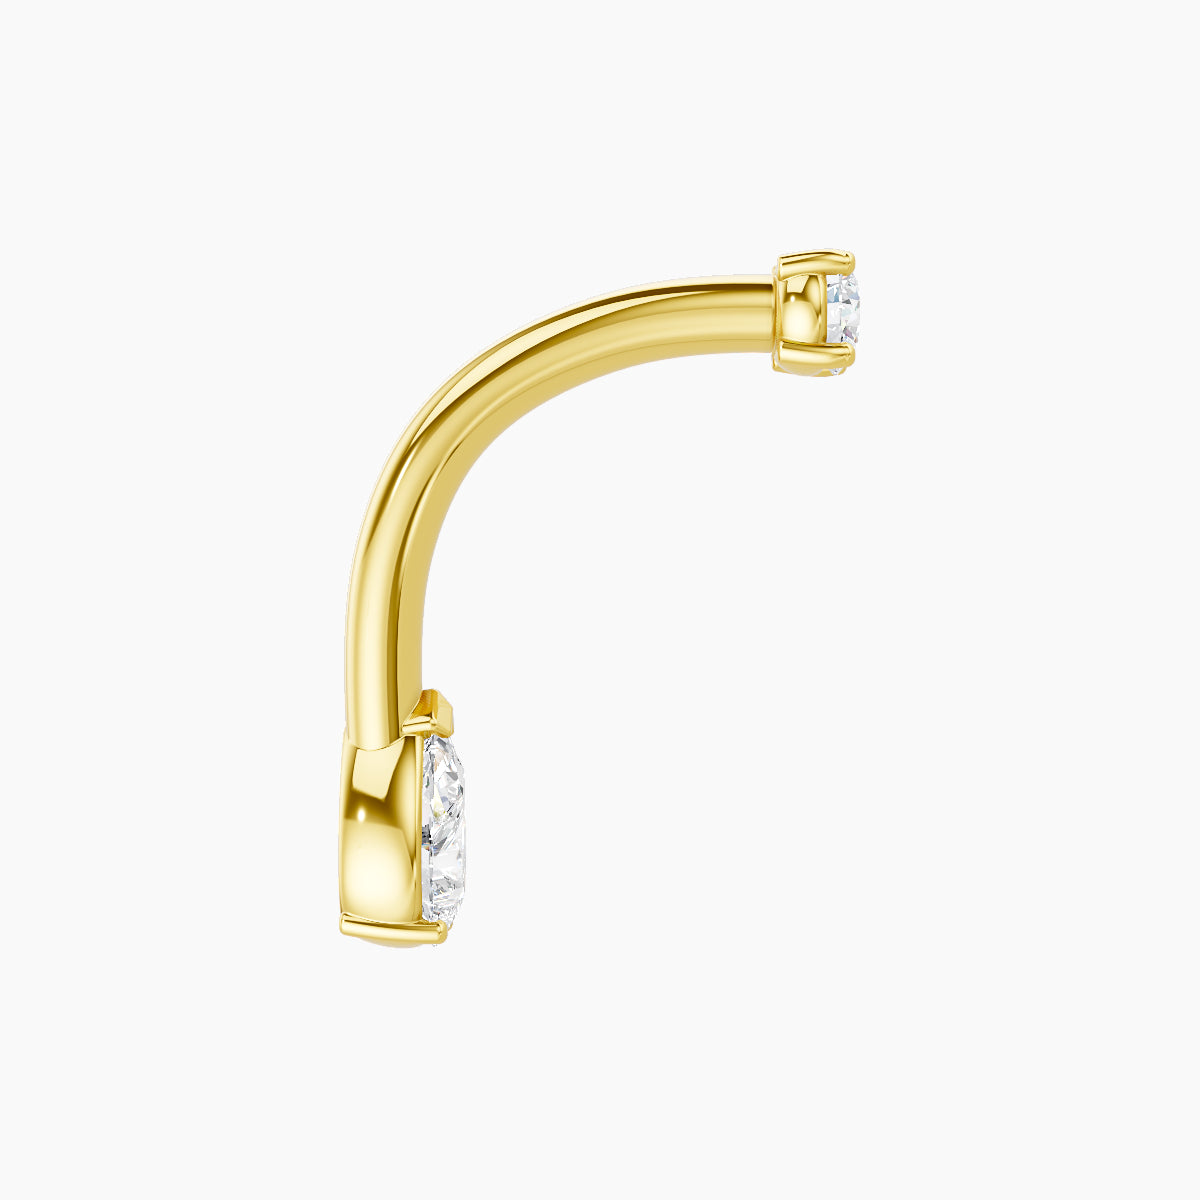
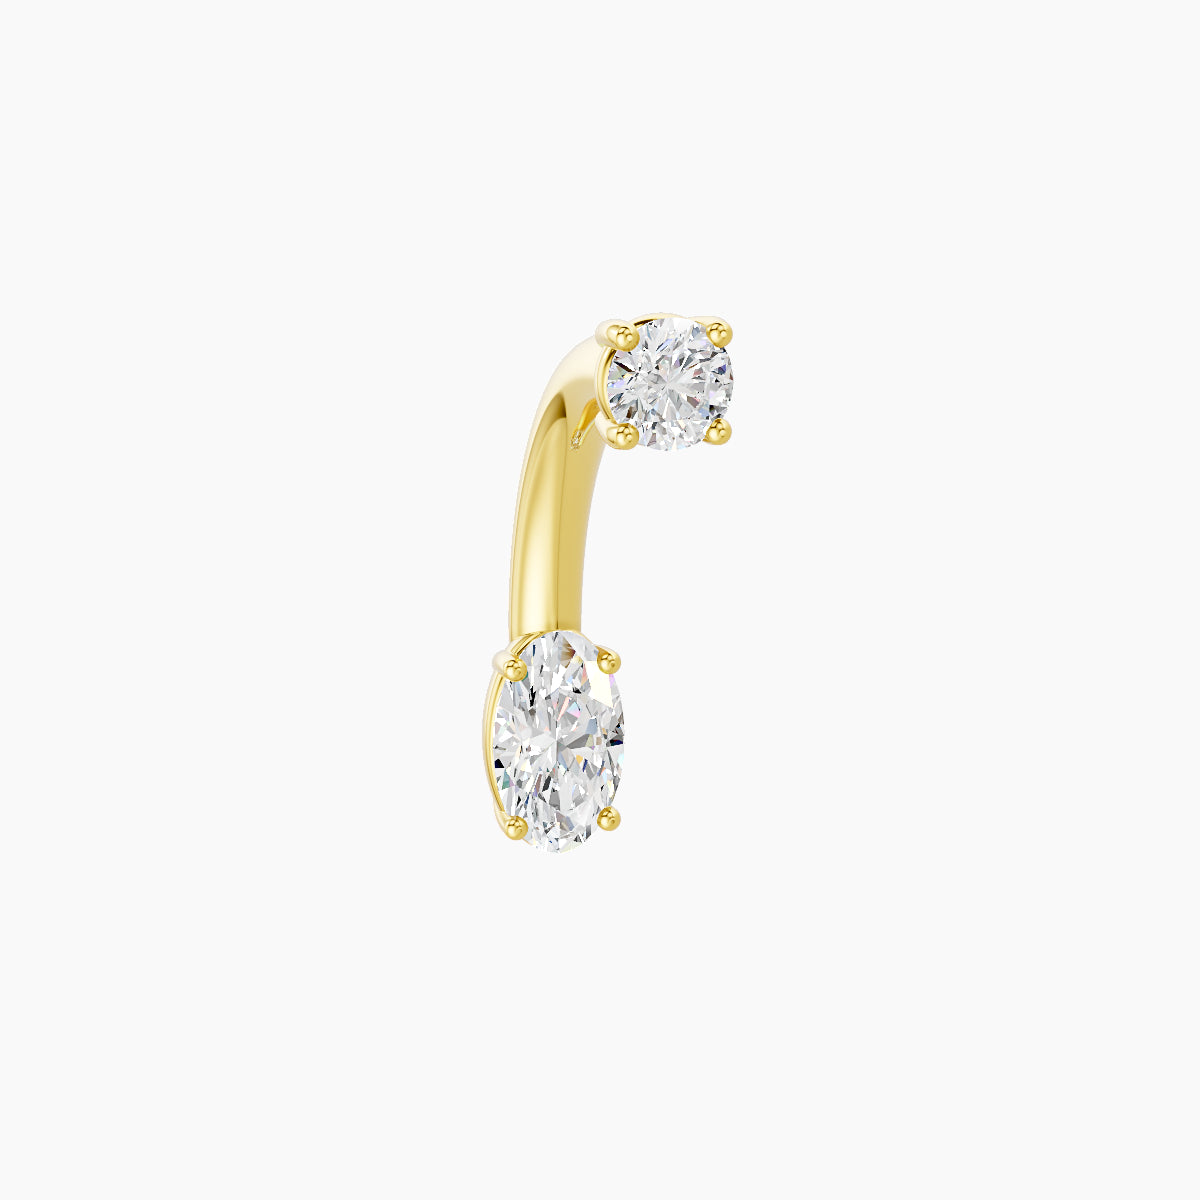
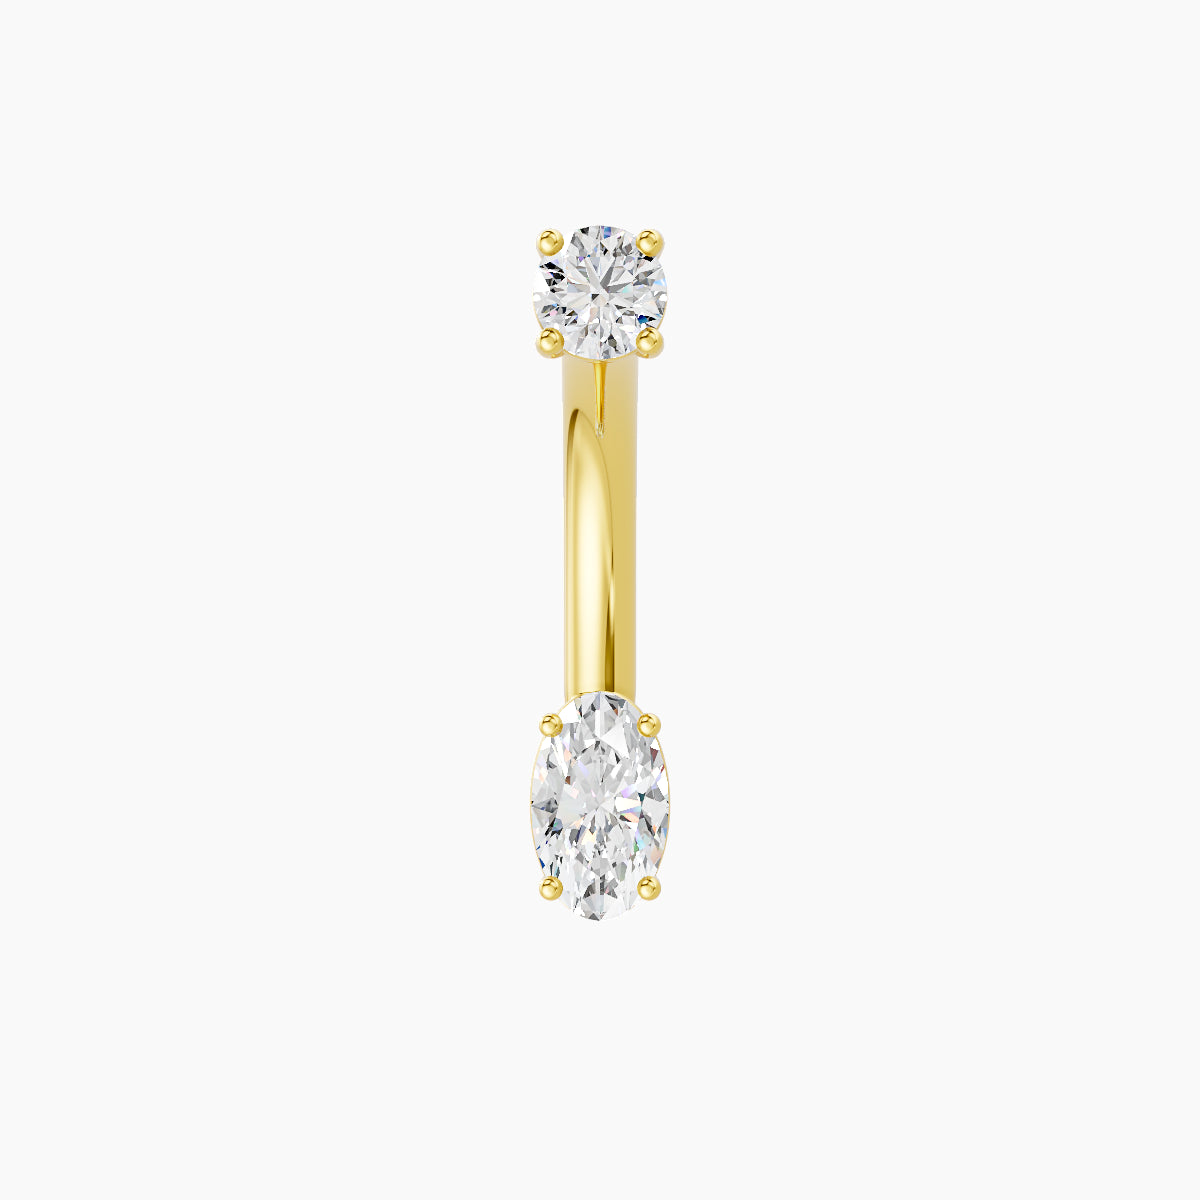
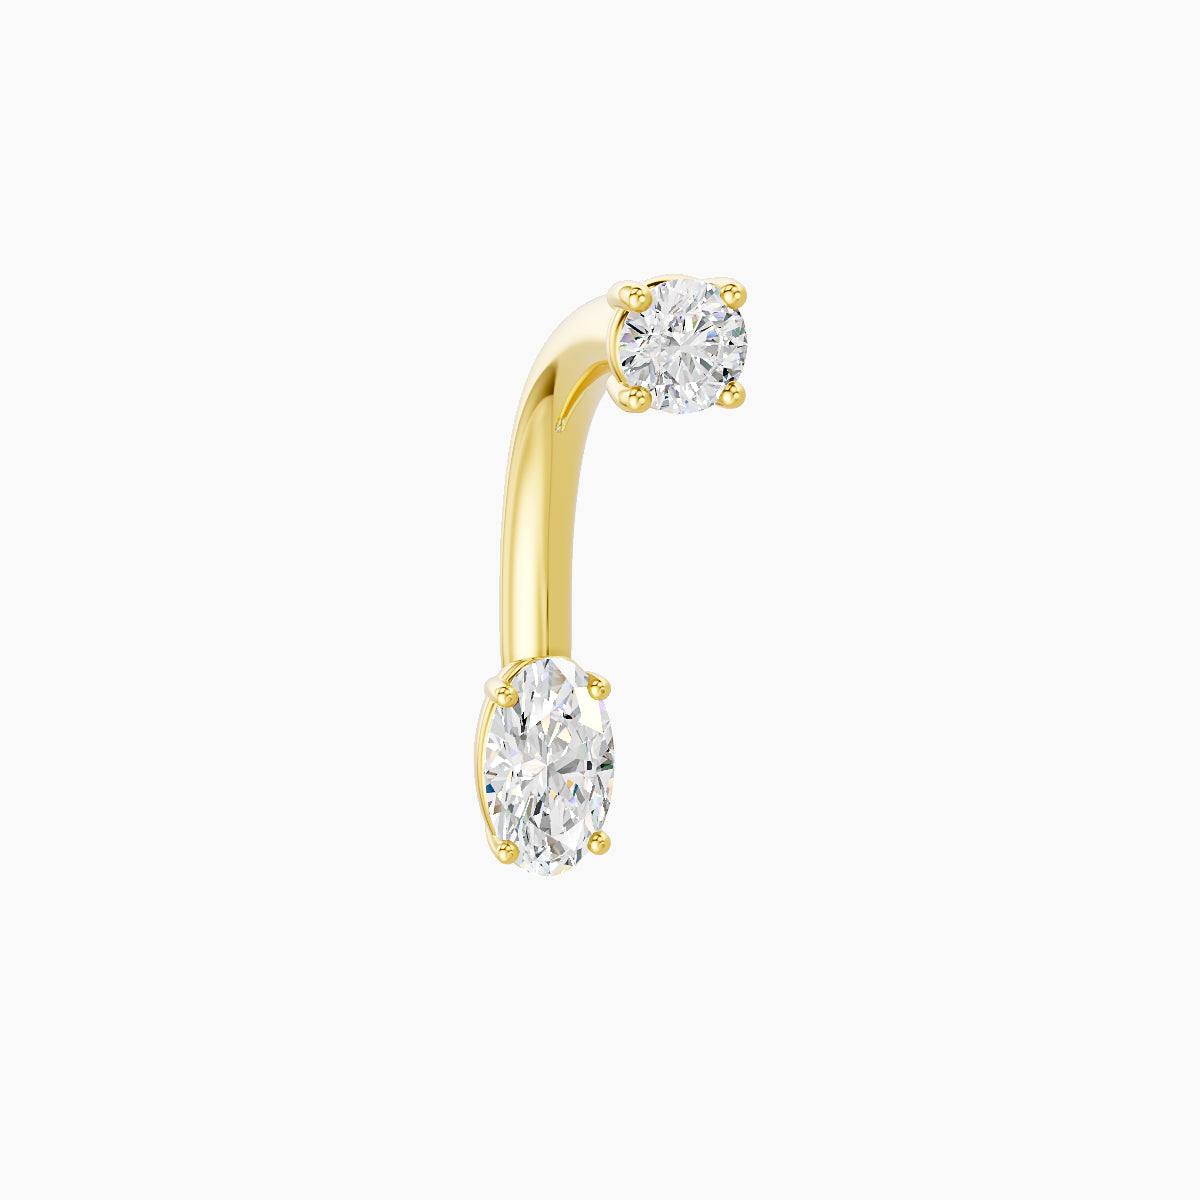
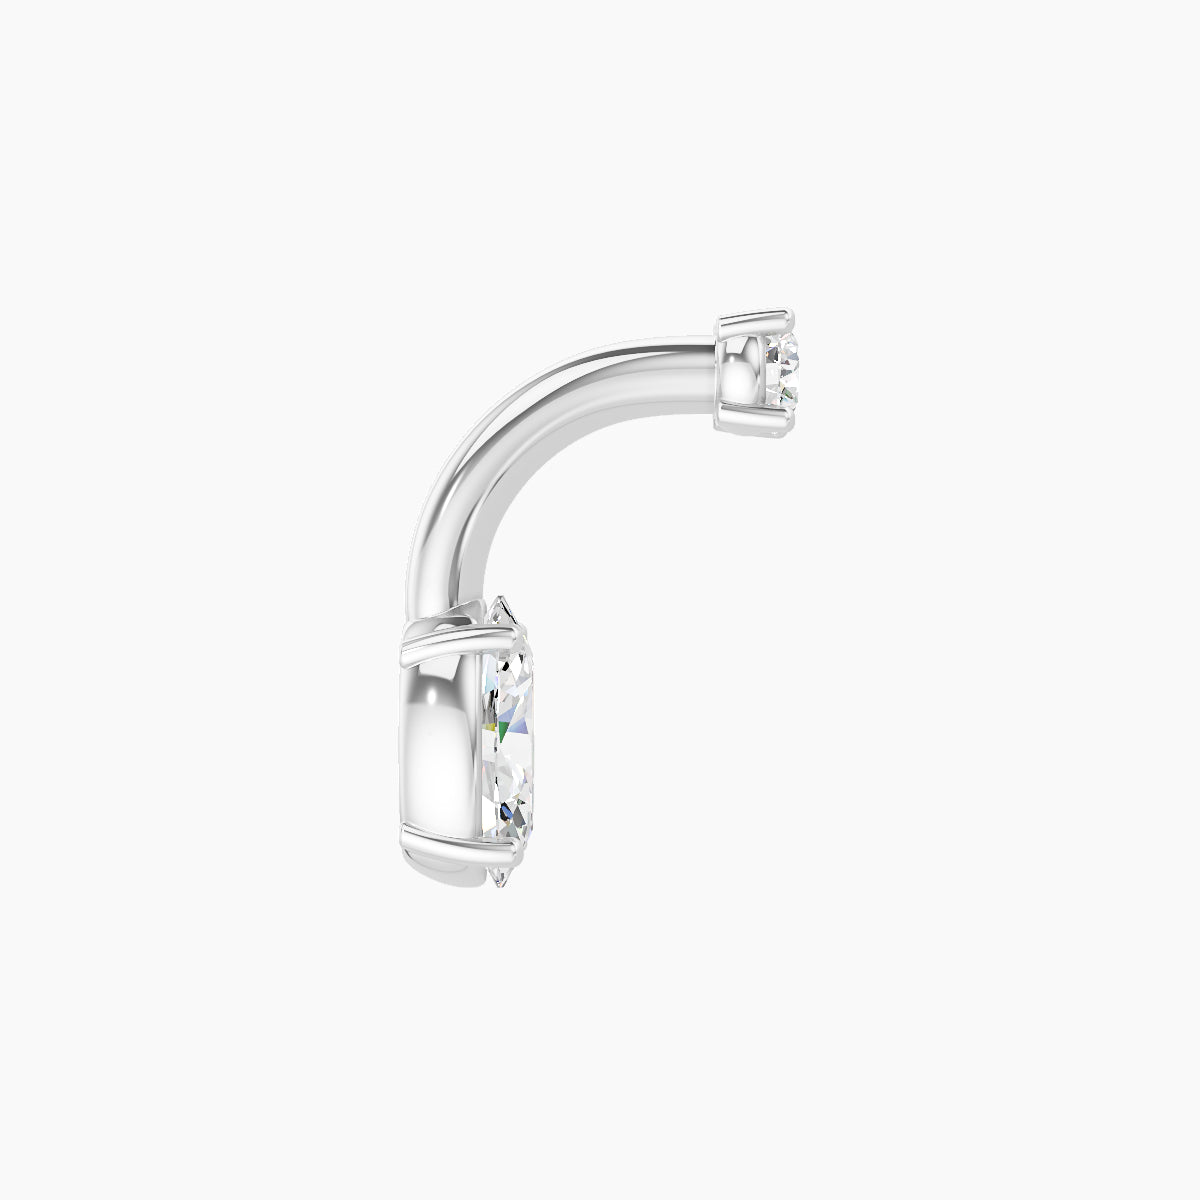
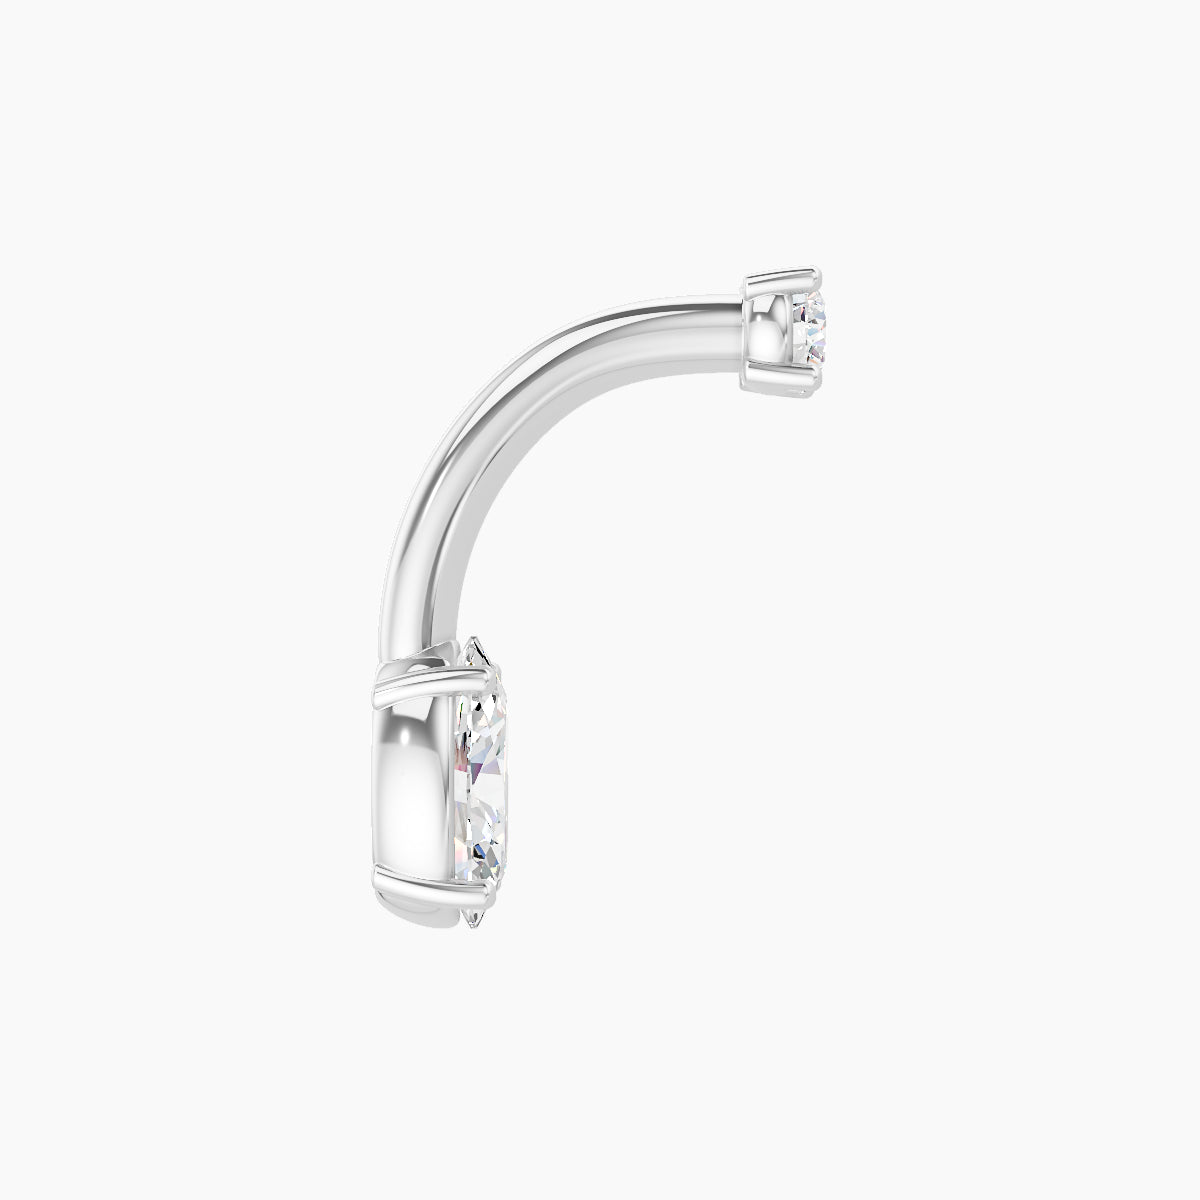
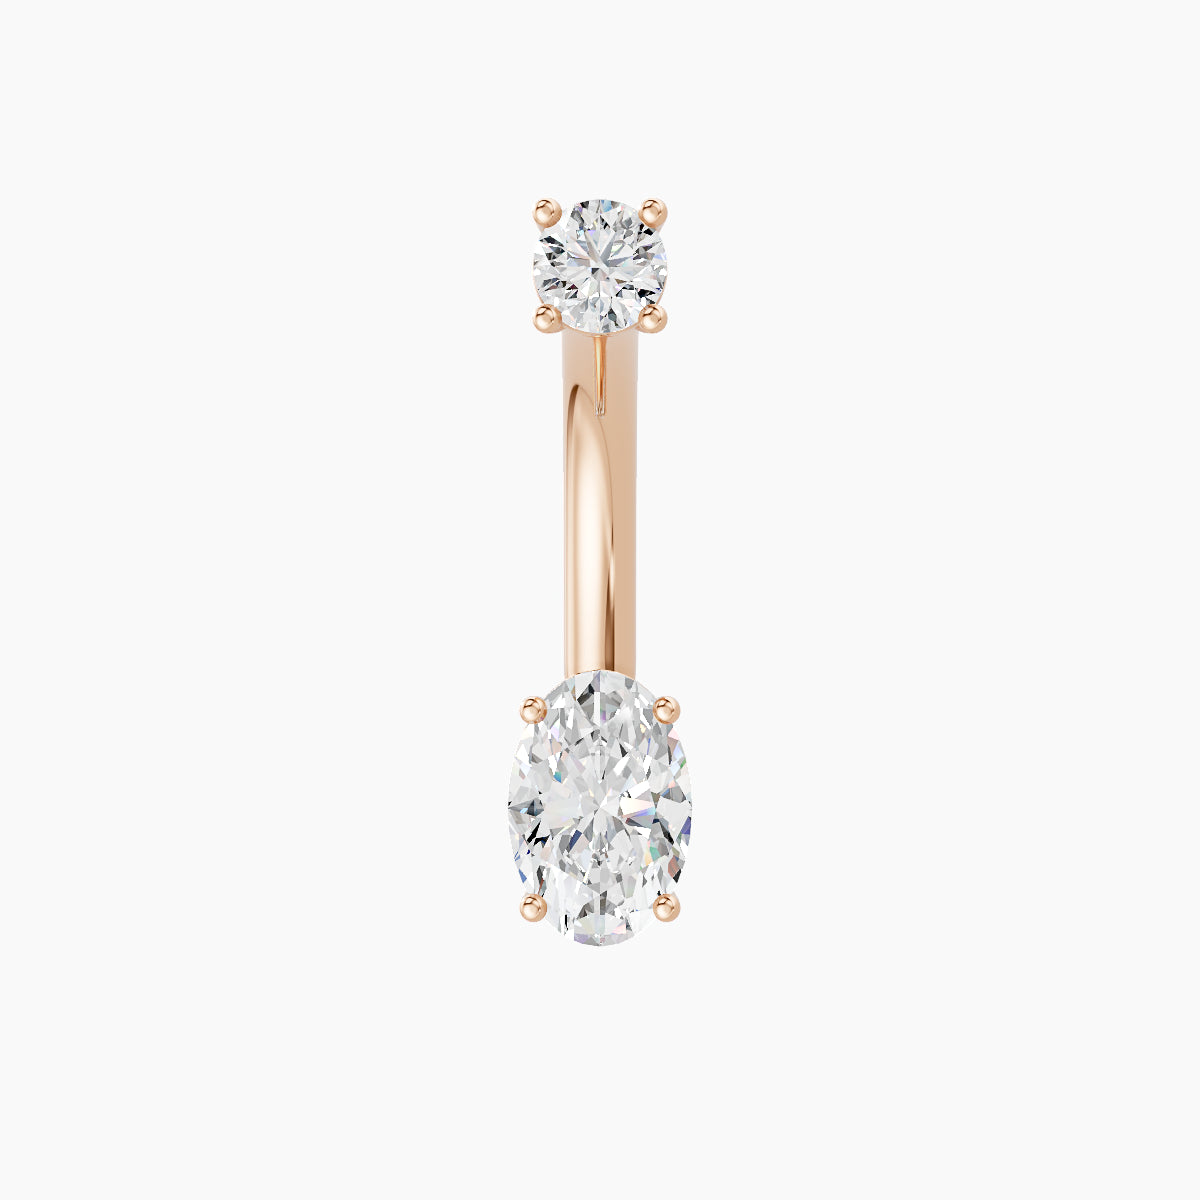
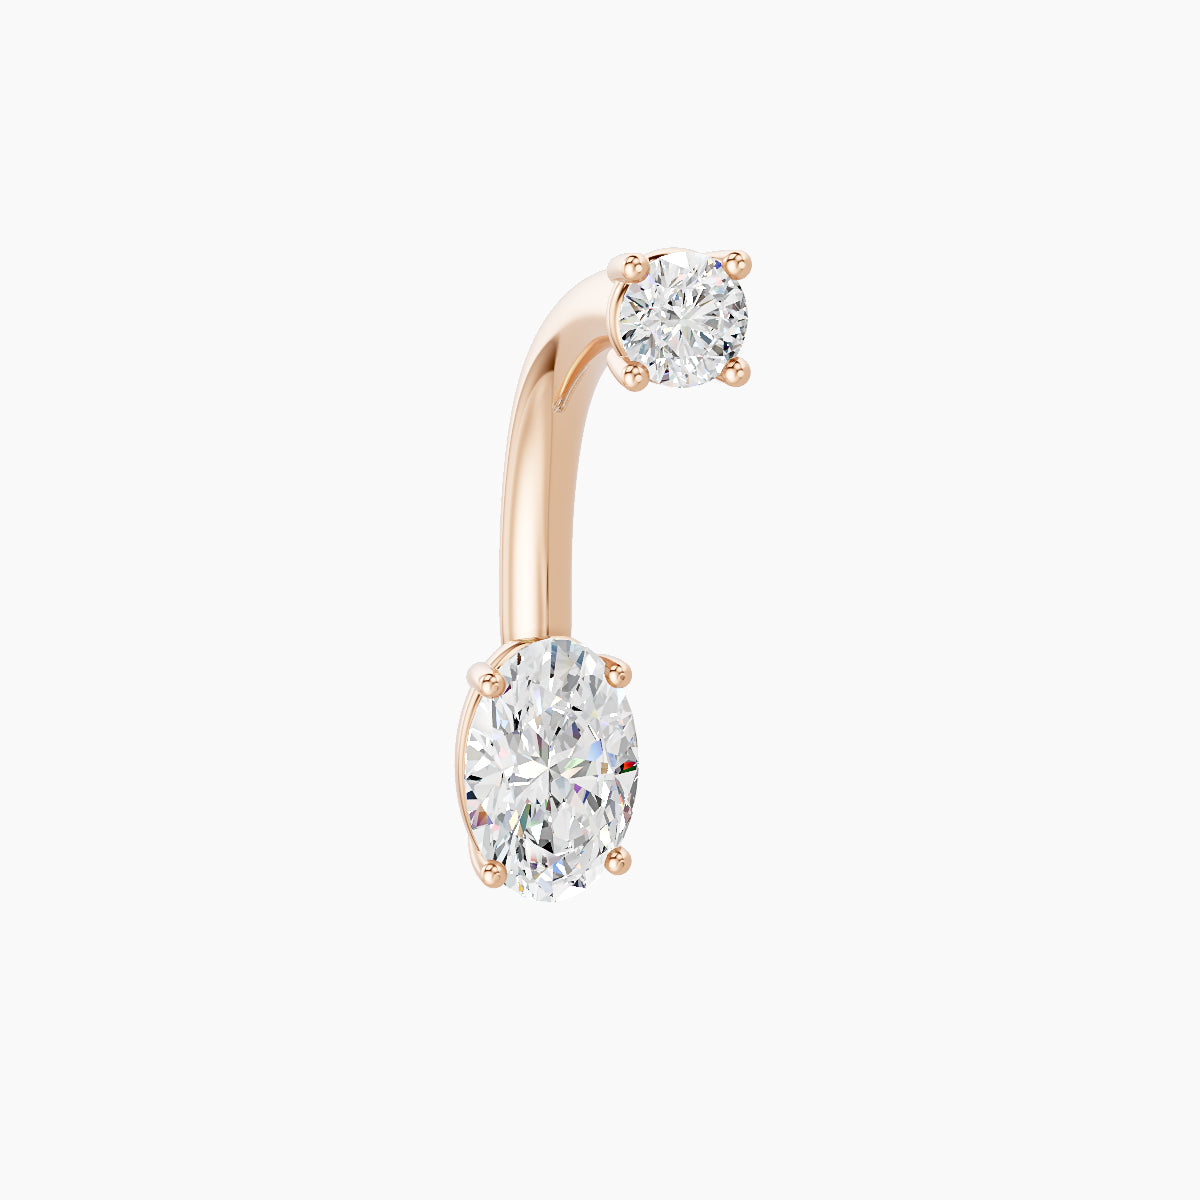
Curved barbell (banana).

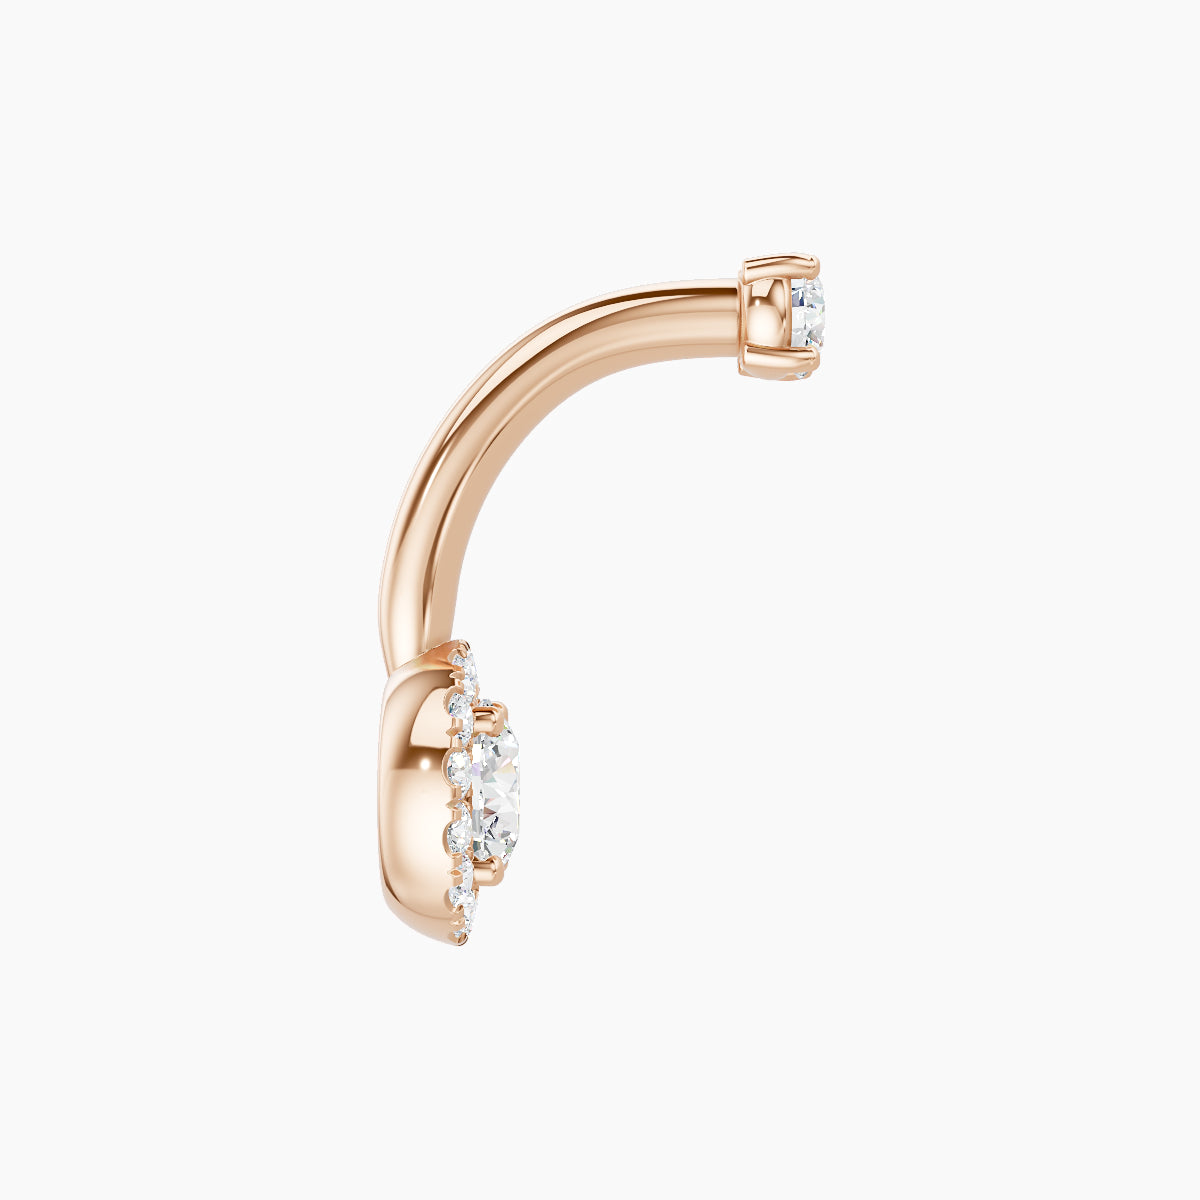
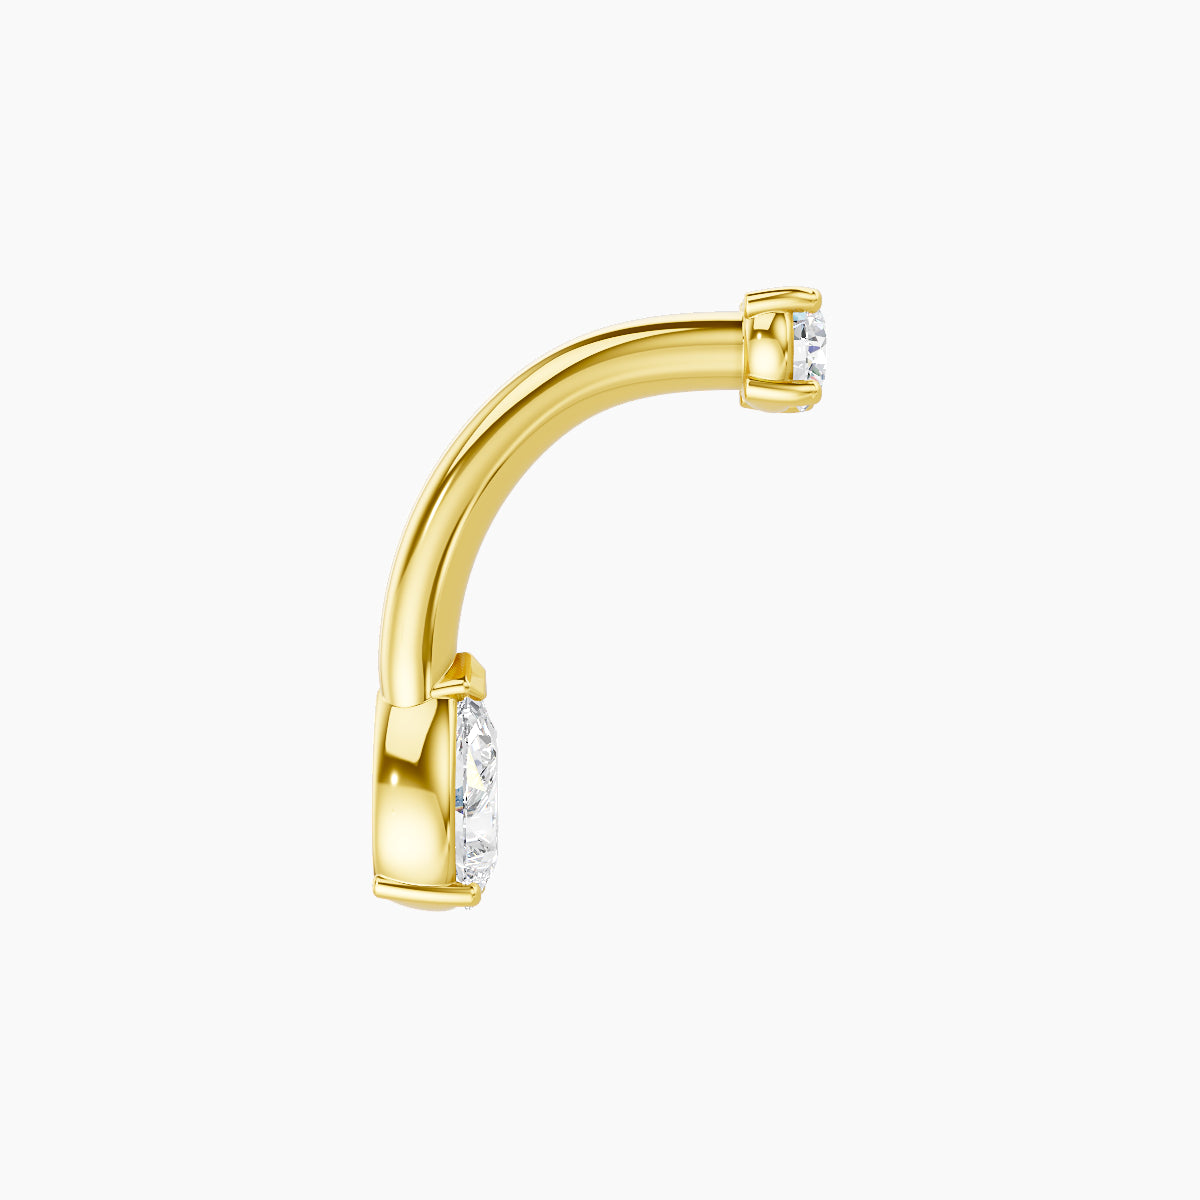
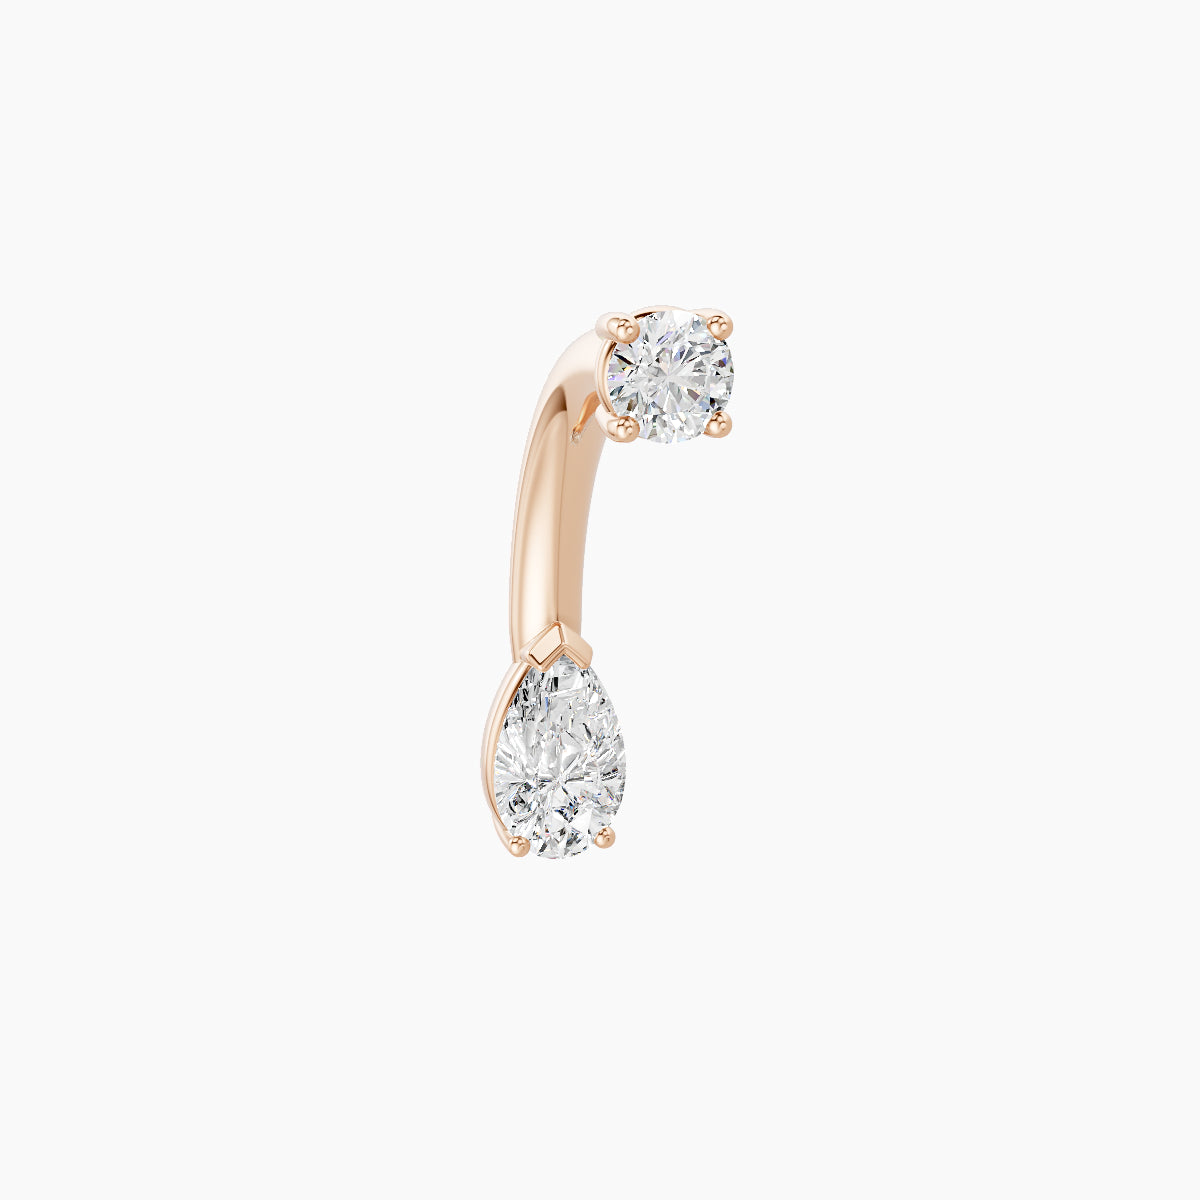
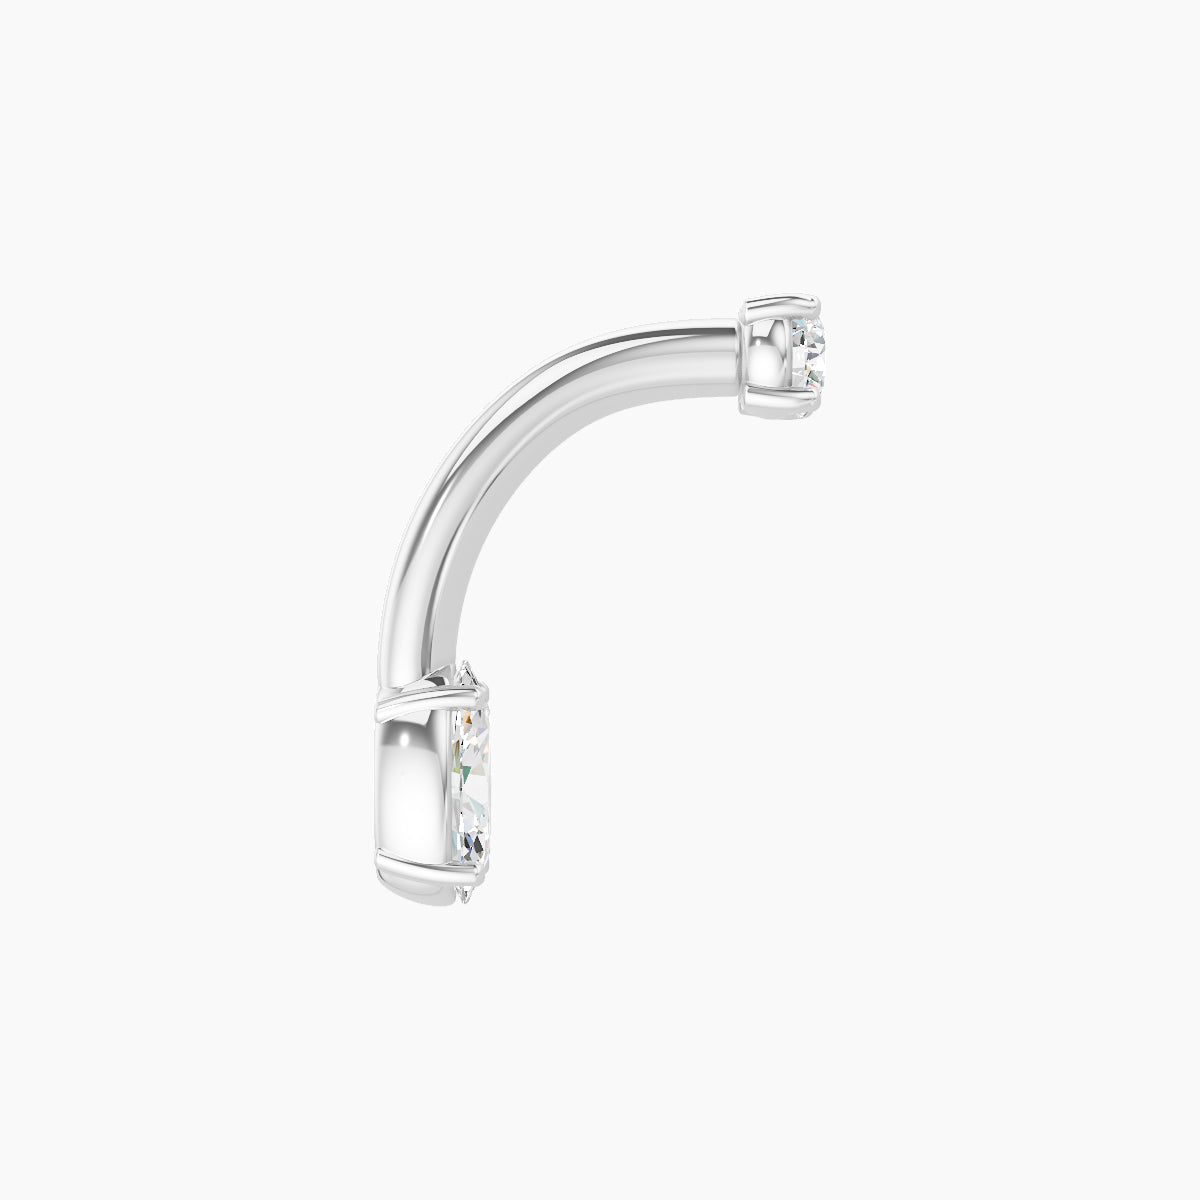
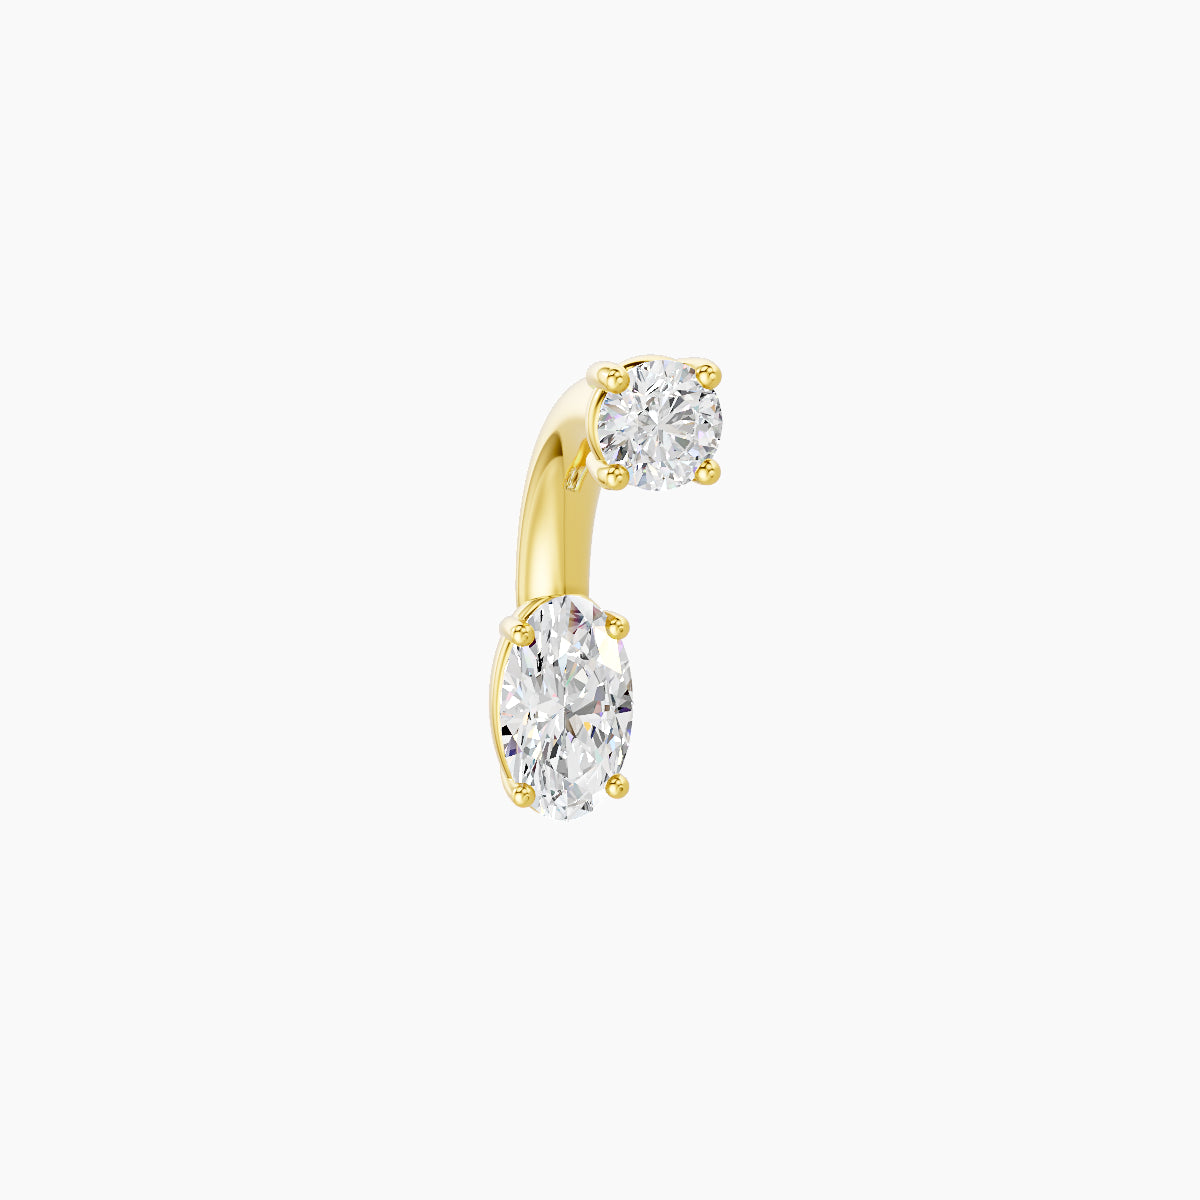
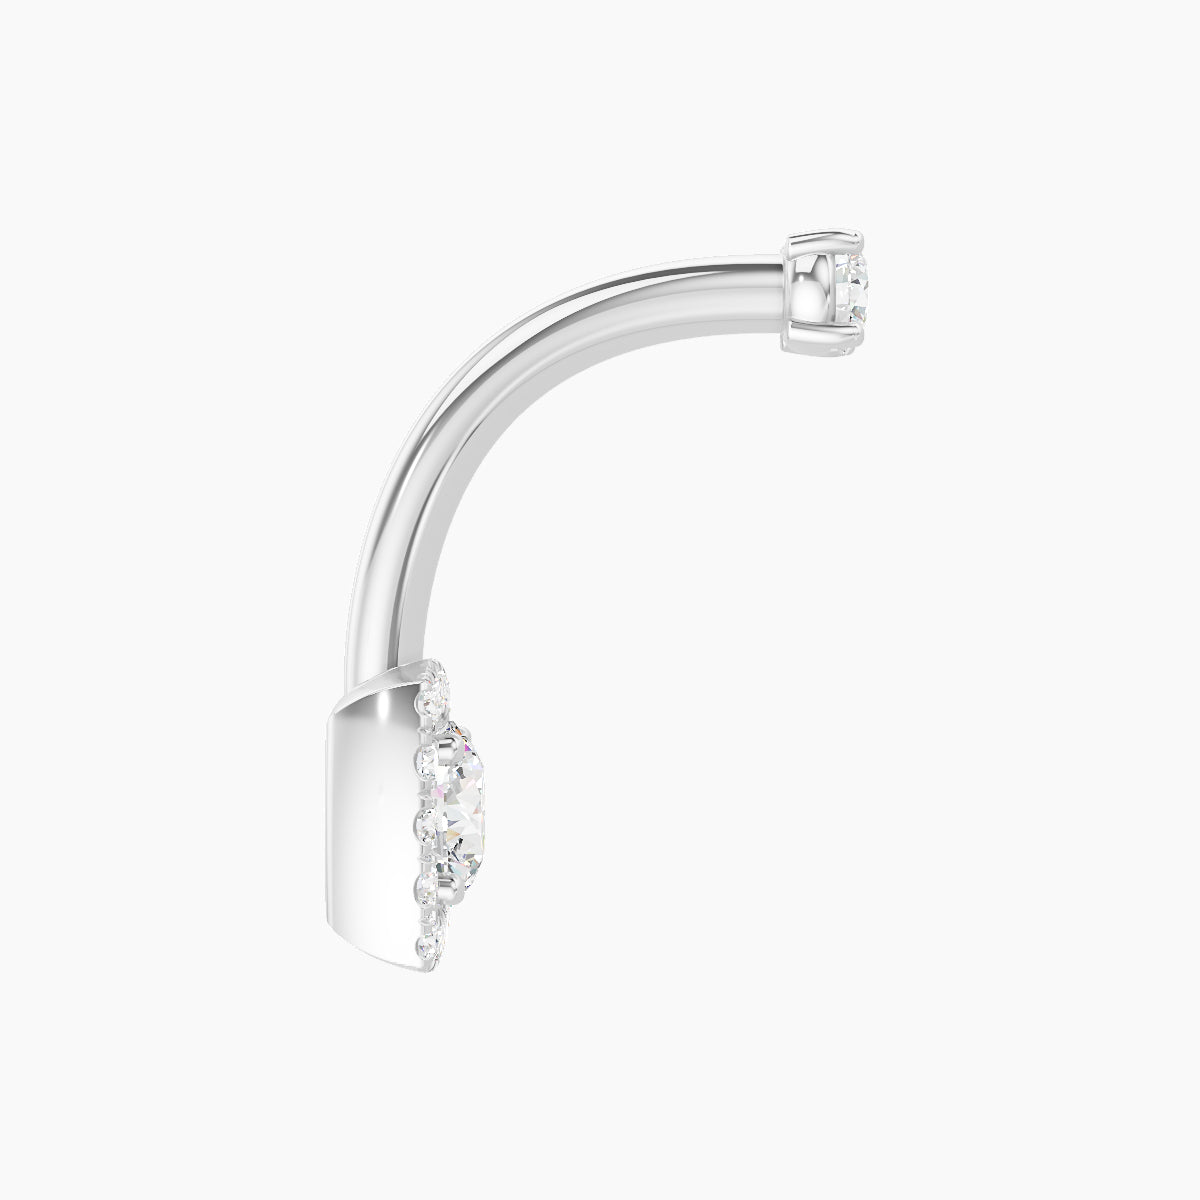
Inverse Belly Button Piercing
The inverse belly button piercing is placed on the lower part of the navel.
Anatomy:
Ideal if the lower rim of the navel is more defined than the upper part.
Jewelry:
Curved barbells.

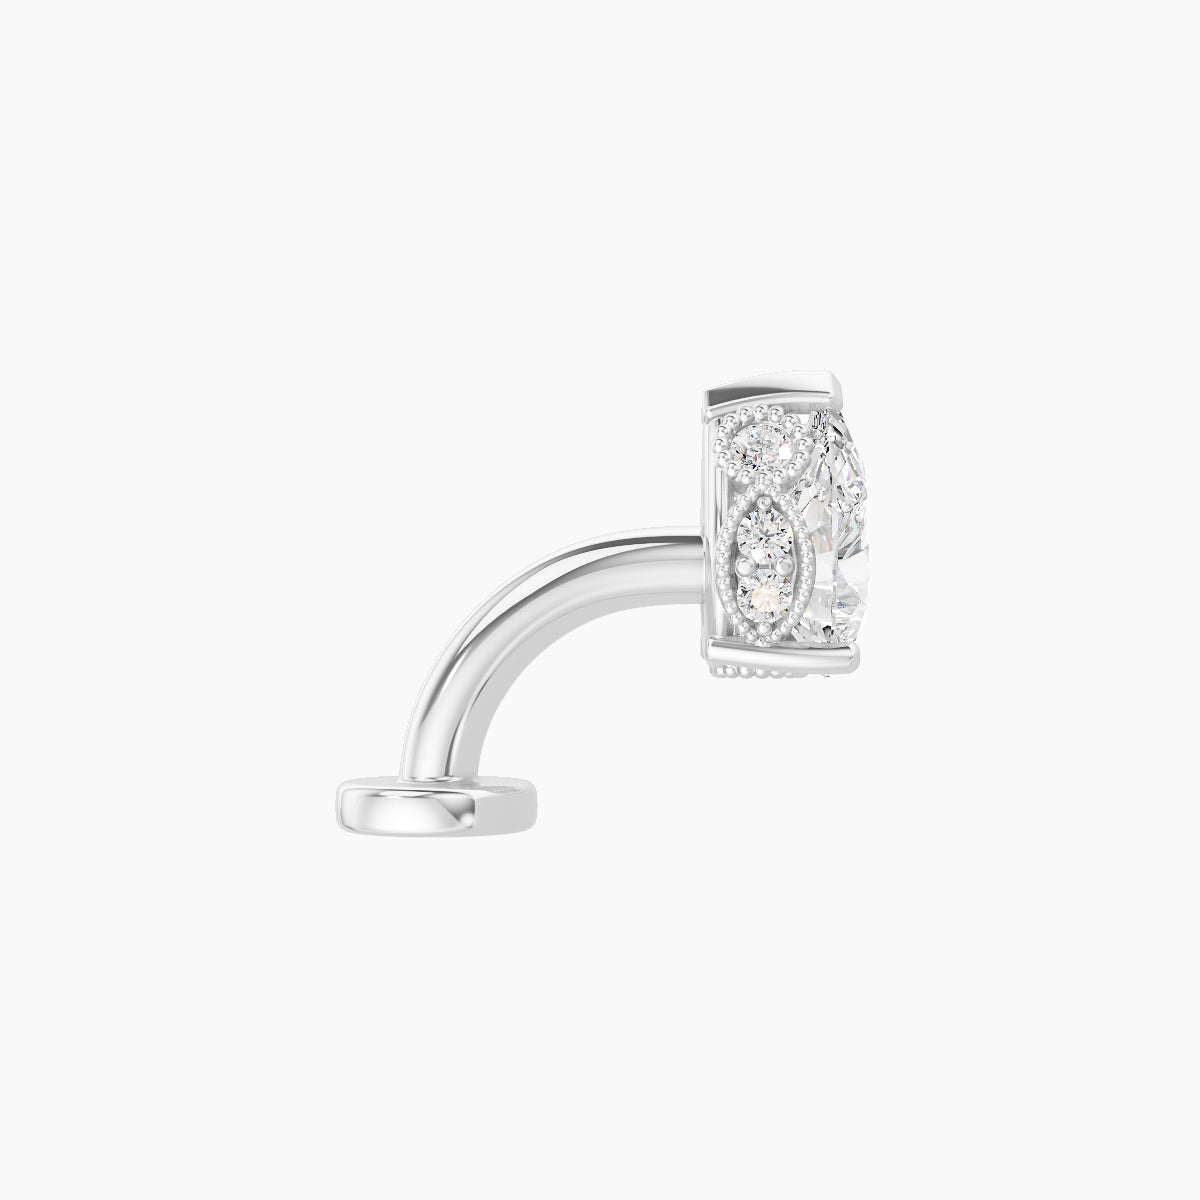
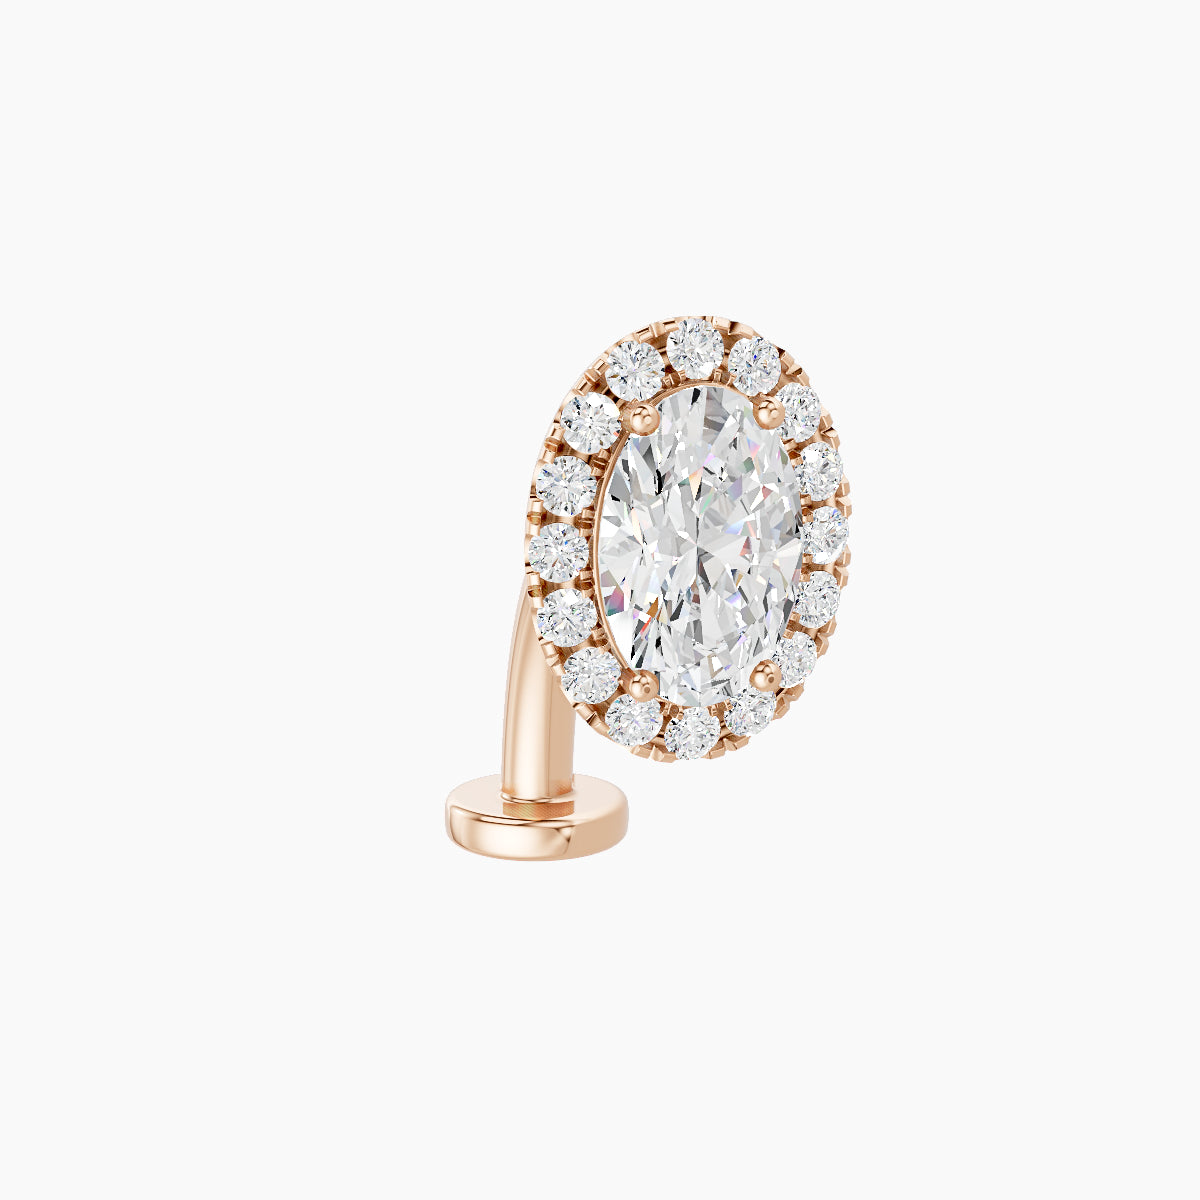
Floating Belly Button Piercing
The floating belly button piercing is a modern and highly sought-after option.
Anatomy:
Perfect for shallow, flat, or collapsing navels.
Jewelry:
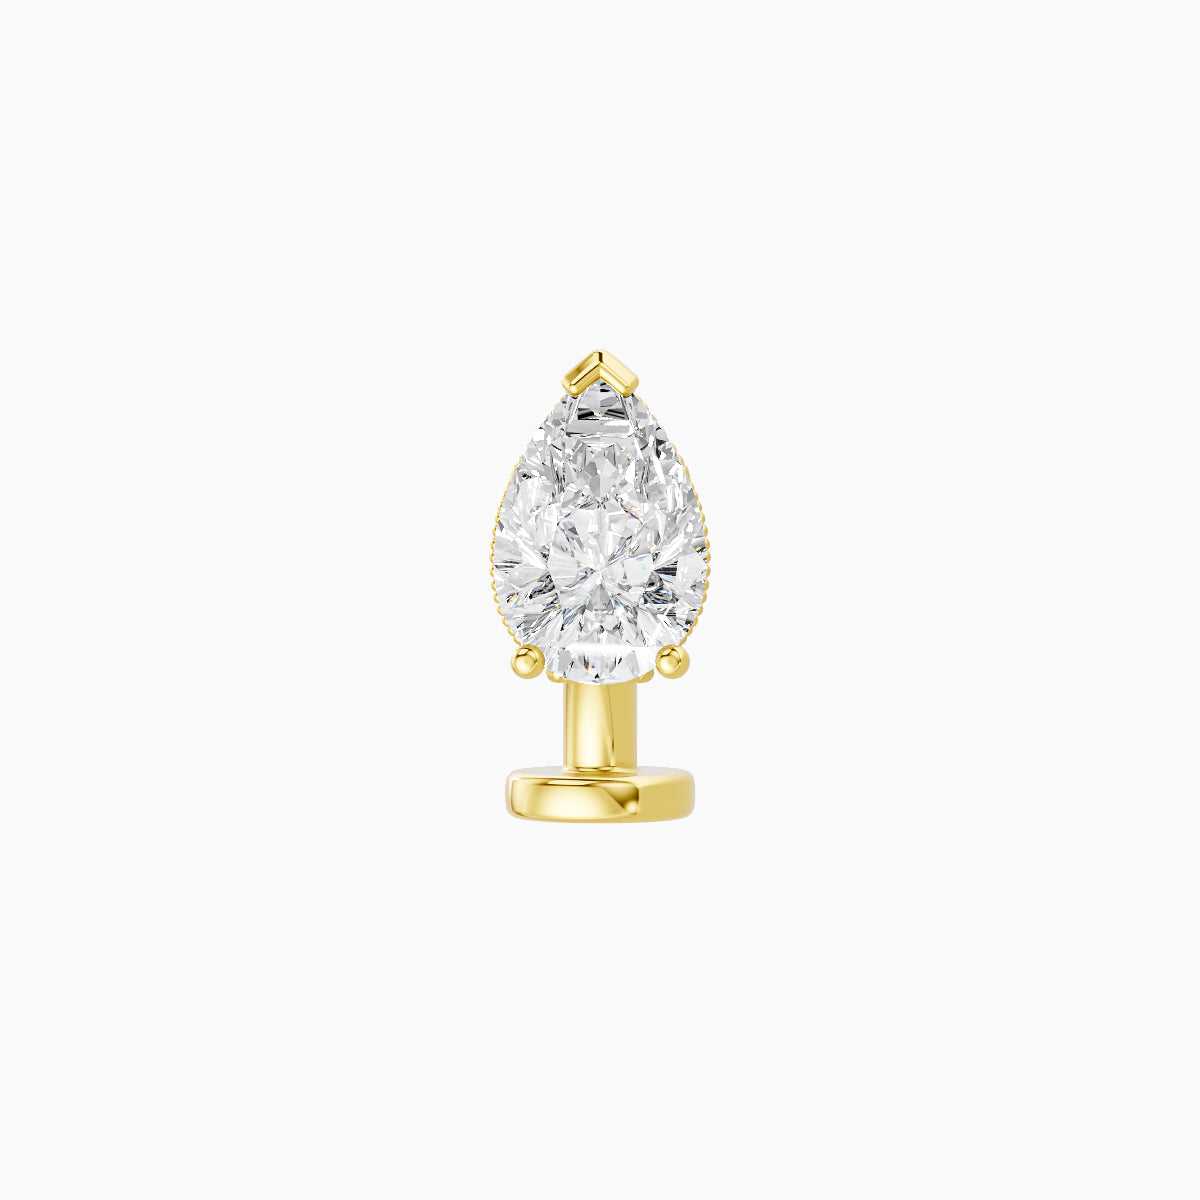
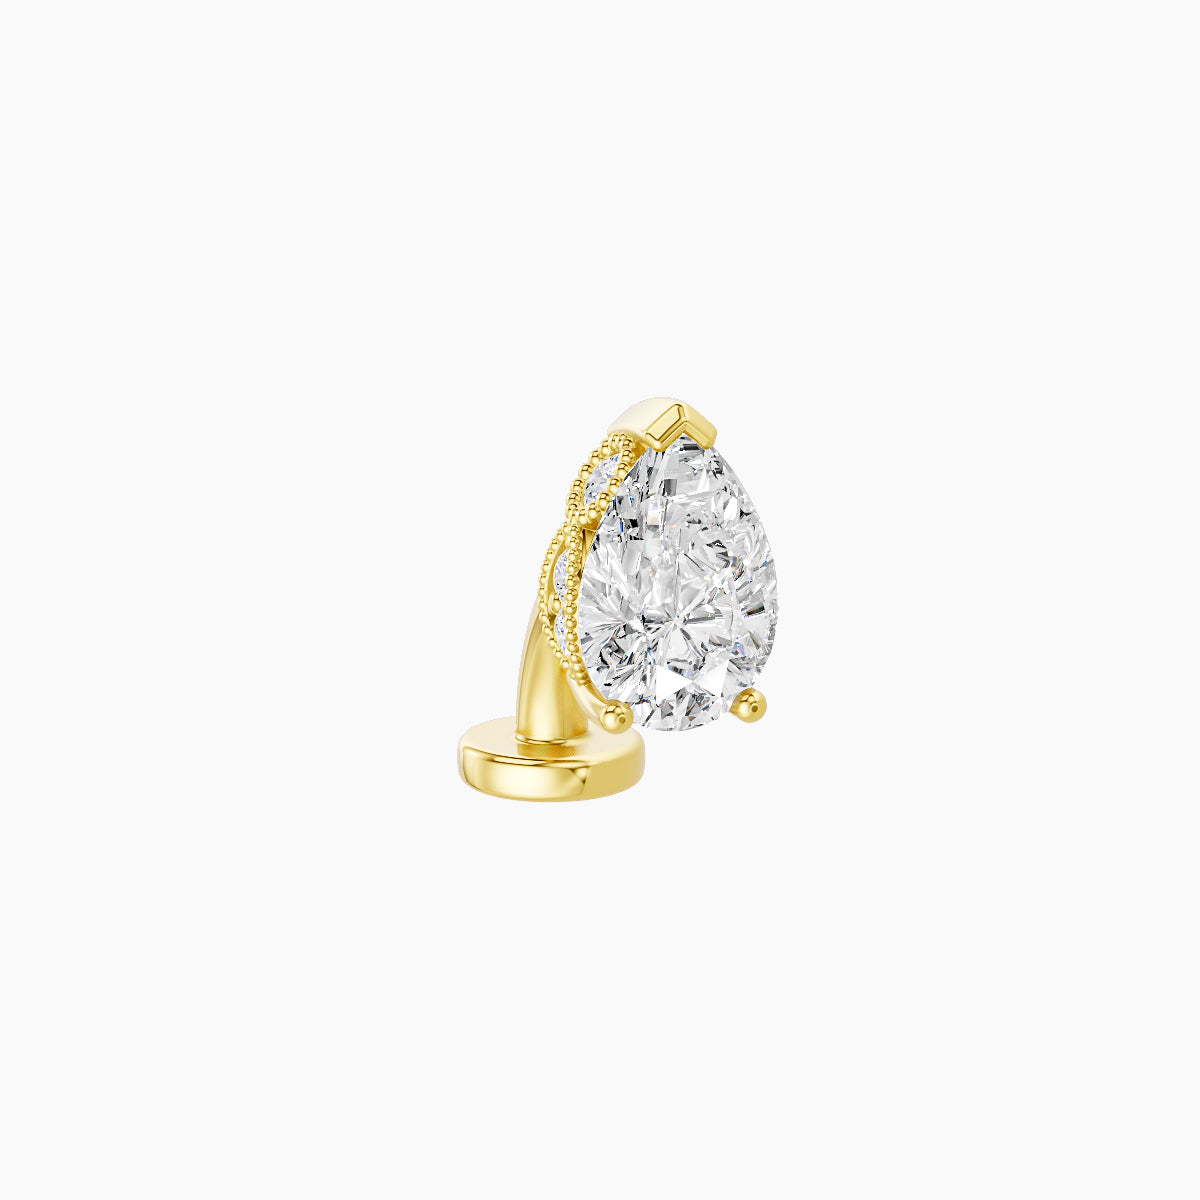
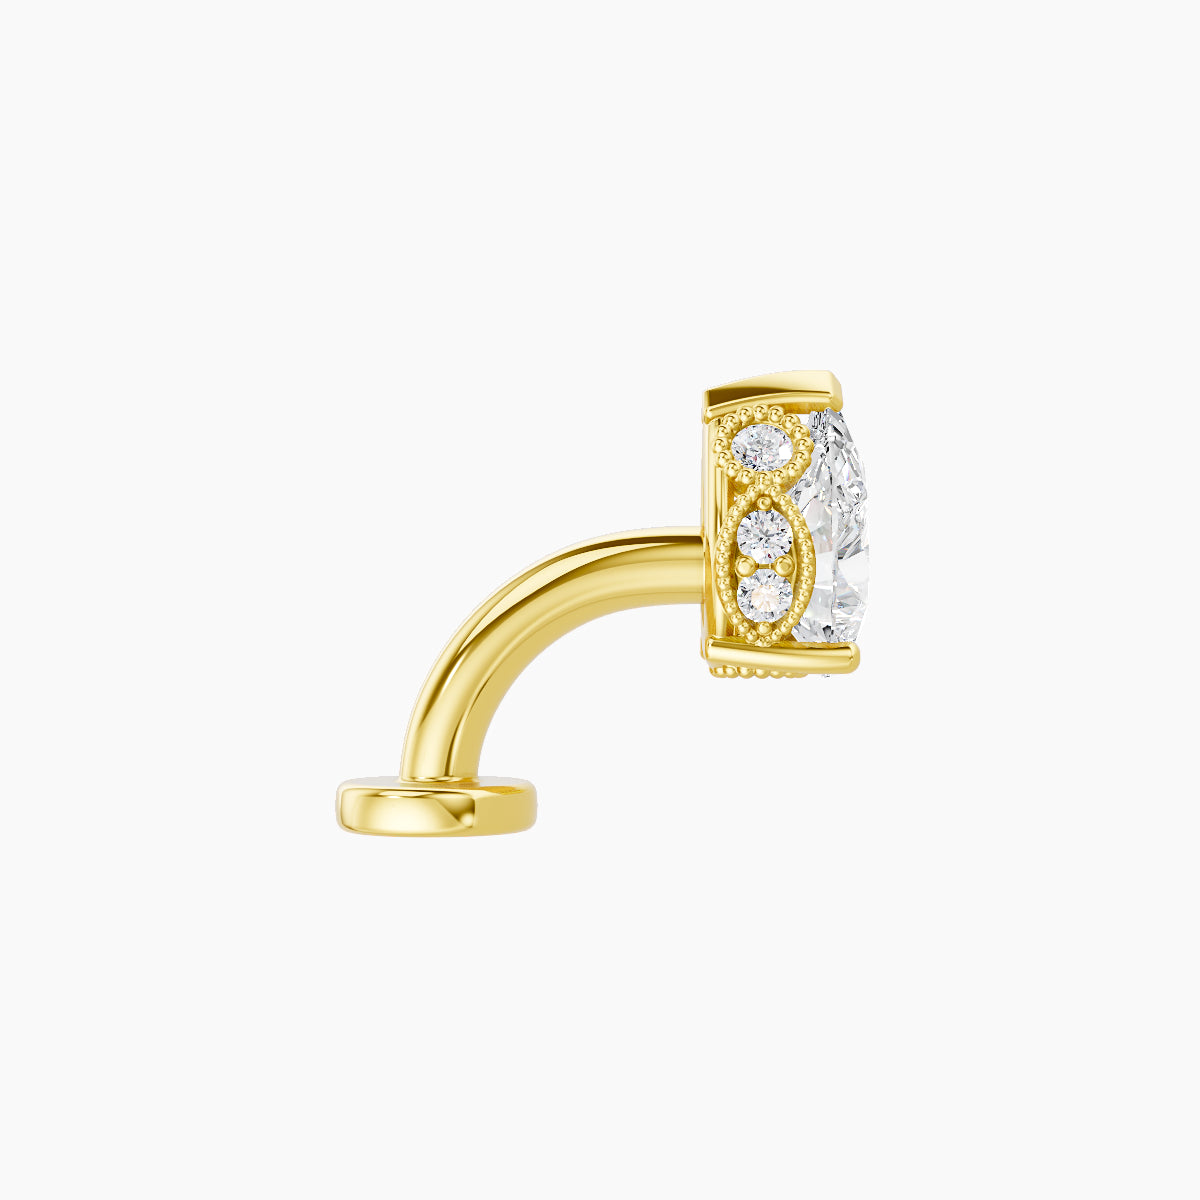
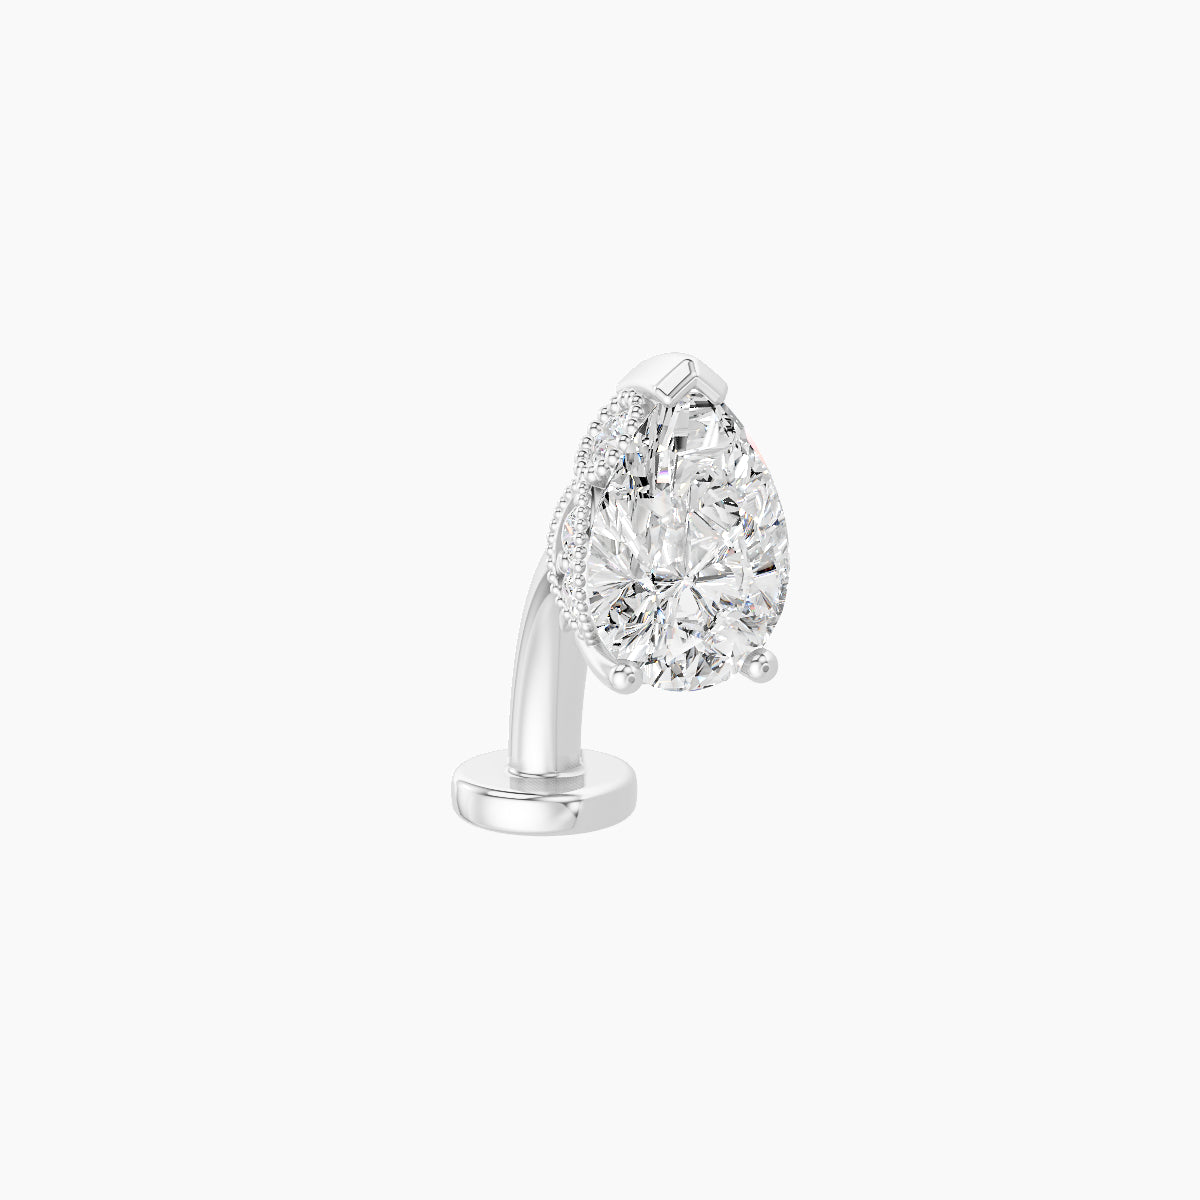
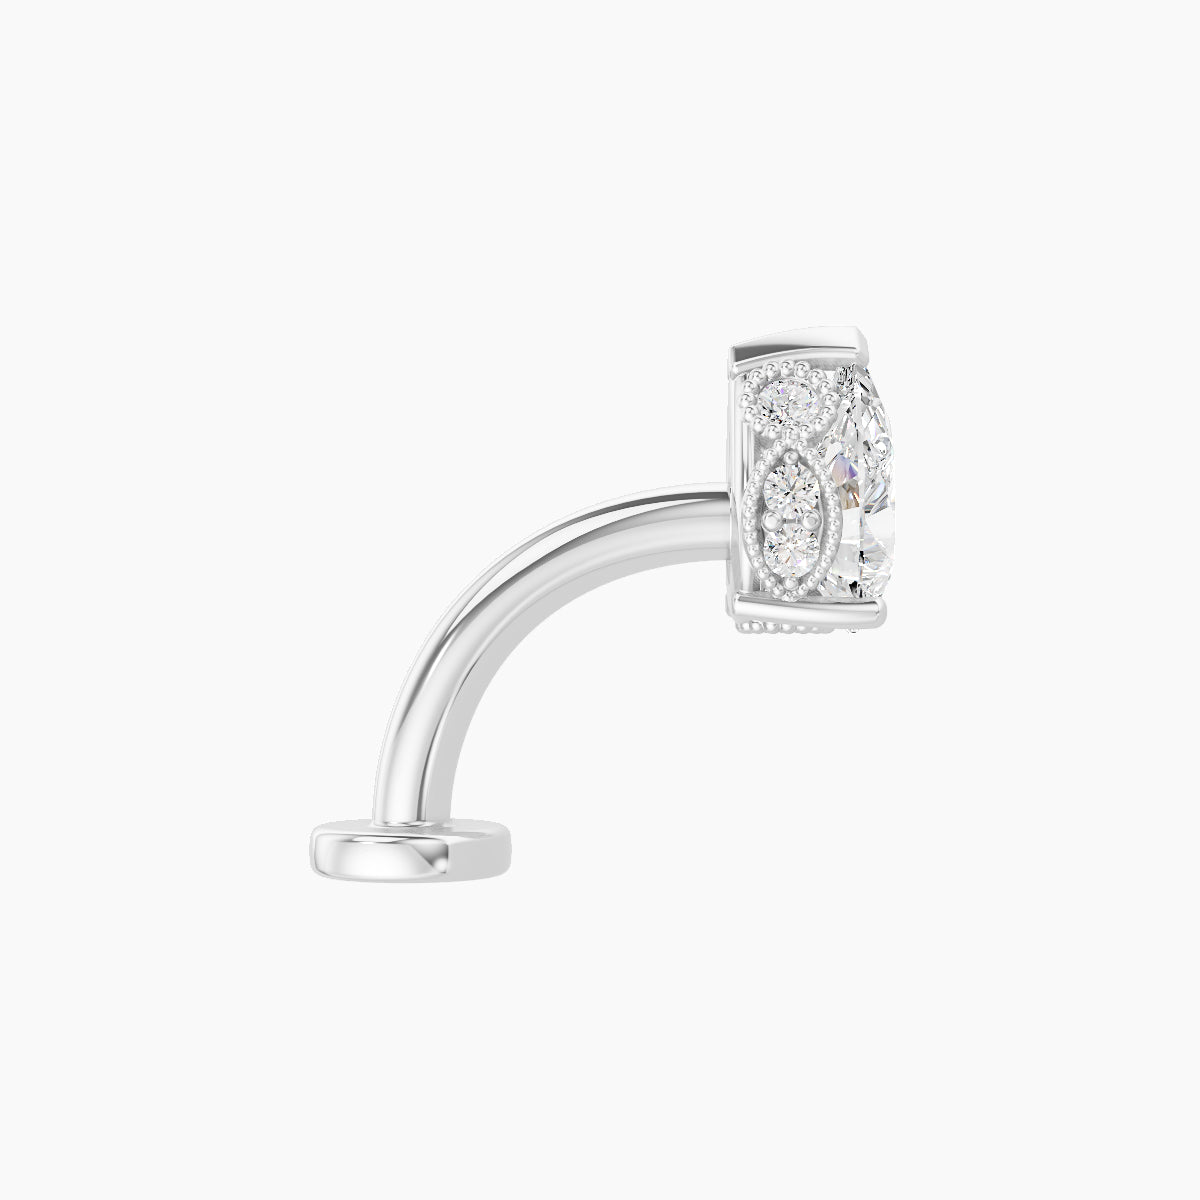
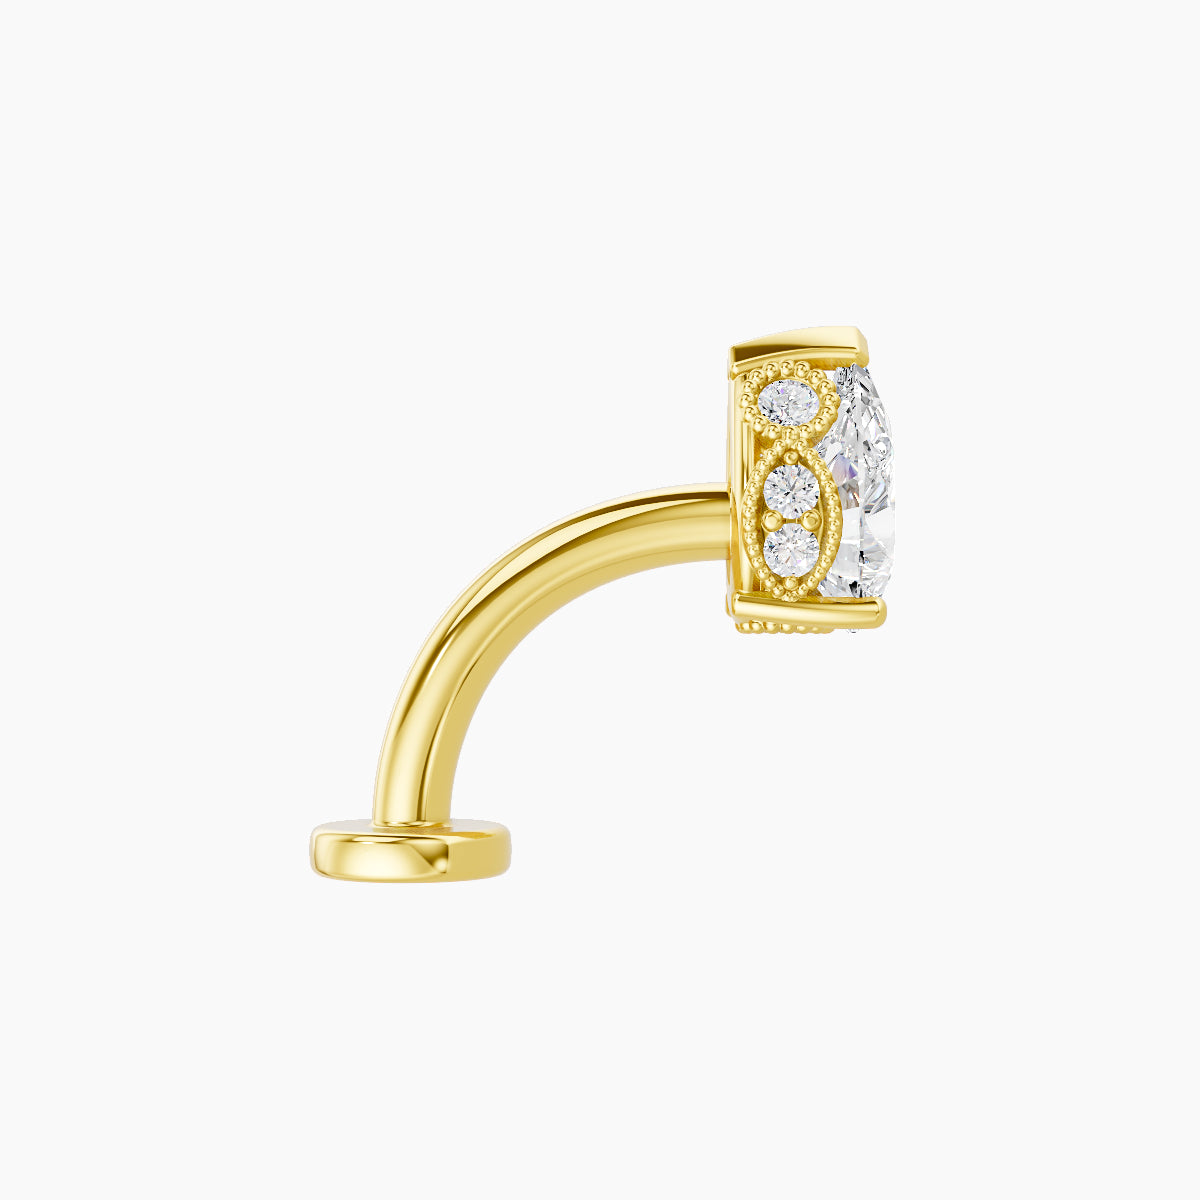
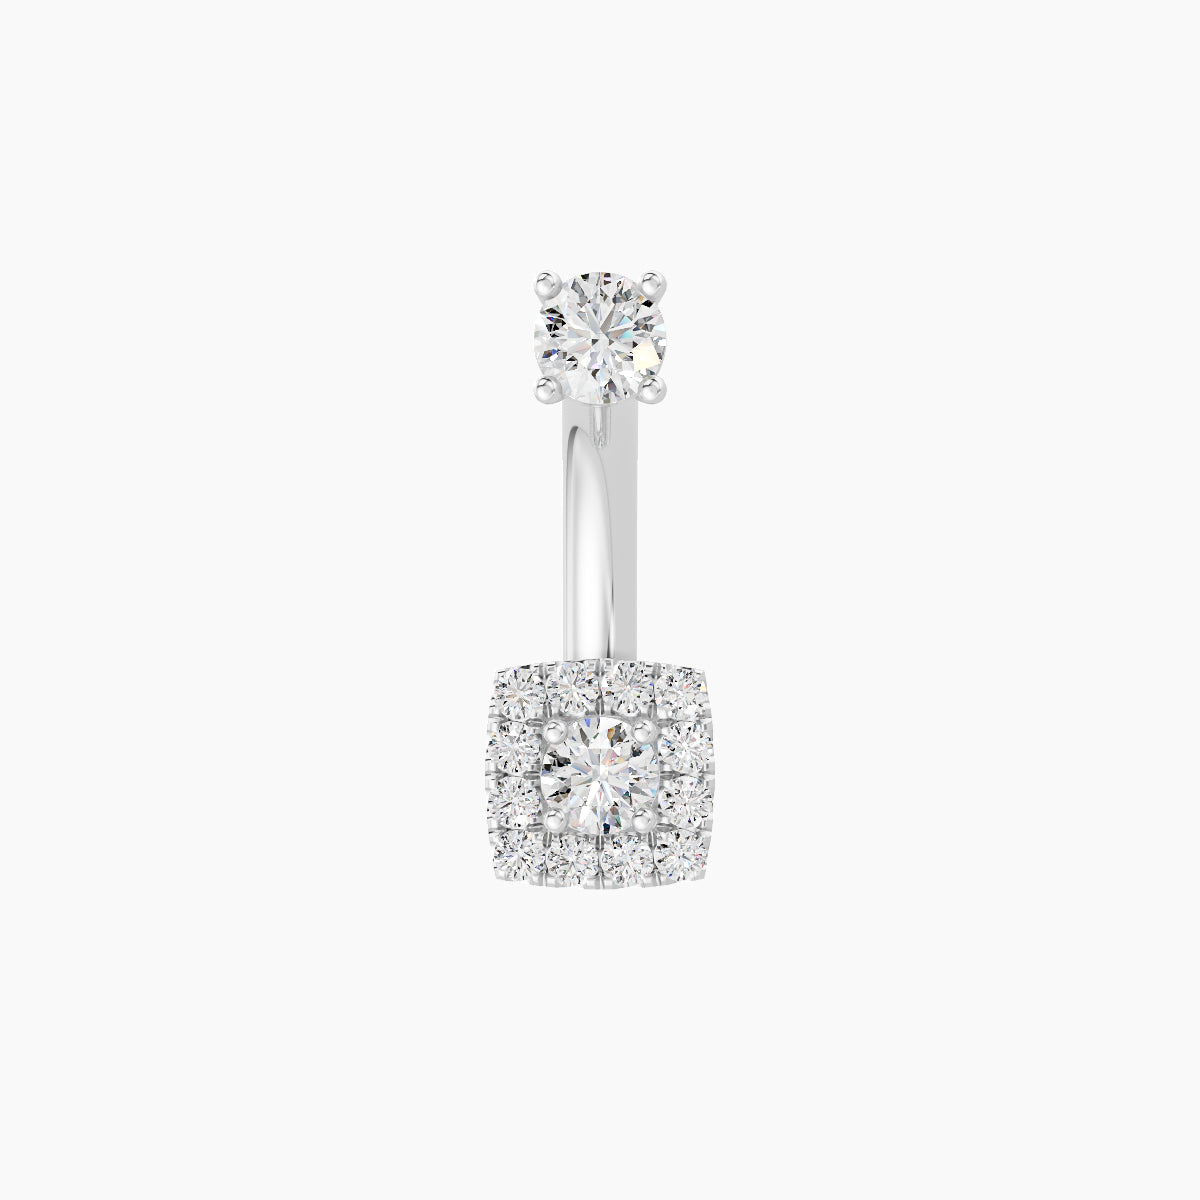
A specific design with a visible decorative top and a discreet base, offering a more minimal and elegant look.

Double Belly Button Piercing
The double belly button piercing creates a more bold and personalized style.
Anatomy:
Best suited for wider navels or those with enough space to accommodate two piercings.
Jewelry:
Two curved barbells or two floating piercings.
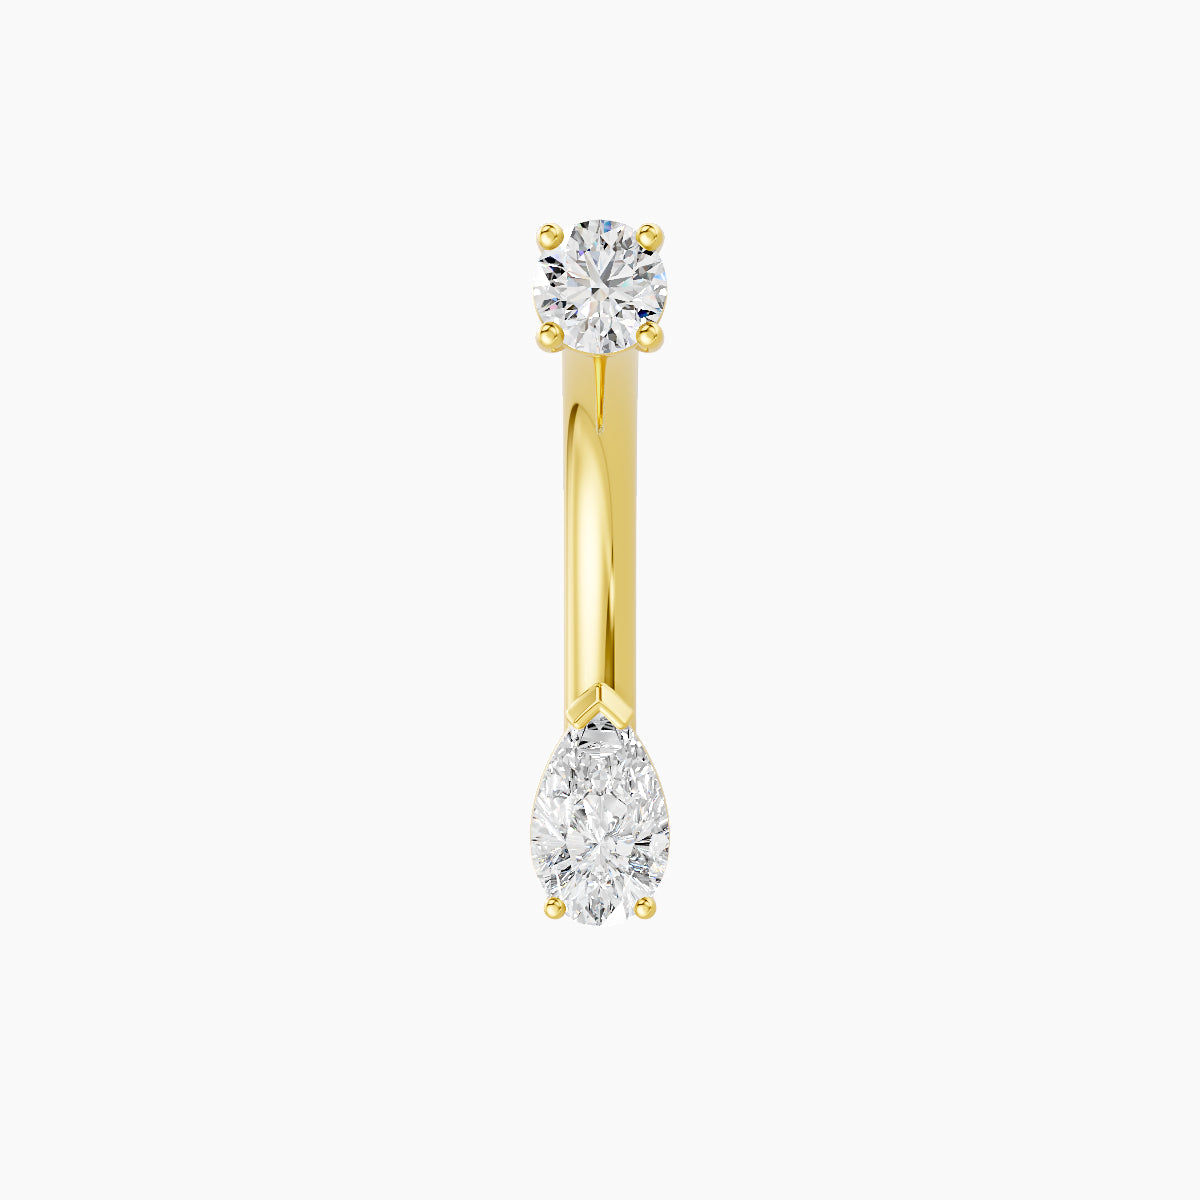
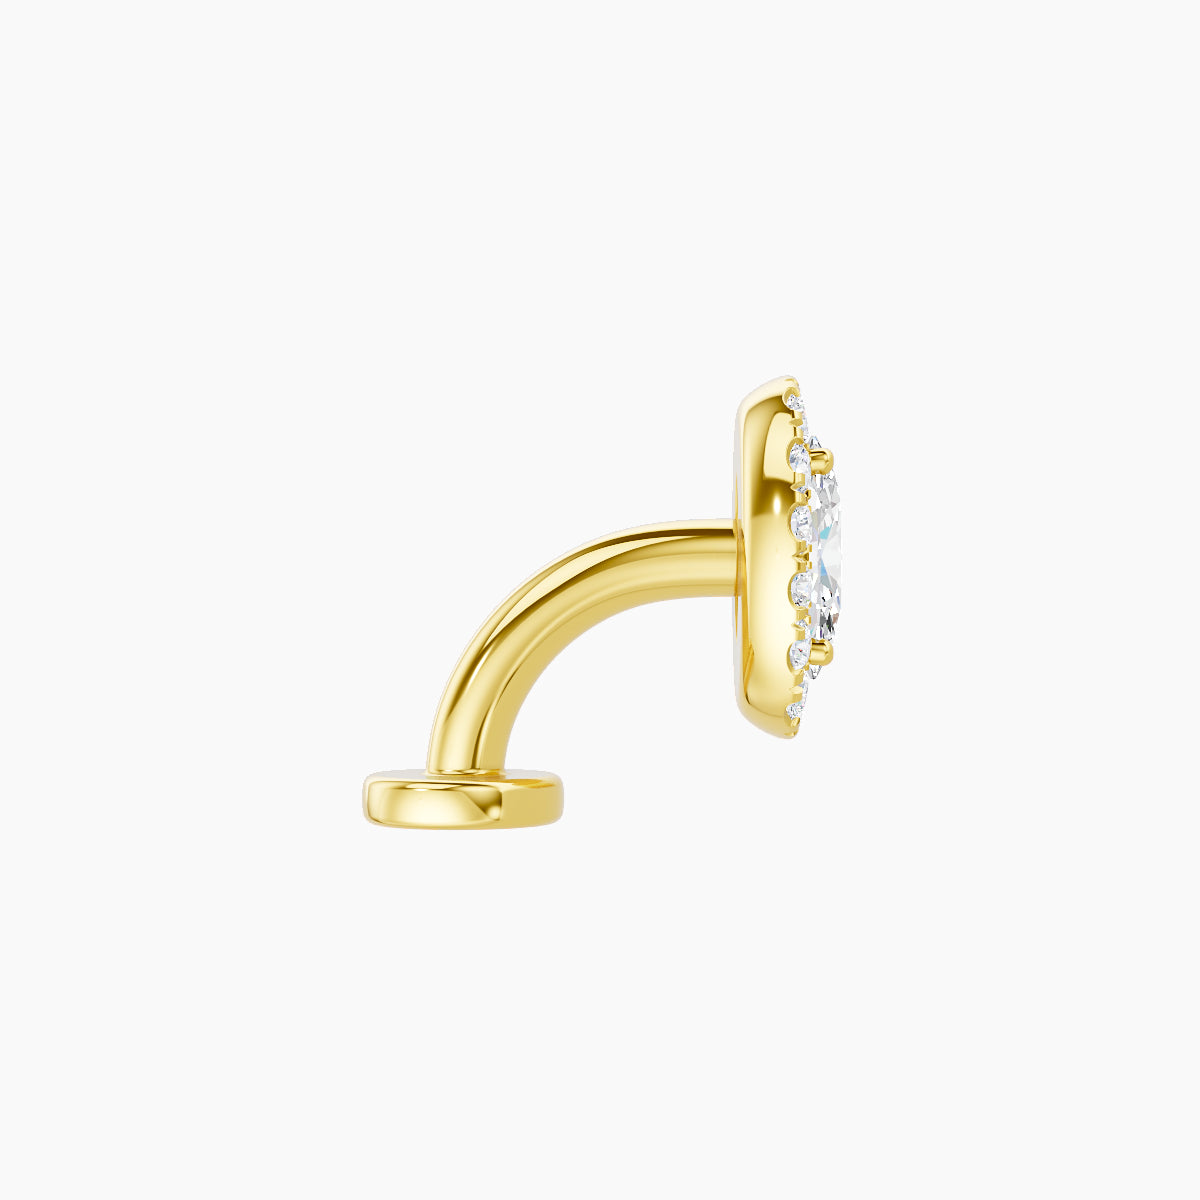
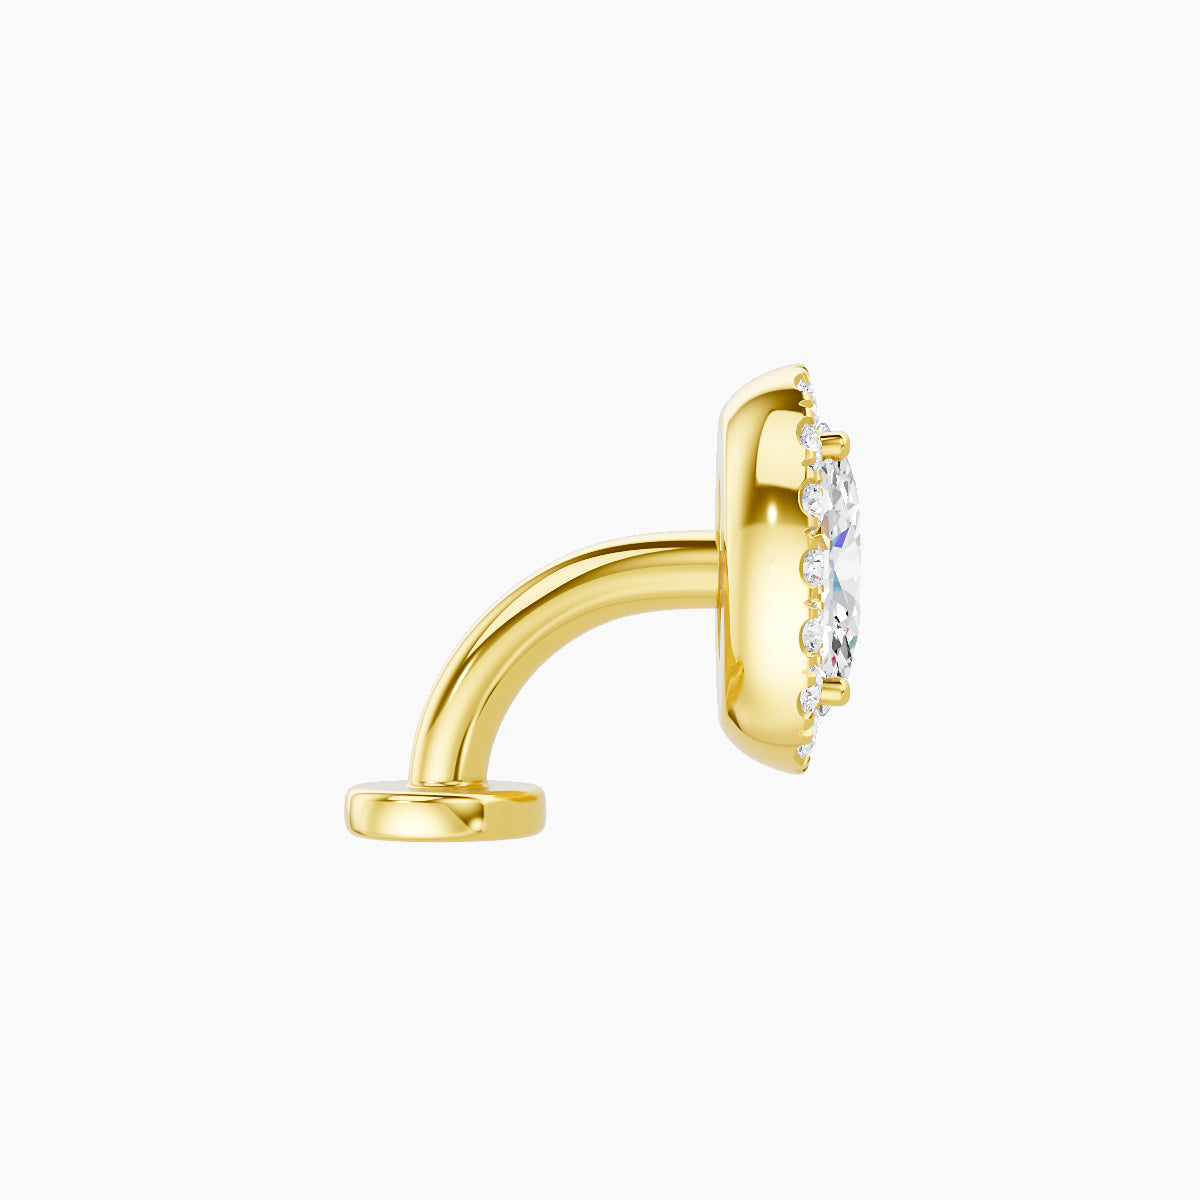
What Jewelry Should You Choose for a Belly Button Piercing?
Choosing the right belly button piercing jewelry is essential for both healing and long-term comfort. The size, fit, and material all play a key role in how your piercing heals and how it looks over time.
During healing: size, material, and long-term choice
During the healing phase, the jewelry must be adapted to your anatomy and allow room for swelling. A 10 mm curved barbell is generally recommended, as it provides enough space to accommodate initial swelling while maintaining a stable and comfortable fit.
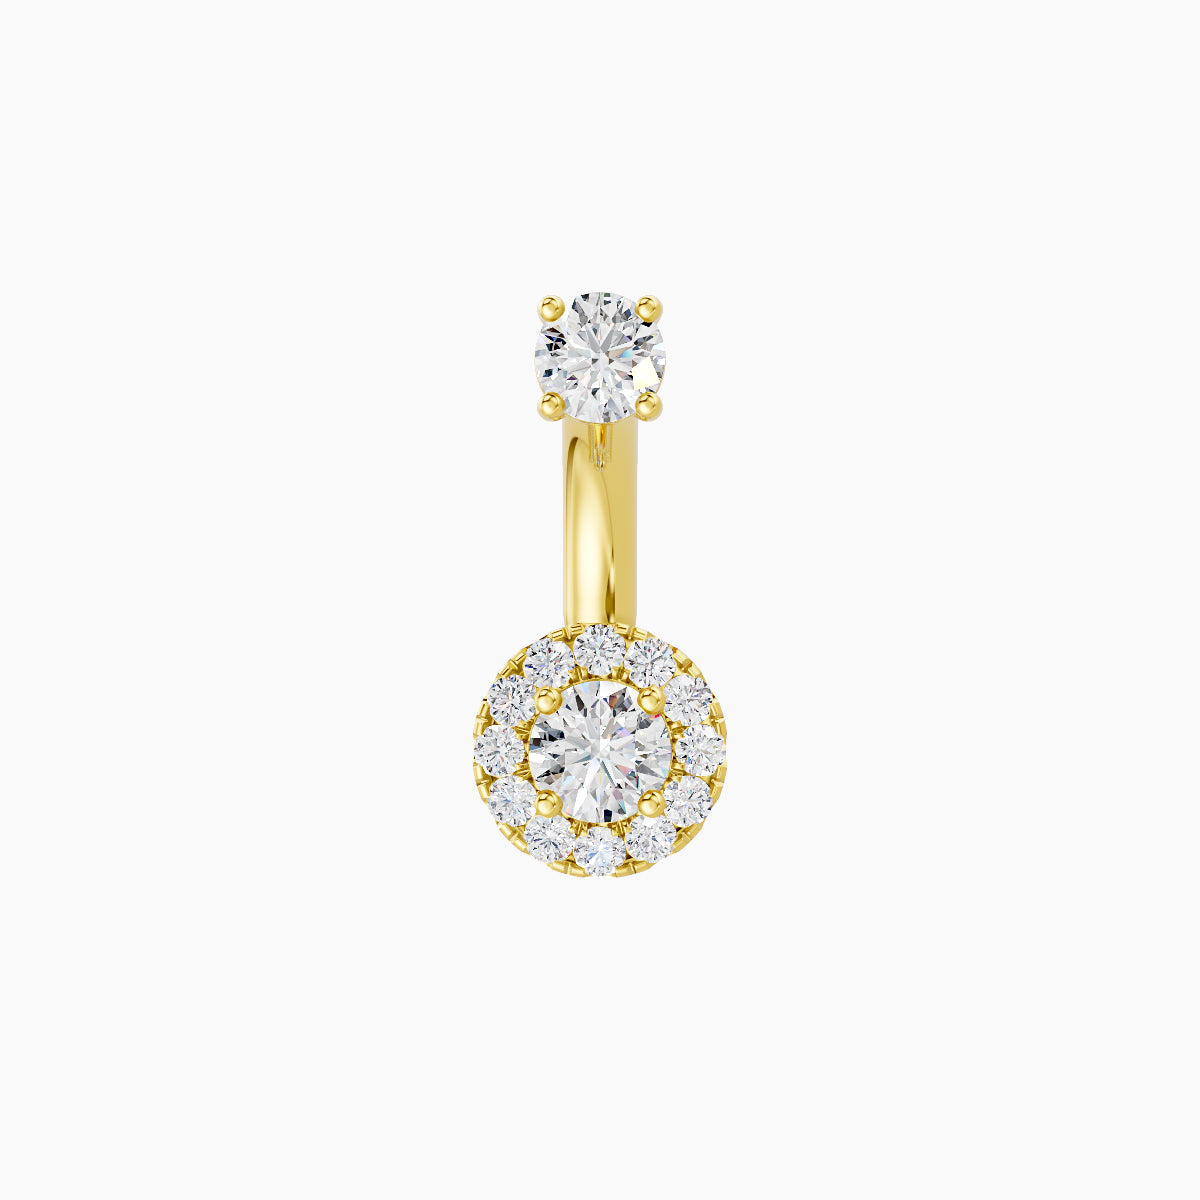
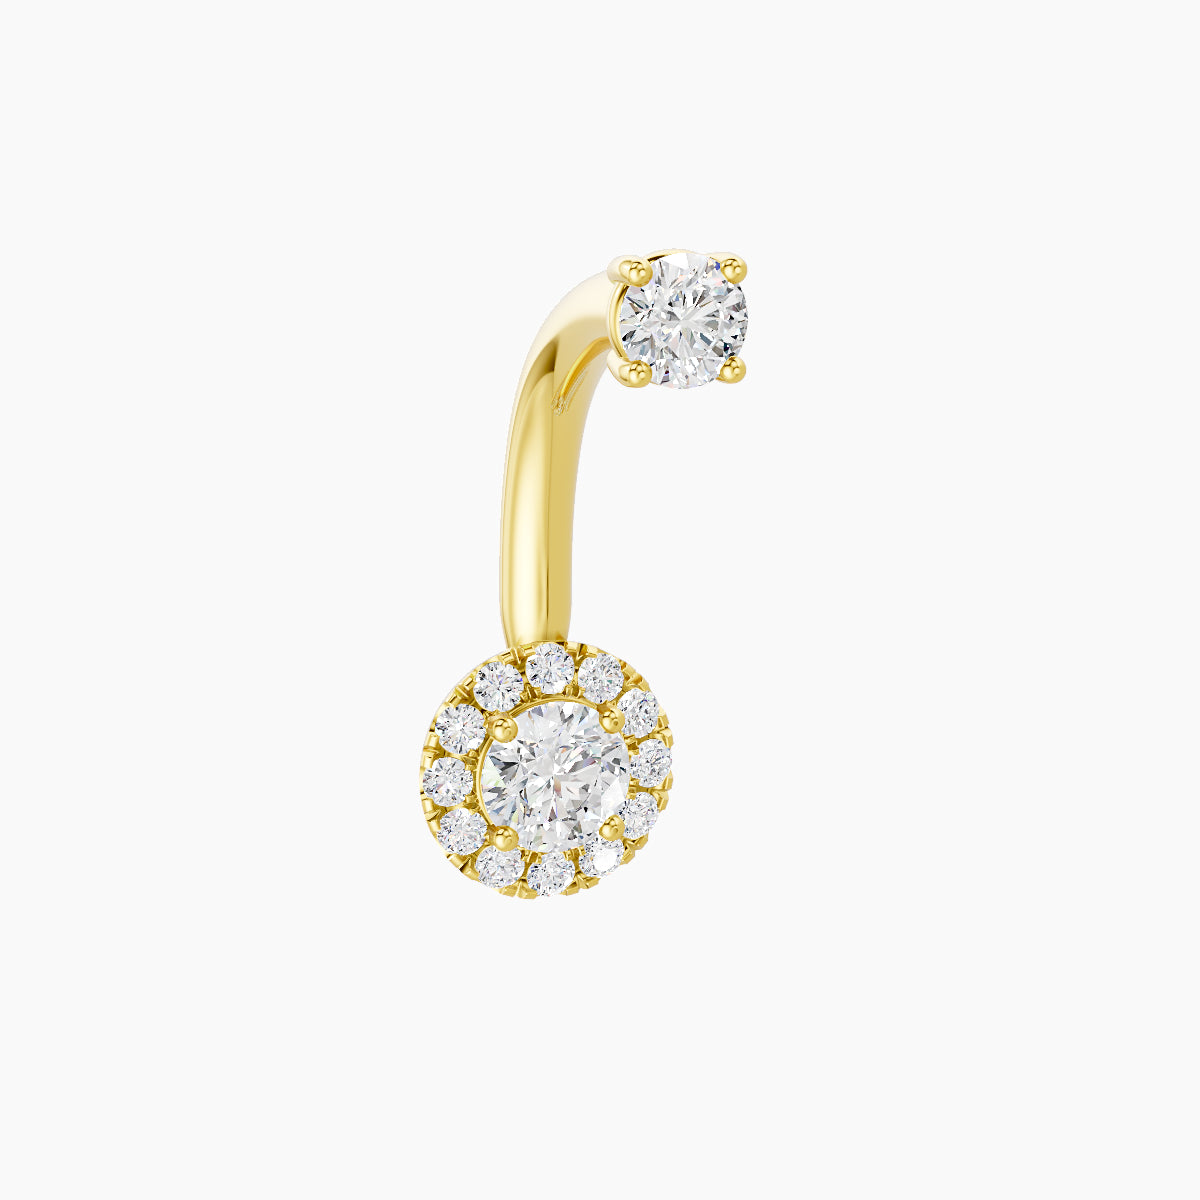
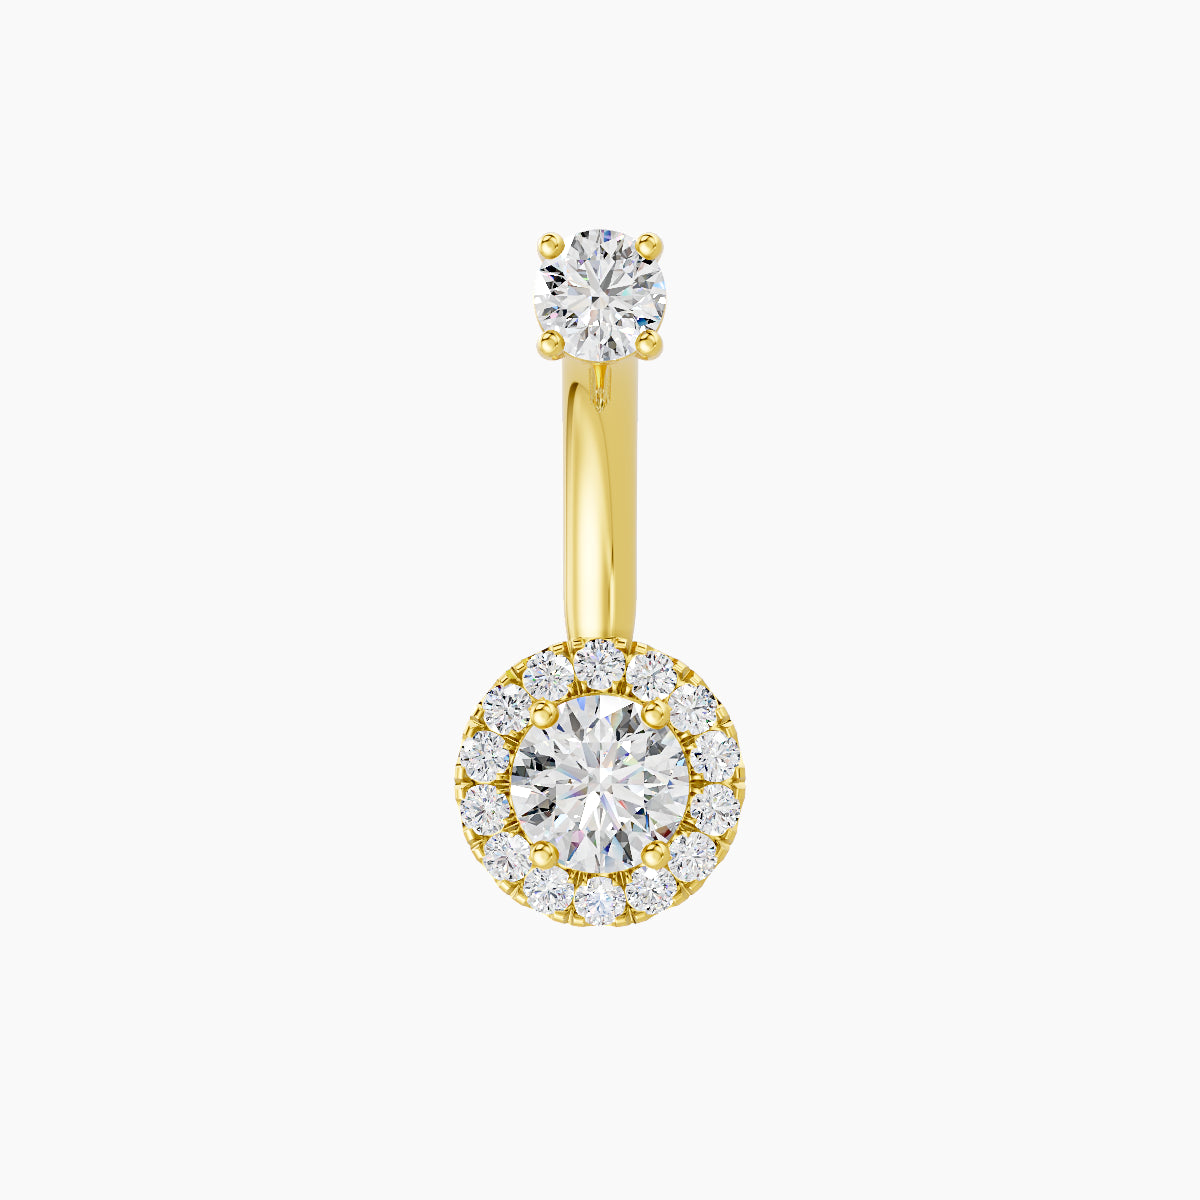
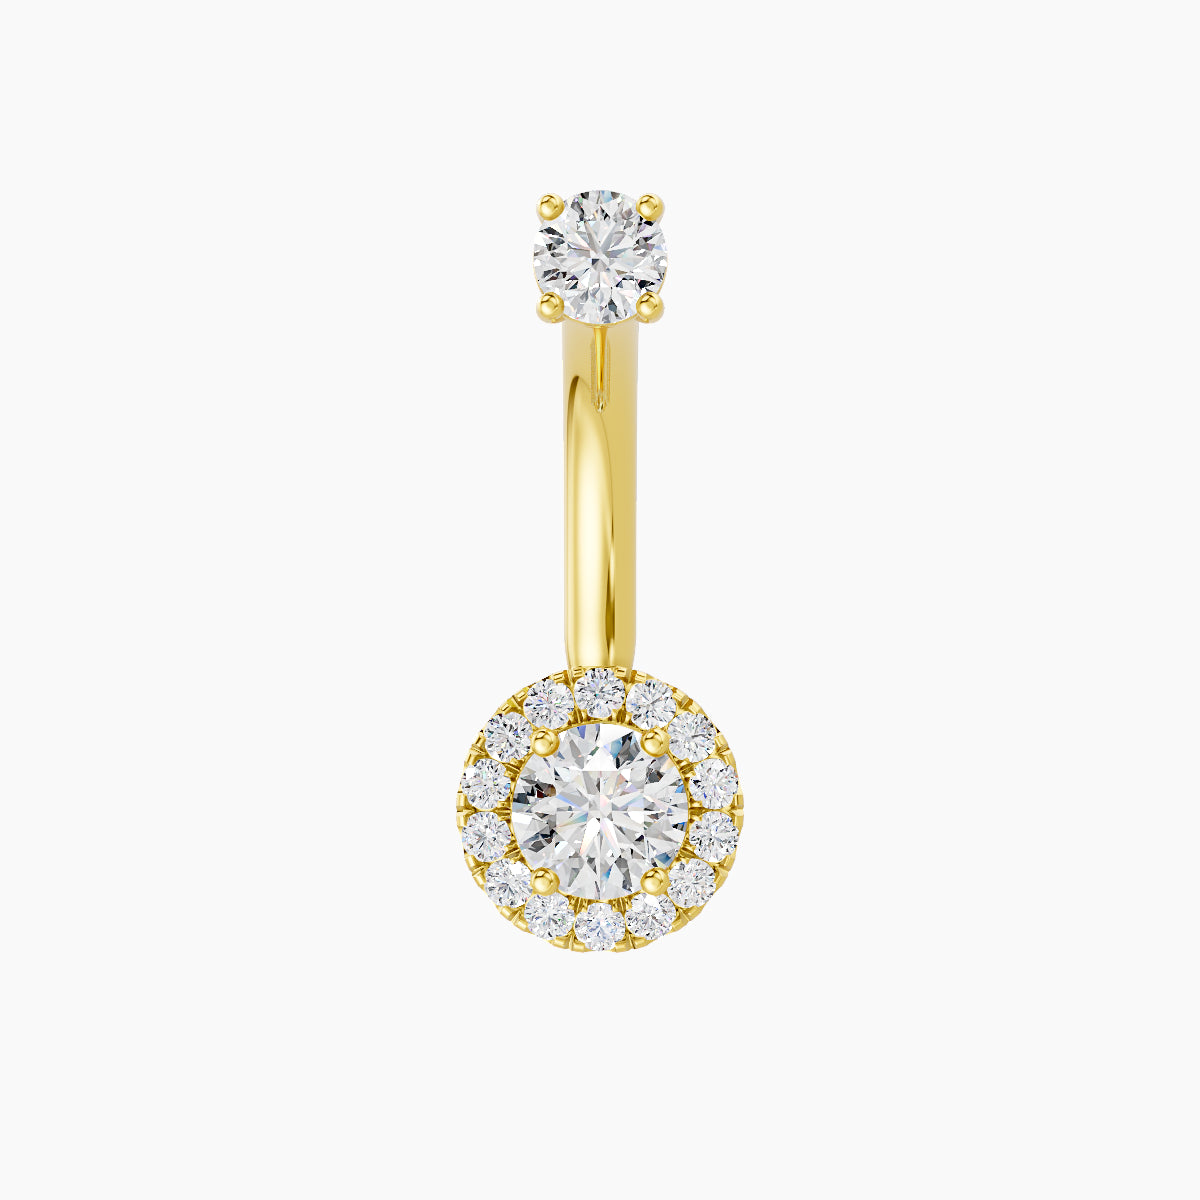
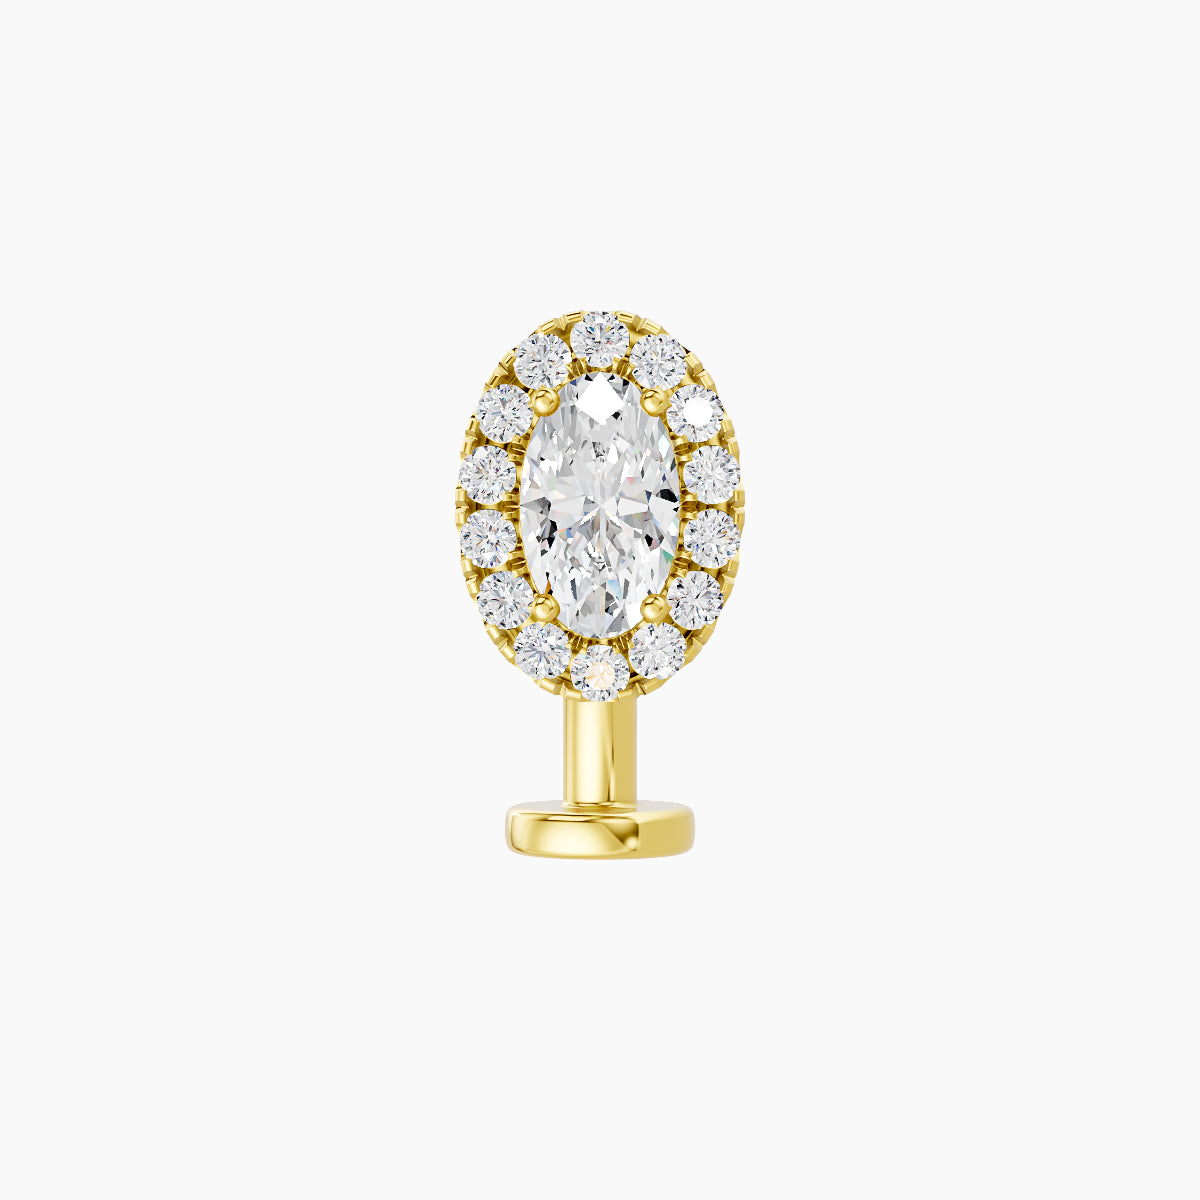
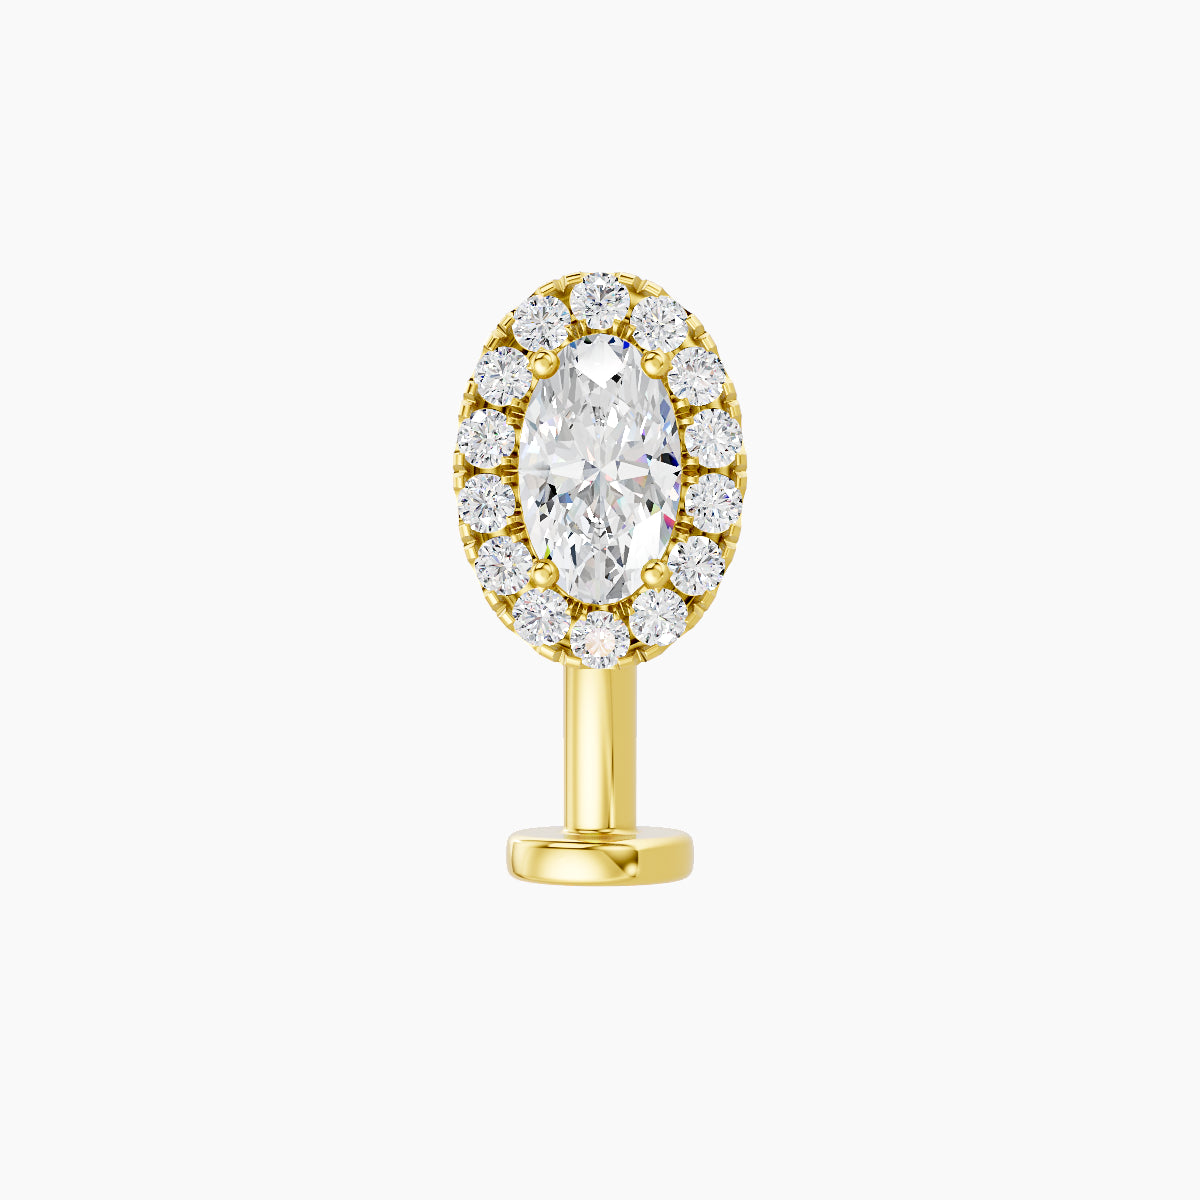
Material is just as important. Choosing a high-quality metal helps reduce irritation and supports proper healing. Solid 18k gold, when properly crafted, is nickel-free and hypoallergenic, offering excellent biocompatibility and making it ideal for sensitive skin.
It is important to note that many people choose to invest in a high-quality piece from the very beginning. A well-designed 18k gold belly button piercing can be worn throughout the entire healing process and kept for years, making it both a safe and long-term choice.
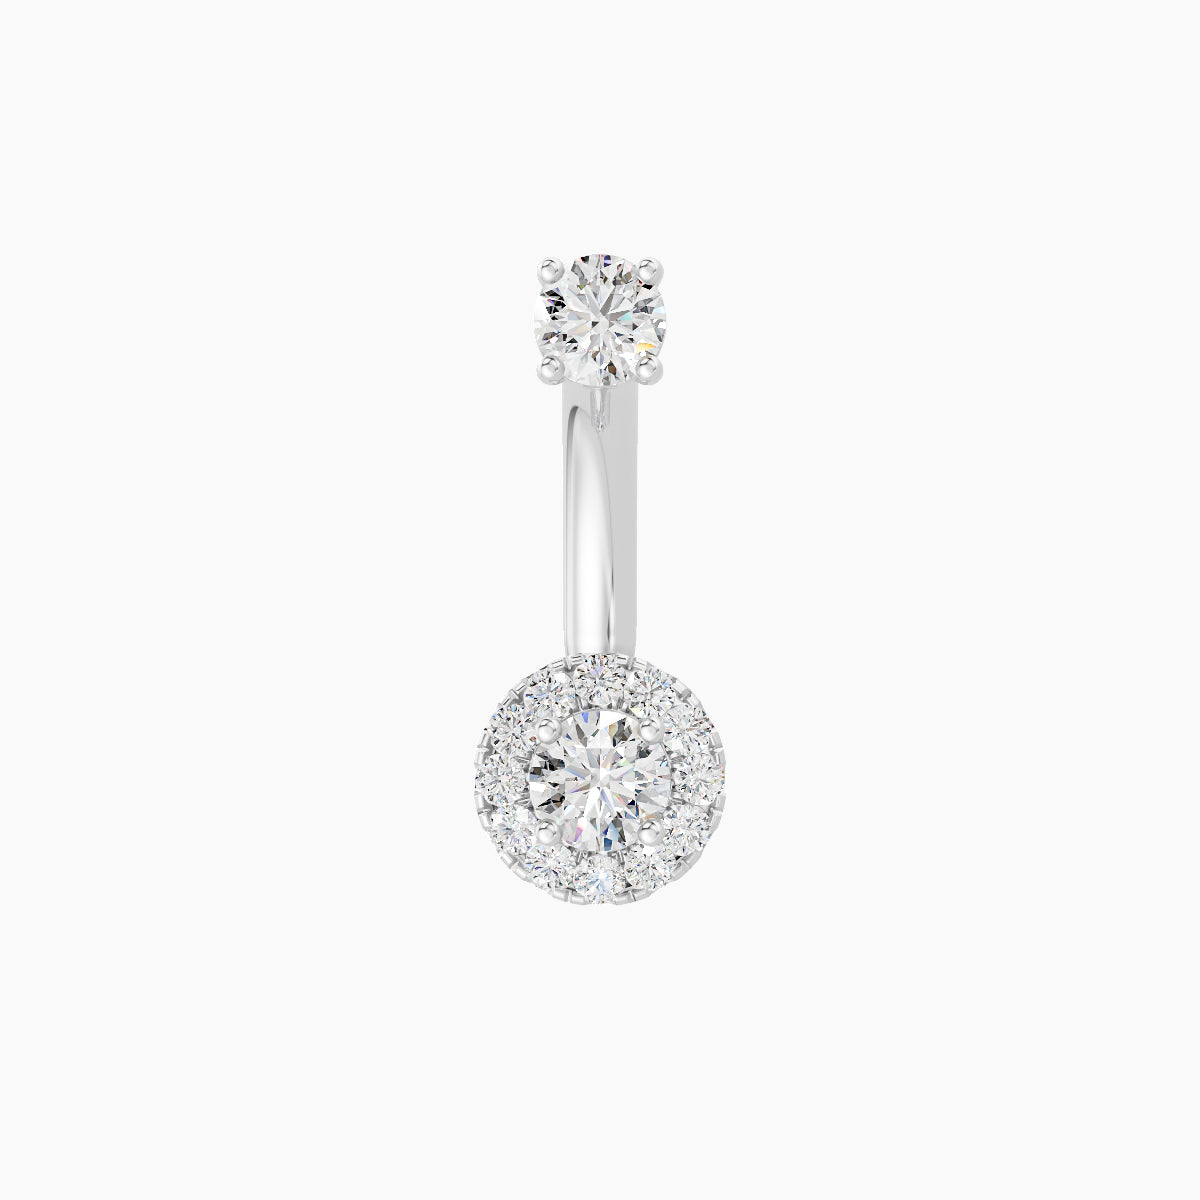
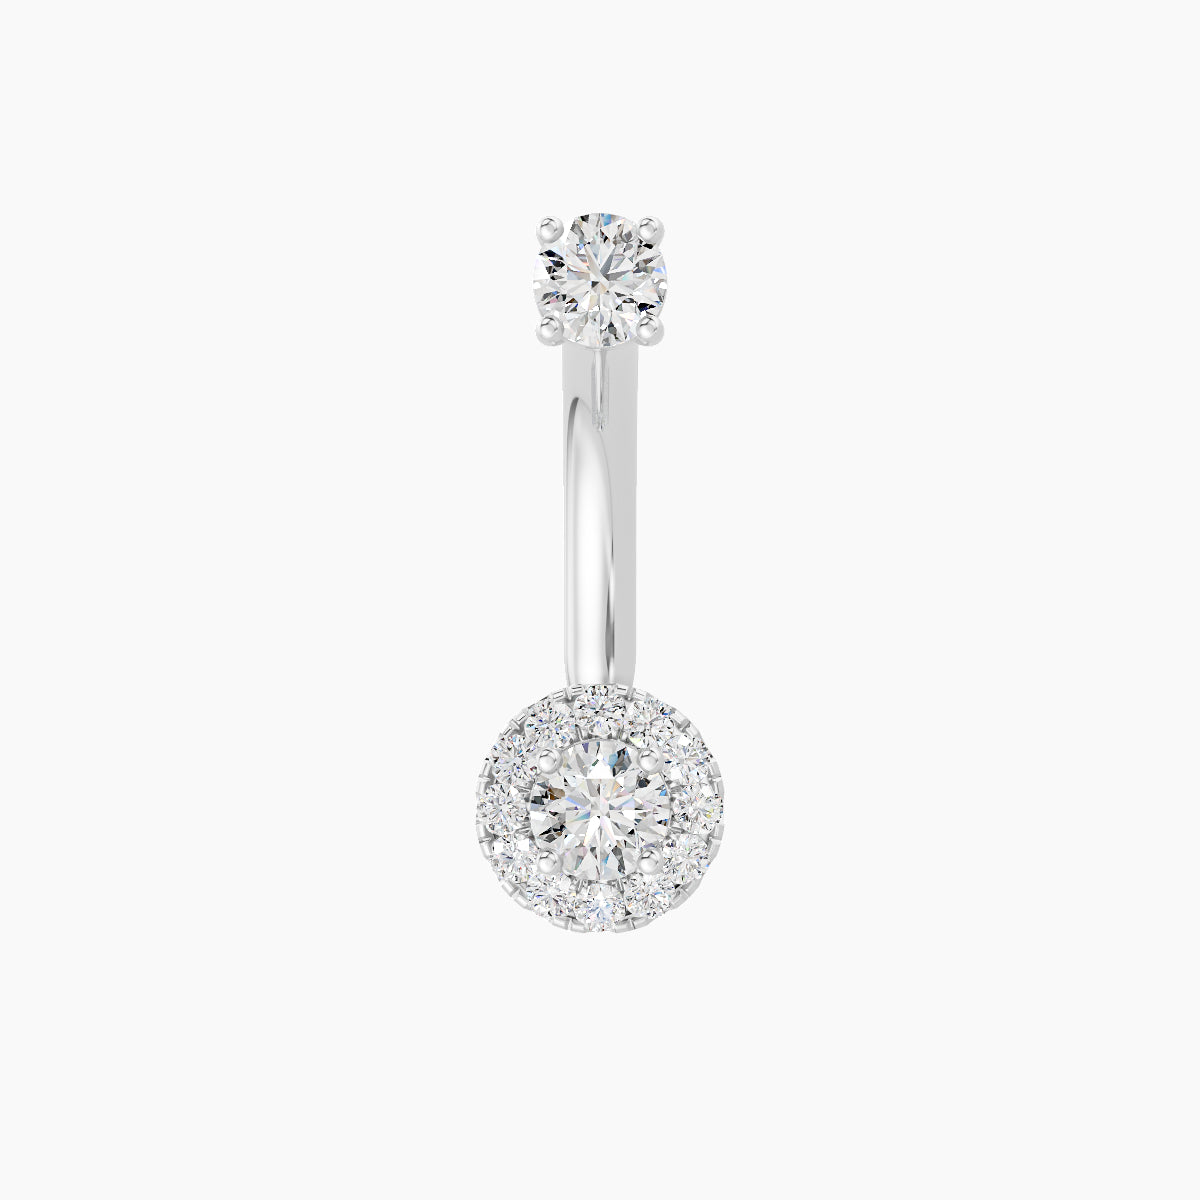
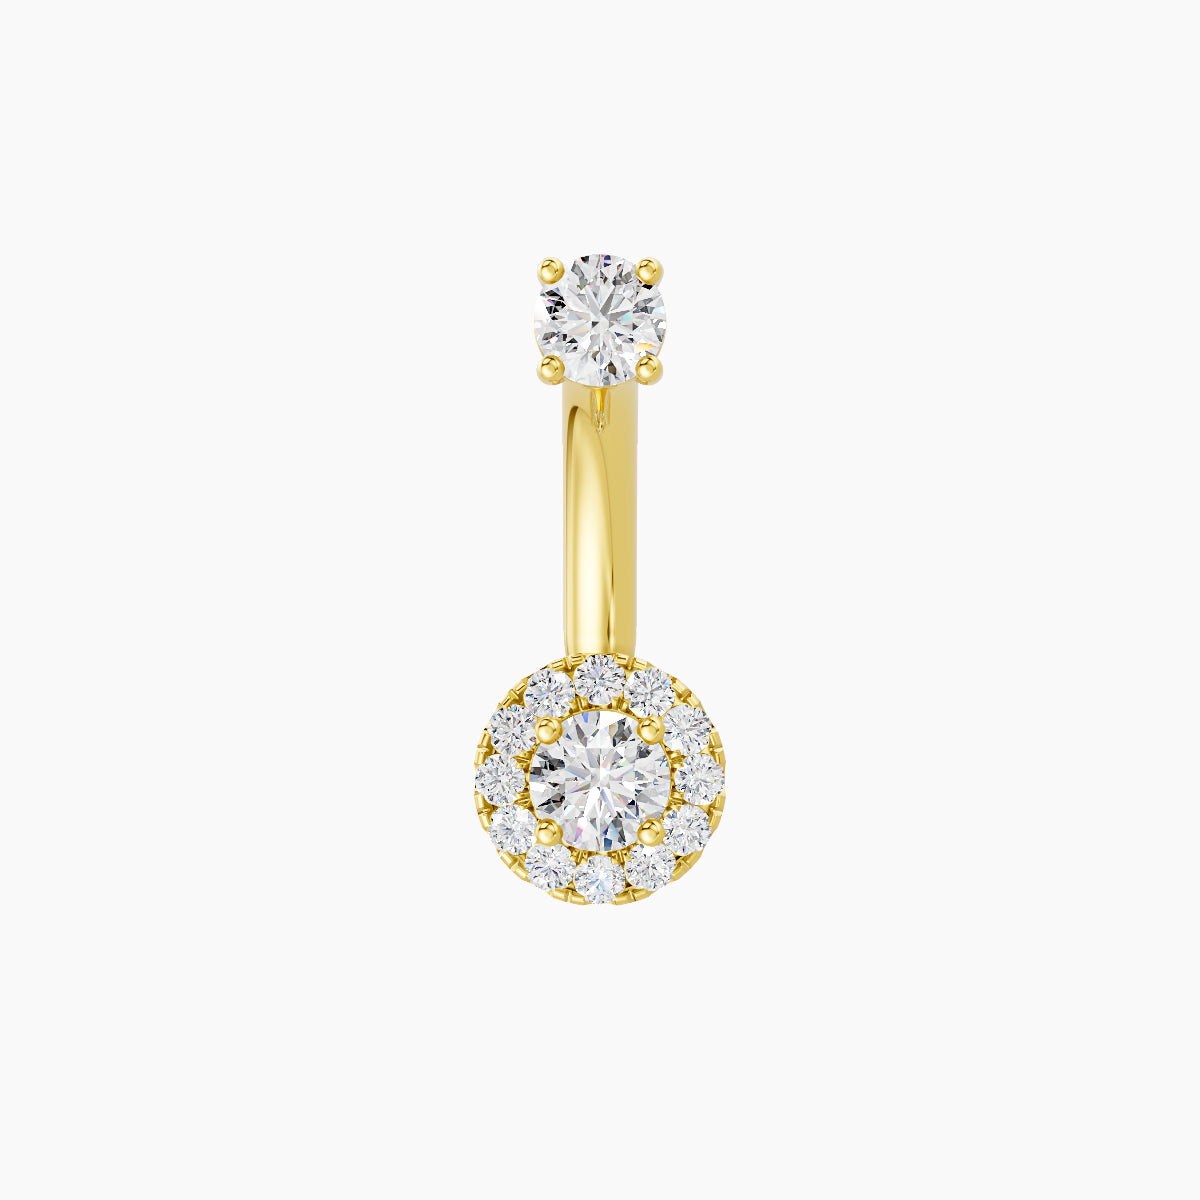
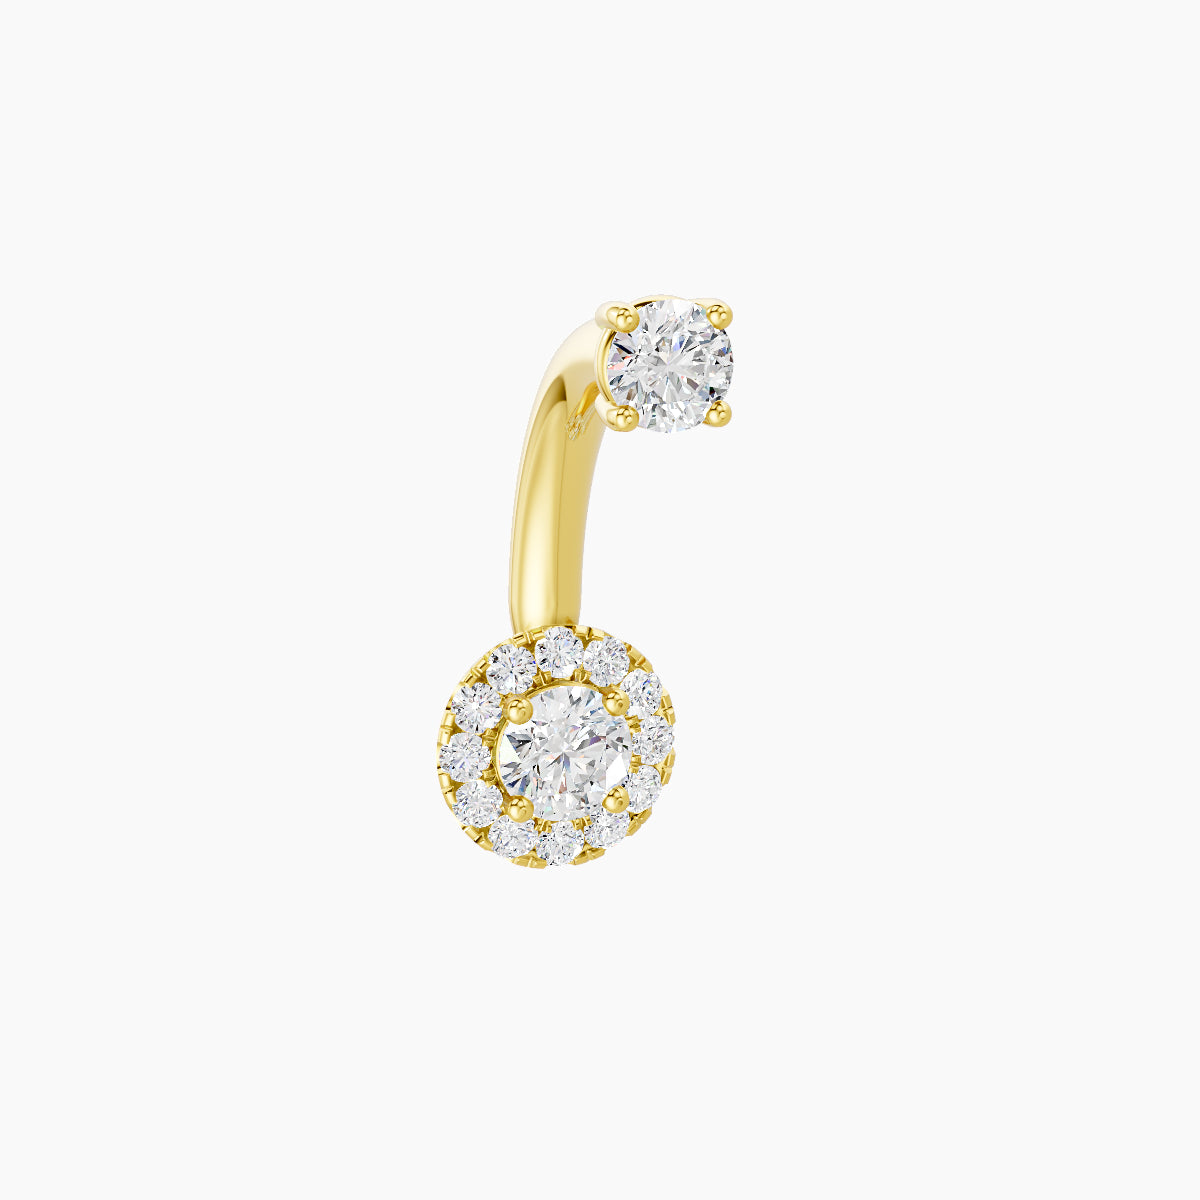
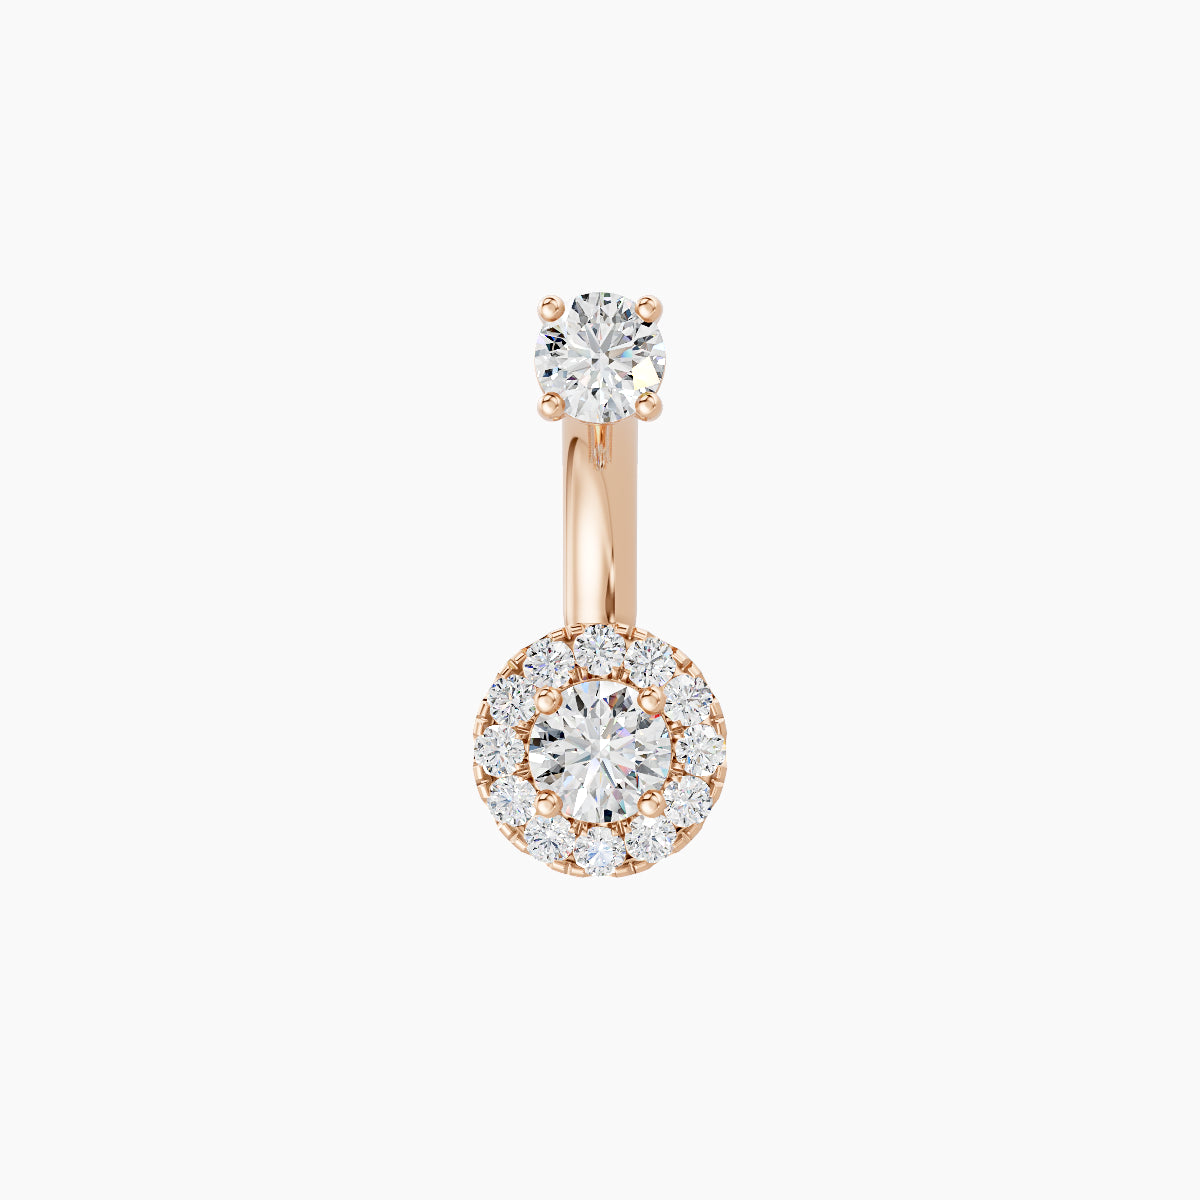
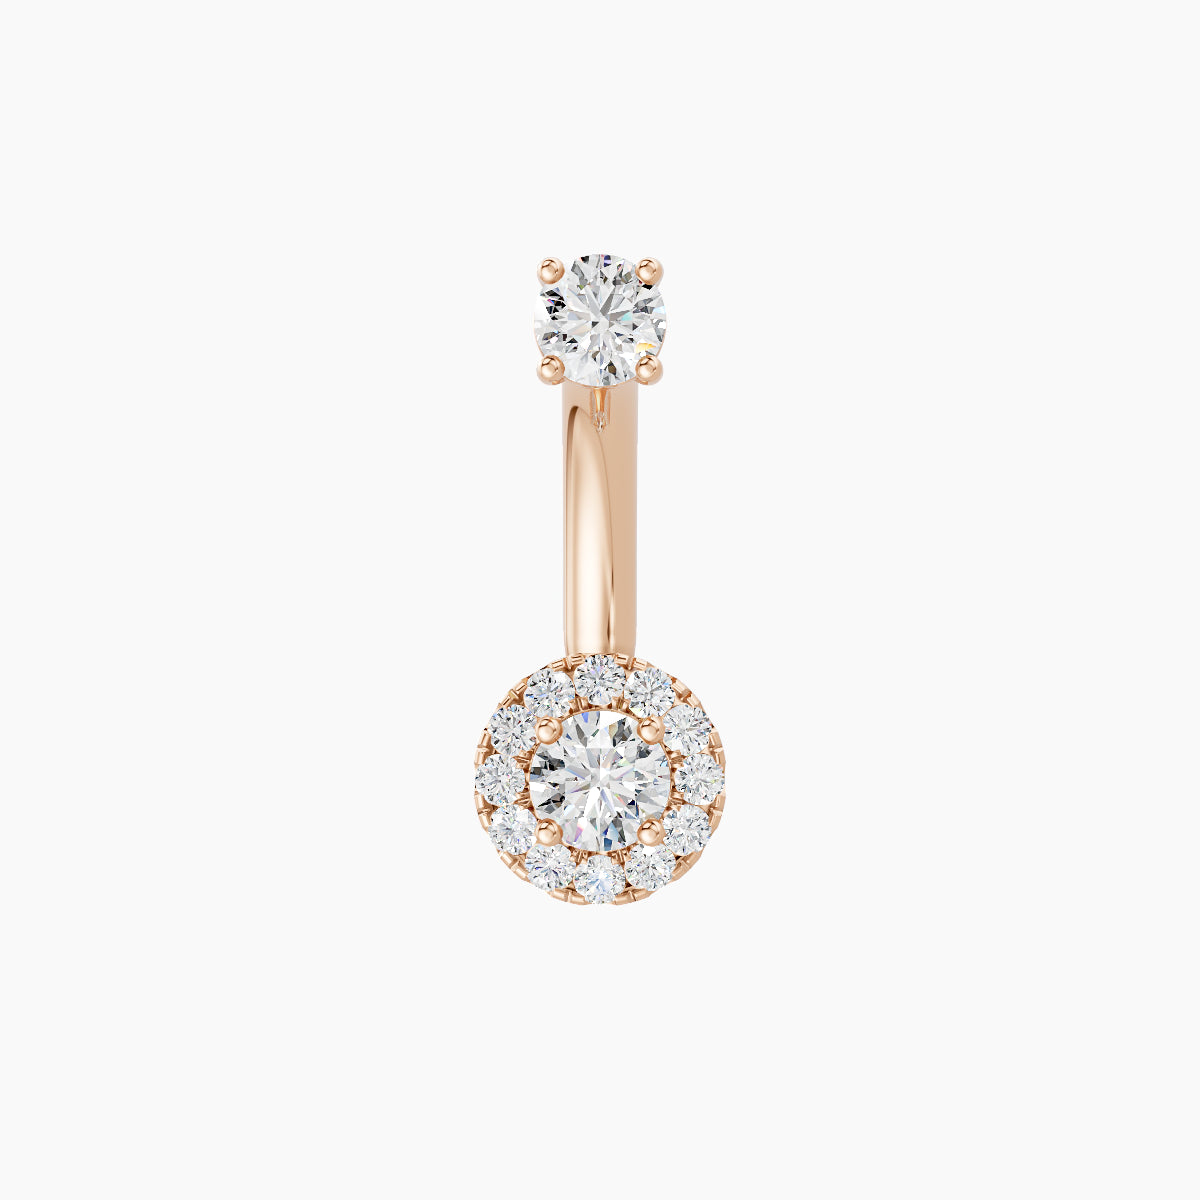
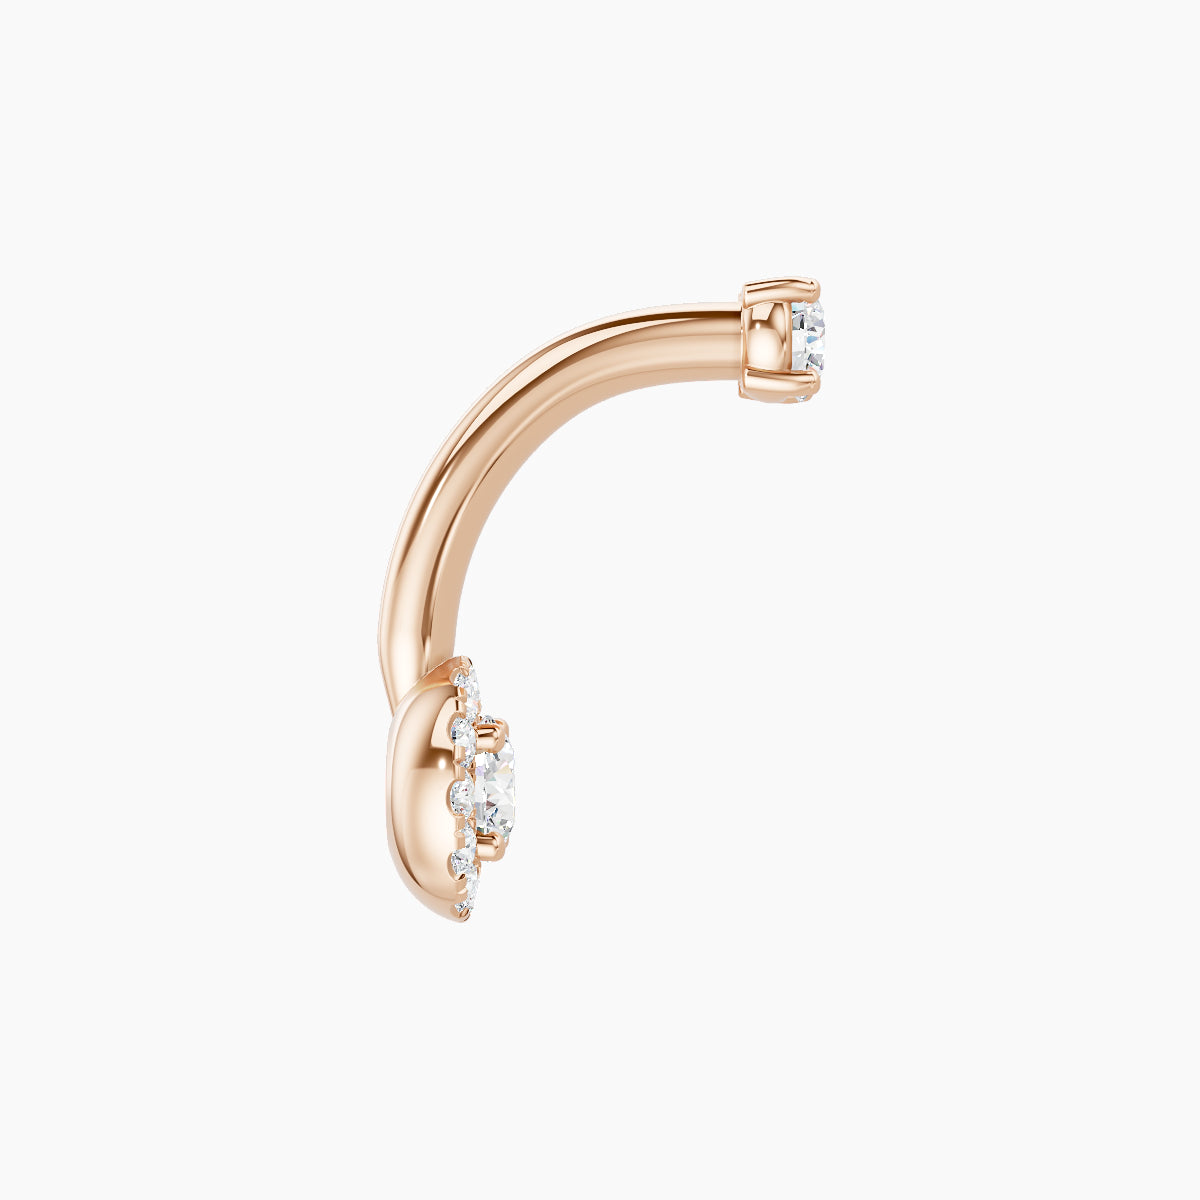
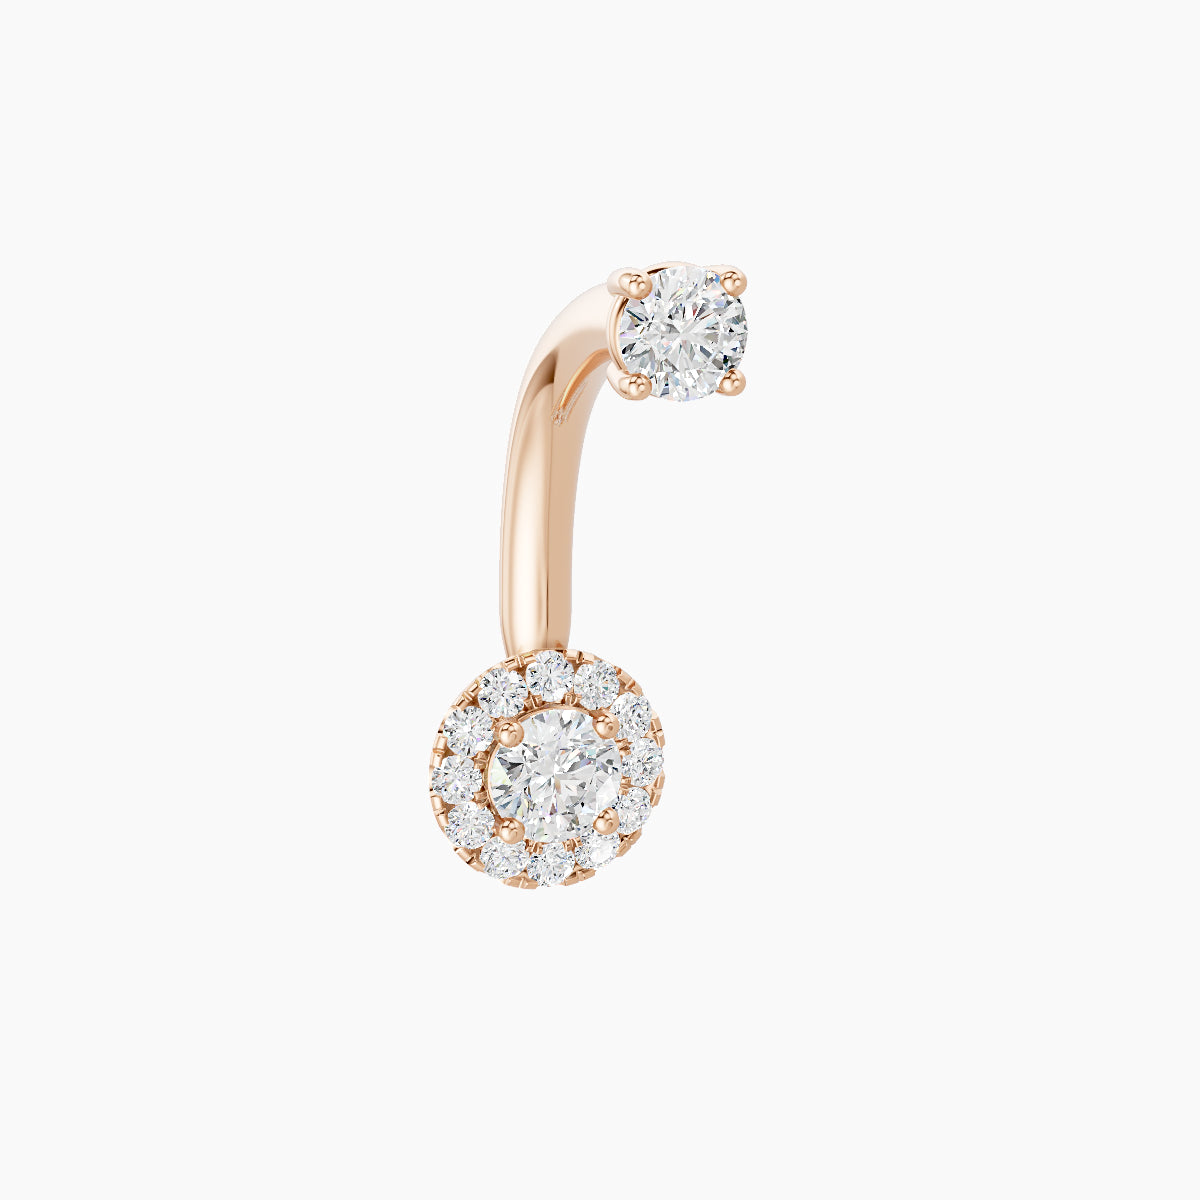
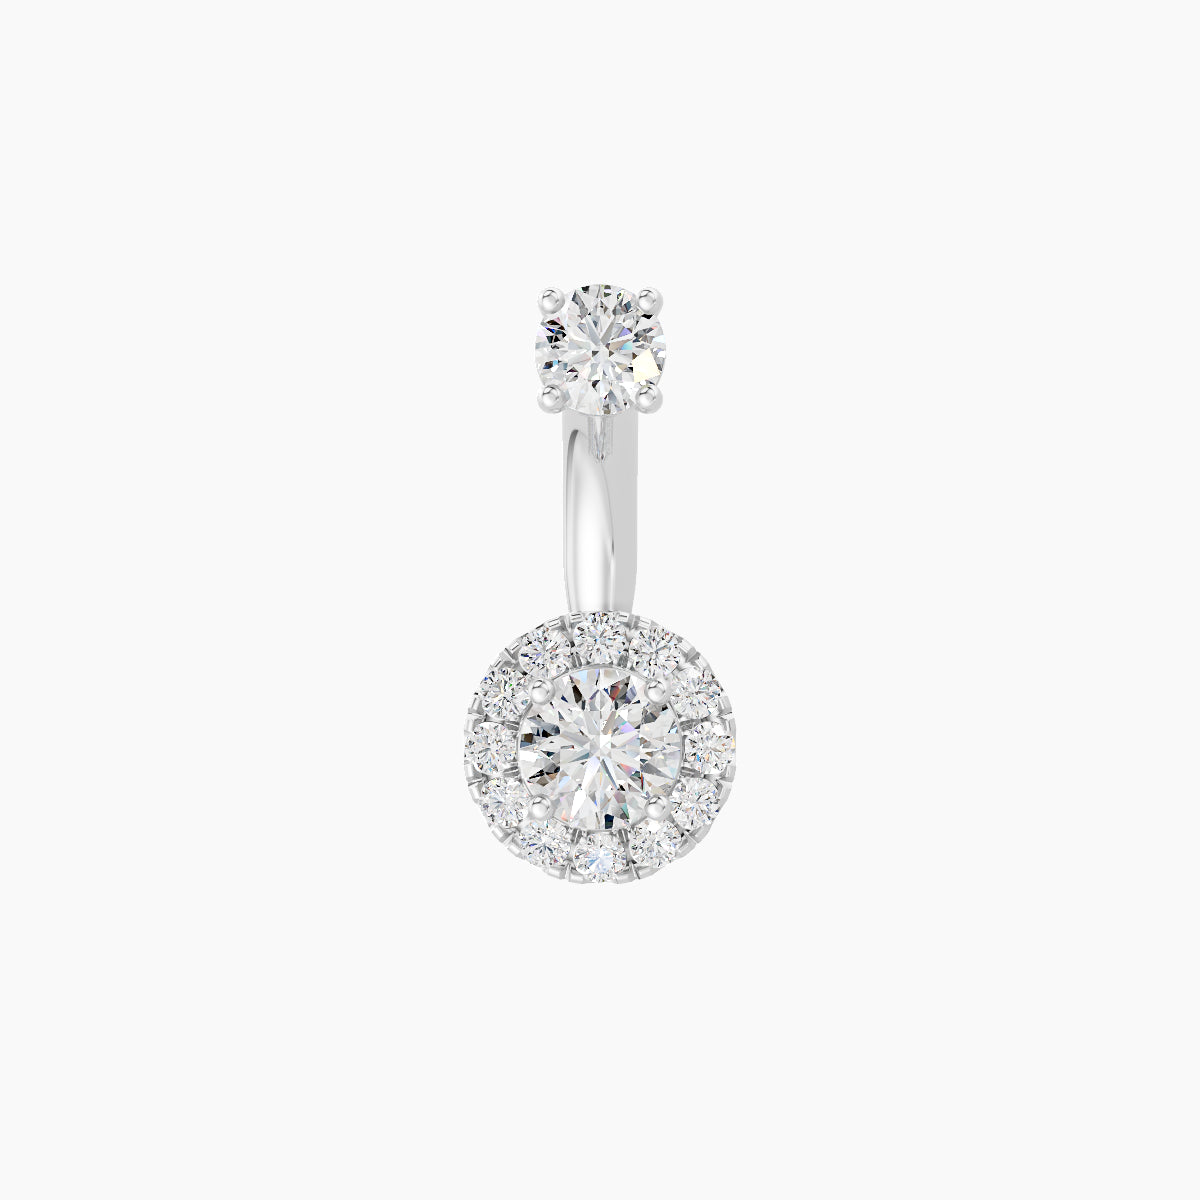
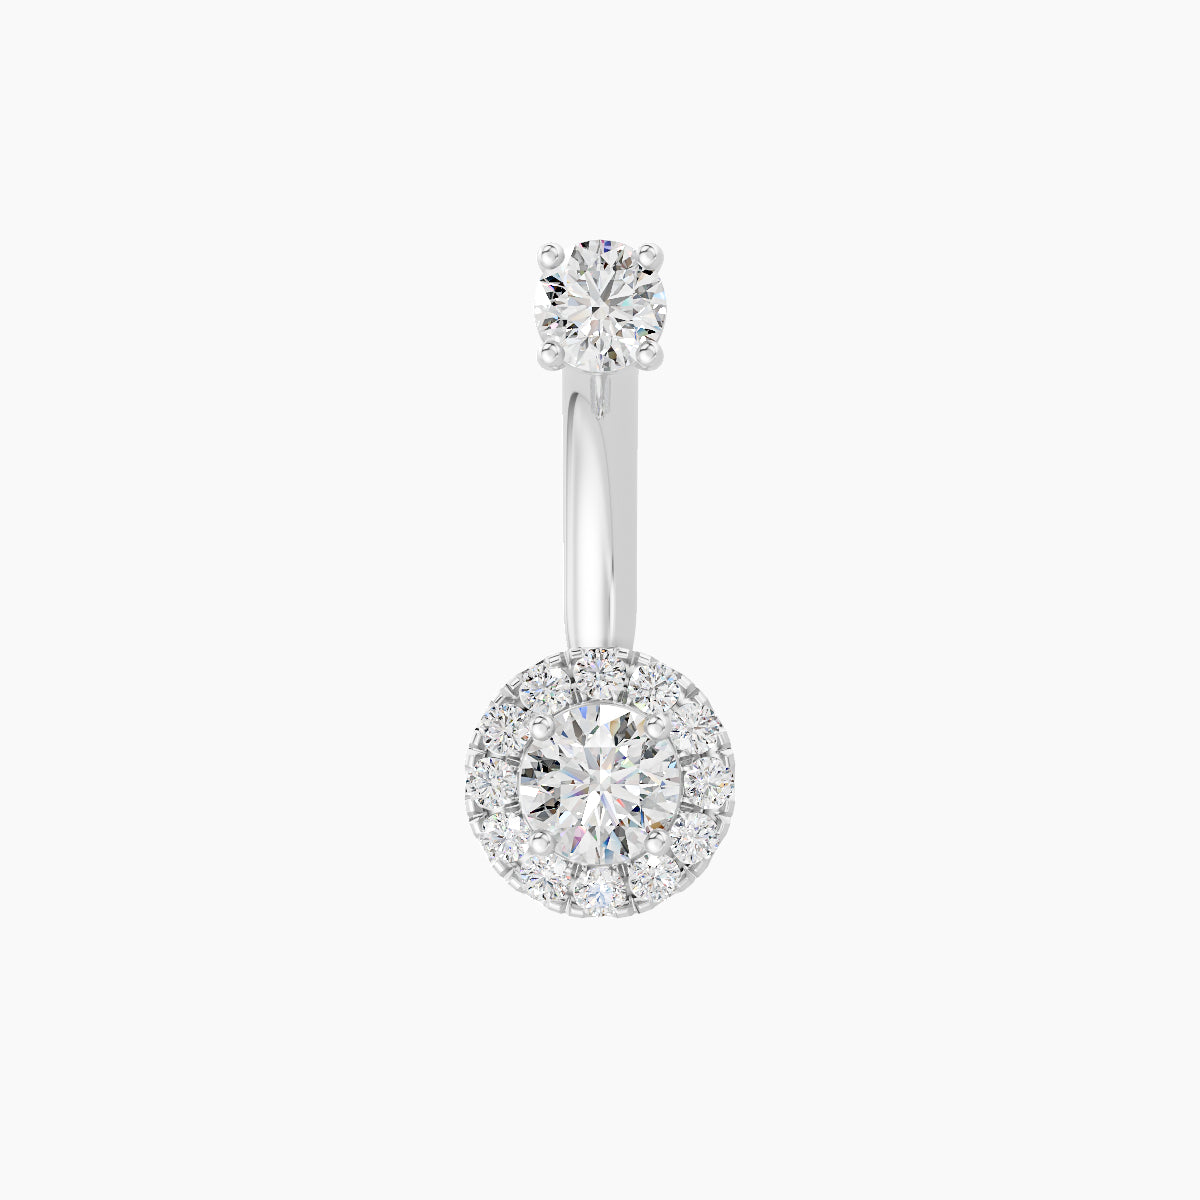
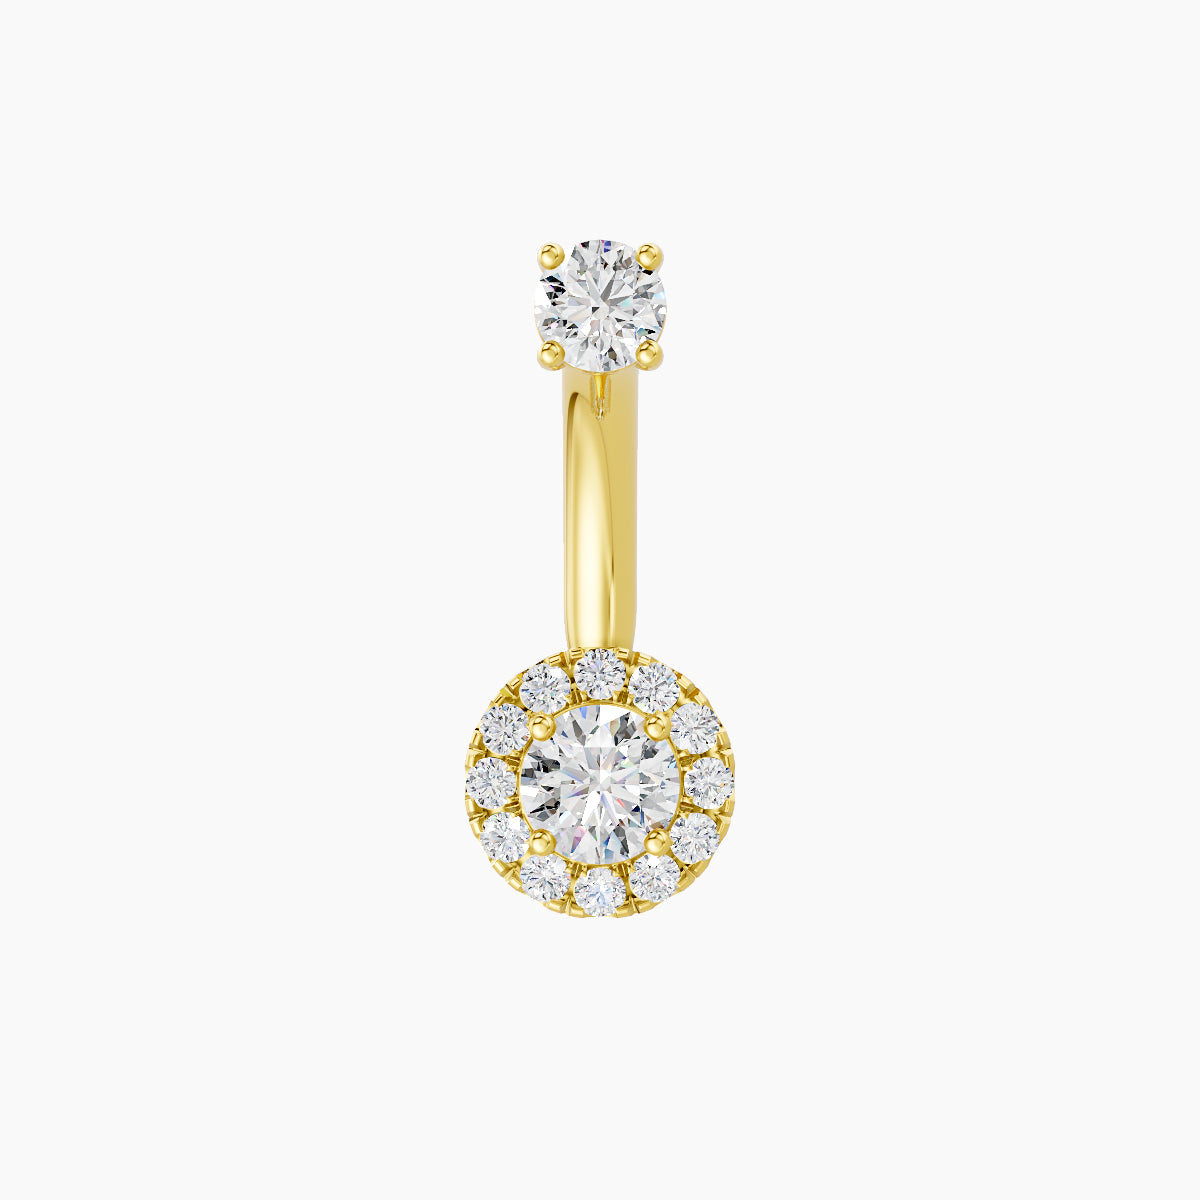
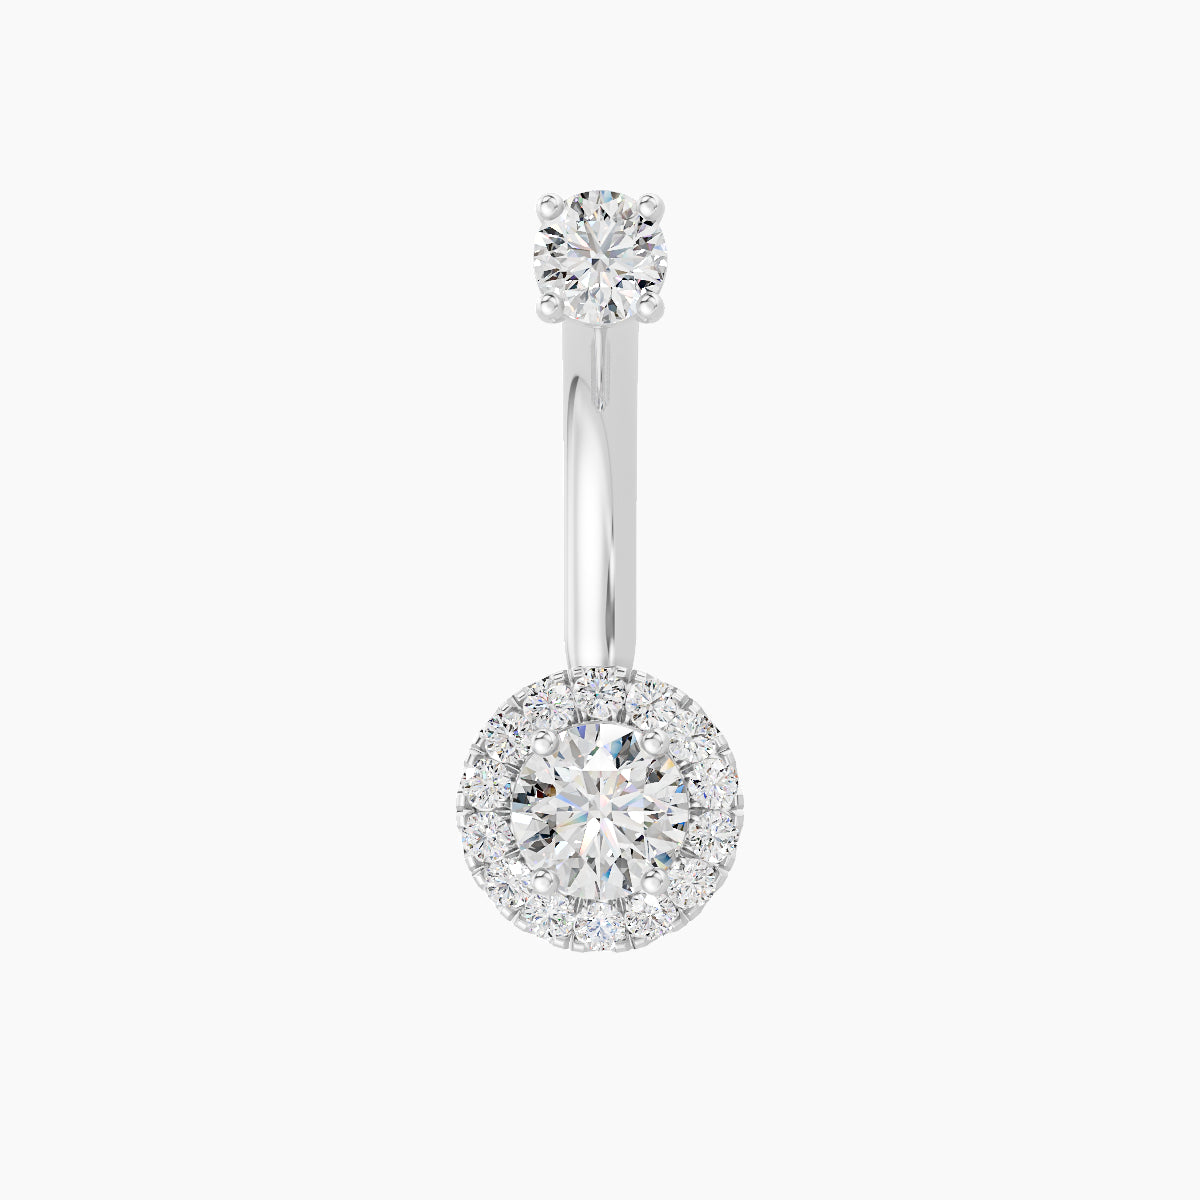
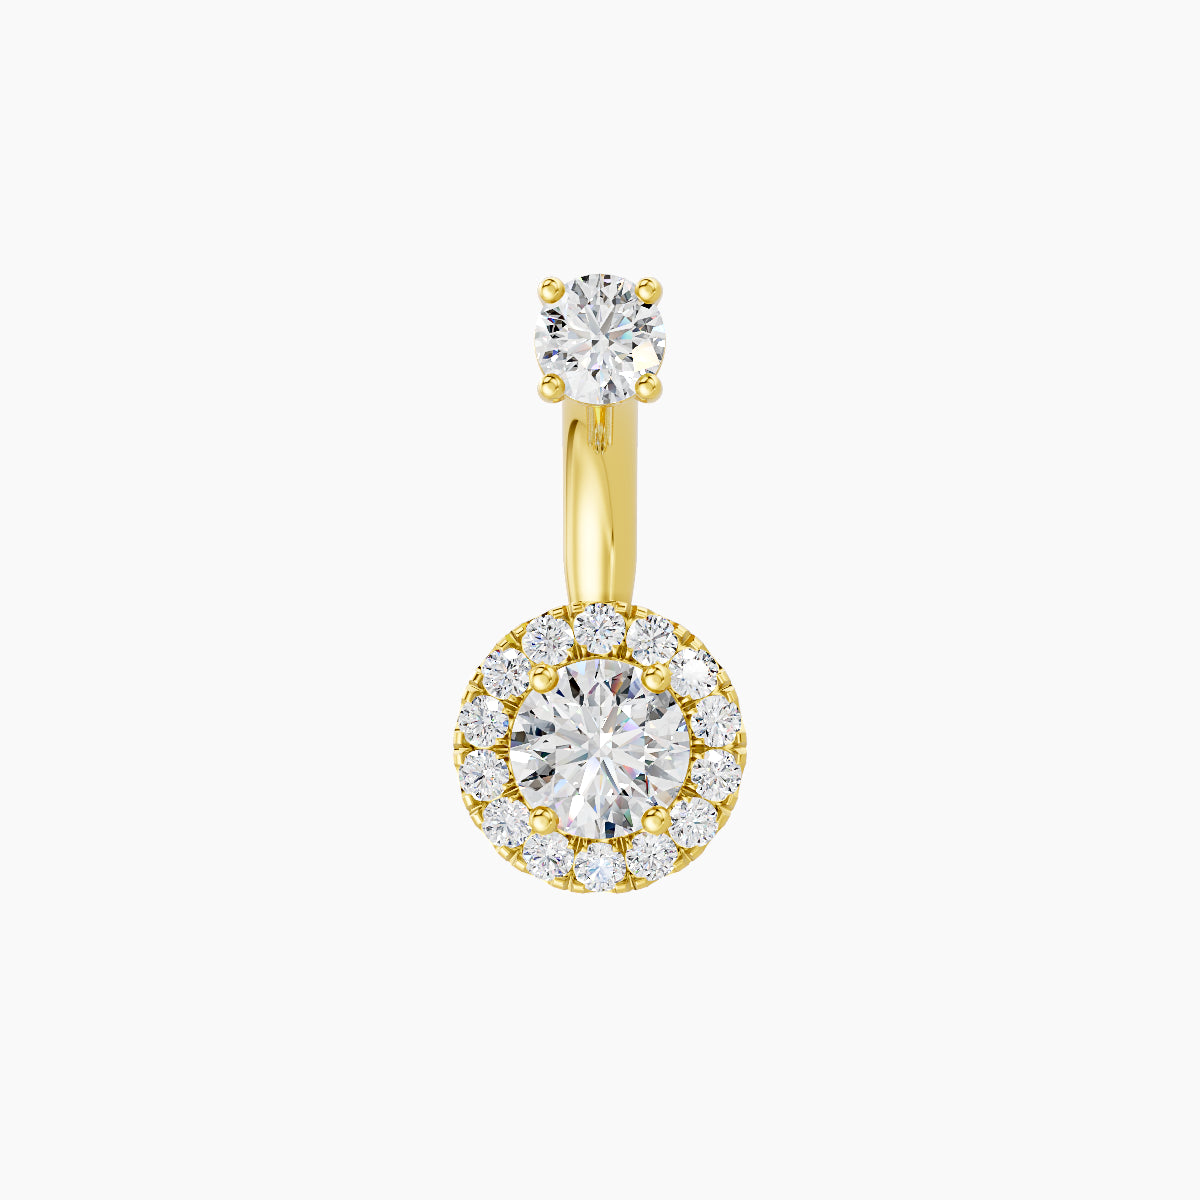
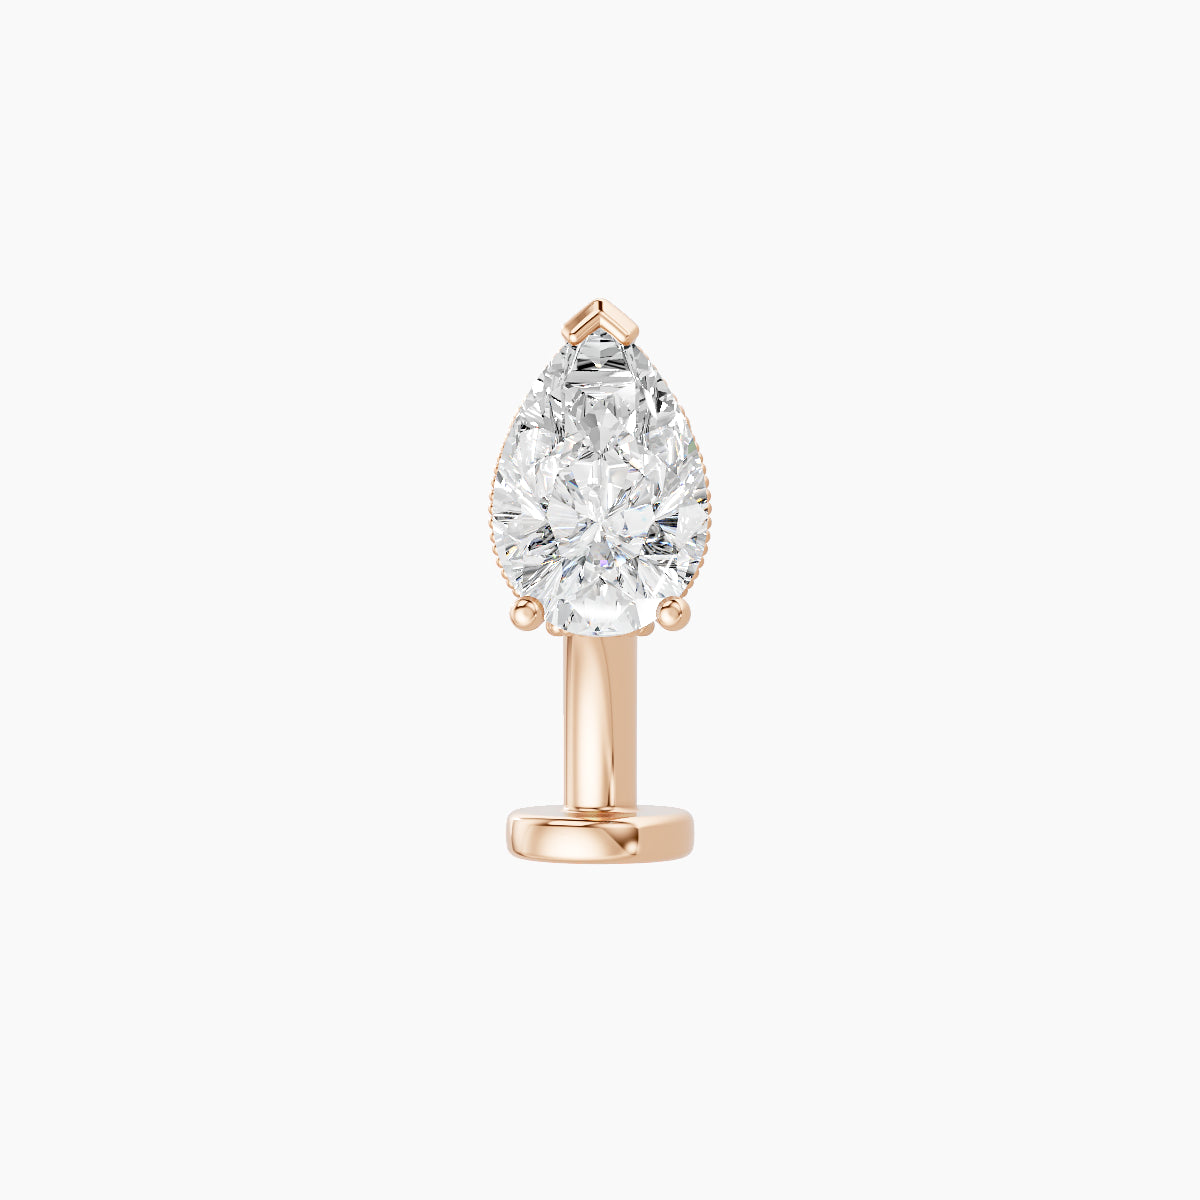
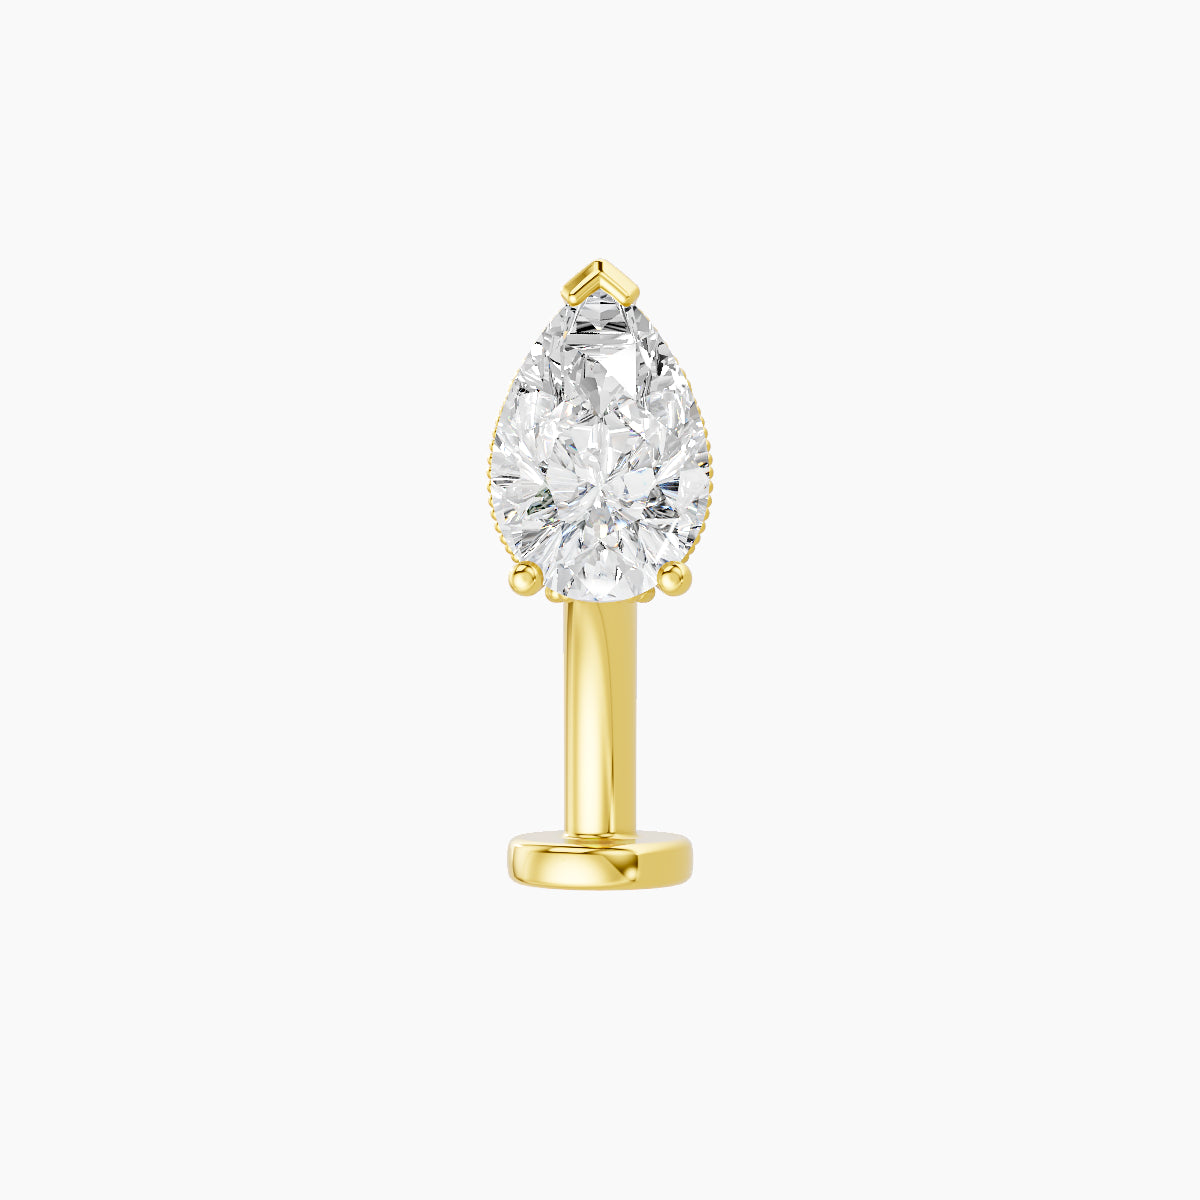
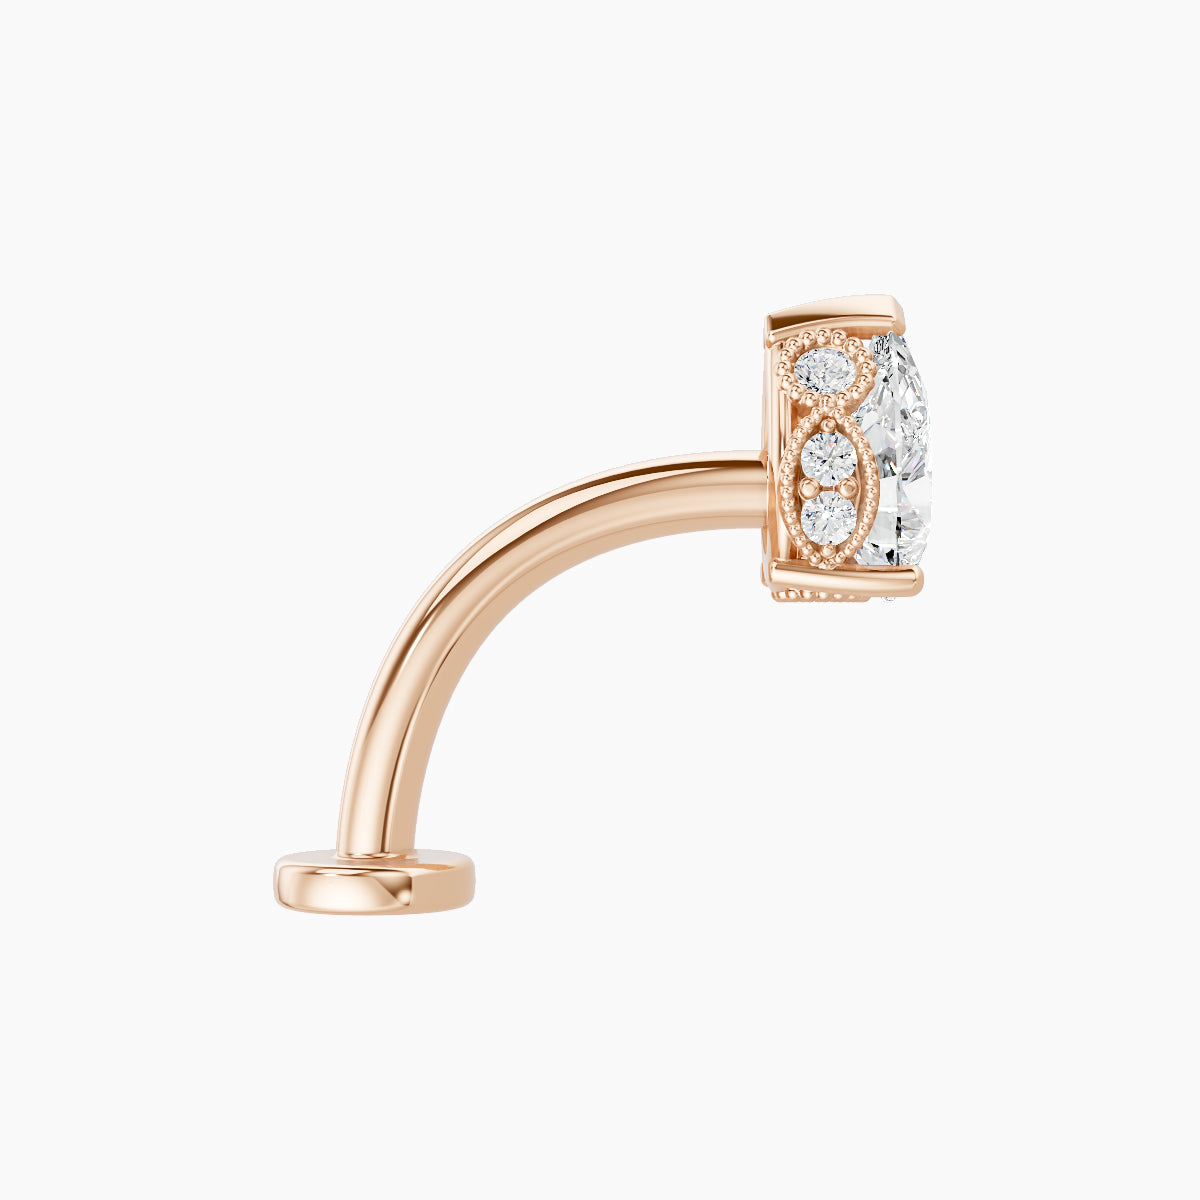
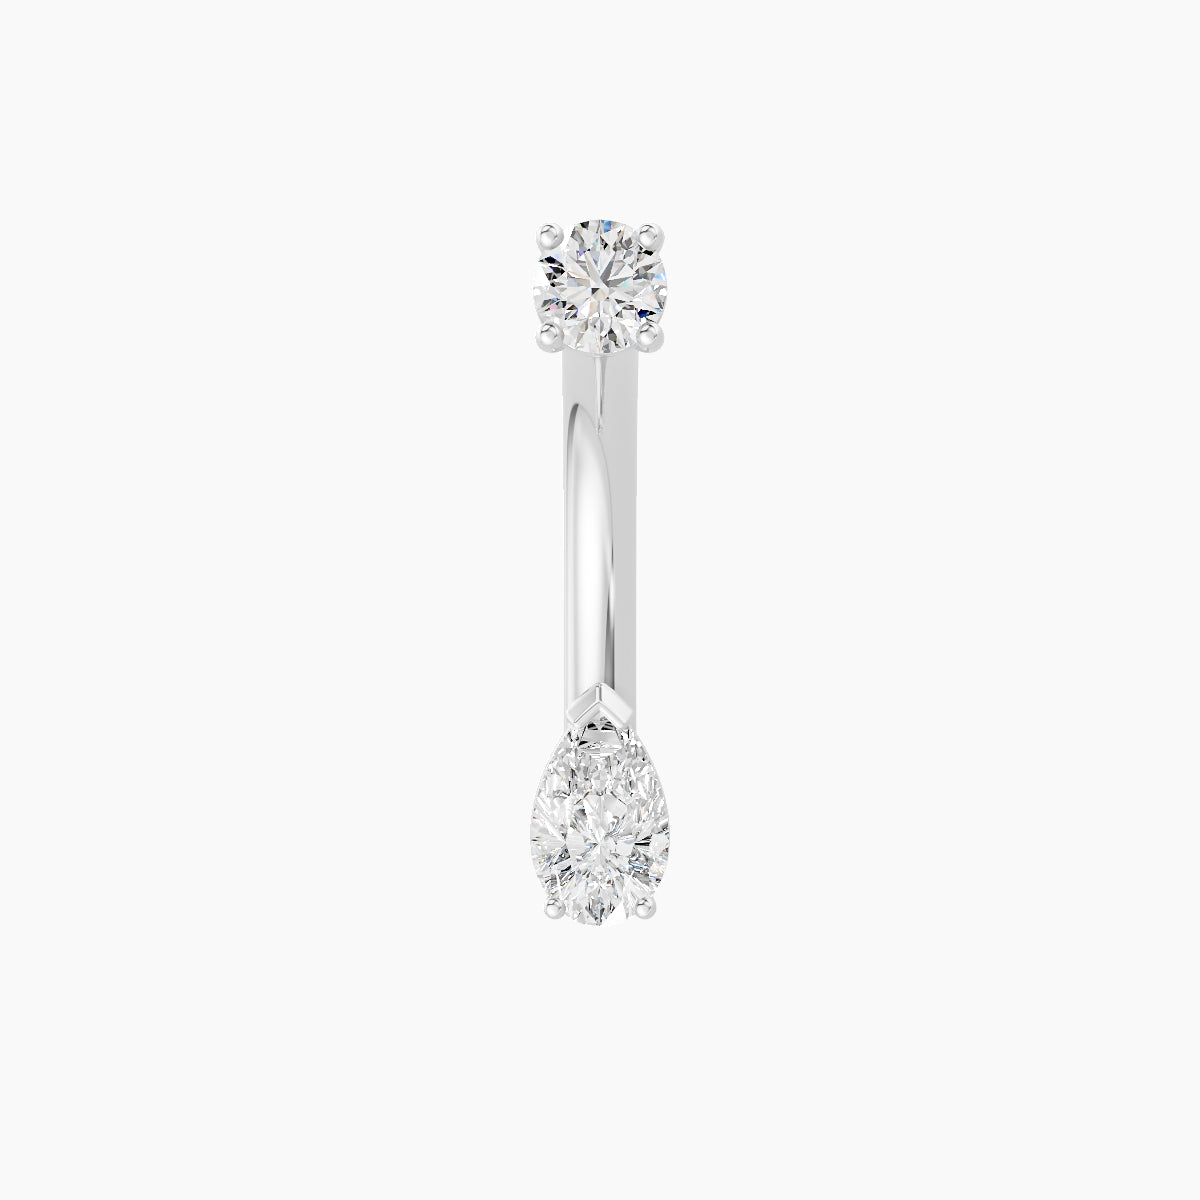
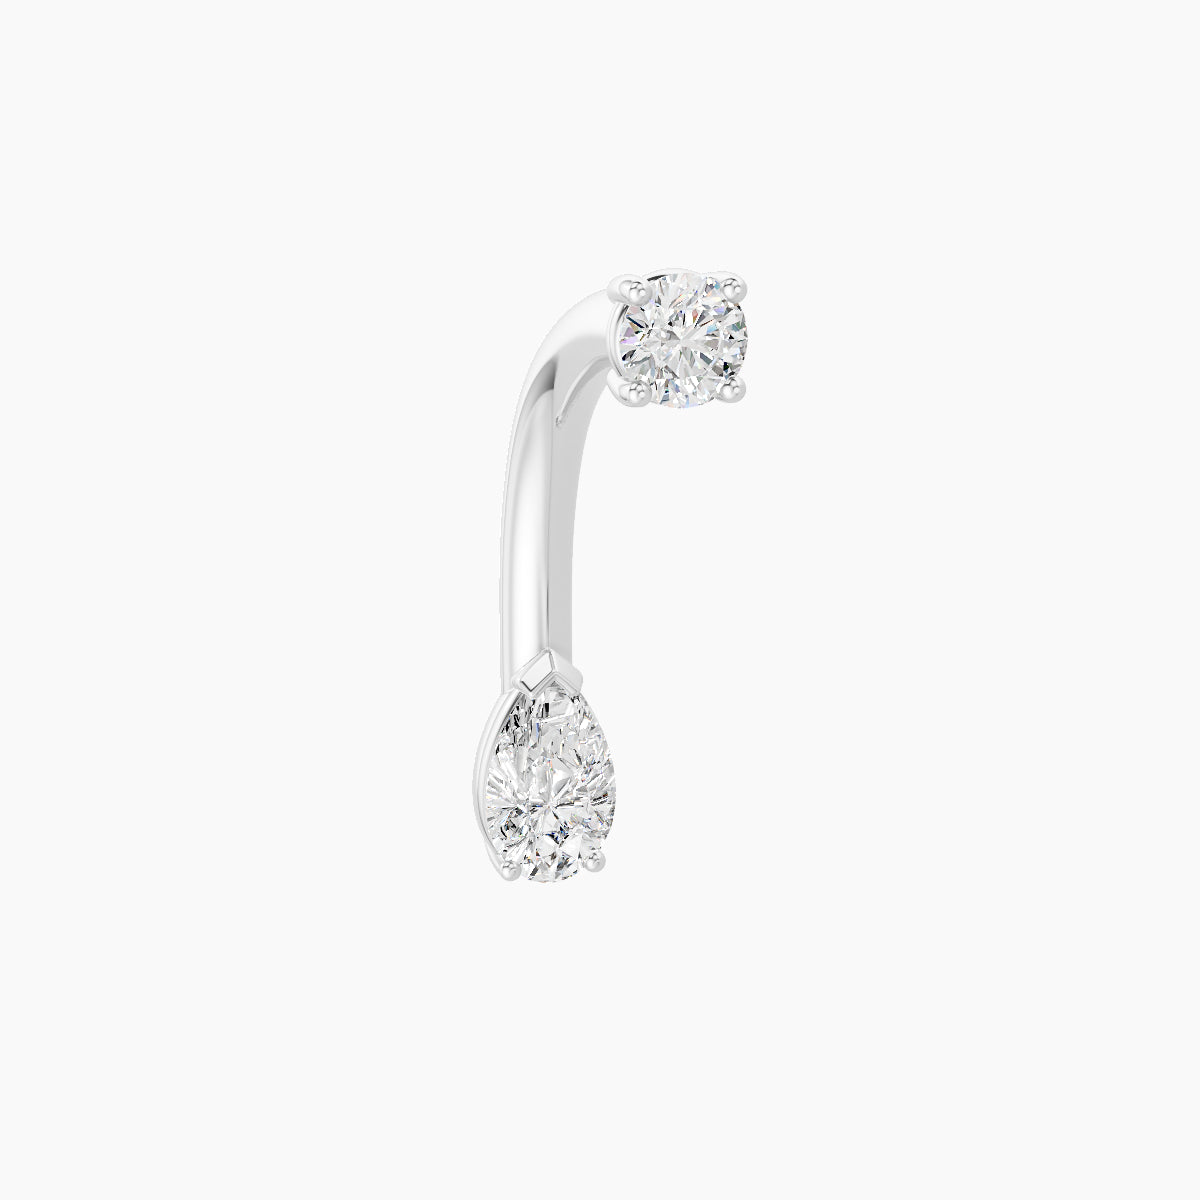
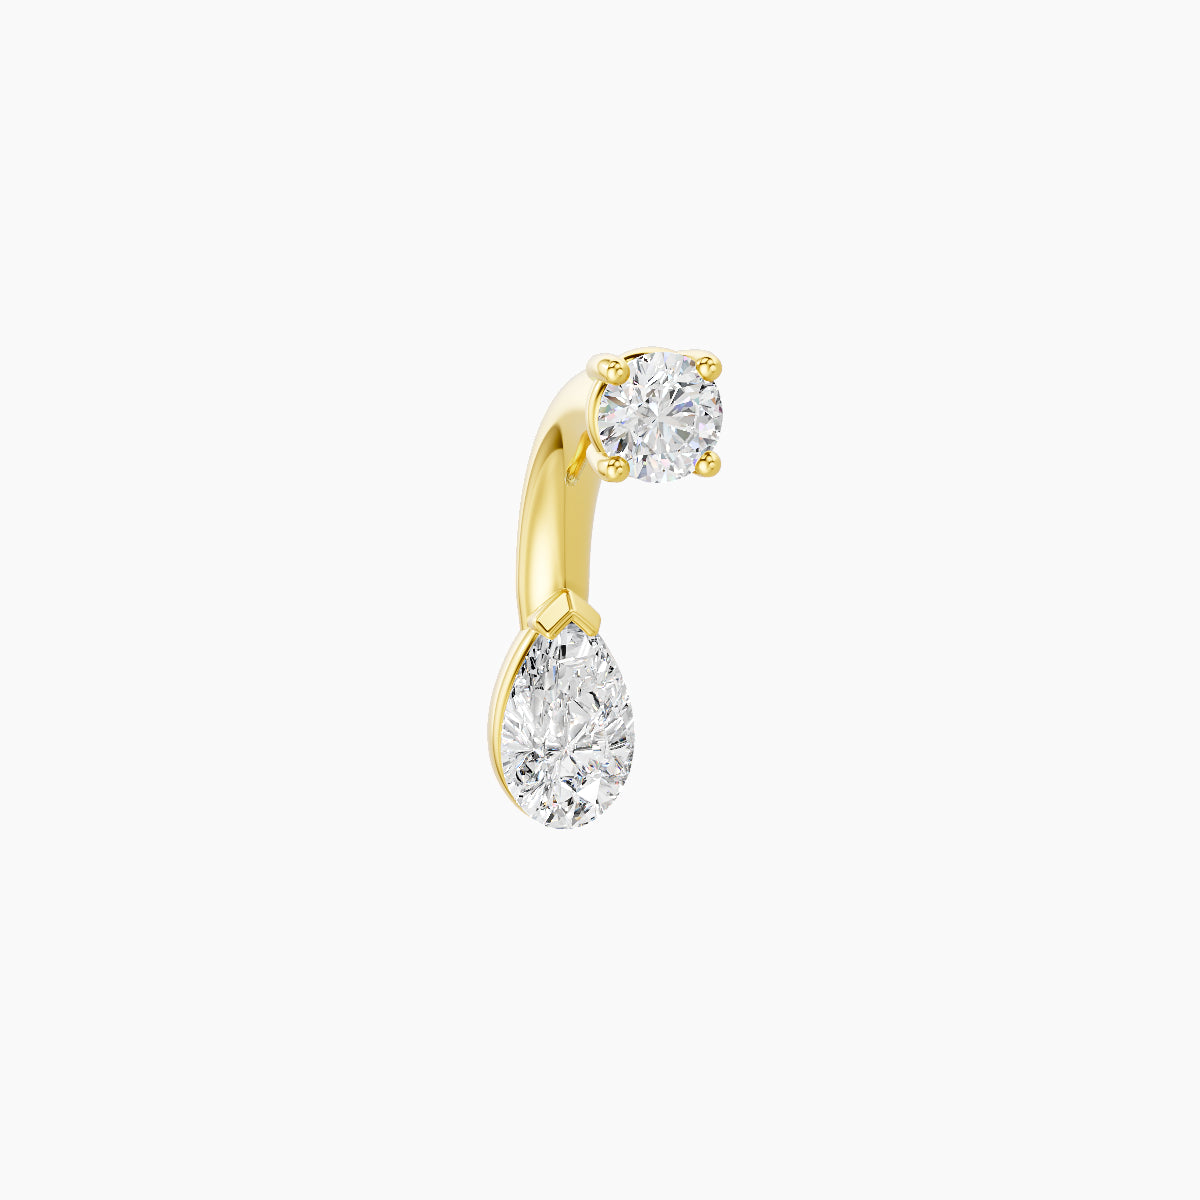
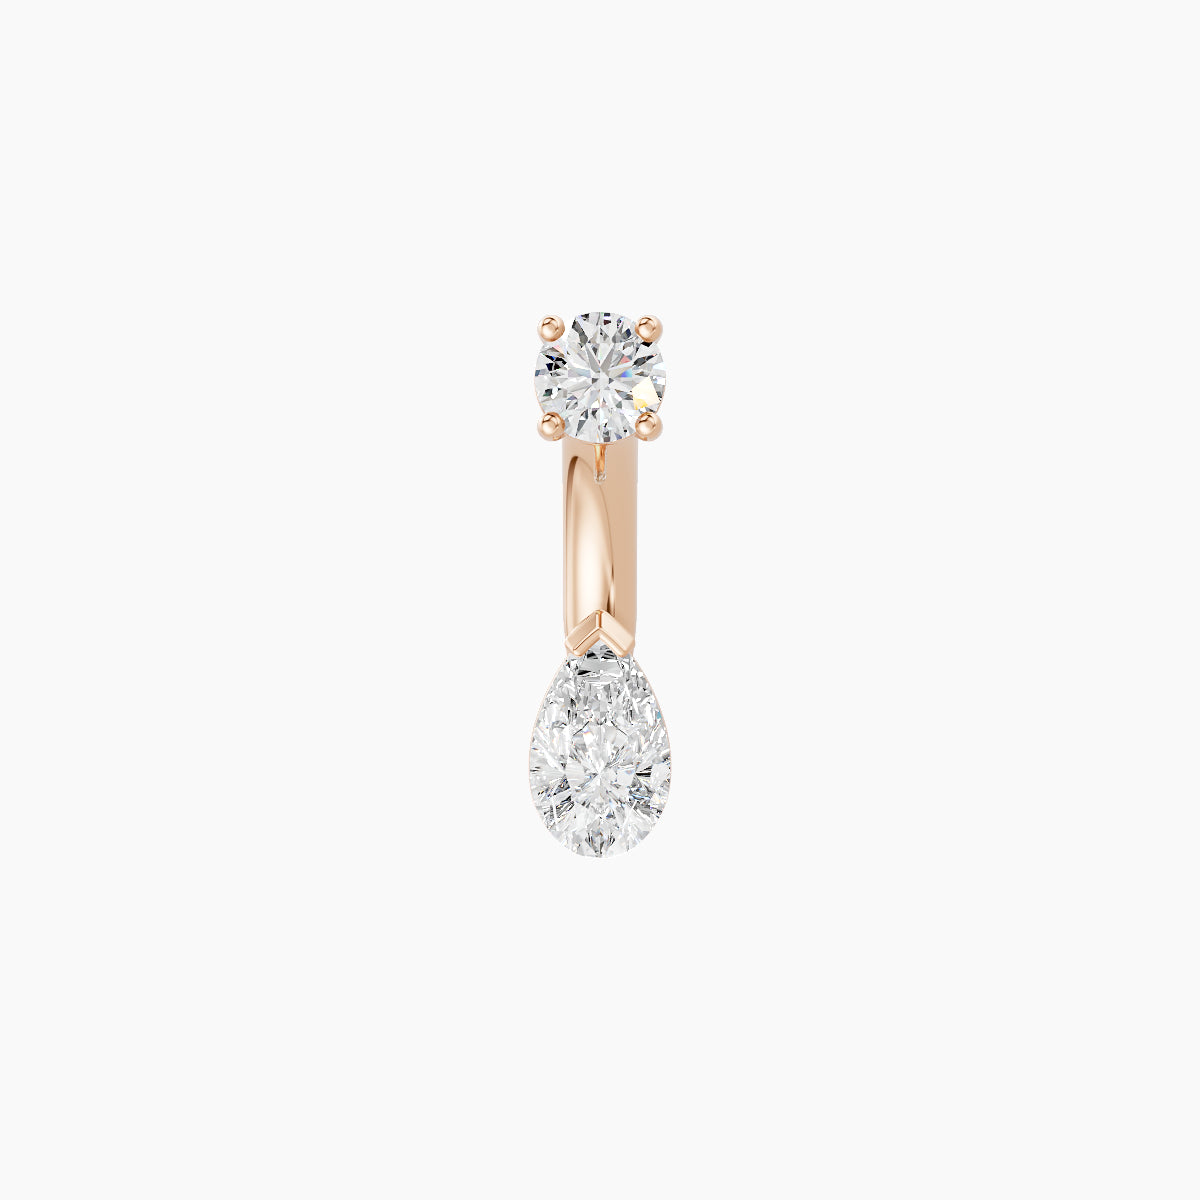
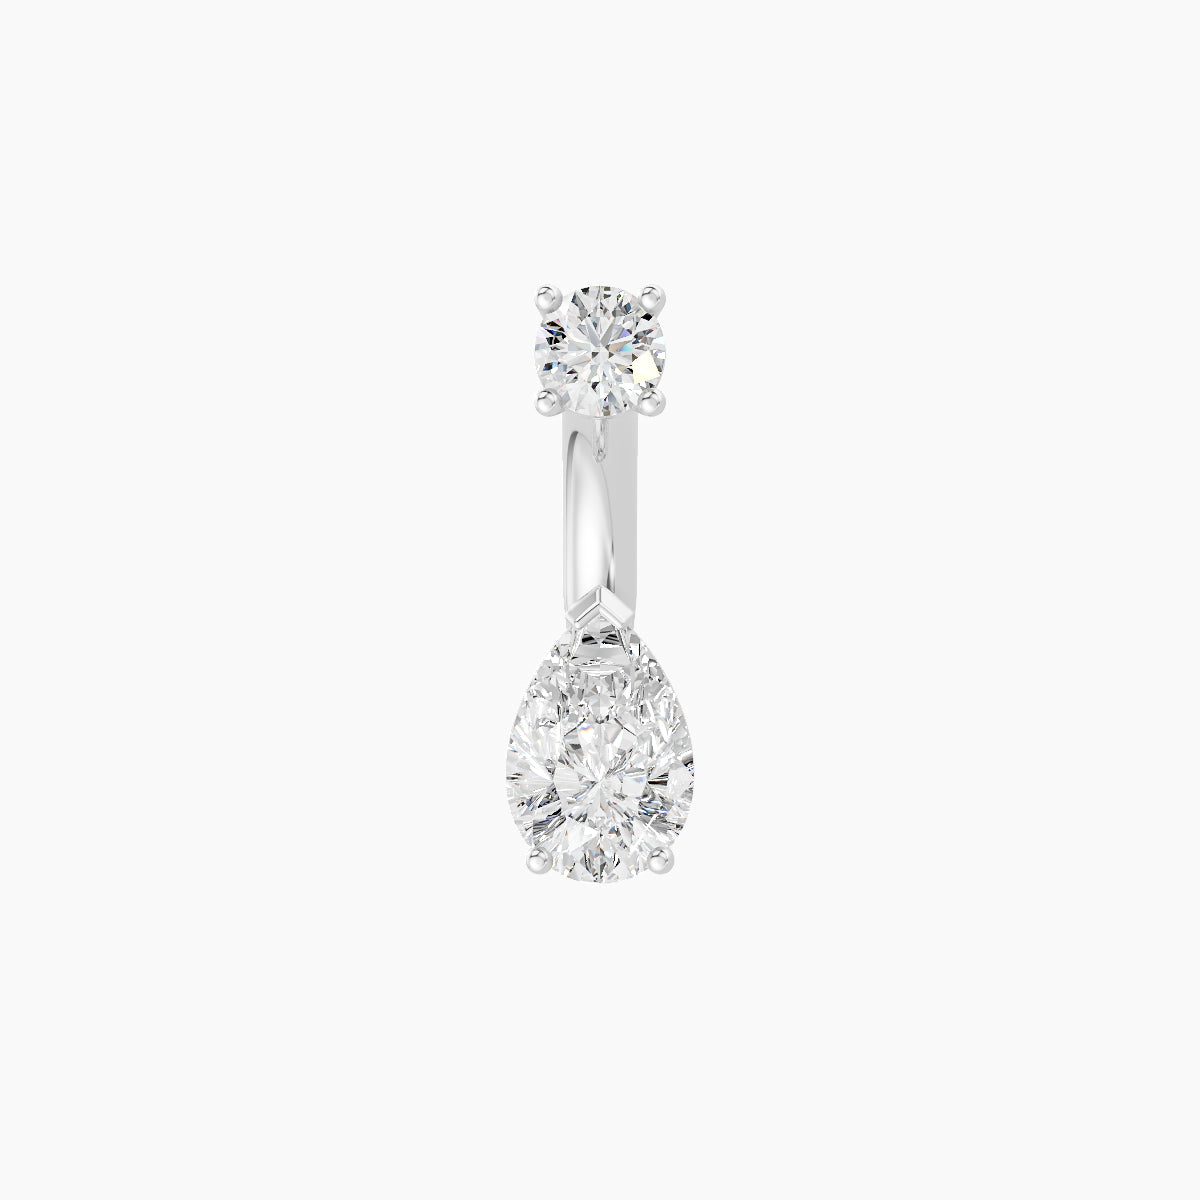
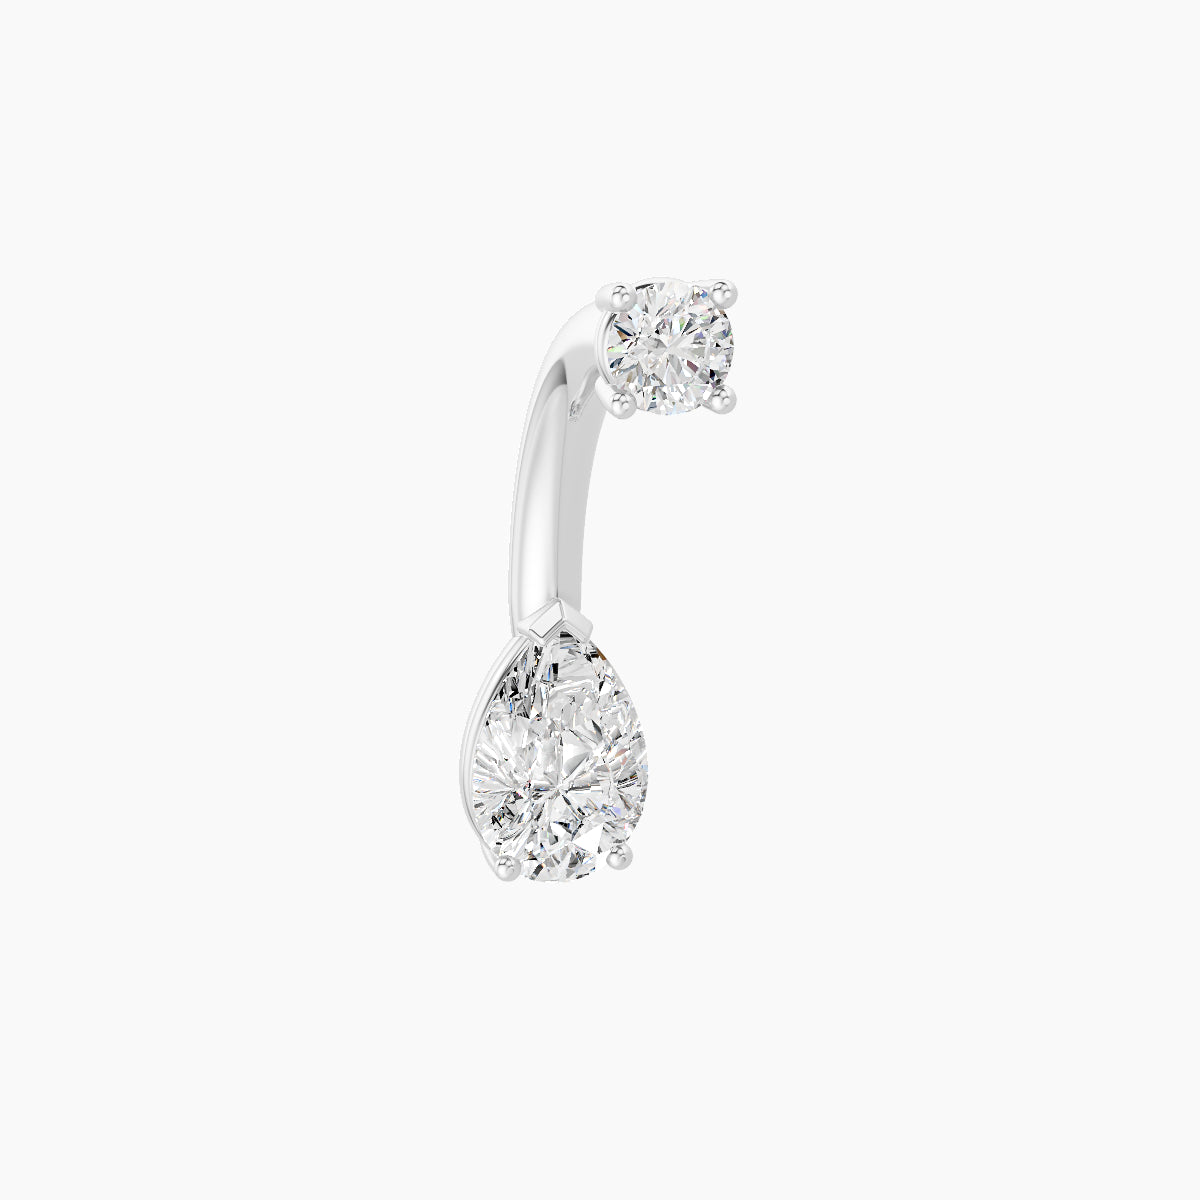
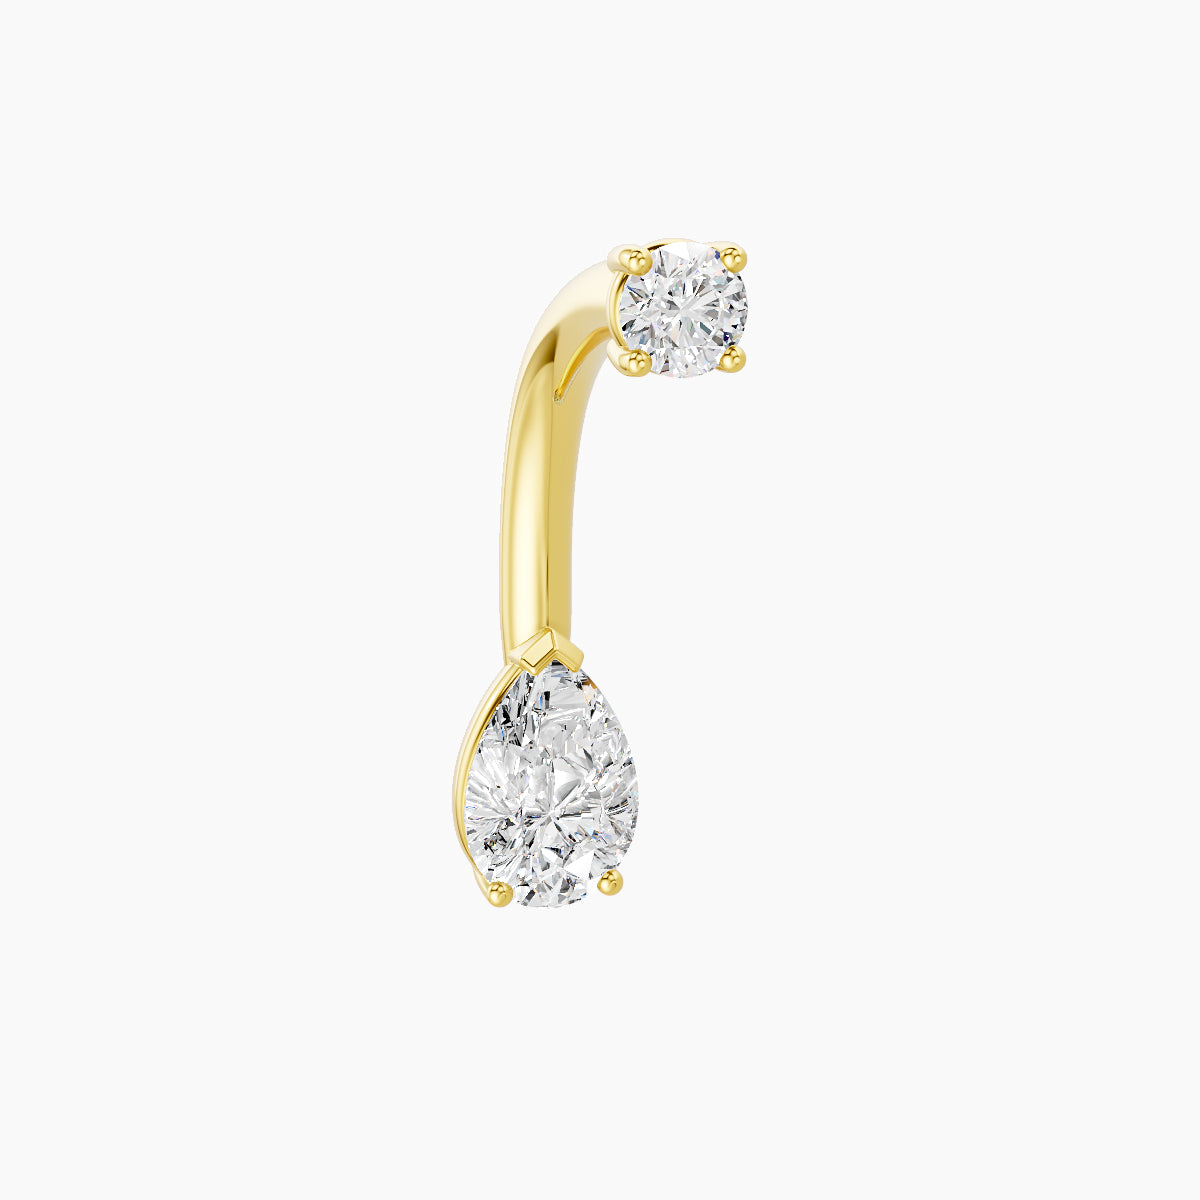
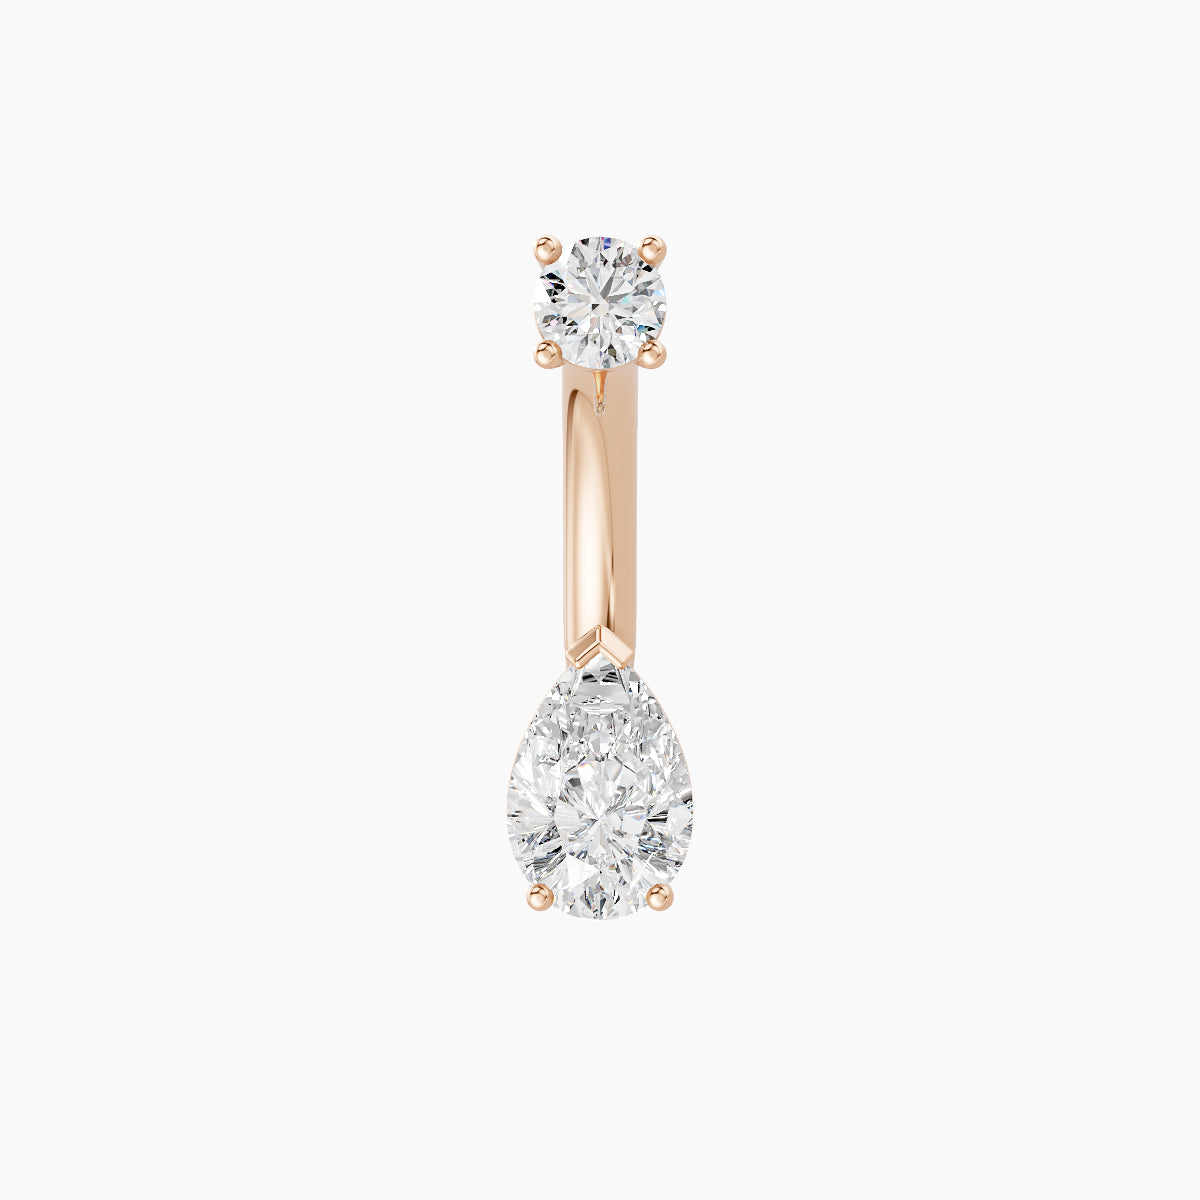
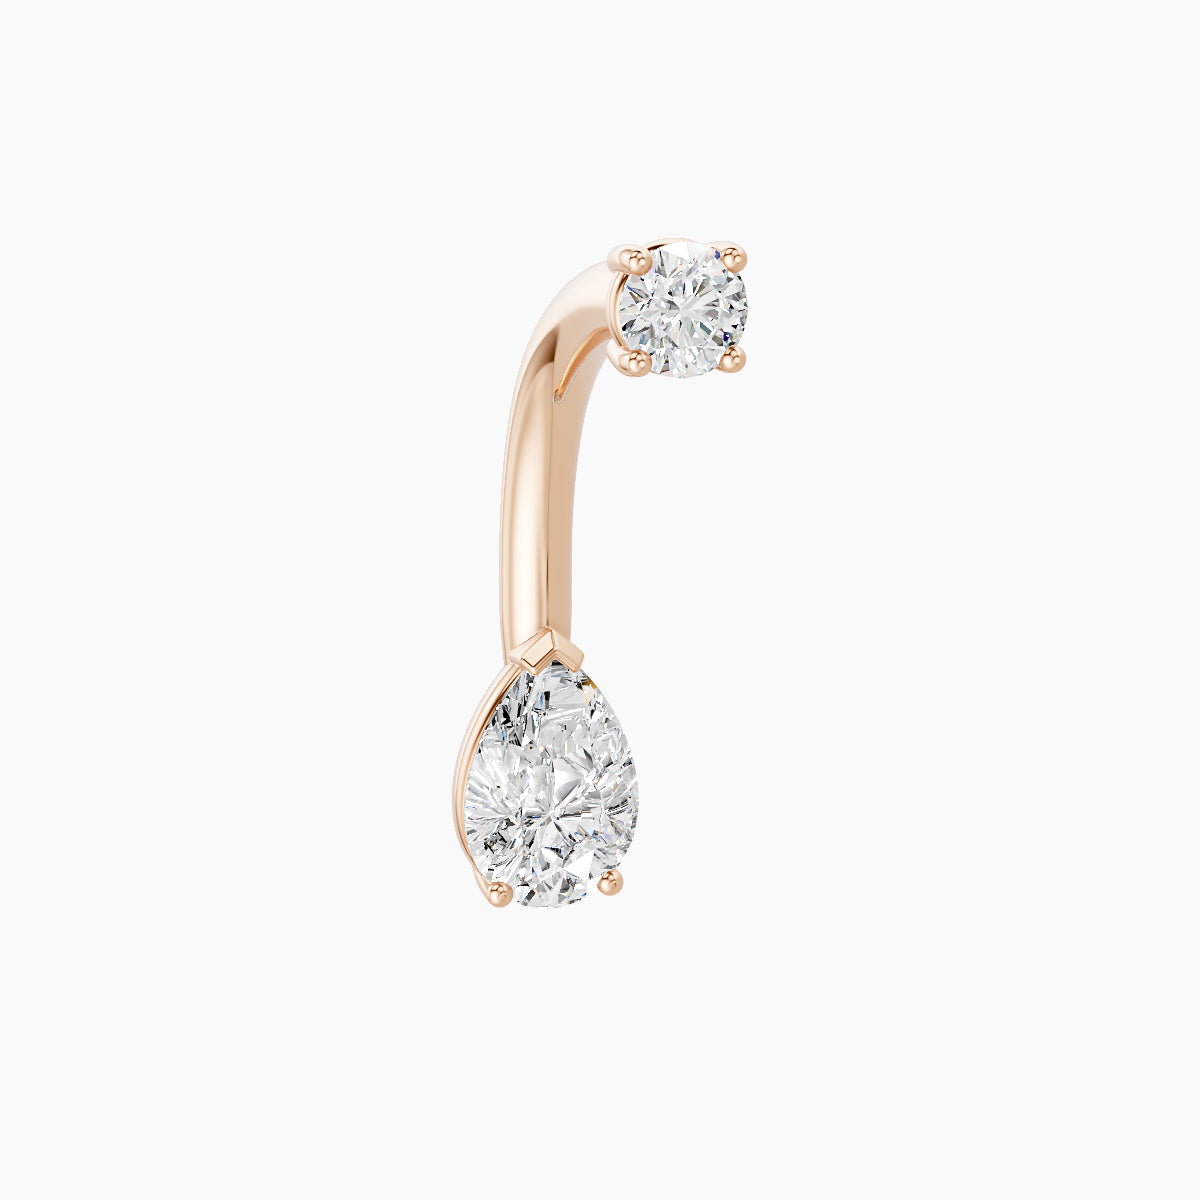
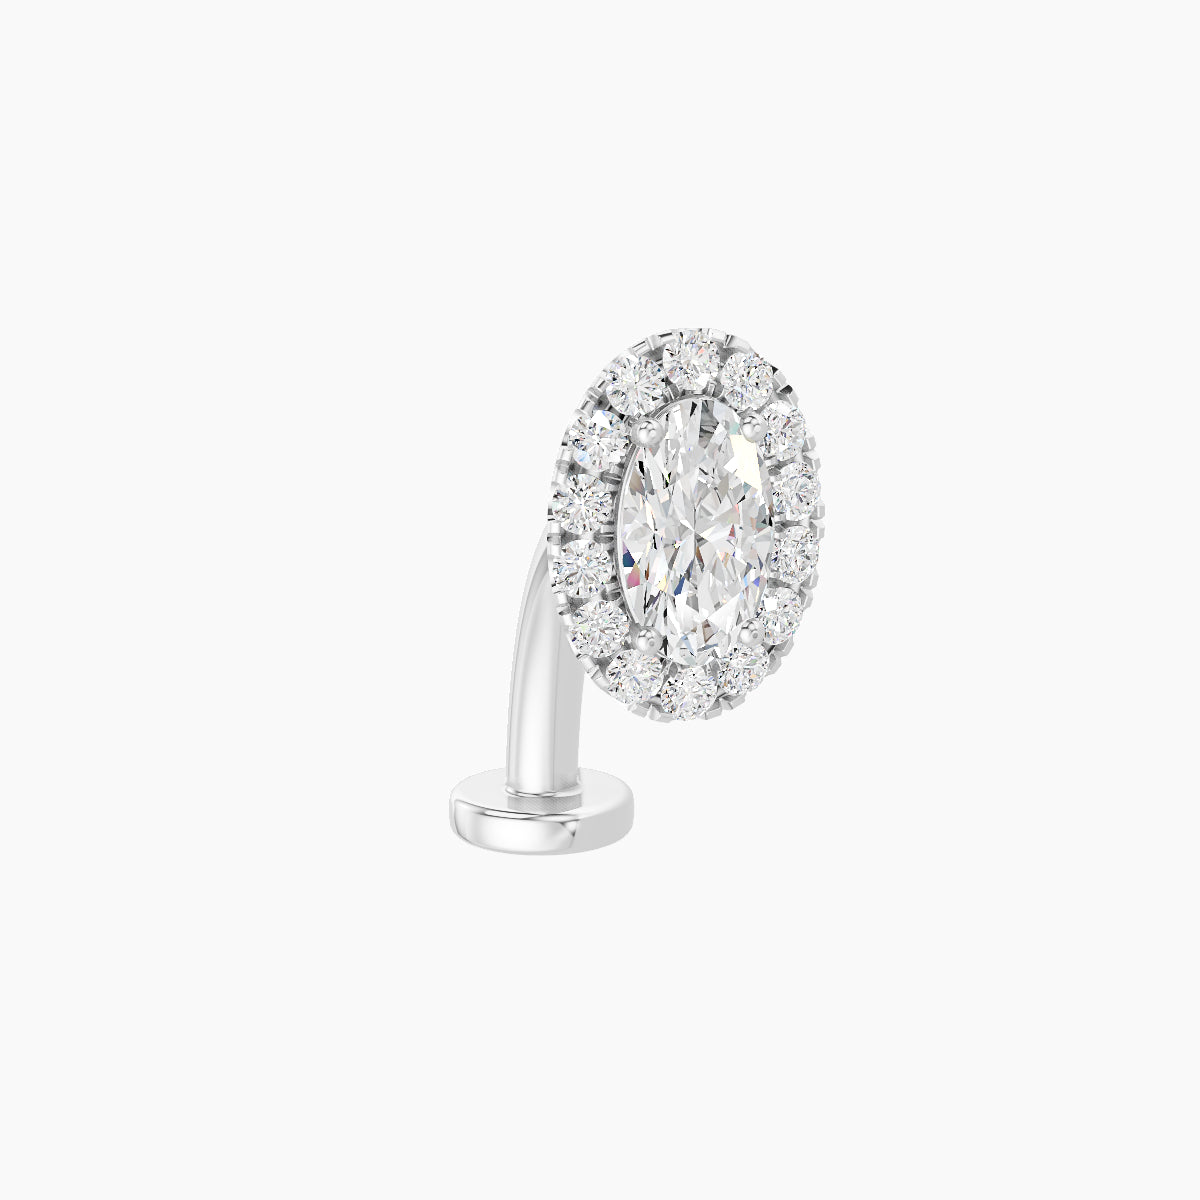
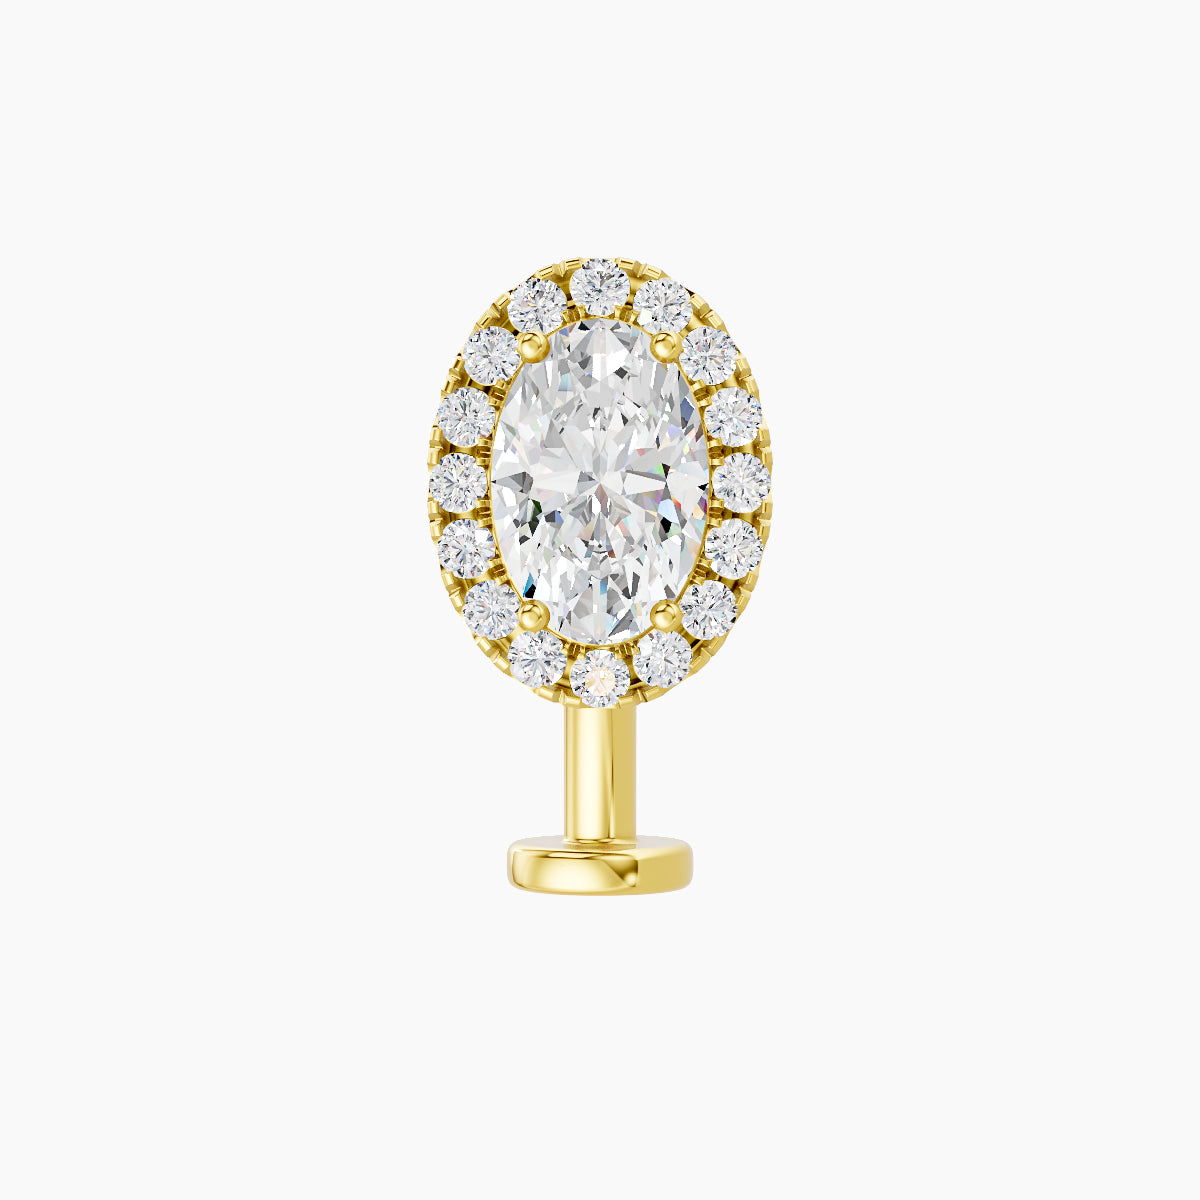
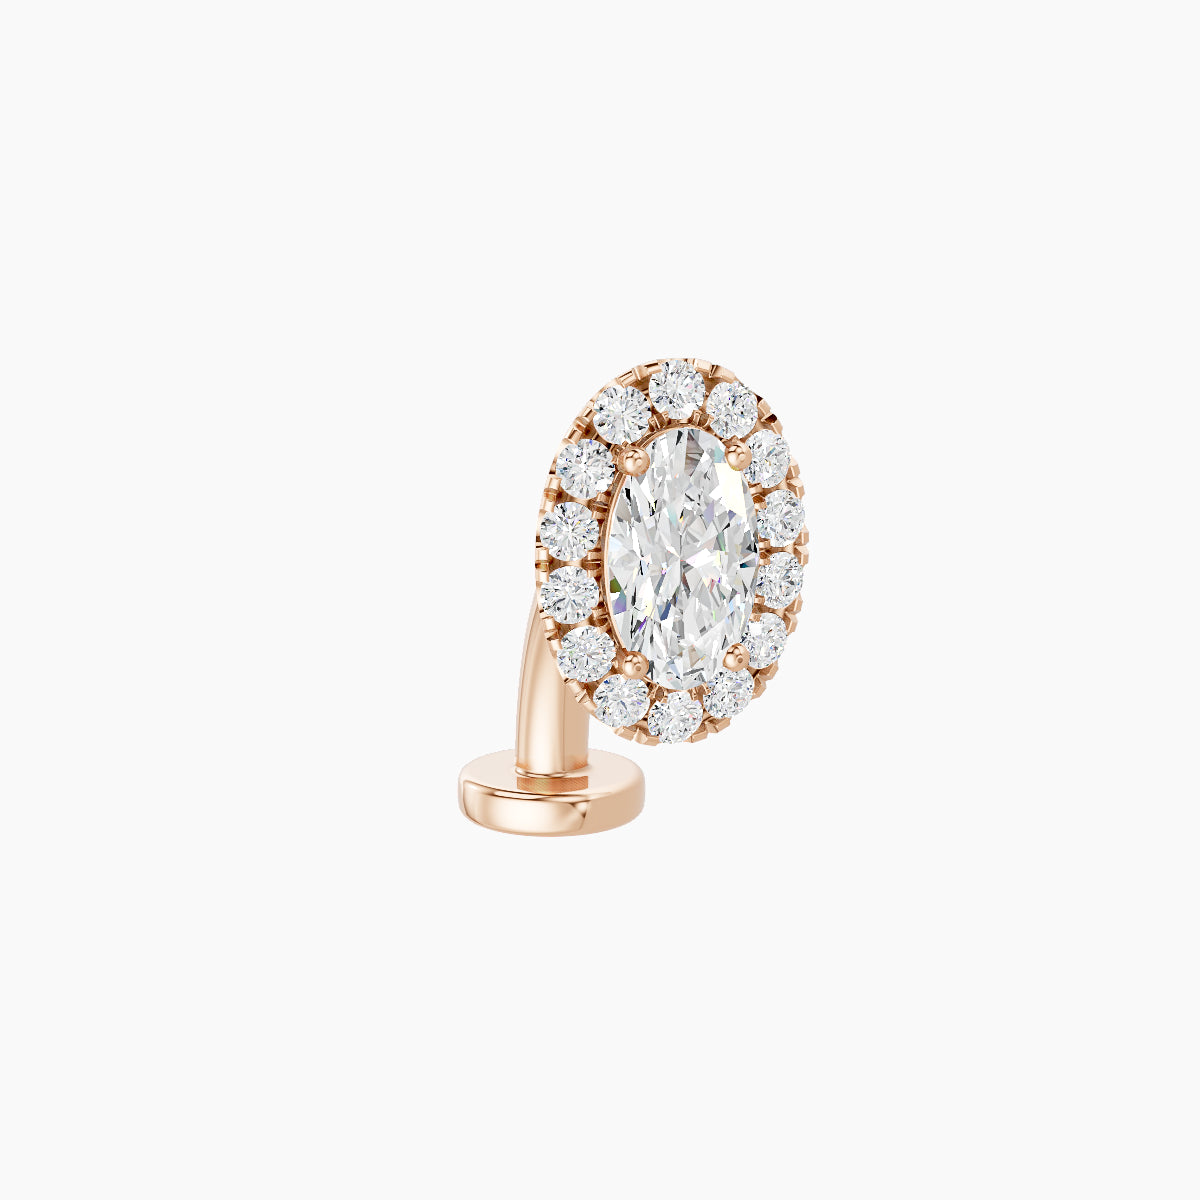
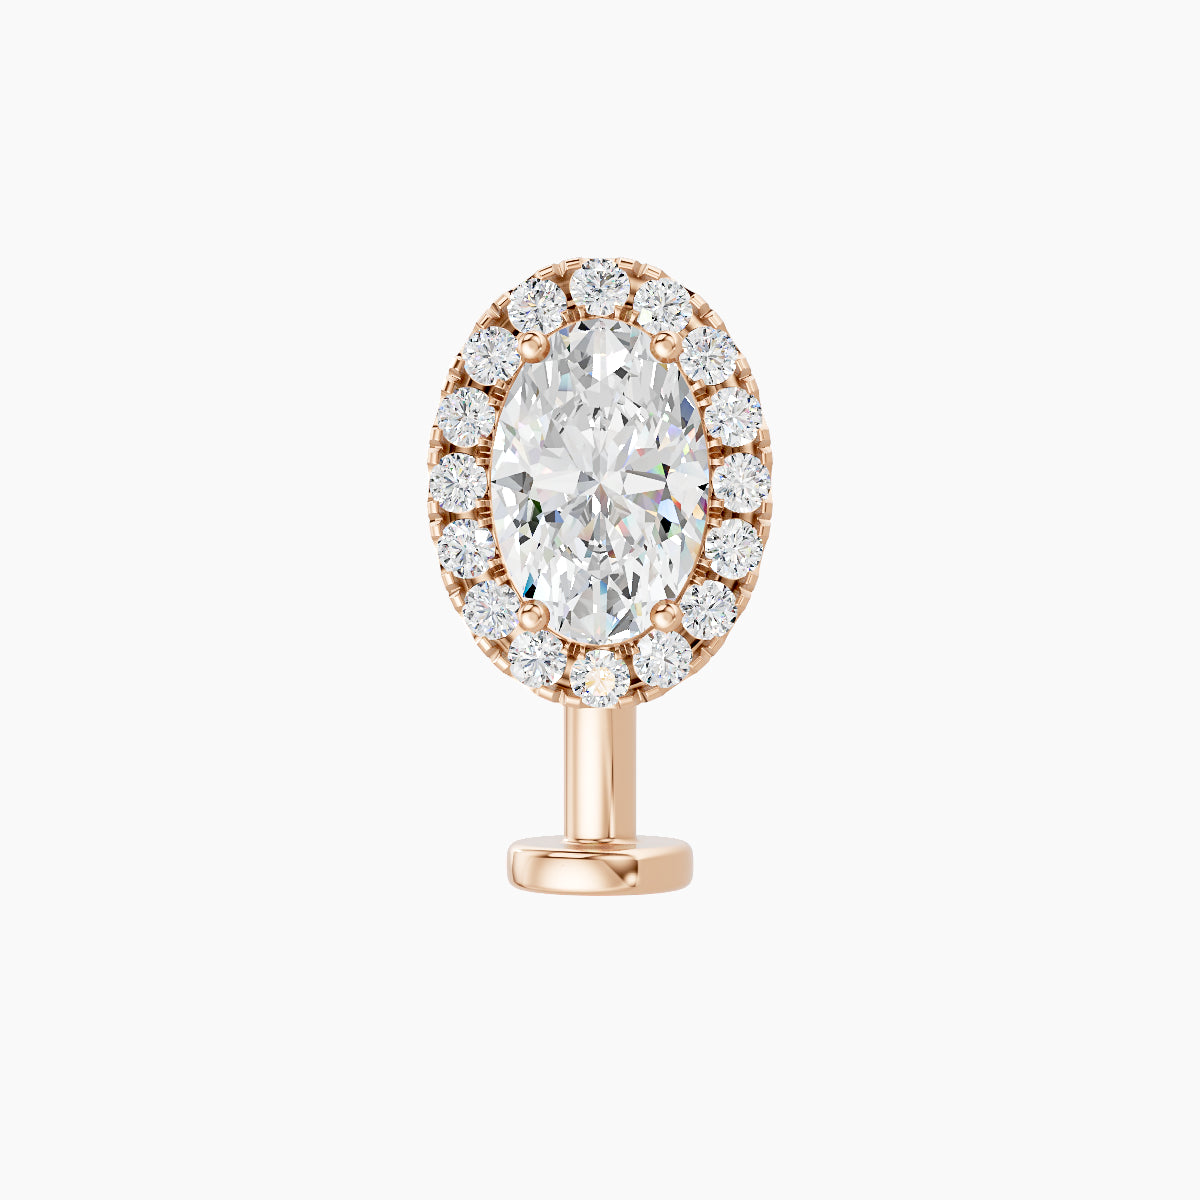
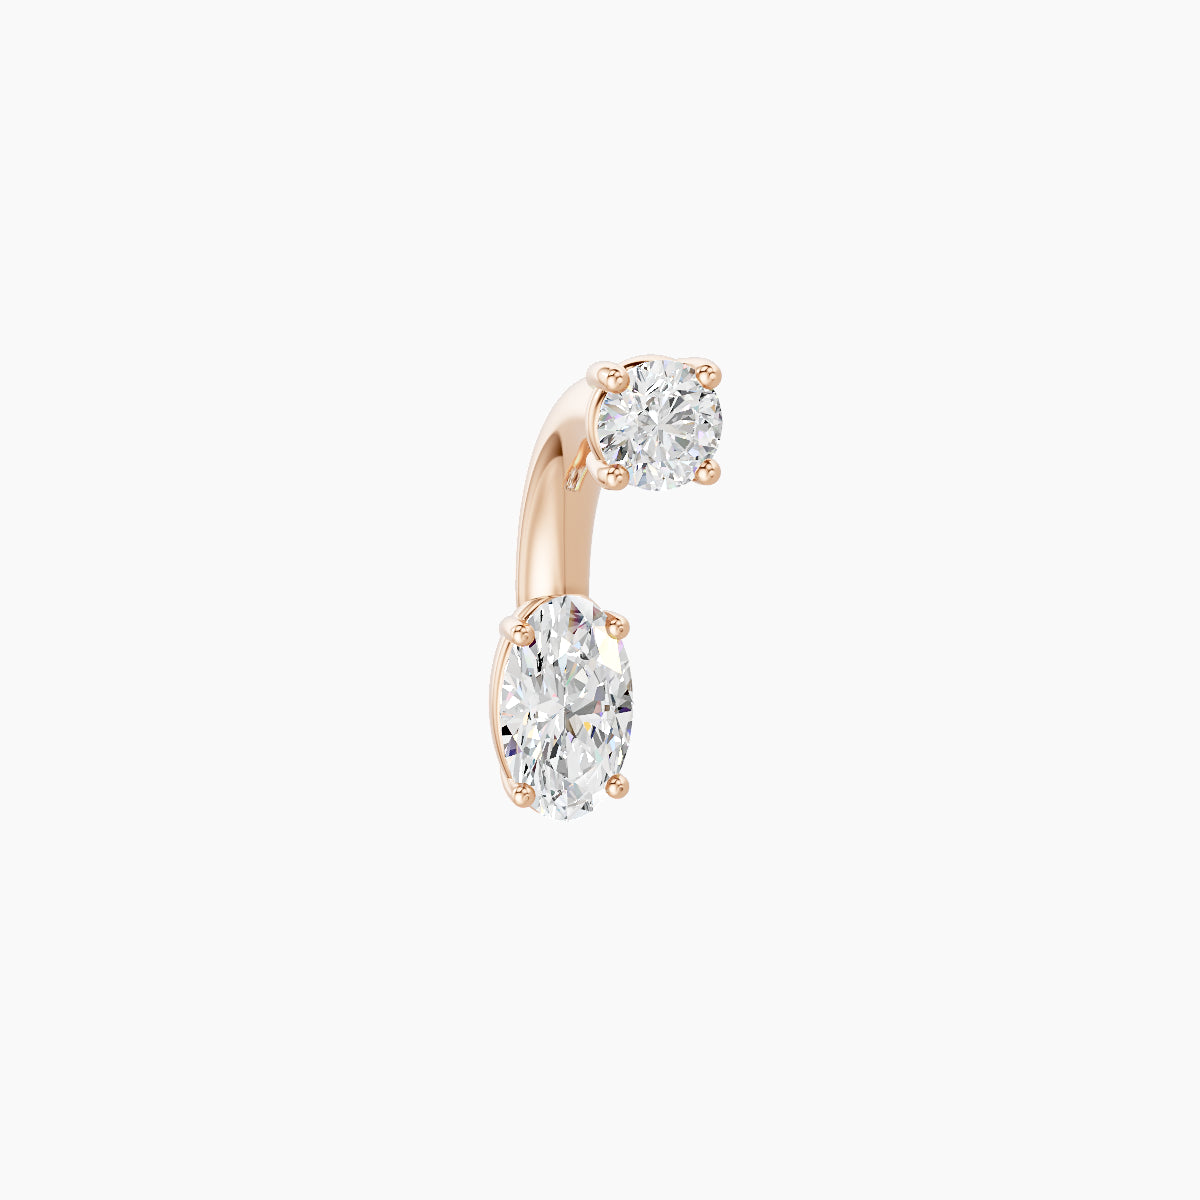
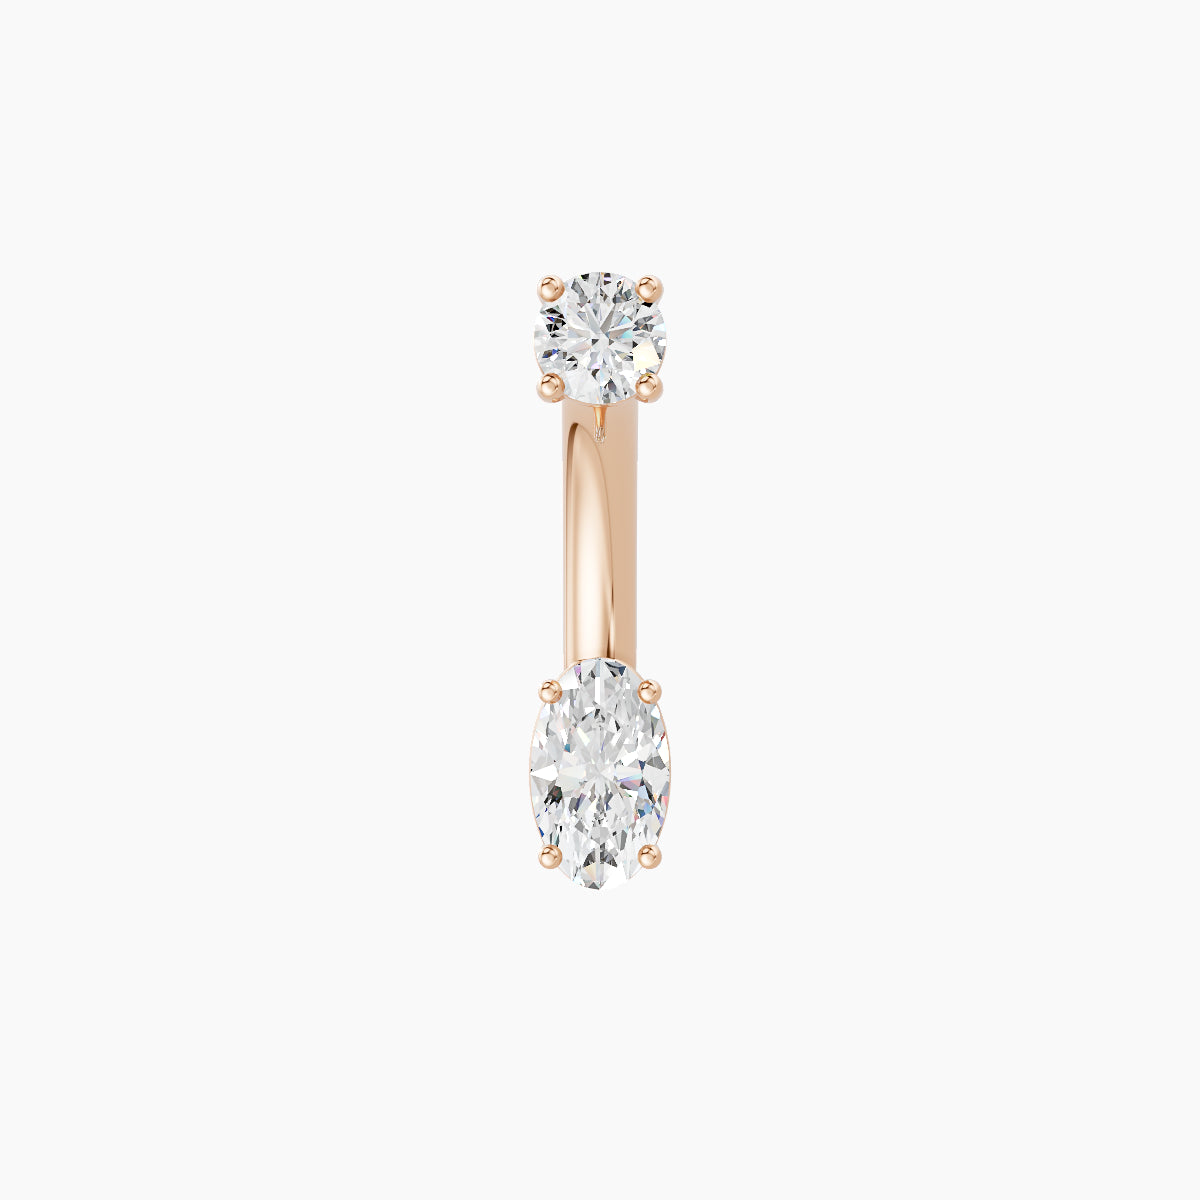
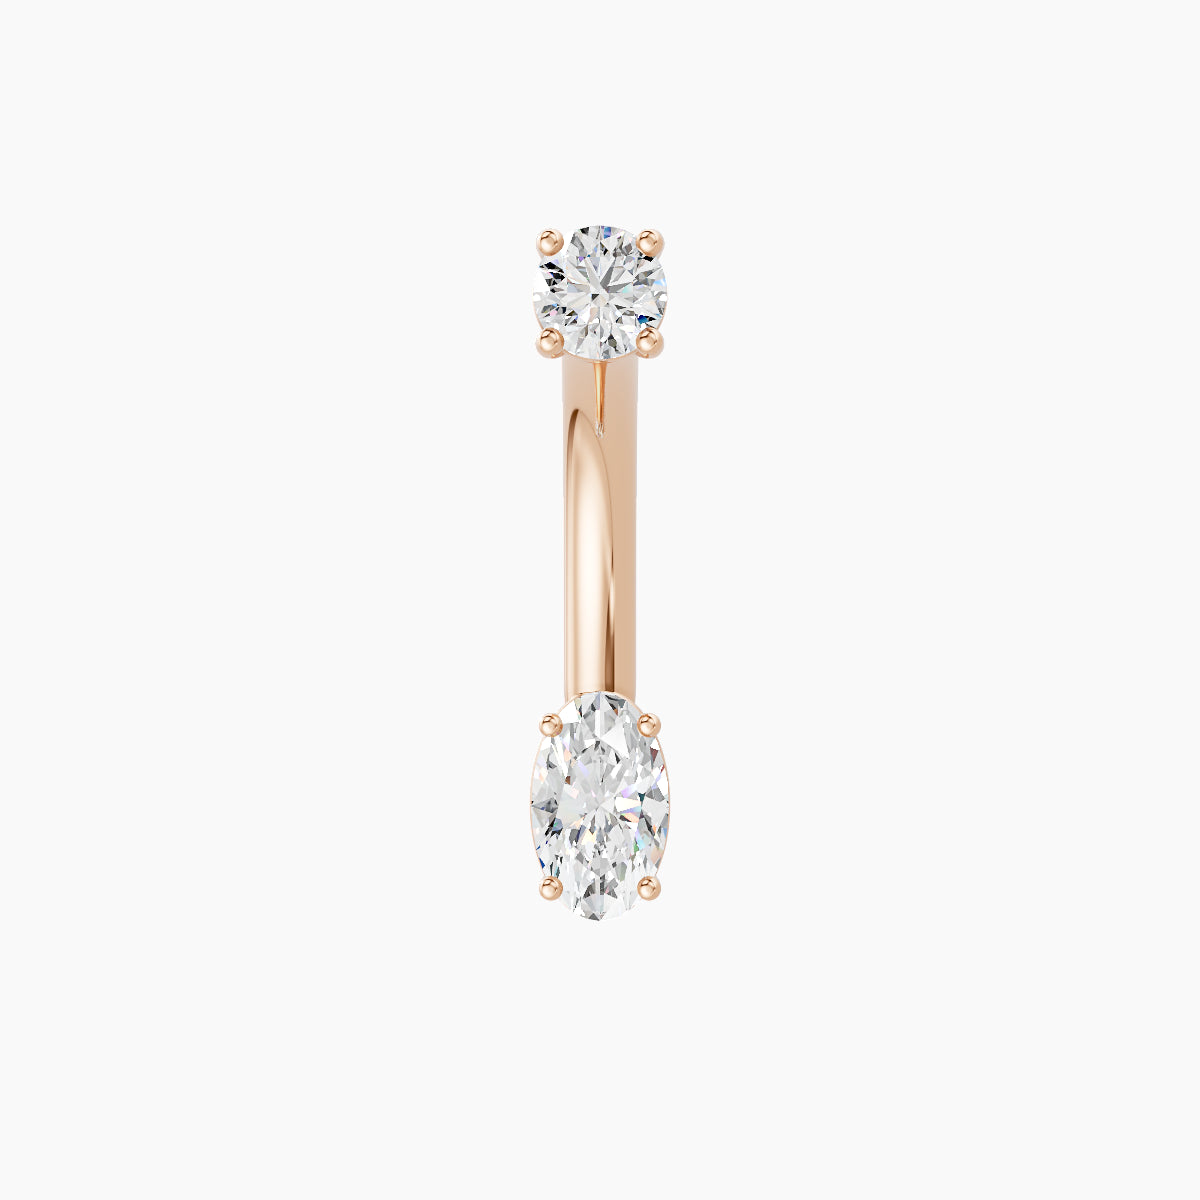
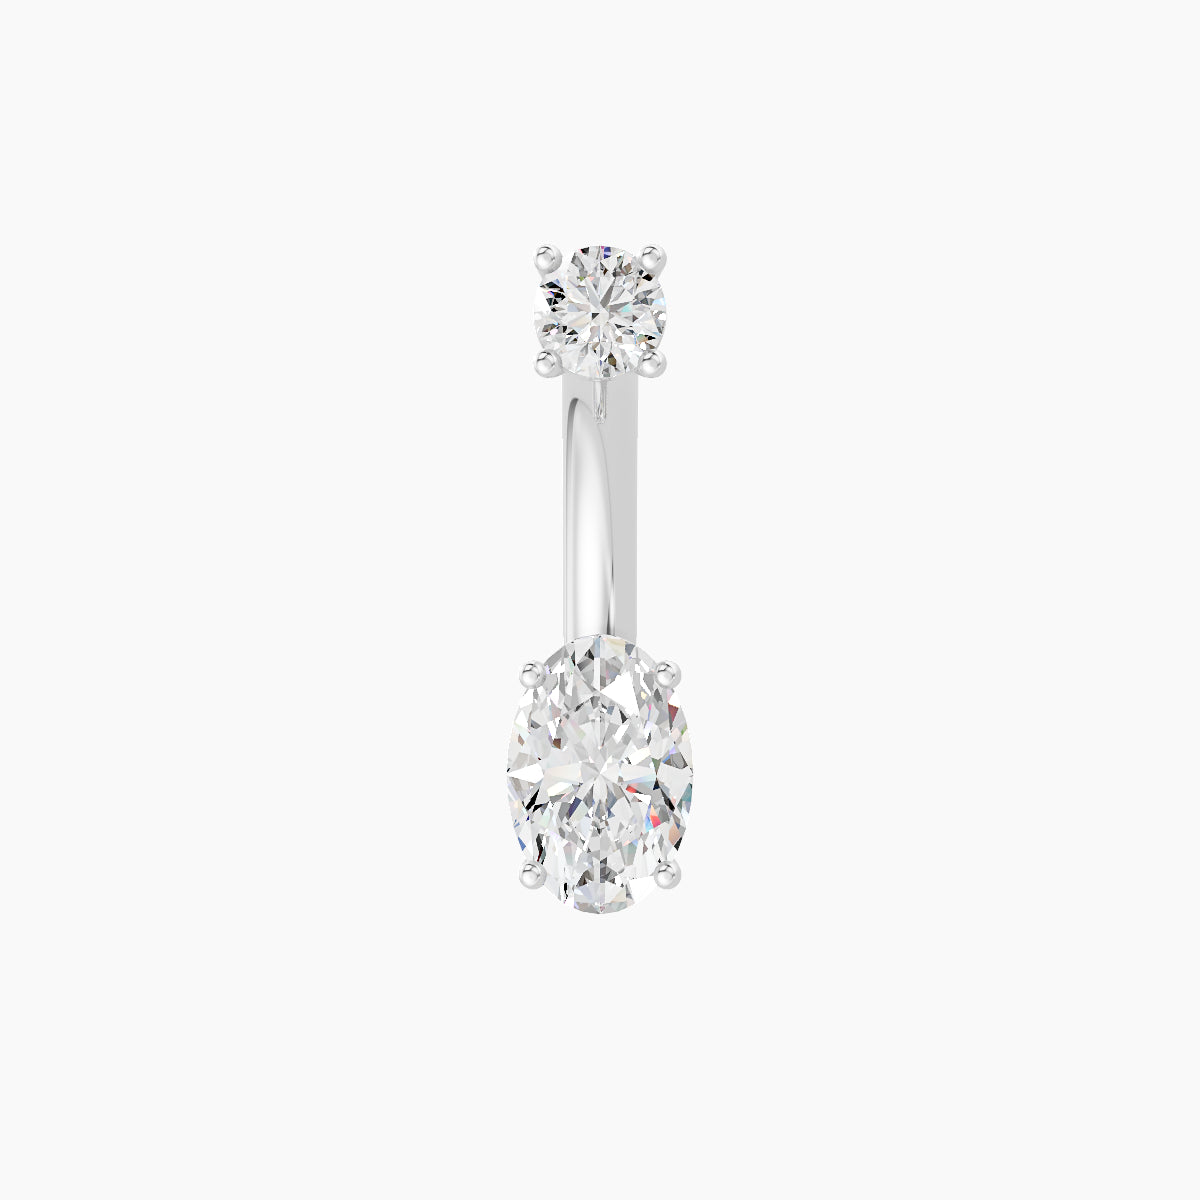
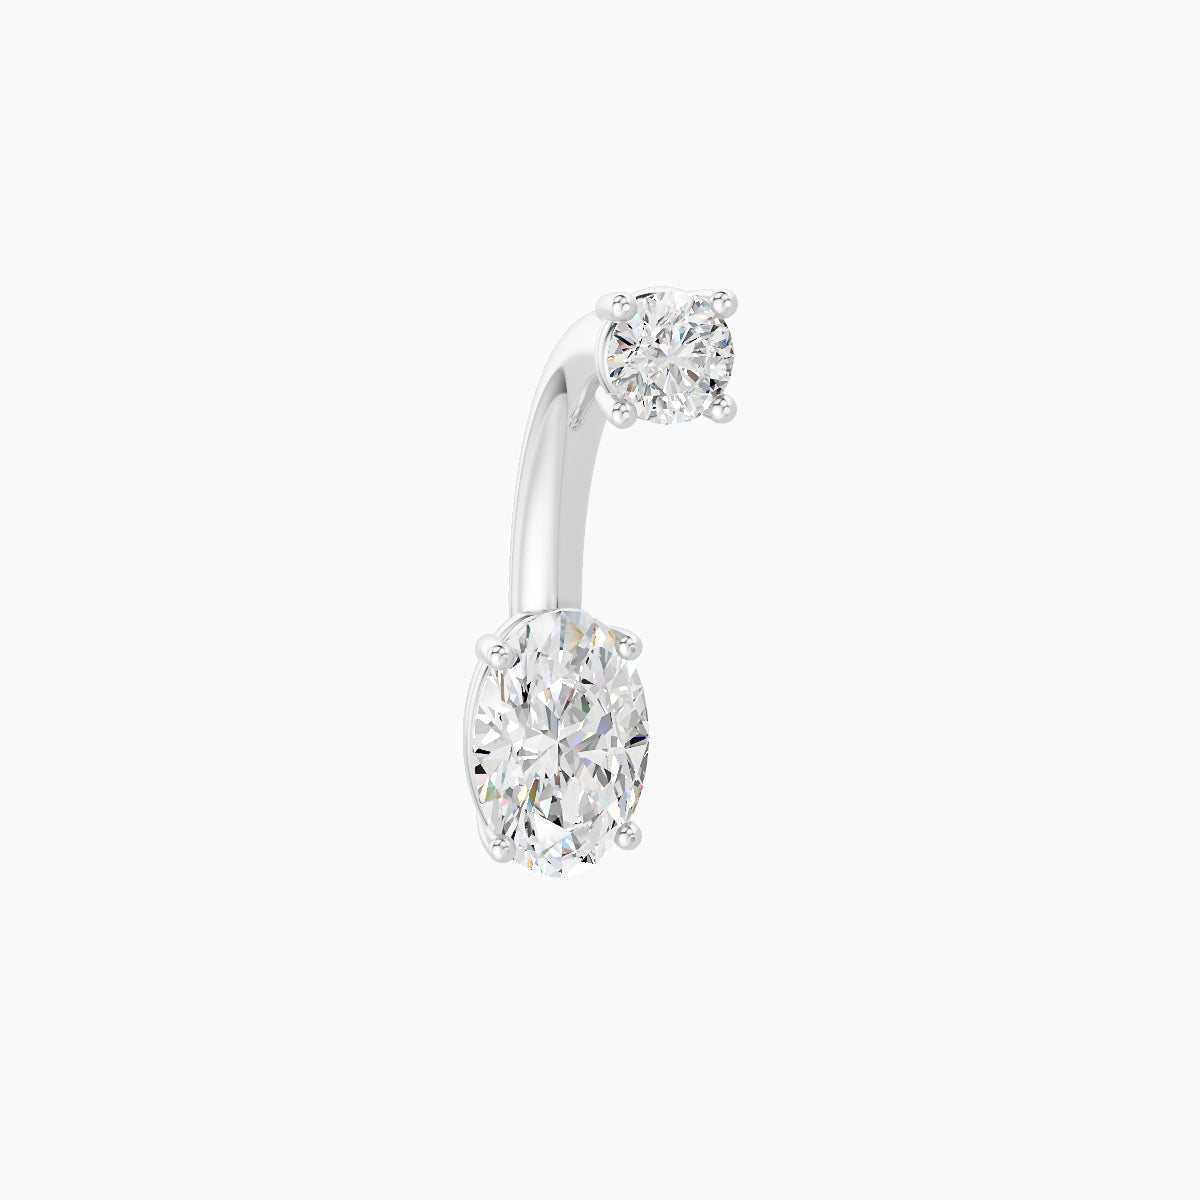
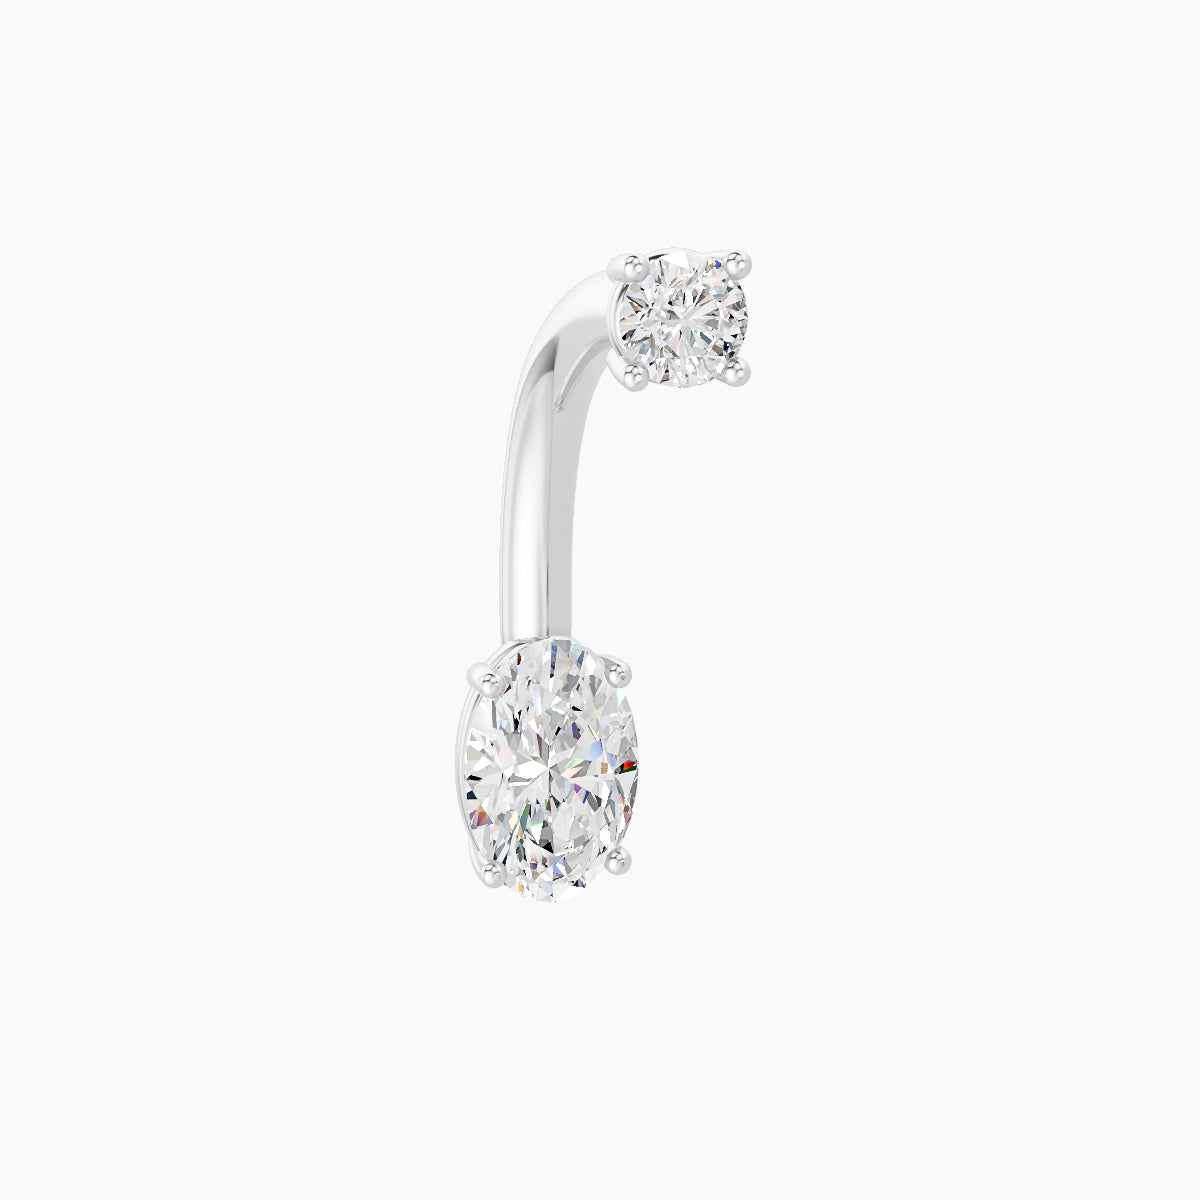
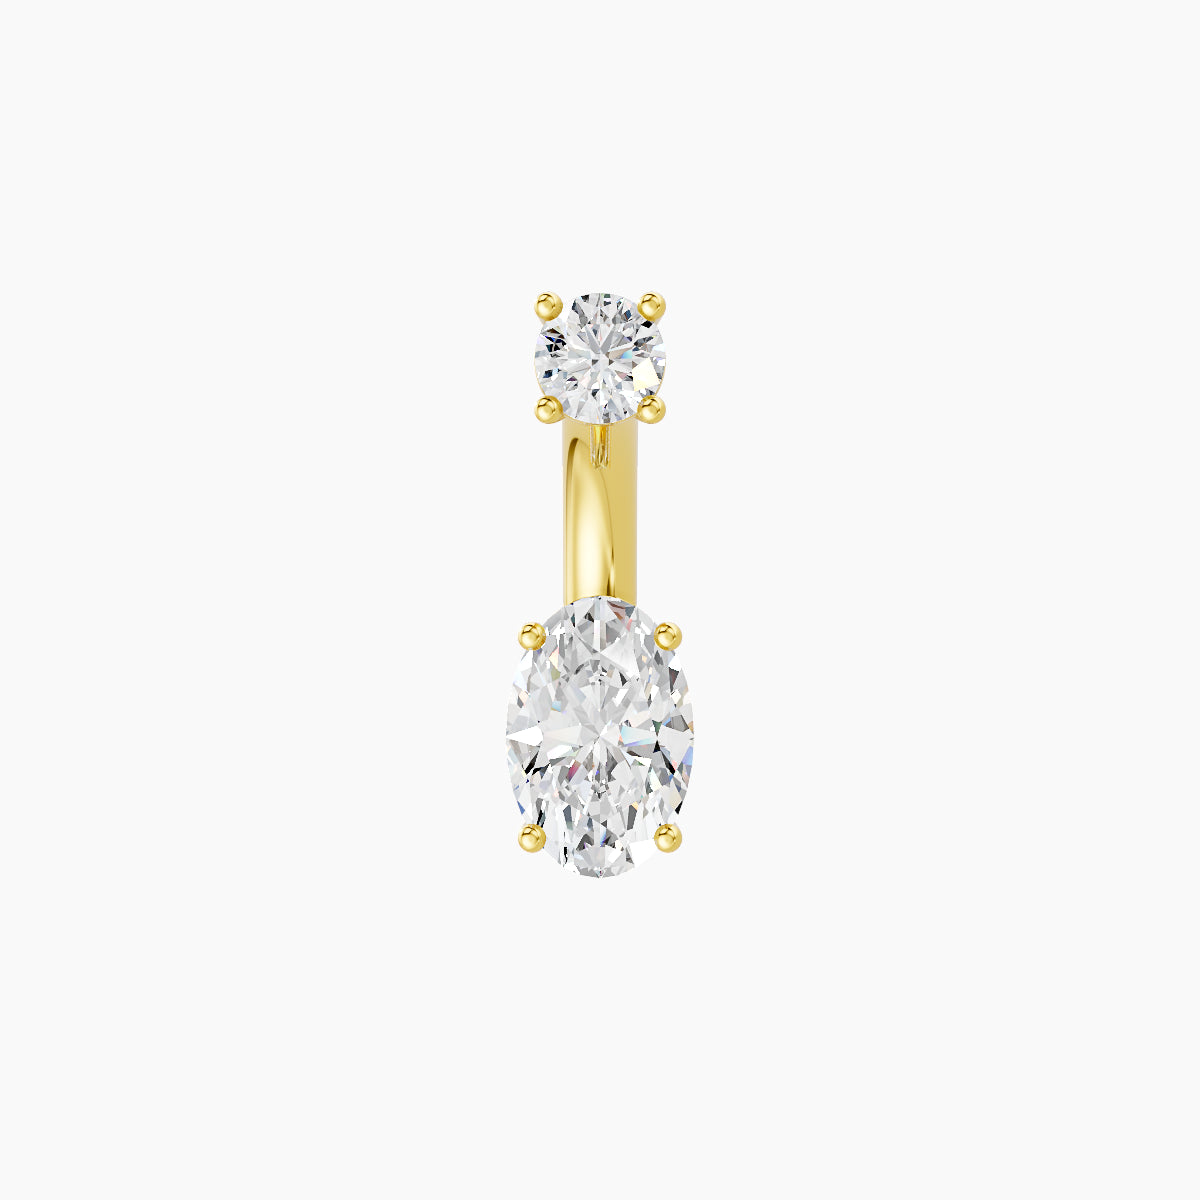
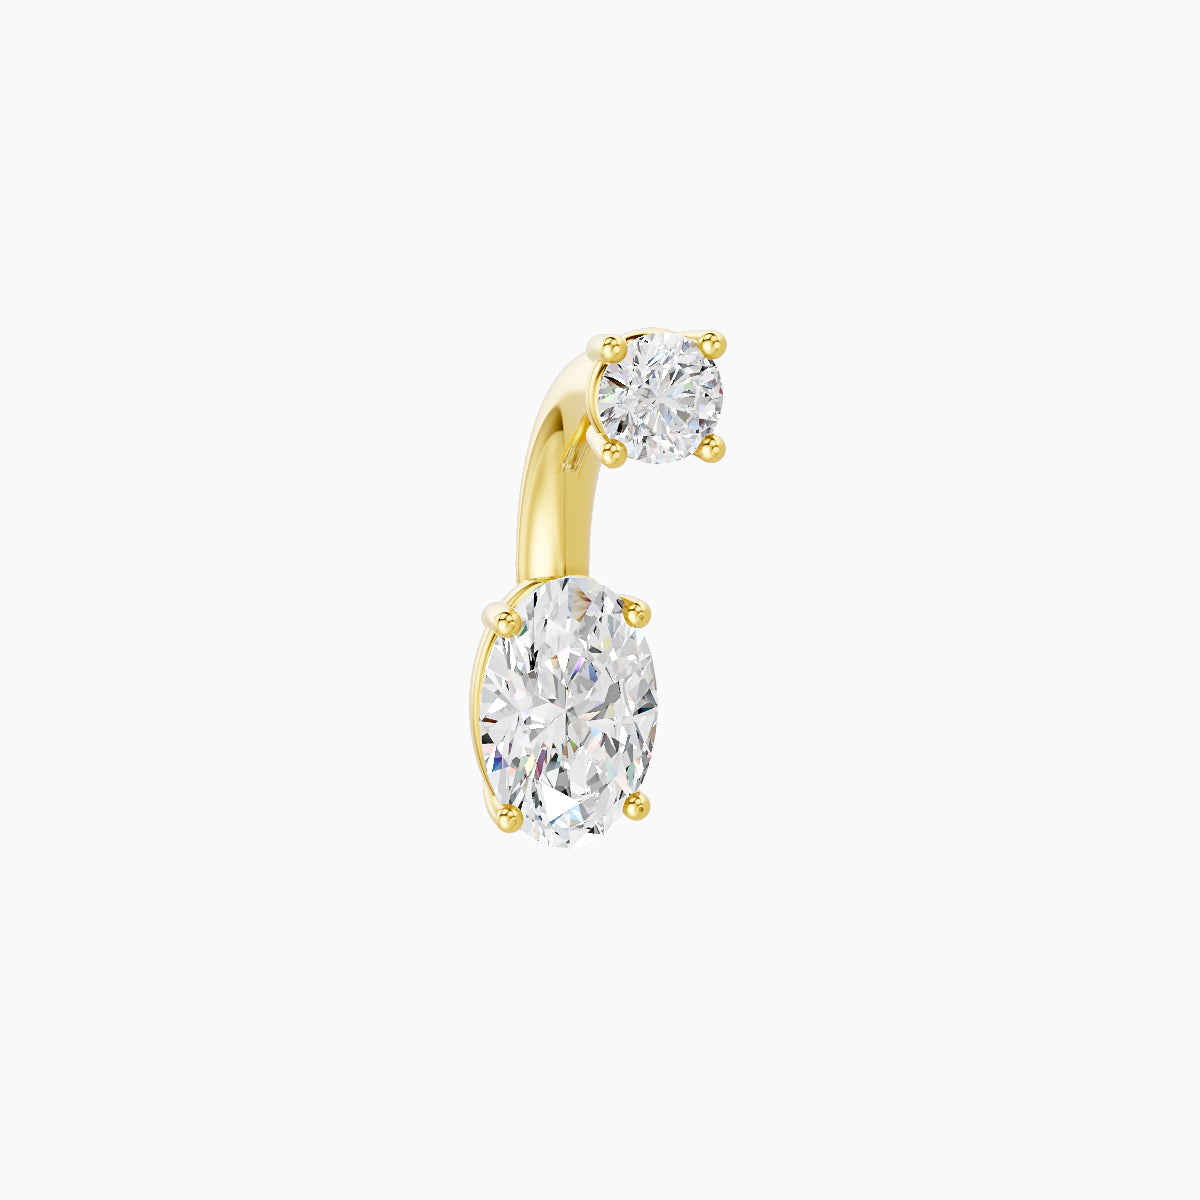
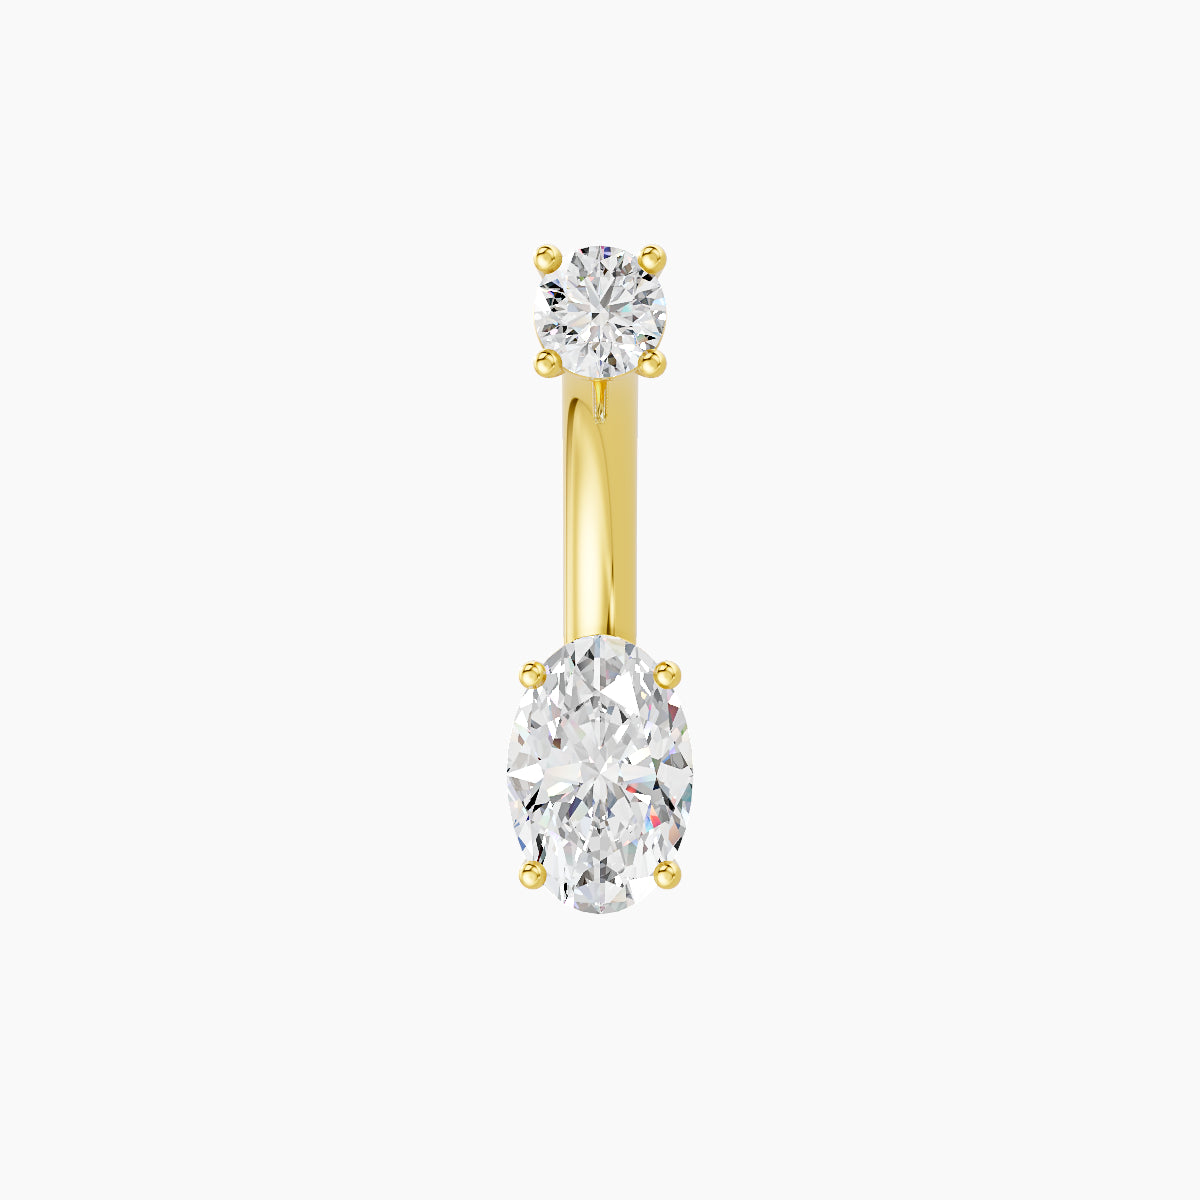
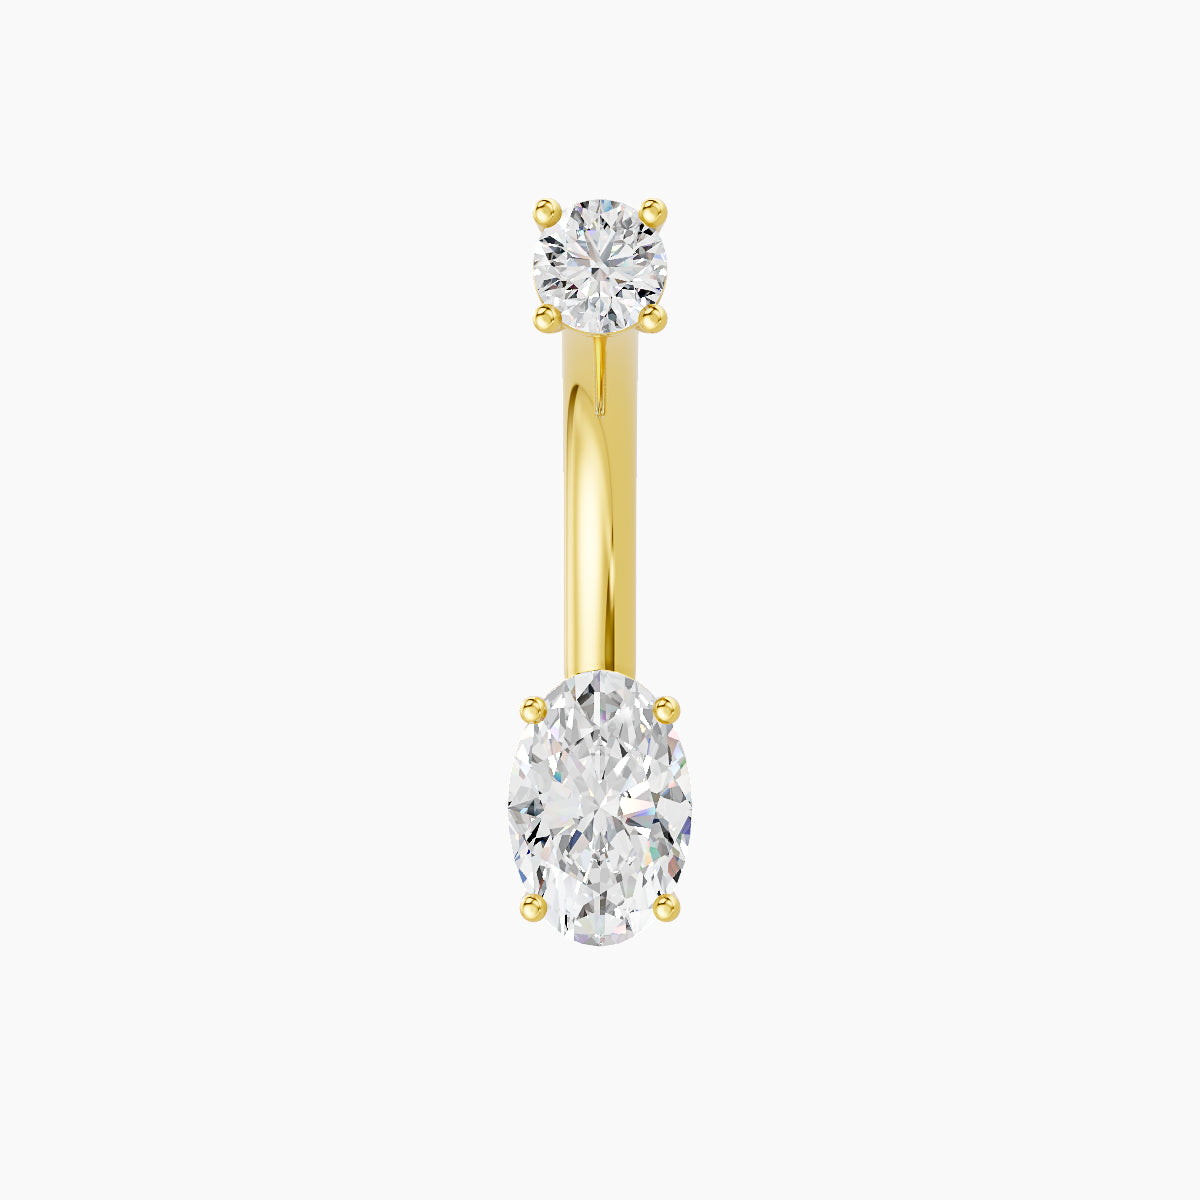
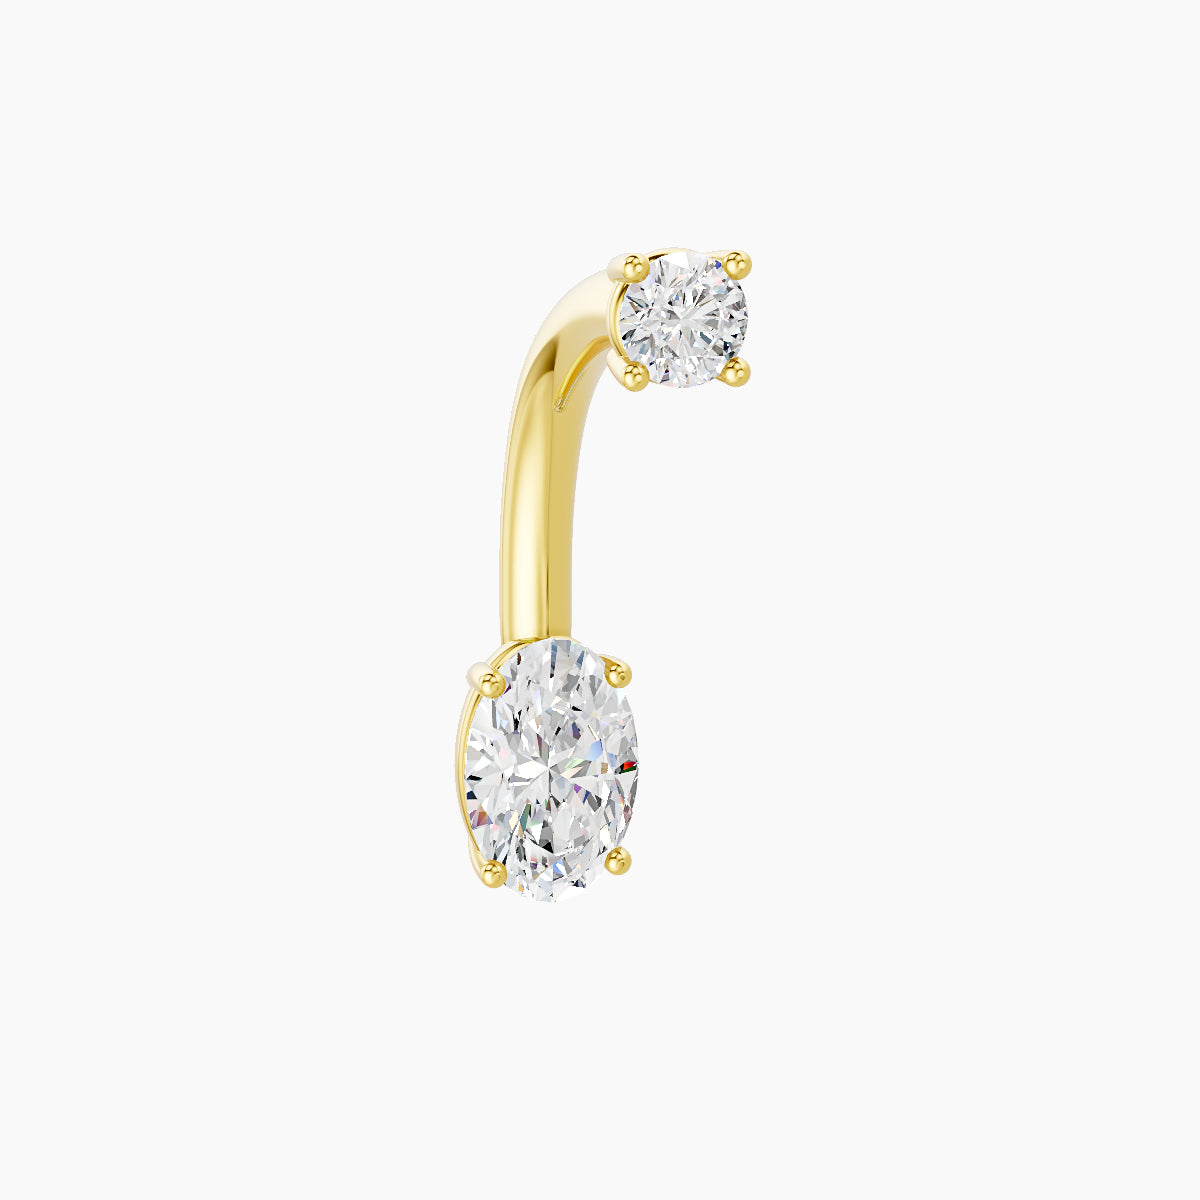
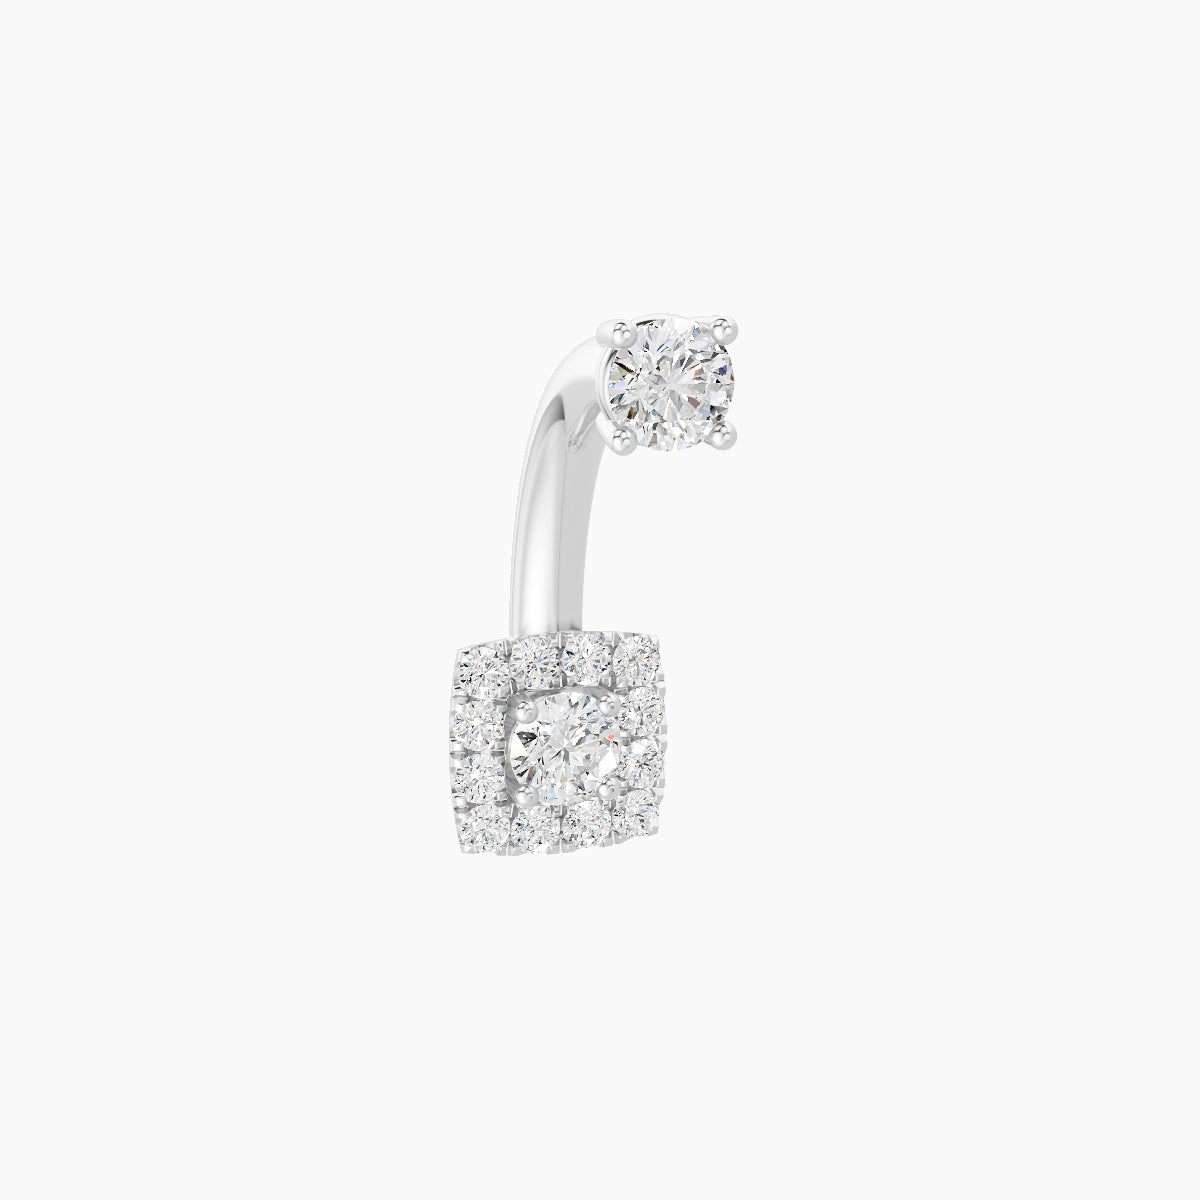
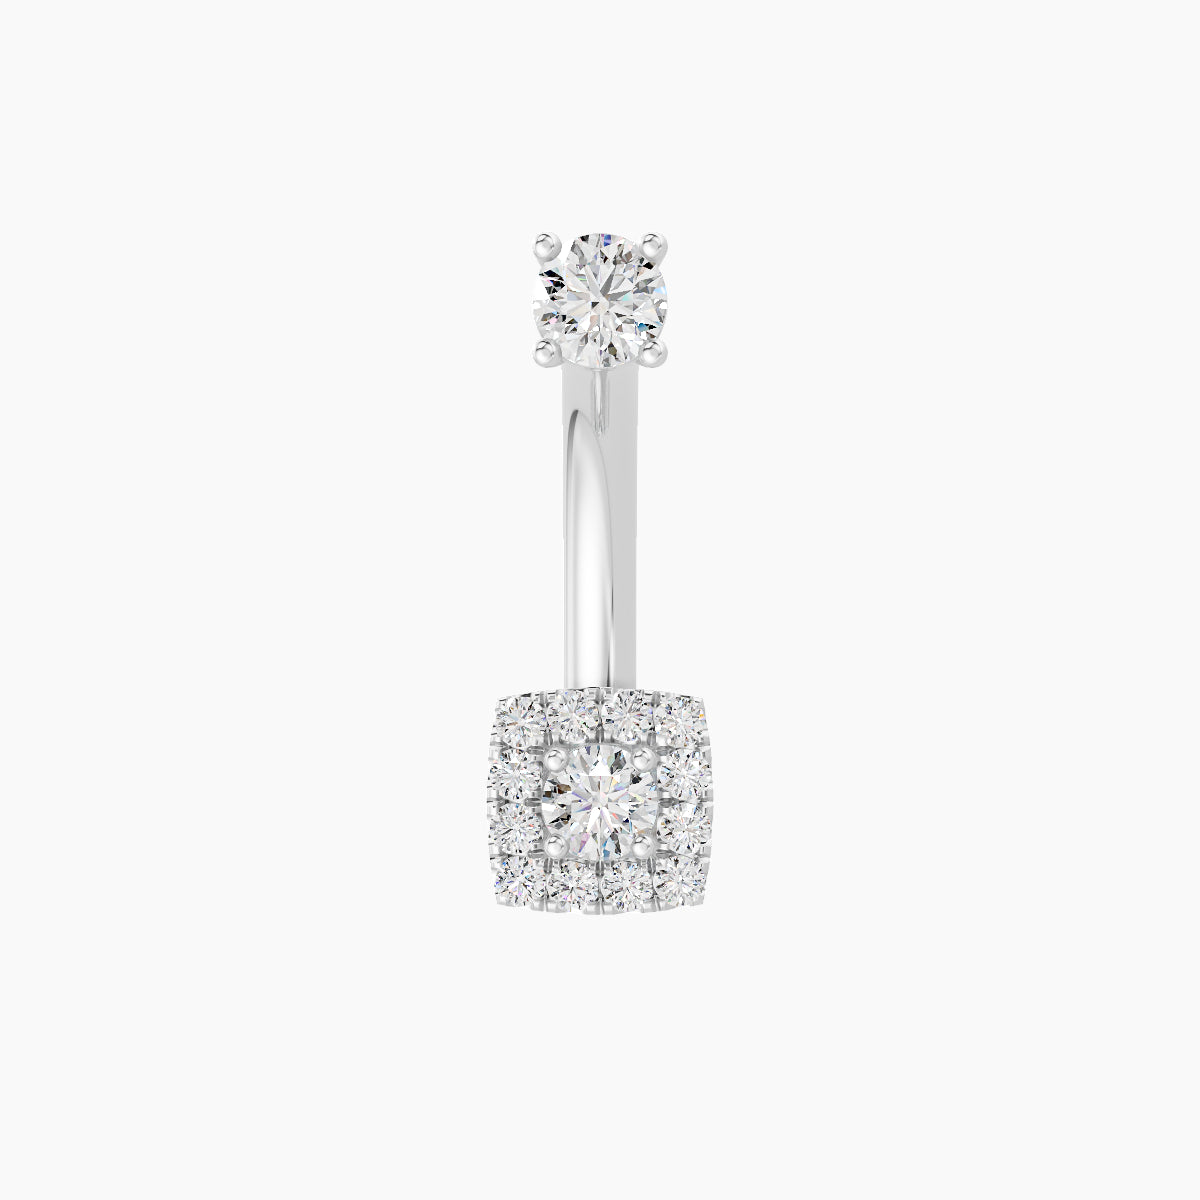
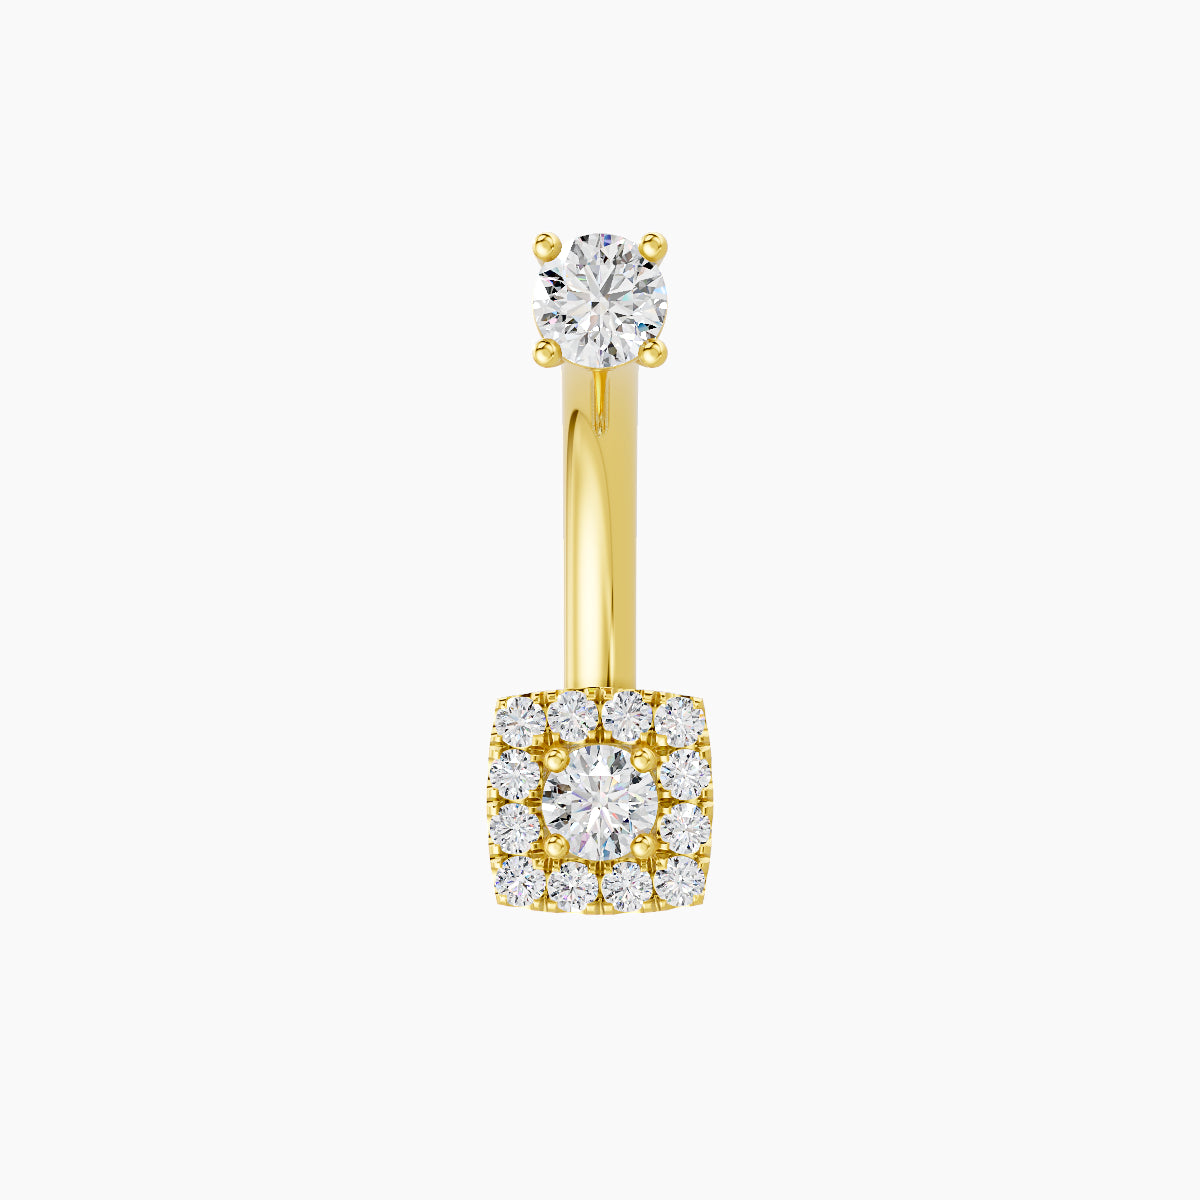
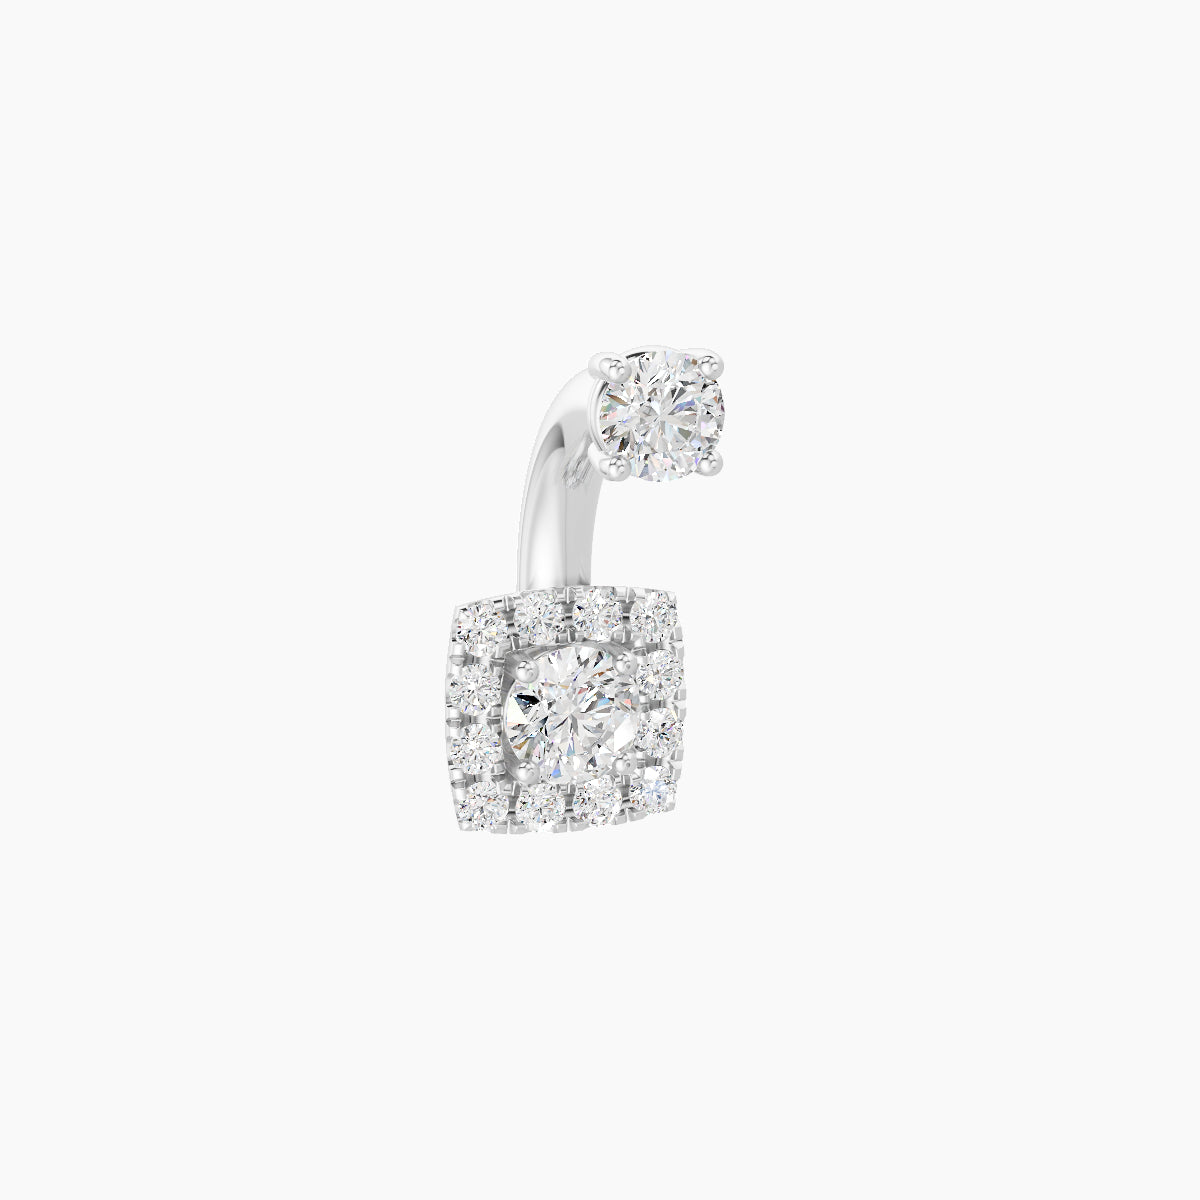
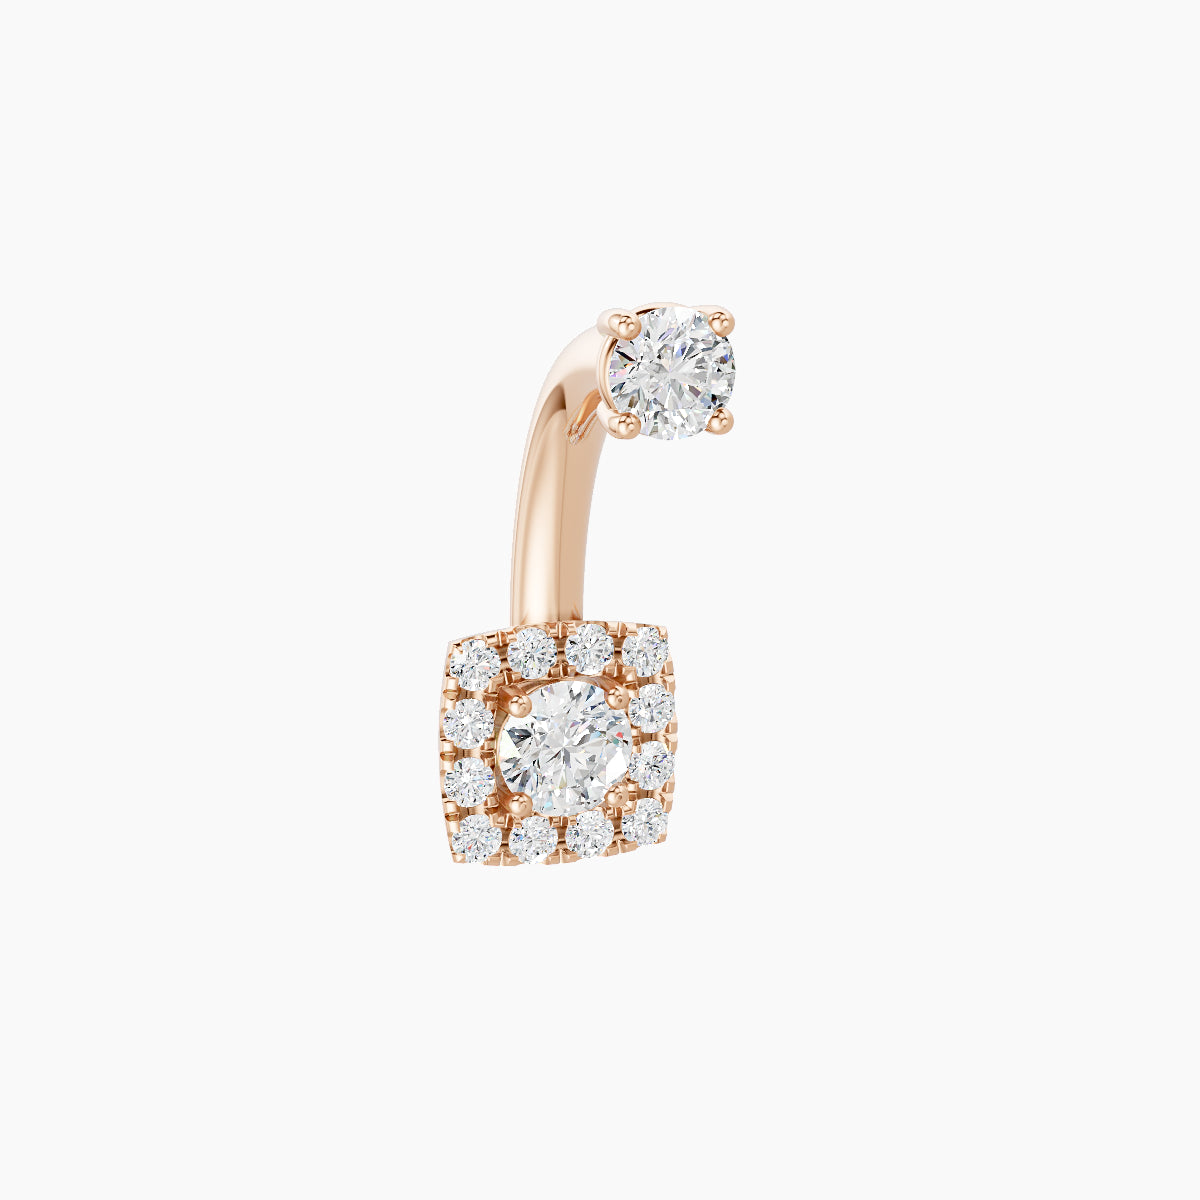
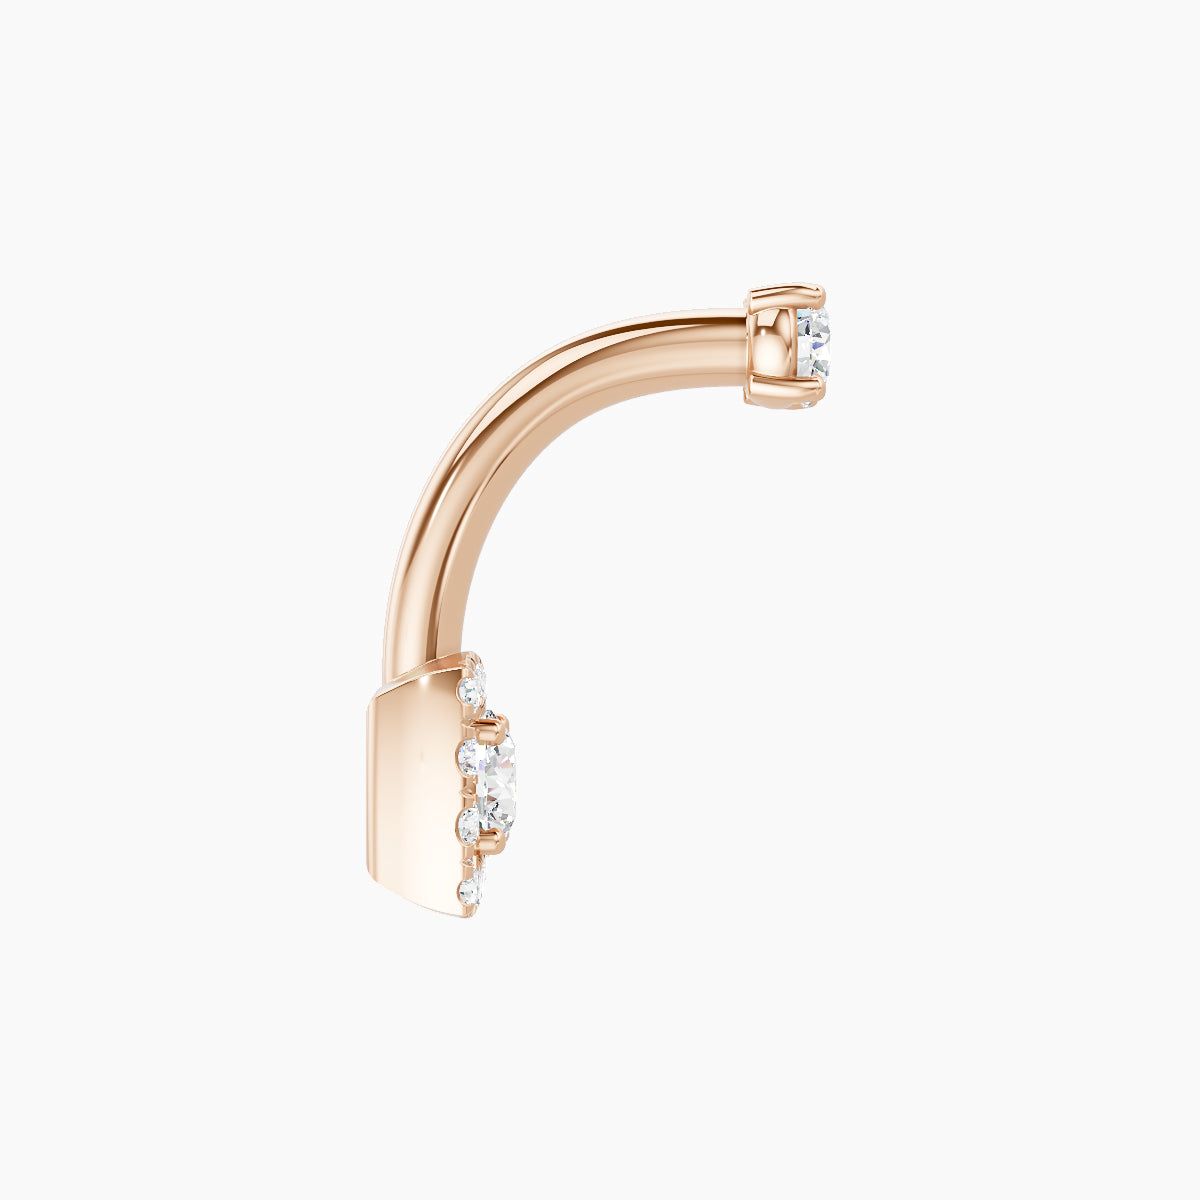
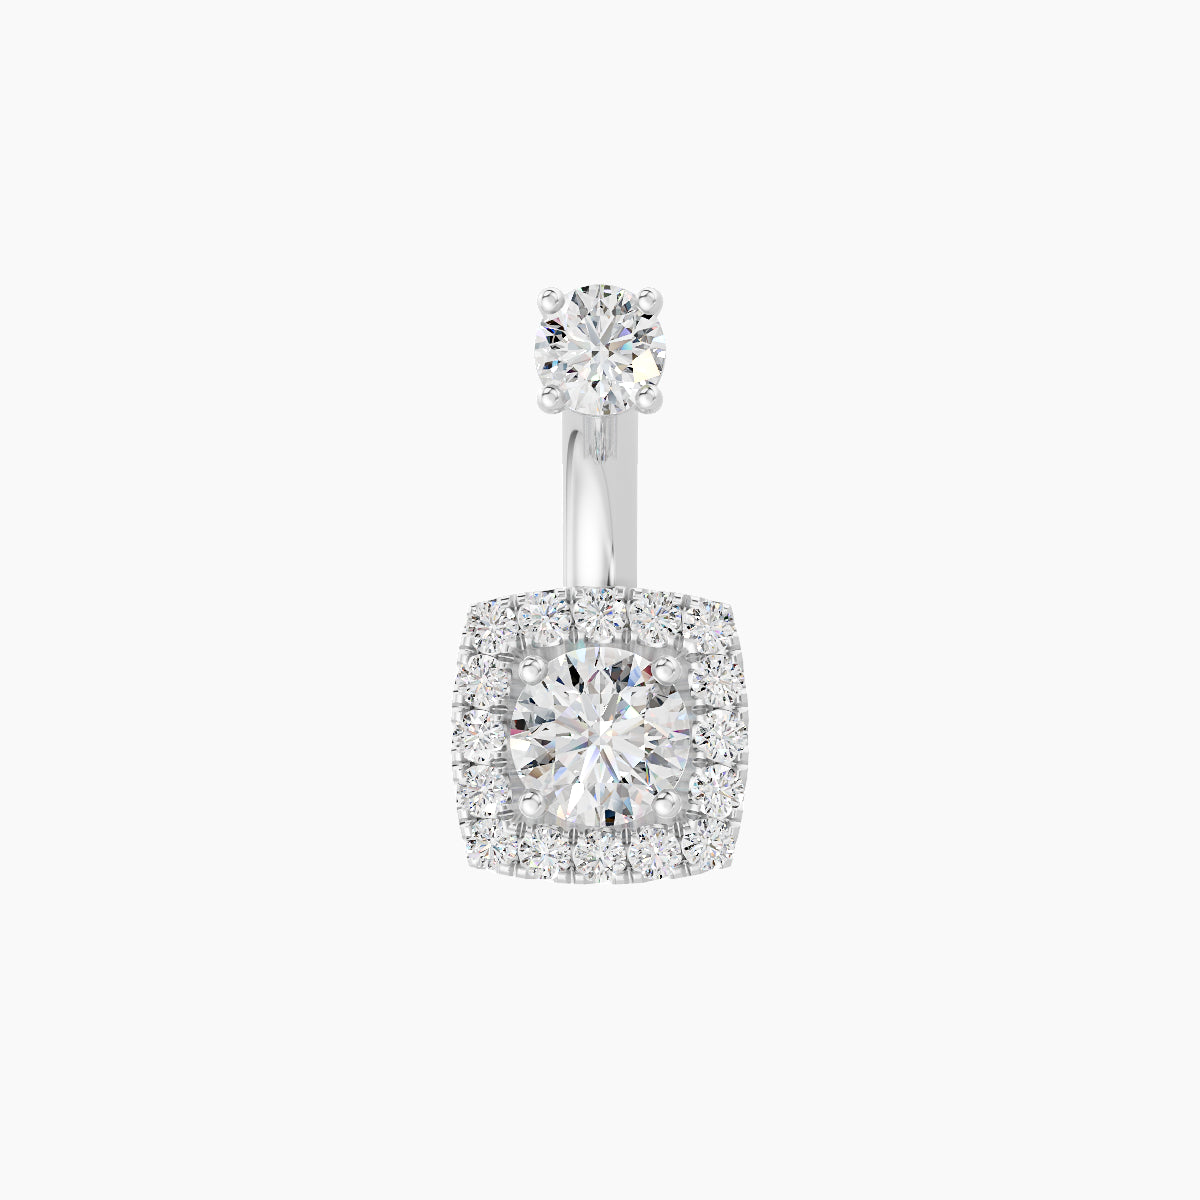
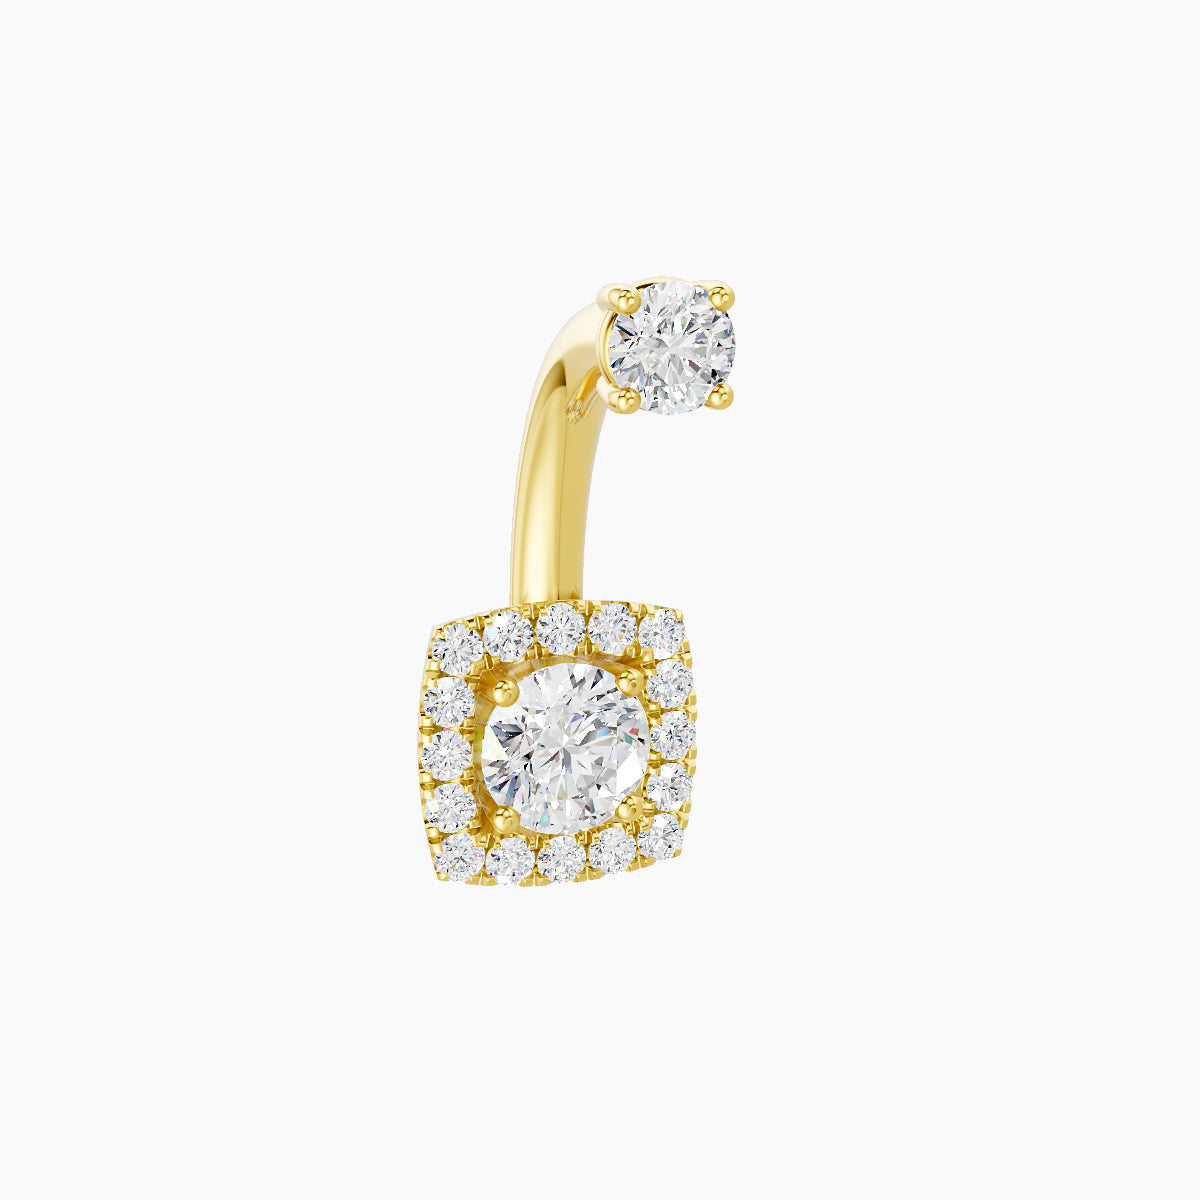
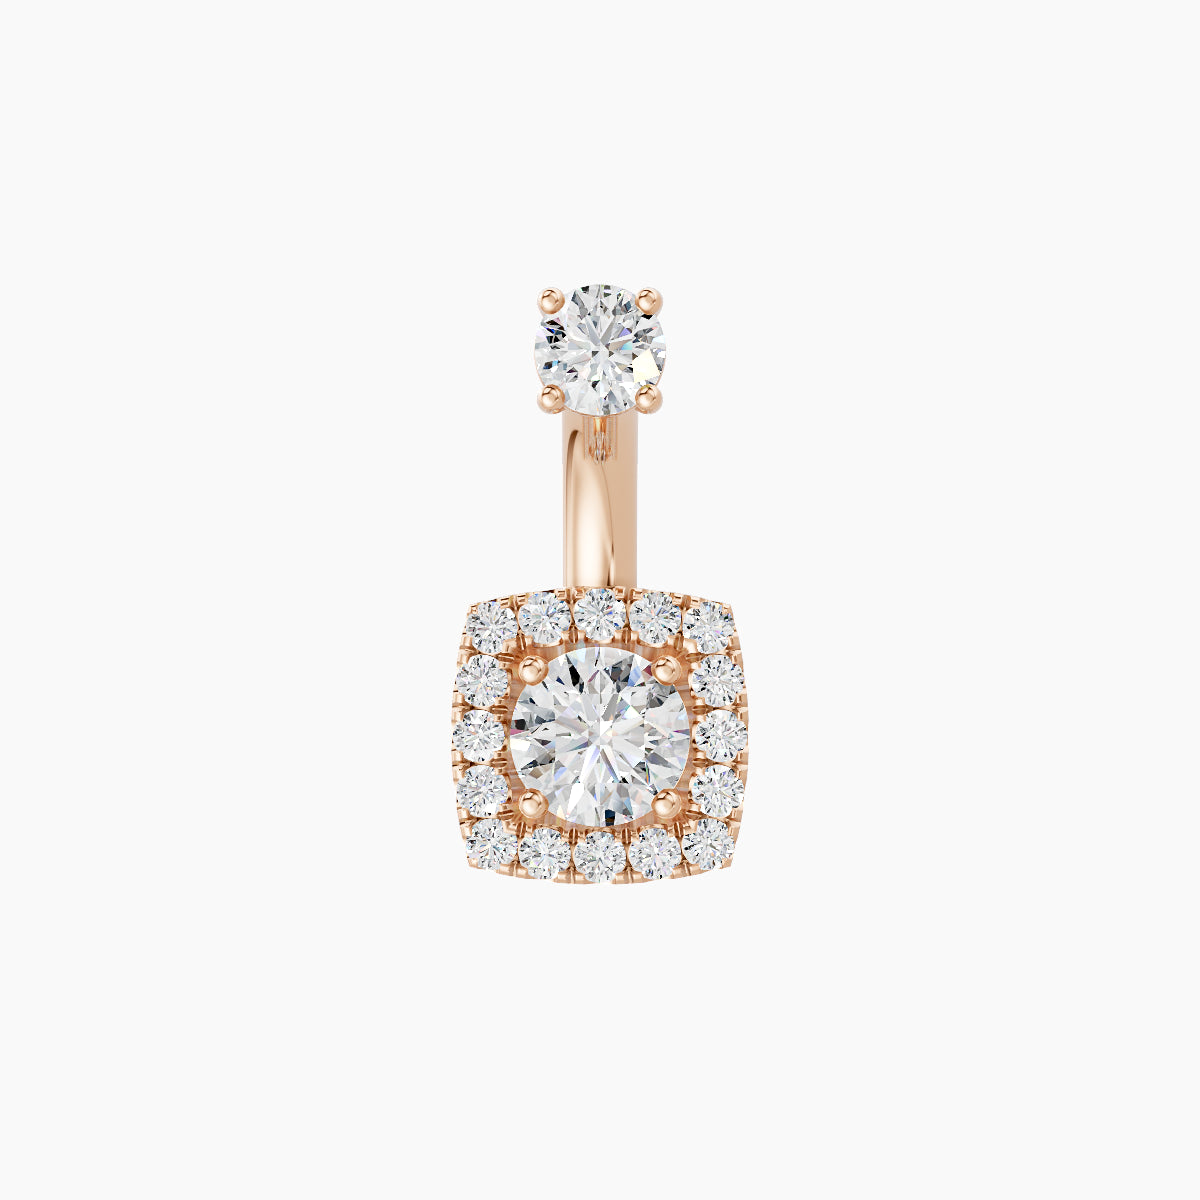
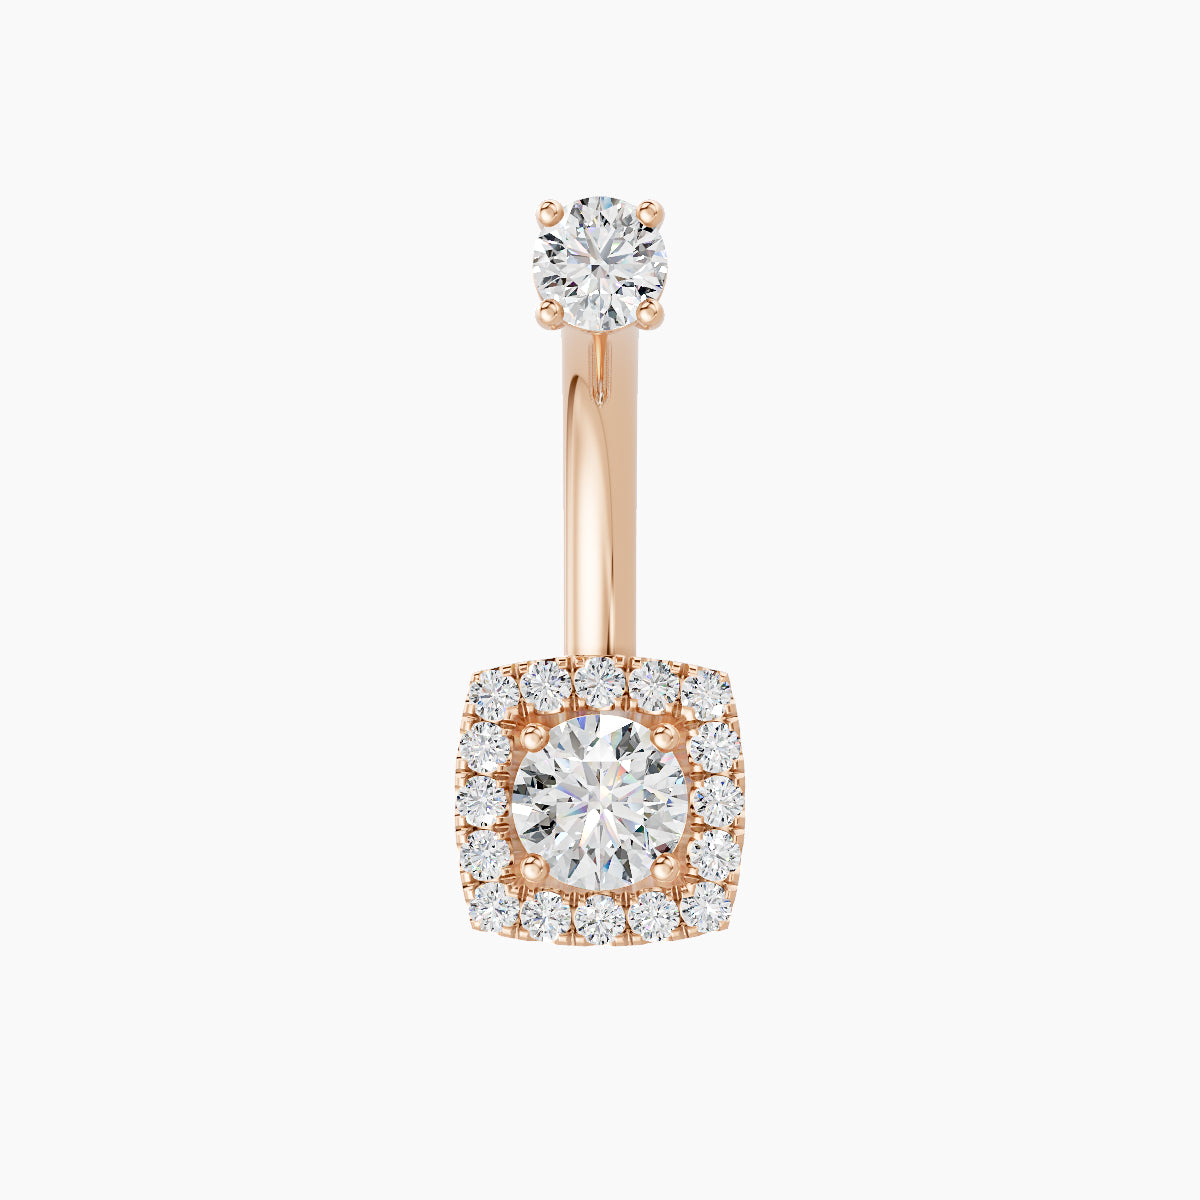
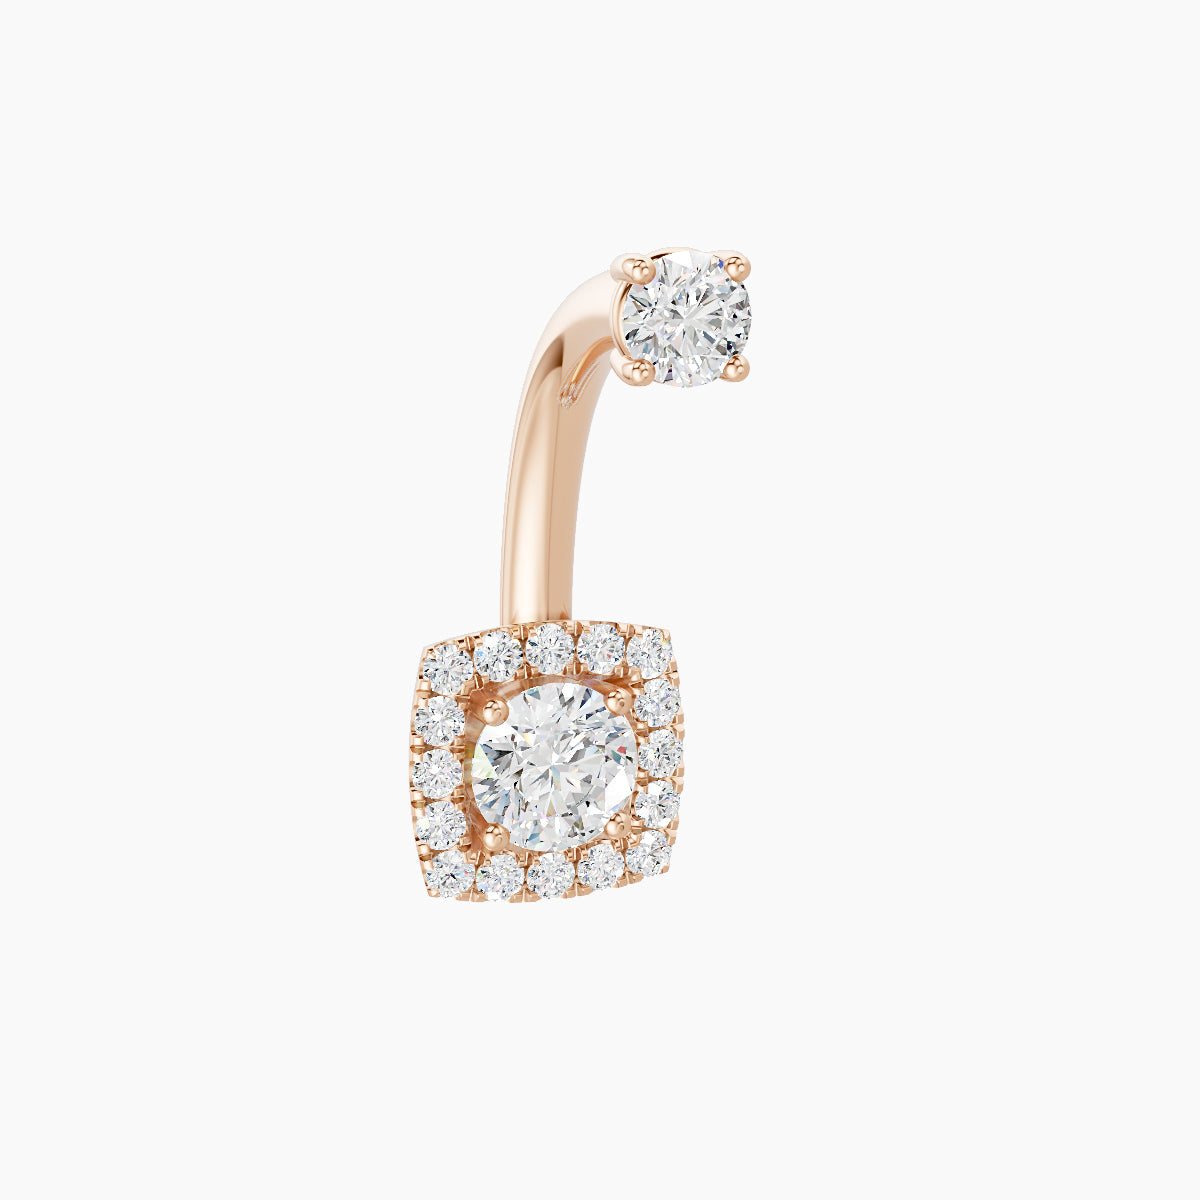
→ Discover our classic round diamond belly button piercing, designed as an essential piece to wear every day.
After healing: fit and personal preference
Once your belly button piercing is fully healed, some people prefer to keep their original jewelry permanently, especially when it is well-fitted and of high quality.
Others may choose to downsize to a shorter bar, typically around 8 mm, for a closer fit and a more refined look.
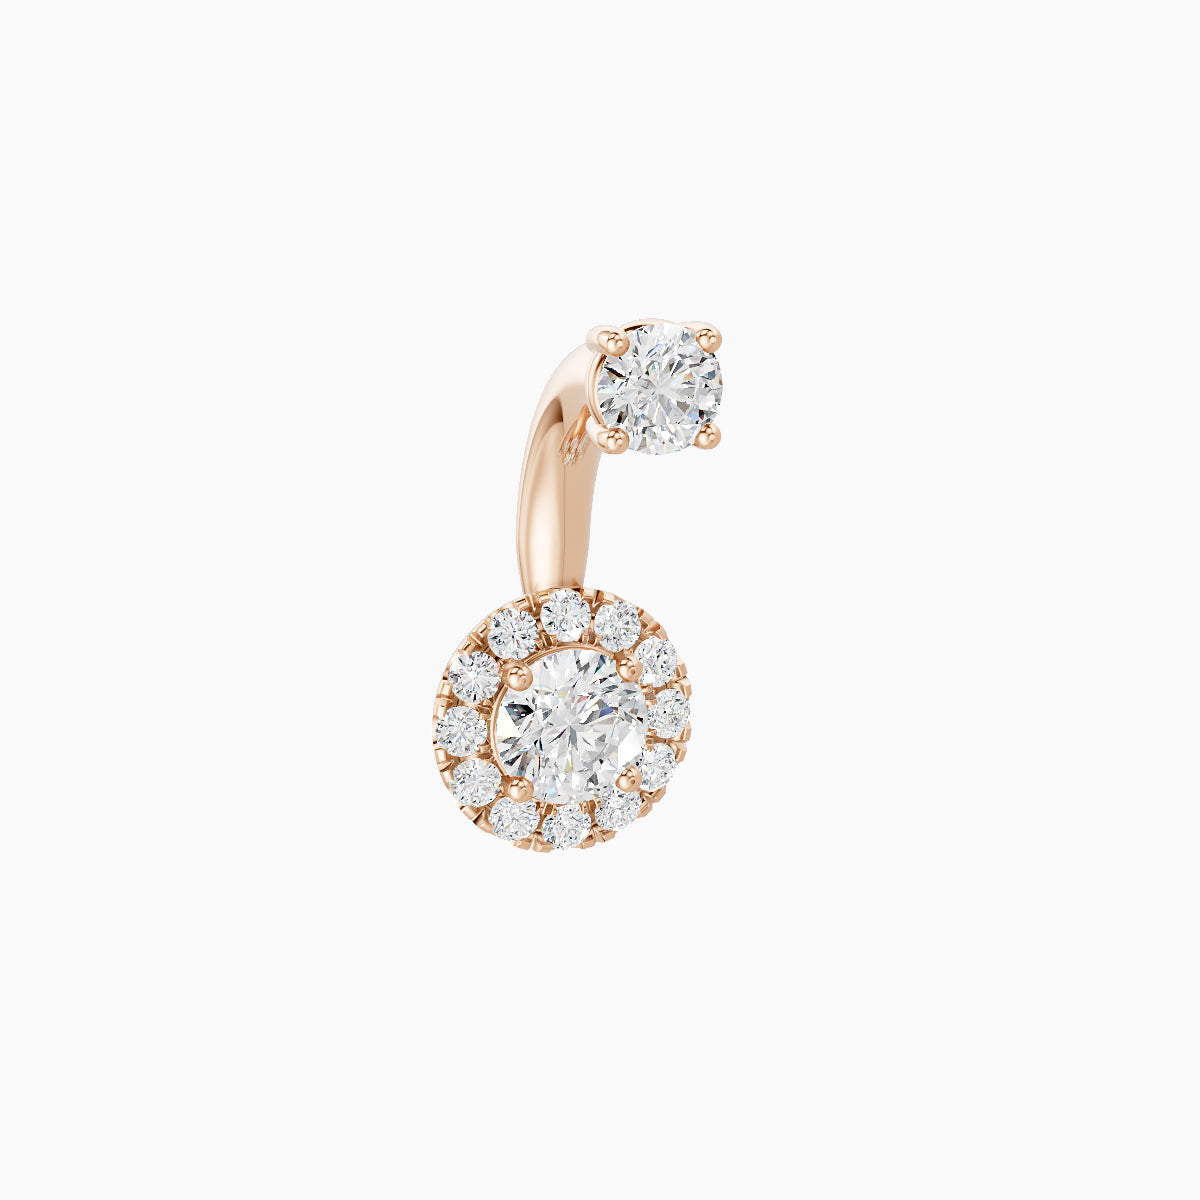
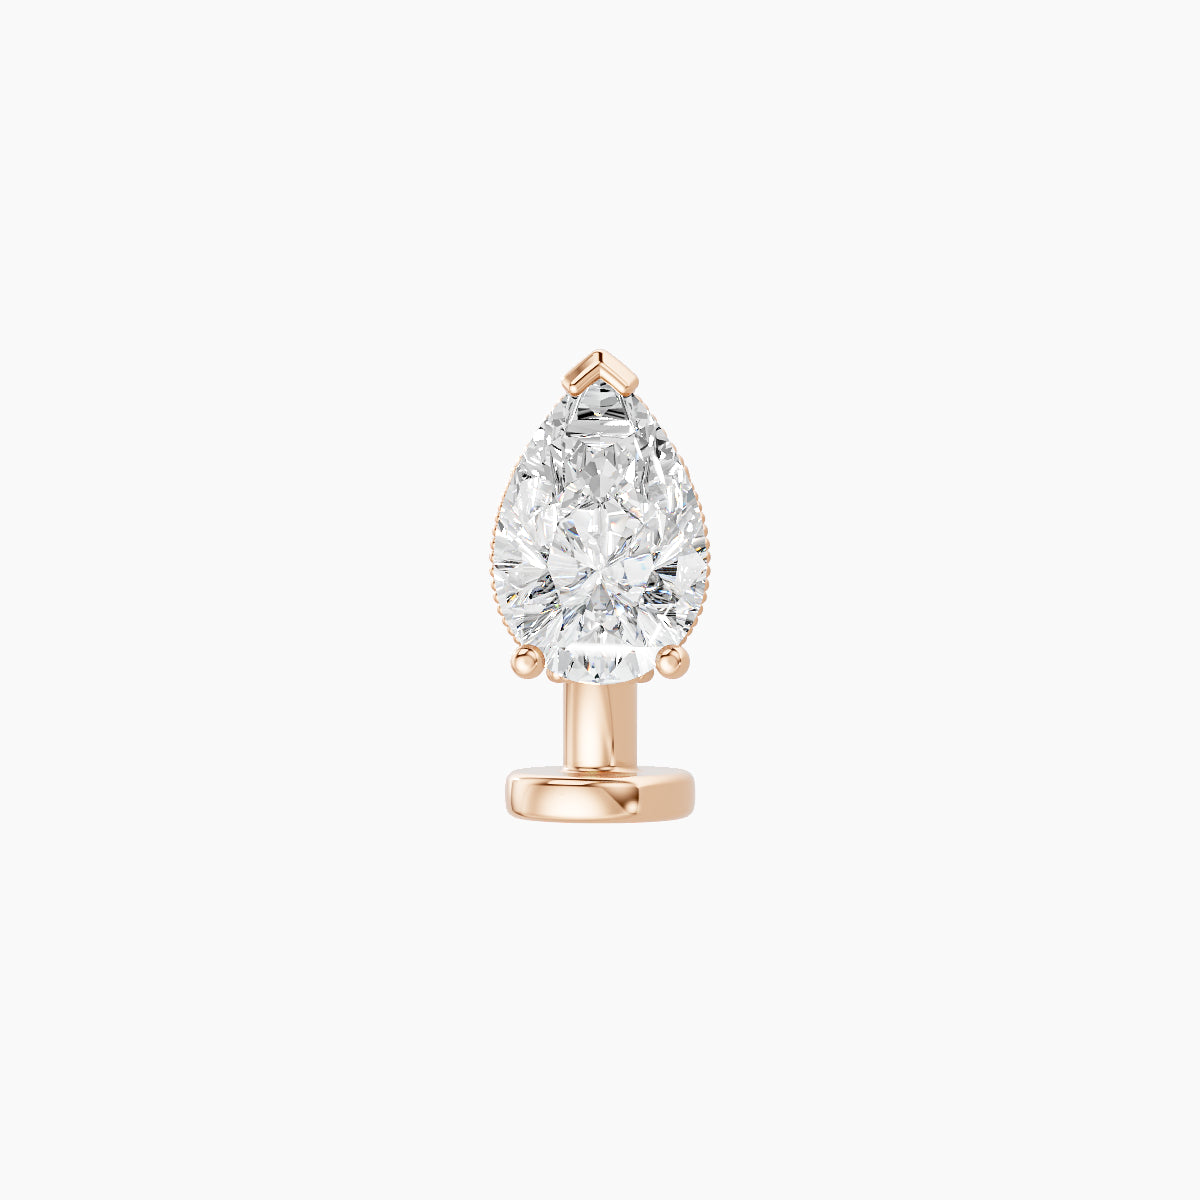
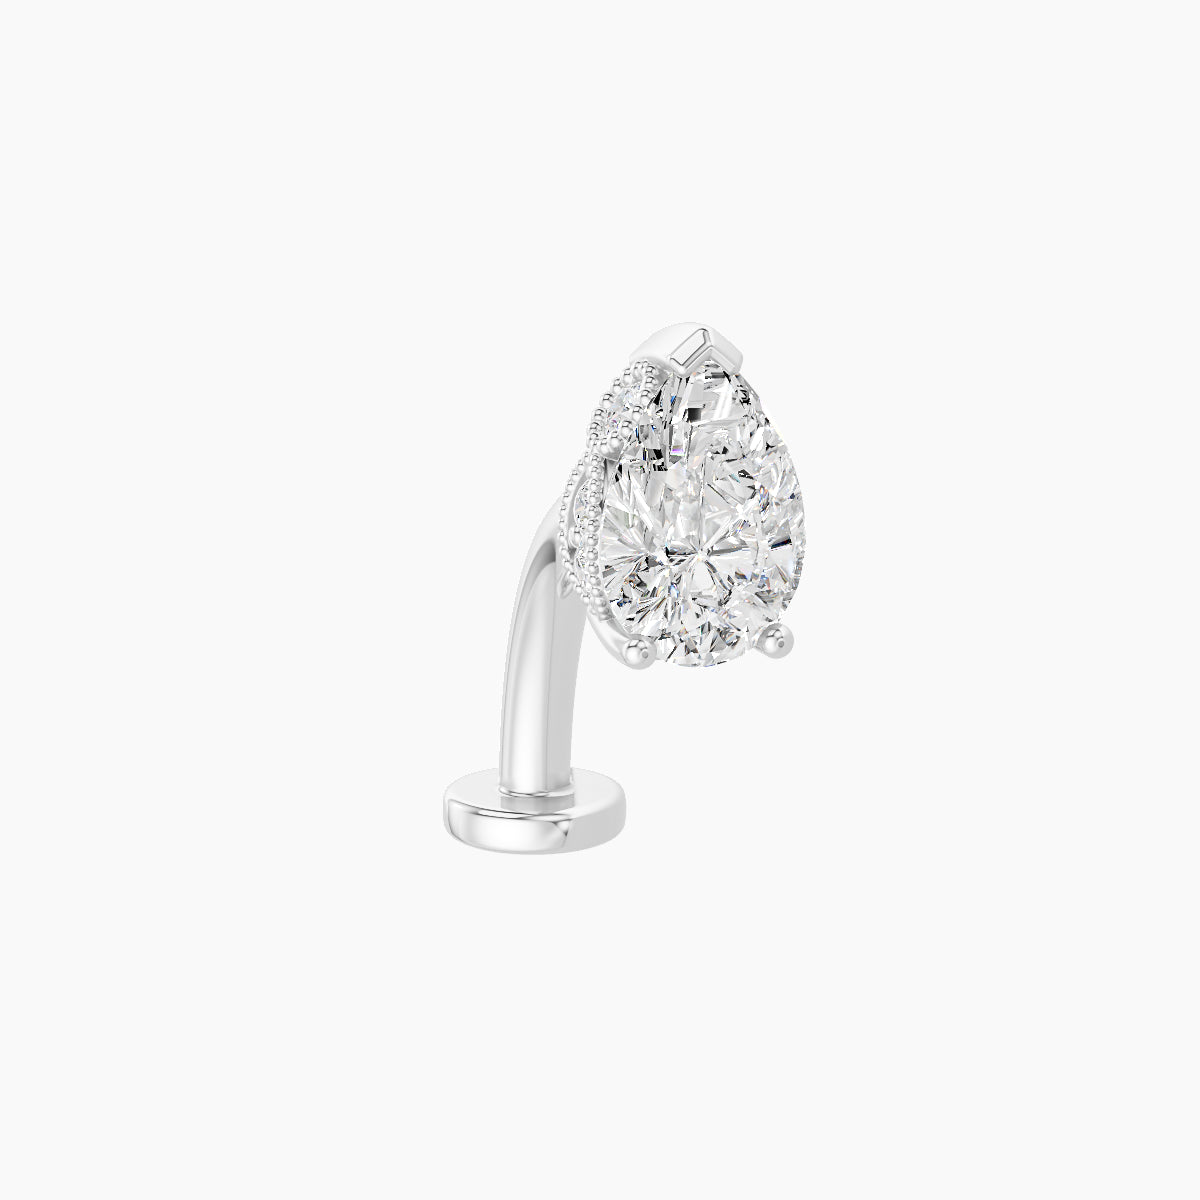
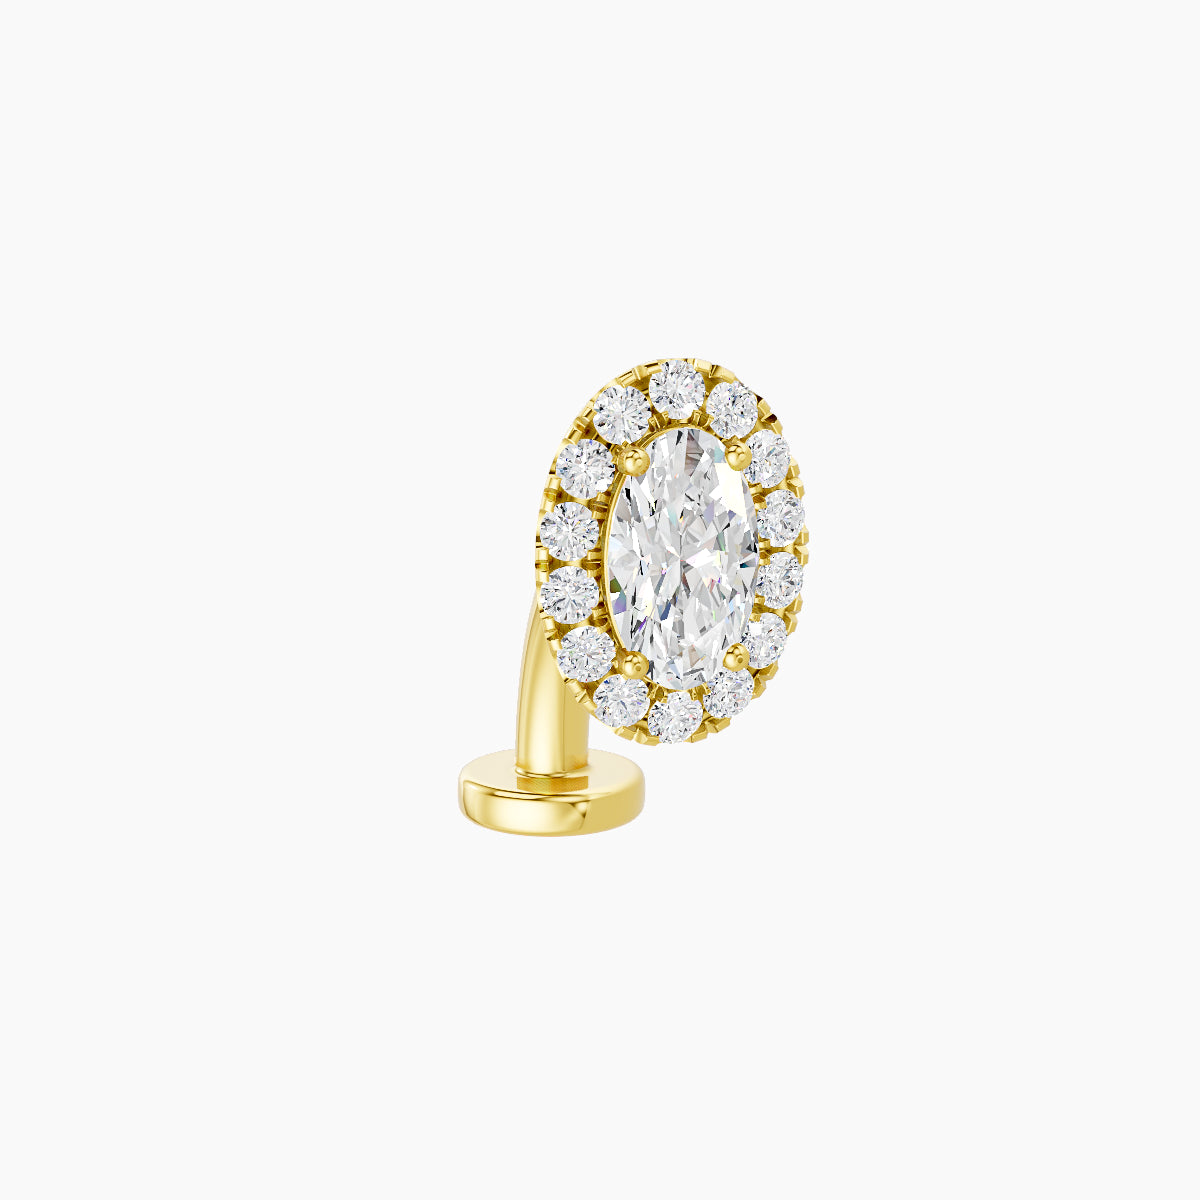
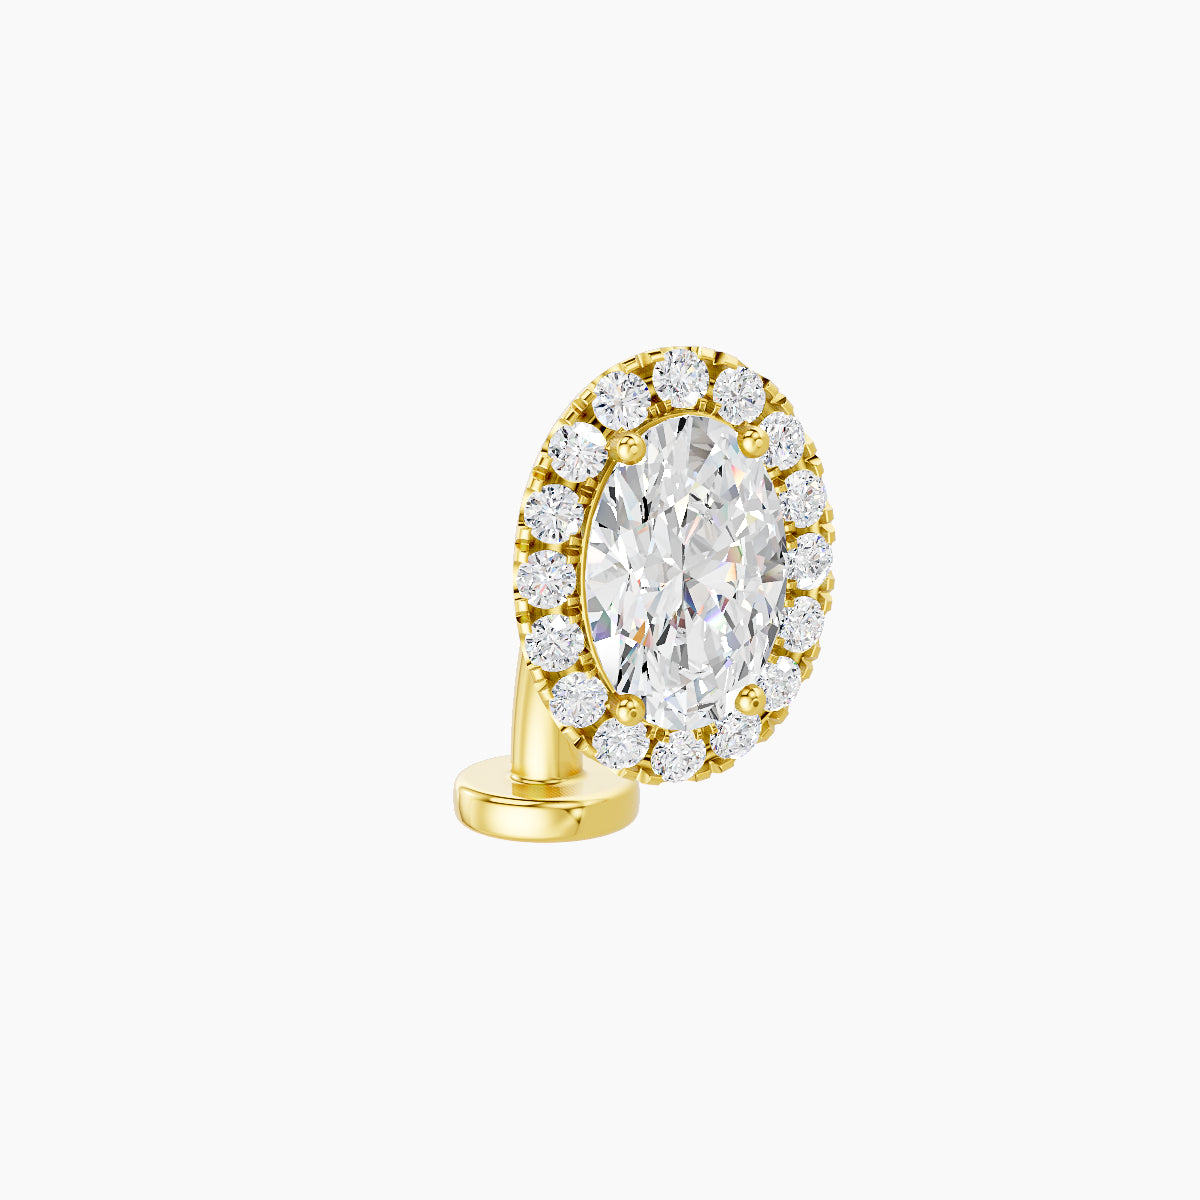
Why choose a diamond belly button piercing?
A diamond captures light without ever losing its intensity. It’s a stone that stands the test of time, never fades, and retains its value over the years.
→ To go further, explore our MADAJ diamond guide and discover what sets each stone apart.
Belly Button Piercing Procedure: Step by Step
Getting a belly button piercing is a quick procedure, usually completed within a few minutes by a professional piercer. Understanding each step of the process helps you feel more confident and approach the experience with ease.
1. Consultation with the piercer
Before performing the belly button piercing, the piercer will assess your anatomy to ensure your navel is suitable for the piercing.
This is also the time to choose your belly button piercing jewelry. To minimize the risk of irritation or allergic reactions, it is recommended to select high-quality materials such as titanium or 18k gold, which are especially suitable during the healing phase.
2. Preparing the area
The piercer carefully cleans and disinfects the belly button area.
They then mark the exact entry and exit points of the navel piercing to ensure precise placement that complements your anatomy and provides the best aesthetic result.
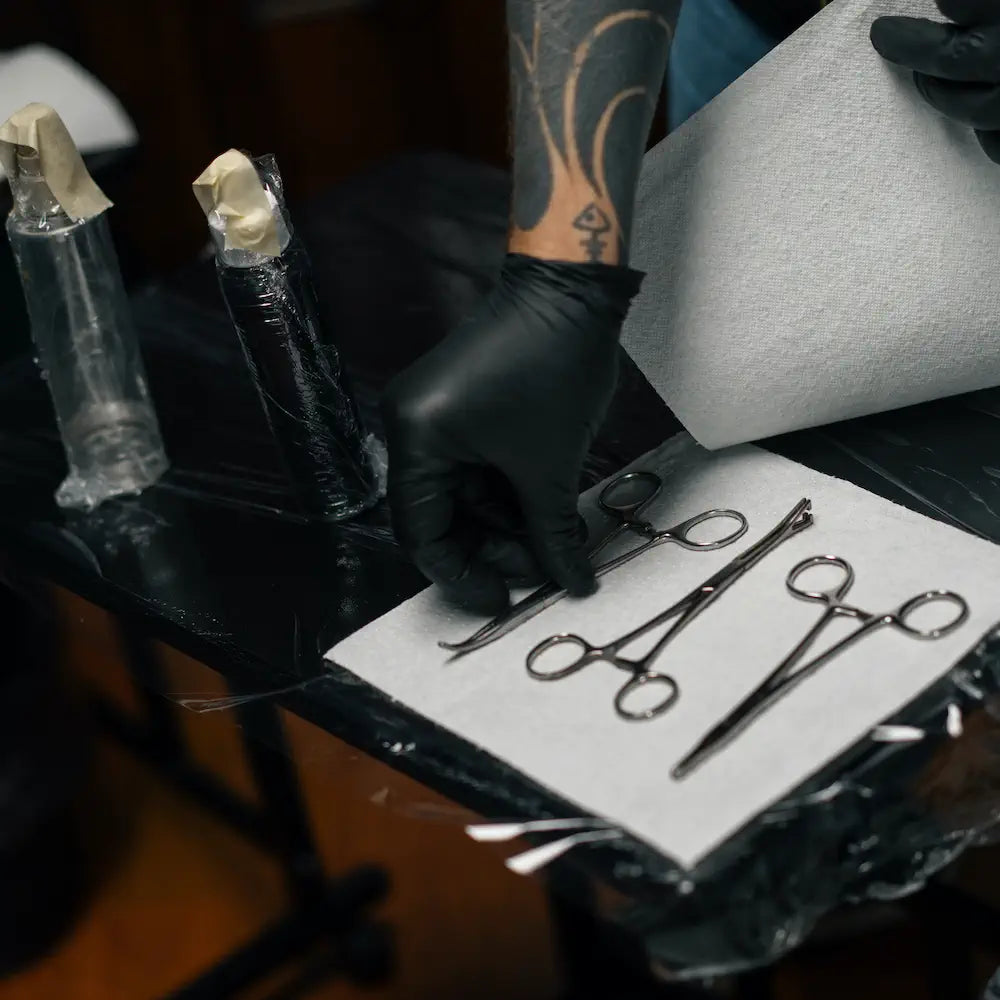
3. Performing the piercing
The belly button piercing is carried out using a single-use sterile needle, ensuring maximum hygiene and accuracy.
The process is quick: the needle passes through the skin, and the jewelry is immediately inserted.
4. Aftercare instructions and follow-up
Once the belly button piercing is done, the piercer will provide essential aftercare instructions to promote proper healing.
It is important to clean your belly button piercing regularly with a saline solution, avoid unnecessary touching, and limit friction around the area to support the healing process.
Belly Button Piercing Cost: How Much Does It Cost?
The cost of a belly button piercing can vary depending on the studio, location, and jewelry selected. On average, a navel piercing typically costs between $30 and $100, with most studios charging around $40 to $60 for a standard procedure performed under proper hygienic conditions.
In most cases, the price includes:
- The piercing procedure performed by a professional
- Starter jewelry (usually surgical steel or titanium)
- Basic aftercare instructions
Some studios may also include a follow-up check to ensure proper healing.
Beyond the initial price, there are a few extra costs to keep in mind:
- Aftercare products: saline solution and sterile compresses (approximately $5–$15)
- Jewelry change after the healing period
- Upgraded jewelry, if you want higher quality or a more refined look
Prices may also be higher in major cities or premium studios.
Once your piercing is fully healed, investing in the right jewelry becomes essential:
- Fashion jewelry: starting from a few dollars
- Surgical steel: around $10–$30
- Titanium: approximately $20–$50
- 14k or 18k gold: from several hundred dollars depending on design and gemstones
Choosing high-quality jewelry improves both comfort and long-term wear, while enhancing the overall look of your belly button piercing.
Investing in premium jewelry
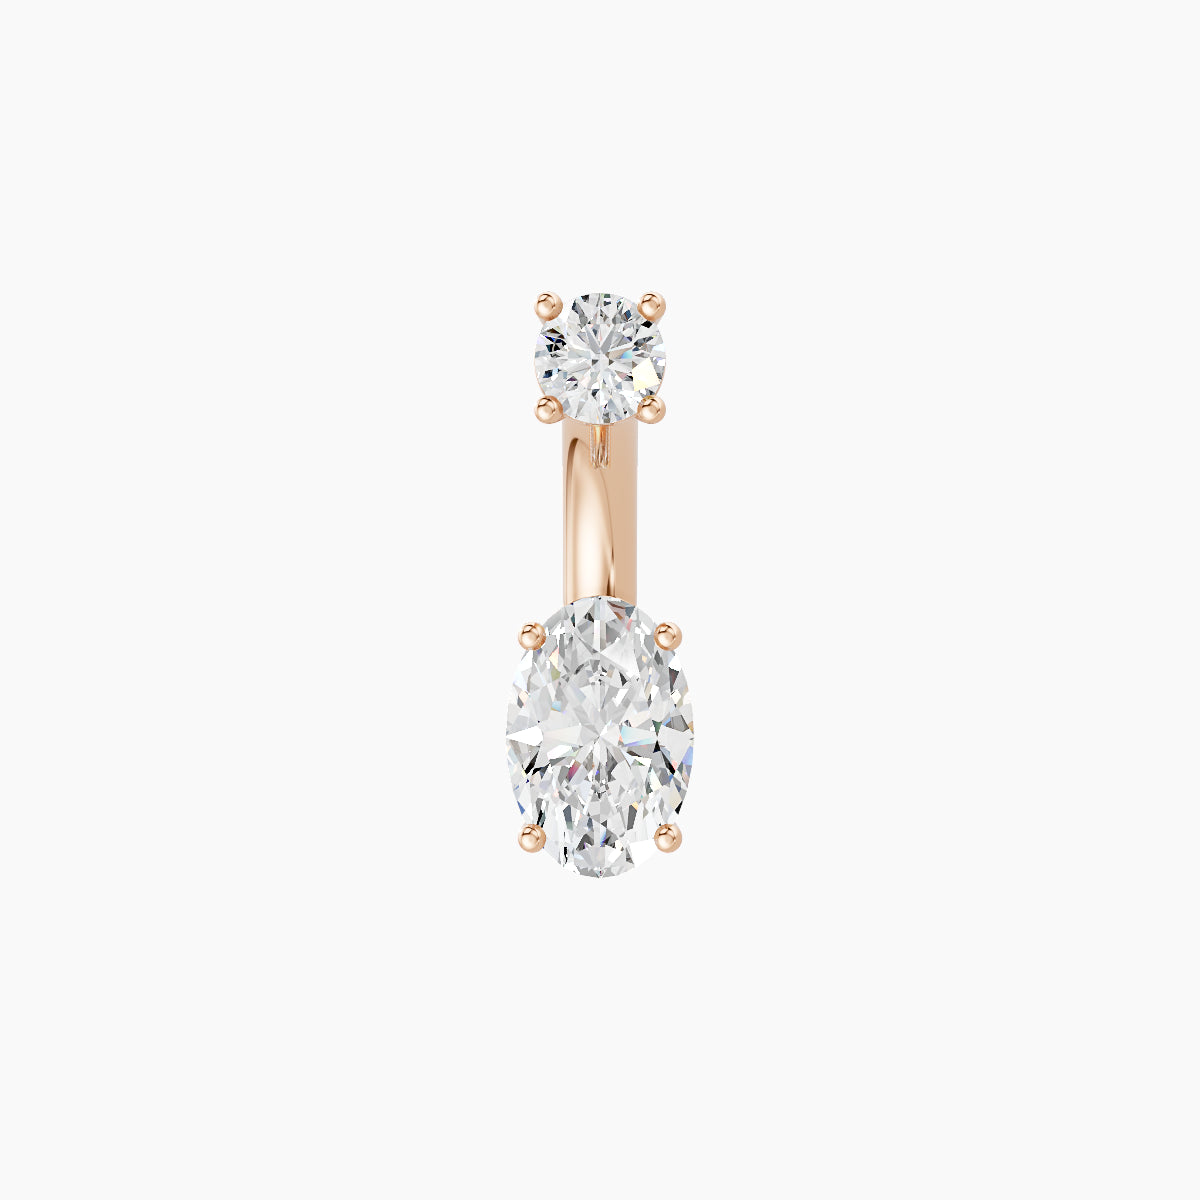
A belly button piercing is something you wear every day. After healing, choosing a piece in 18k gold set with natural gemstones offers the perfect balance of safety, durability, and refined aesthetics.
➝ Discover our guide to the natural gemstones used by MADAJ, including black diamond, emerald, ruby, and sapphire, to better understand their quality and unique characteristics.
MADAJ creations are designed to elevate your piercing with elegant, made-to-order jewelry crafted from hypoallergenic materials and finished to the highest standards.
Belly Button Piercing Healing: Time, Stages, and Aftercare Tips
Healing a belly button piercing (also known as a navel piercing) is a crucial step that requires time, consistency, and proper care. Contrary to common belief, a belly button piercing takes on average 6 to 12 months to fully heal, even if it may appear healed on the outside much sooner.
The different stages of belly button piercing healing
The healing process of a belly button piercing happens in several stages:
1. Inflammatory phase (first days to weeks)
After getting a belly button piercing, it is normal to experience redness, slight swelling, and sensitivity. This is your body’s natural response as it begins the healing process.
2. Proliferation phase (weeks to months)
During this stage, new tissue forms around the jewelry. The piercing may produce a clear fluid (lymph), which can dry and form small crusts—this is completely normal.
3. Maturation phase (3 to 12 months)
The tissue gradually strengthens and stabilizes. While the belly button piercing may look healed externally, internal healing is still ongoing.
Important: a belly button piercing can look healed before it actually is
Even if your belly button piercing appears healed after a few weeks, the internal tissue takes much longer to fully recover.
Changing the jewelry too early is one of the most common mistakes and can lead to irritation, infection, or delayed healing.
➝ It is recommended to wait at least 6 months, and ideally seek your piercer’s advice, before changing your belly button piercing jewelry.
What slows down belly button piercing healing?
Certain habits can negatively impact the healing process:
- Wearing tight clothing (high-waisted jeans, belts)
- Touching the piercing with unclean hands
- Swimming too early (pools, ocean, lakes, hot tubs)
- Changing the jewelry before full healing
- Neglecting proper aftercare
What helps a belly button piercing heal properly?
On the other hand, good habits can support faster and healthier healing:
- Cleaning regularly with sterile saline solution
- Wearing loose clothing to reduce friction
- Maintaining good overall hygiene
- Following a balanced diet (vitamins, zinc)
- Staying well hydrated
When can you change your belly button piercing jewelry?
You should only change your belly button piercing jewelry once healing is sufficiently advanced. Rushing this step can compromise the healing process.
A well-fitted, high-quality piece of belly button piercing jewelry, such as titanium or 18k gold, helps reduce irritation and ensures long-term comfort.
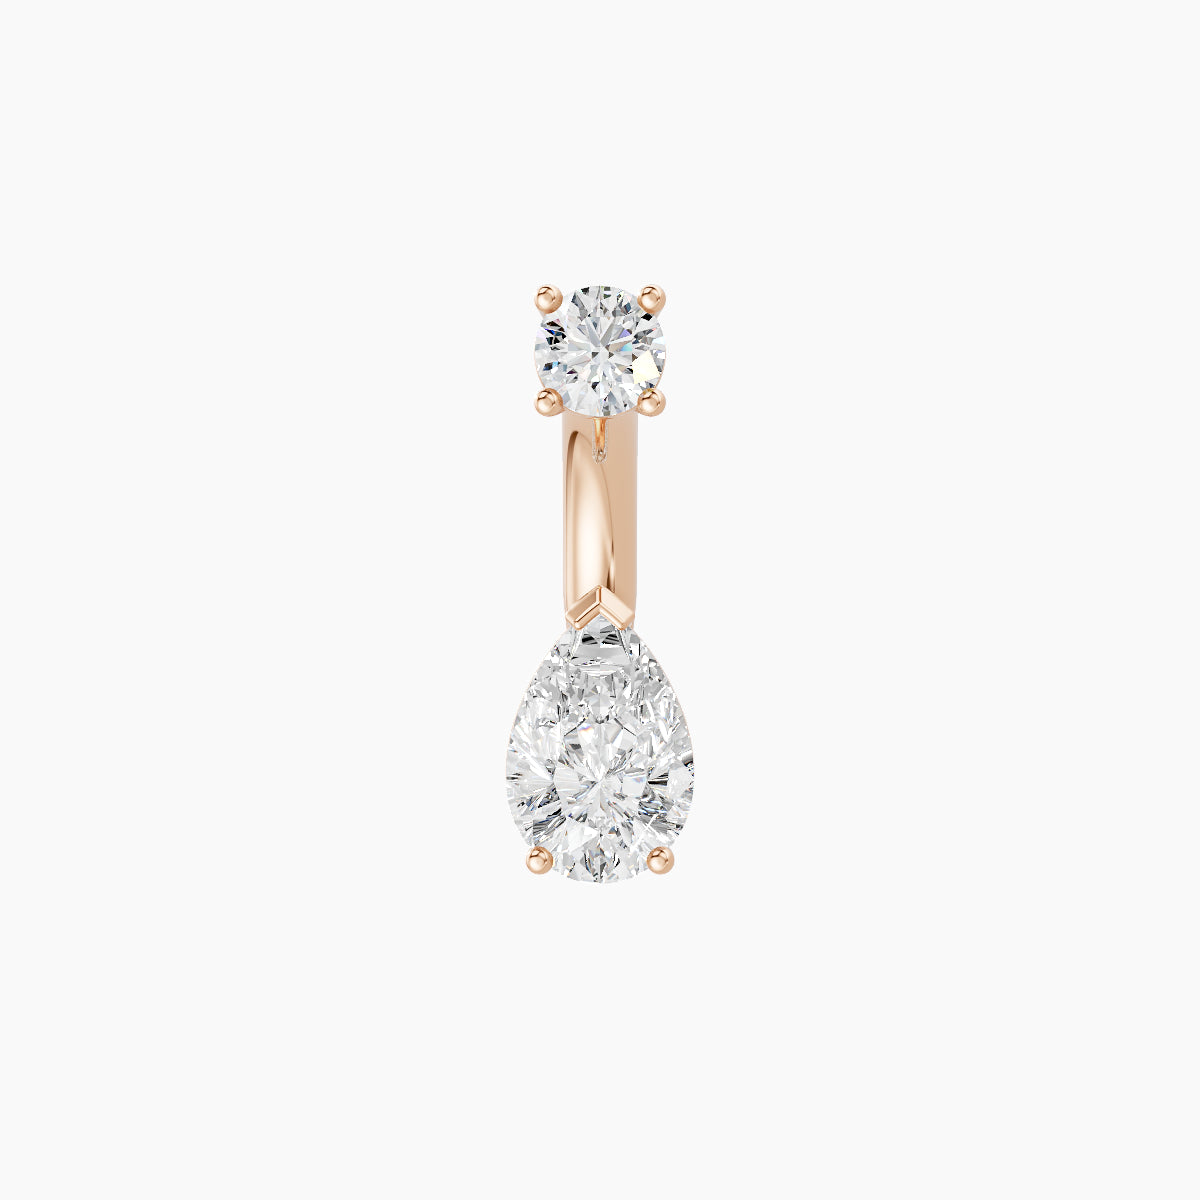
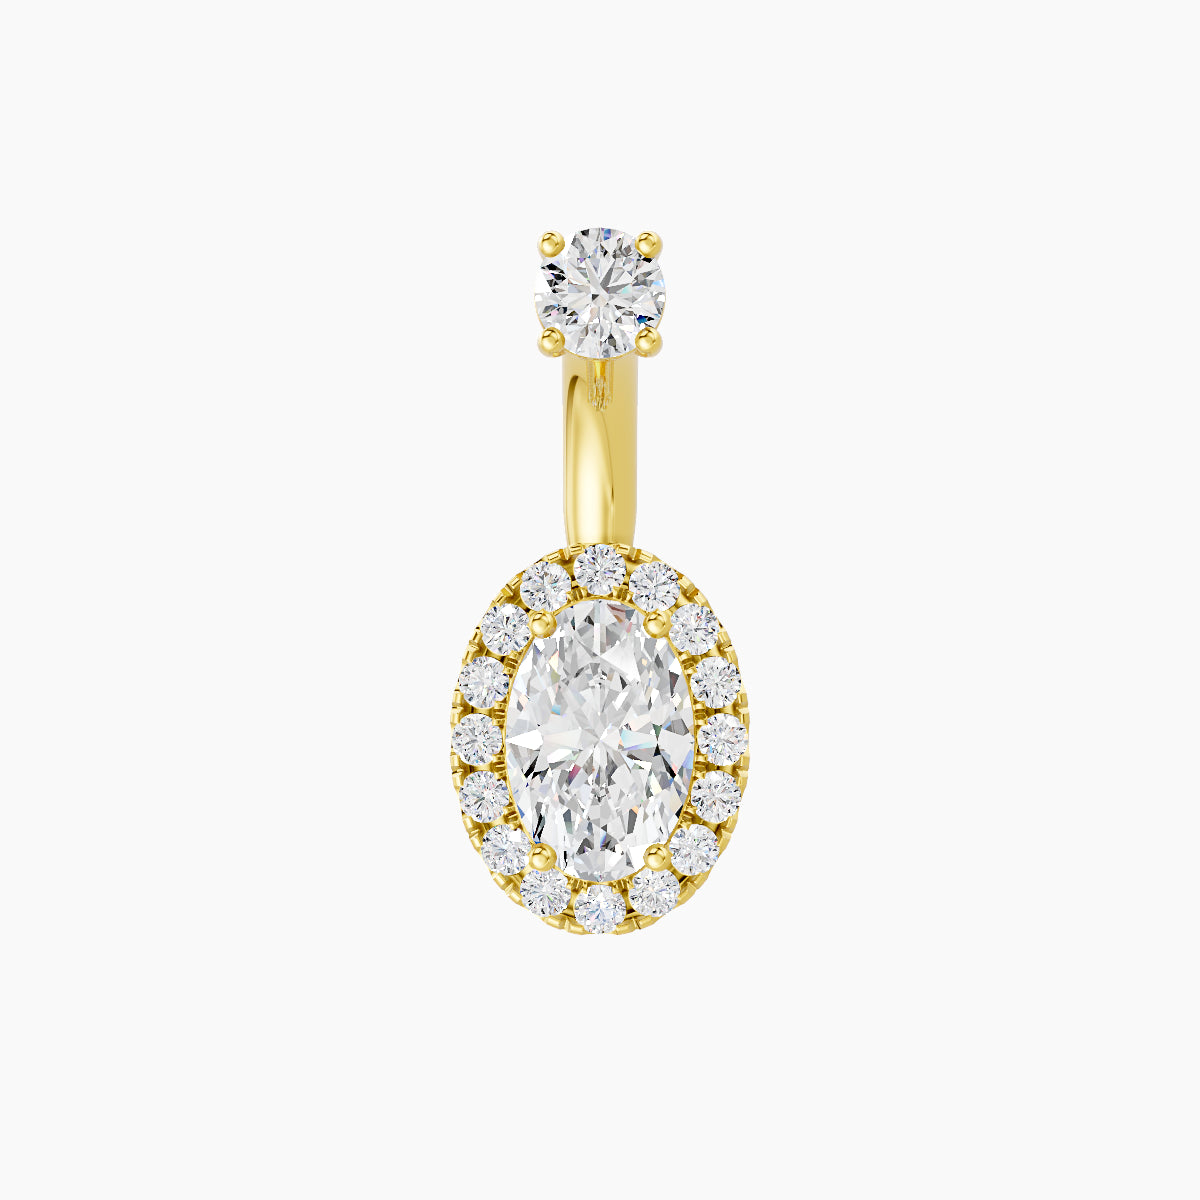
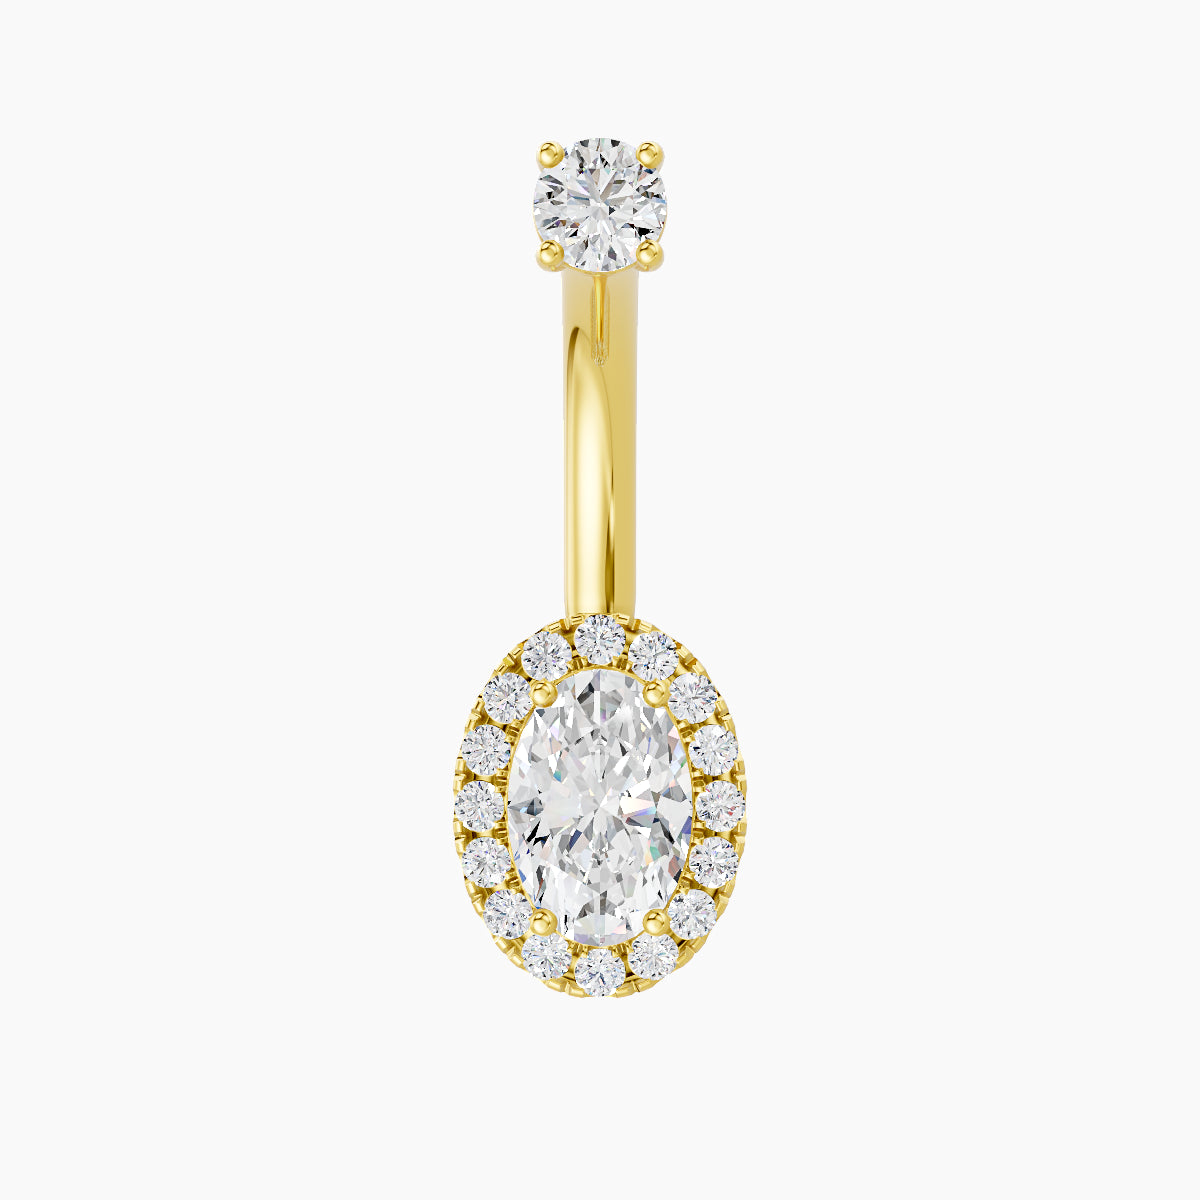
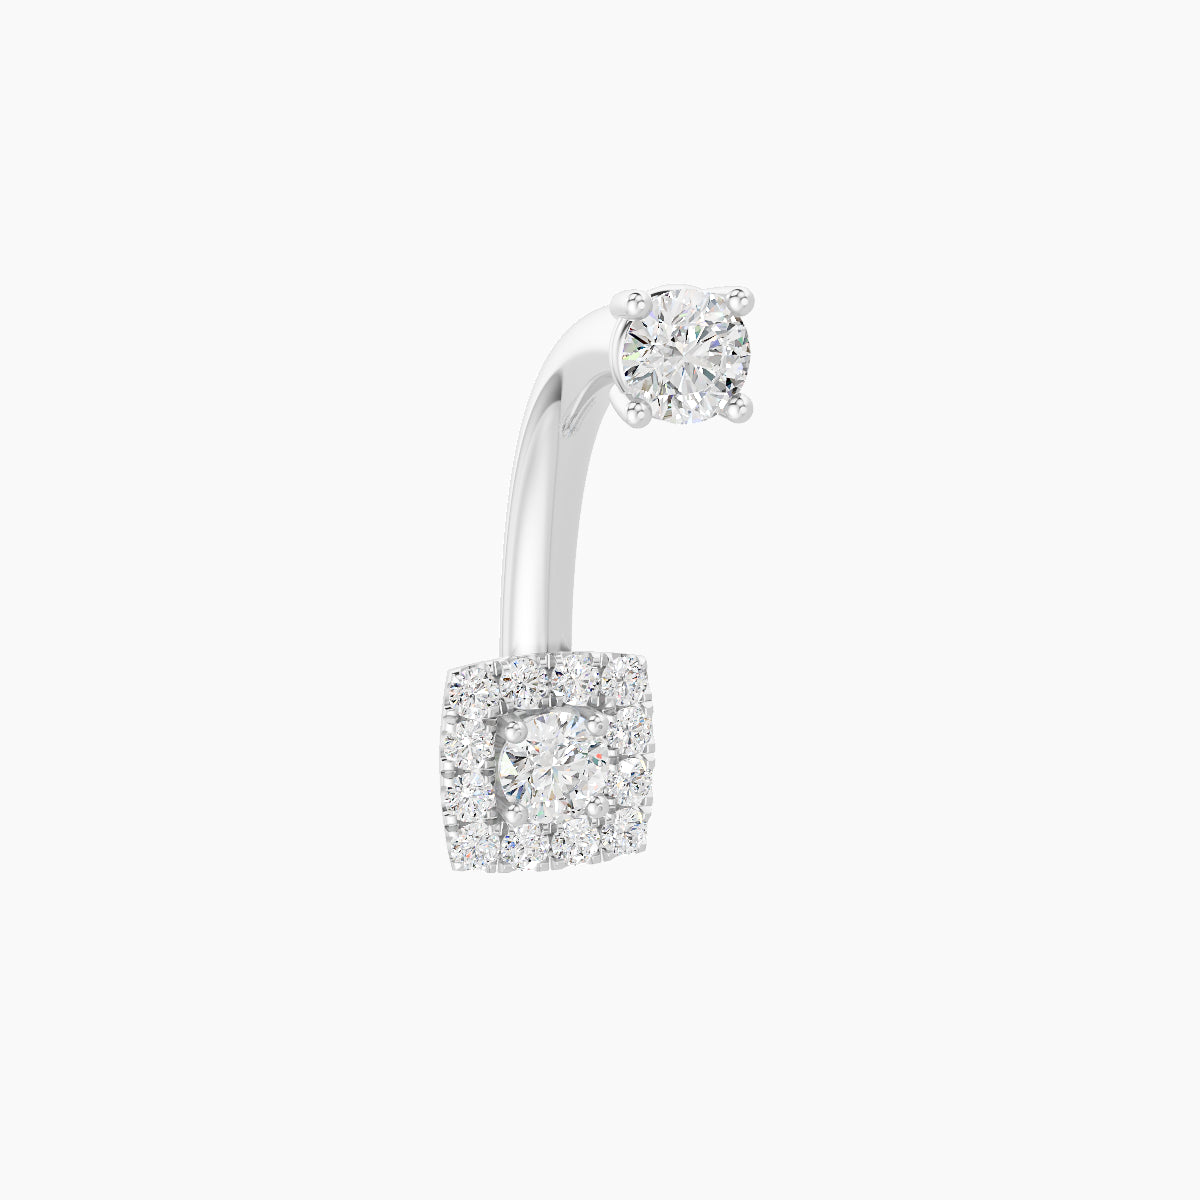
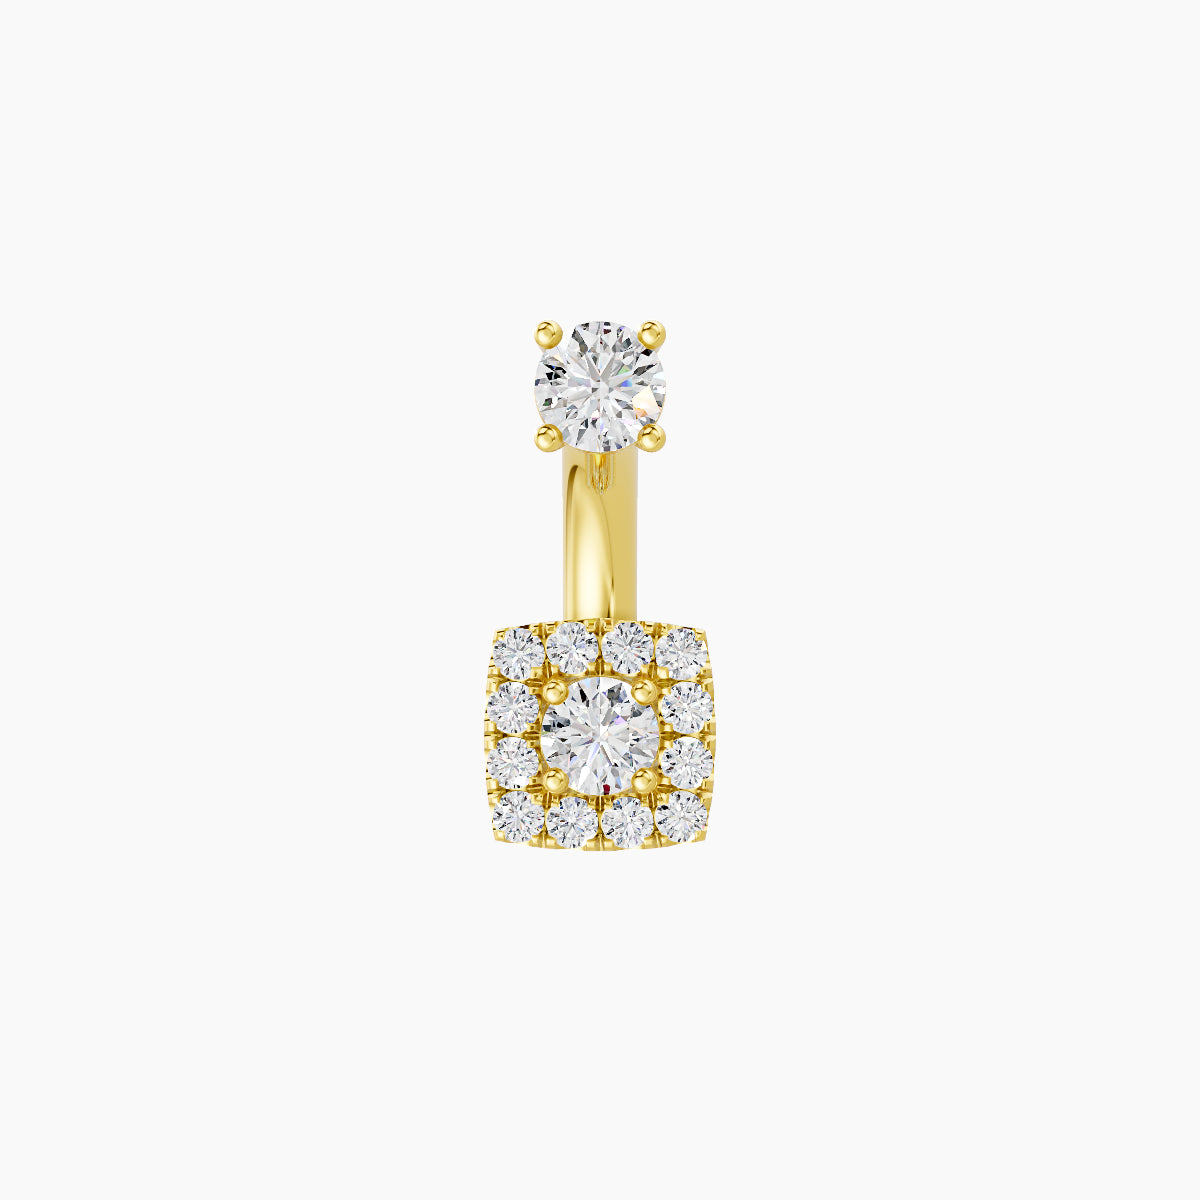
Discover our collection of 18k gold belly button piercings and diamond belly button jewelry to elevate your piercing once it is fully healed.
Belly Button Piercing Aftercare: Cleaning Tips and Best Practices
Proper cleaning of a belly button piercing is essential to promote healing and prevent infection. Simple, consistent, and appropriate aftercare helps protect the area and ensures optimal healing.
Wash your hands before touching the piercing
Before handling your belly button piercing, always wash your hands thoroughly with soap and water. This helps prevent bacteria from entering the area and reduces the risk of infection.
Use sterile saline solution
To clean a belly button piercing, it is recommended to use sterile saline solution, typically available in pharmacies (around $3 to $5 for a pack of single-use doses).
This is the safest, simplest, and most effective option for proper healing.
Alternative: mild soap and warm water
You can also clean your belly button piercing using a gentle, pH-neutral soap with warm water, making sure to rinse thoroughly to avoid any residue that could cause irritation.
How to clean a belly button piercing
- Soak a sterile compress or gauze with saline solution
- Gently apply it to the piercing for a few minutes
- Allow any crust to soften naturally without rubbing
- Rinse lightly with clean water if needed
- Avoid unnecessary movement or handling of the jewelry
Drying: an often overlooked step
After cleaning, always dry the area using a clean, disposable material (such as paper towels).
Fabric towels can harbor bacteria and may slow down the healing process.
How often should you clean your belly button piercing?
Cleaning your belly button piercing twice a day is sufficient.
Over-cleaning can irritate the skin and delay healing.
What to avoid
To prevent complications, never use:
- Alcohol or hydrogen peroxide
- Essential oils
- Creams or fragranced products
- Betadine (unless prescribed by a doctor)
These products can irritate the skin and interfere with the healing of your belly button piercing.
Should you twist your jewelry?
No. You should never twist, turn, or play with your belly button piercing jewelry during cleaning.
This can cause micro-tears, delay healing, and increase the risk of infection.
Risks, Complications and What to Watch For
Like any body piercing, a belly button piercing comes with certain risks. When performed by a professional and properly cared for, these risks are limited. However, it is essential to recognize warning signs early to prevent complications.
Belly button piercing infection: signs and what to do
Mild redness and clear fluid (lymph) are normal during the healing process. However, the following symptoms may indicate an infection:
- Persistent redness spreading around the piercing
- Yellow, green, or foul-smelling discharge
- Increasing pain or heat after the first few days
- Significant swelling
- Fever or feeling unwell
➝ What should you do?
Do not remove the jewelry, as this can trap the infection inside.
Clean the area with sterile saline solution and seek medical advice if symptoms persist or worsen.
Belly button piercing rejection: how to recognize it
Rejection occurs when the body gradually pushes the jewelry out of the skin. This can happen if the anatomy is not suitable, if the jewelry is low quality, or due to repeated pressure and friction.
Signs of rejection:
- The jewelry becomes more visible under the skin
- The skin appears thinner or translucent
- The entry and exit points move closer together
- The piercing appears to migrate or hang
➝ What should you do?
Consult your piercer as soon as possible. In most cases, removing the jewelry is recommended to prevent scarring, with the option to re-pierce once the area has fully healed.
Allergic reactions: choosing the right materials
Allergic reactions are often caused by nickel found in low-quality metals.
Common symptoms include:
- Persistent redness
- Itching
- Dry, eczema-like irritation
- Discomfort without signs of infection
How to avoid allergic reactions?
Choose safe, hypoallergenic materials such as:
- Implant-grade titanium (ASTM F-136)
- Certified surgical steel (ASTM F-138)
- Solid 14k or 18k gold (nickel-free)
High-quality materials like 18k gold offer excellent skin compatibility and are ideal for sensitive skin.
All MADAJ belly button piercings are crafted in hypoallergenic 18k gold, nickel-free, and implant-grade, making them perfectly suited as initial jewelry and ideal for a safe, comfortable healing process.

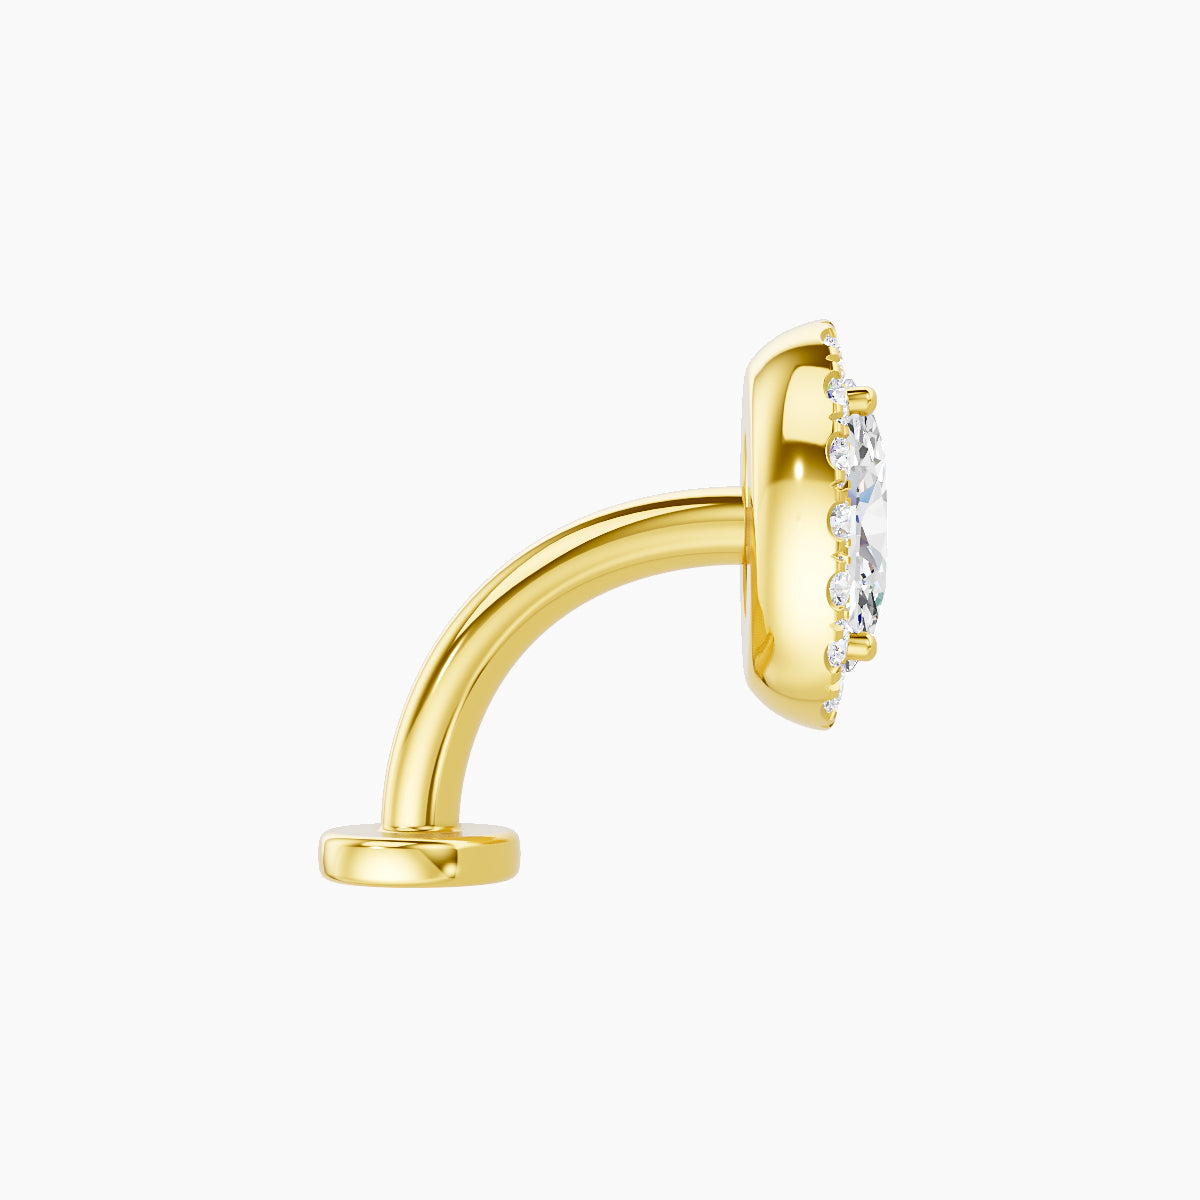
Belly Button Piercing Jewelry Sizing, Gauge, and Materials
Choosing the right size and material for your belly button piercing jewelry is essential to ensure proper healing, avoid irritation, and achieve the best aesthetic result. Ill-fitting jewelry can cause friction, pressure, and complications during the healing process.
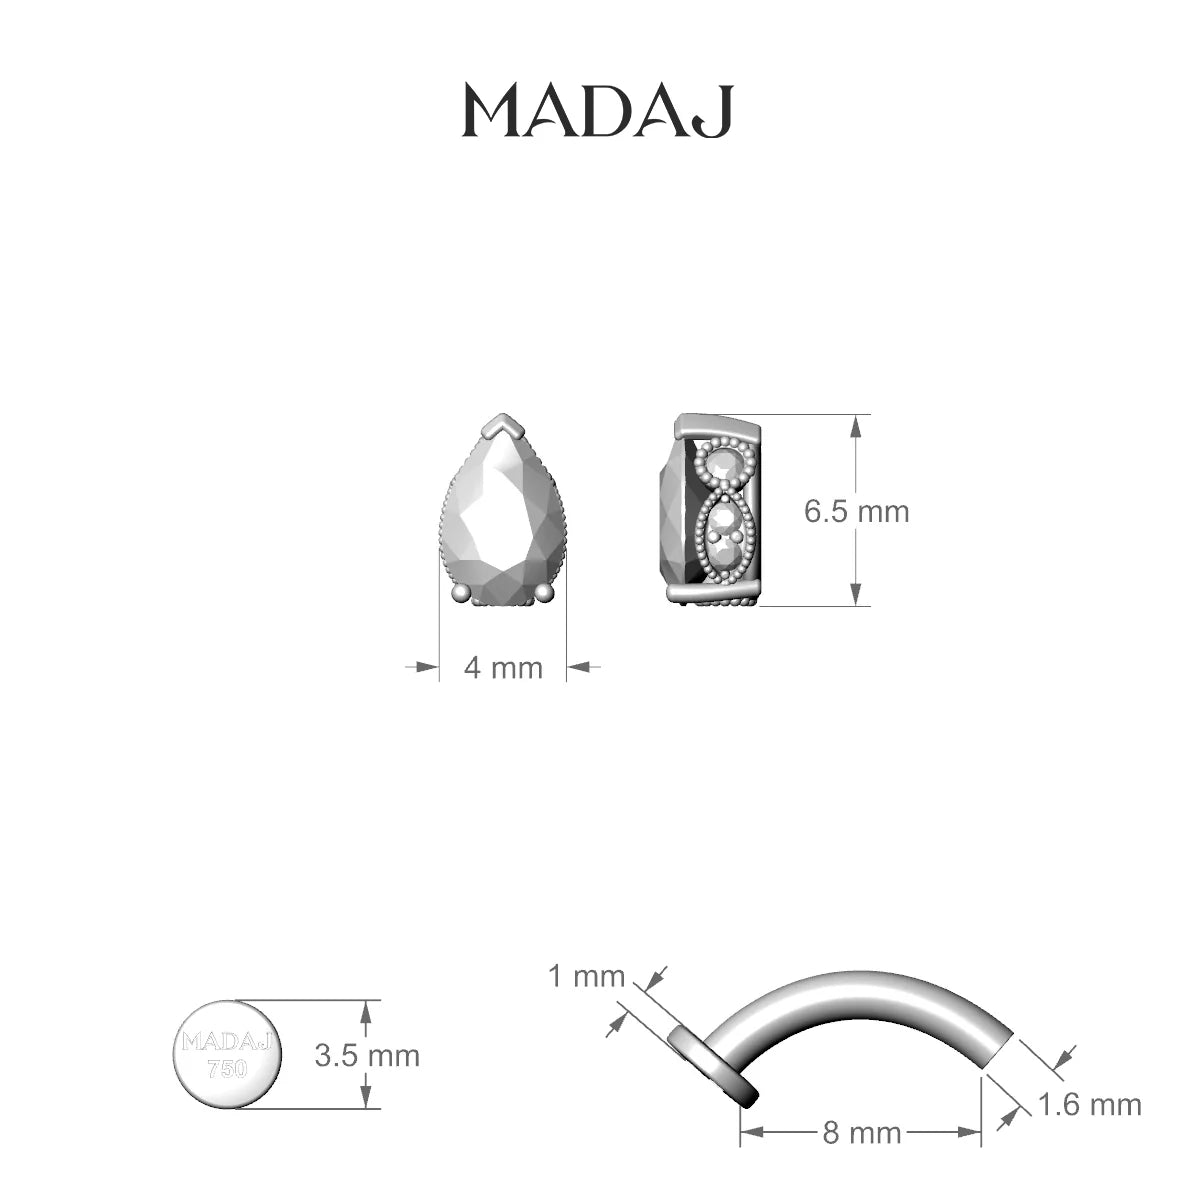
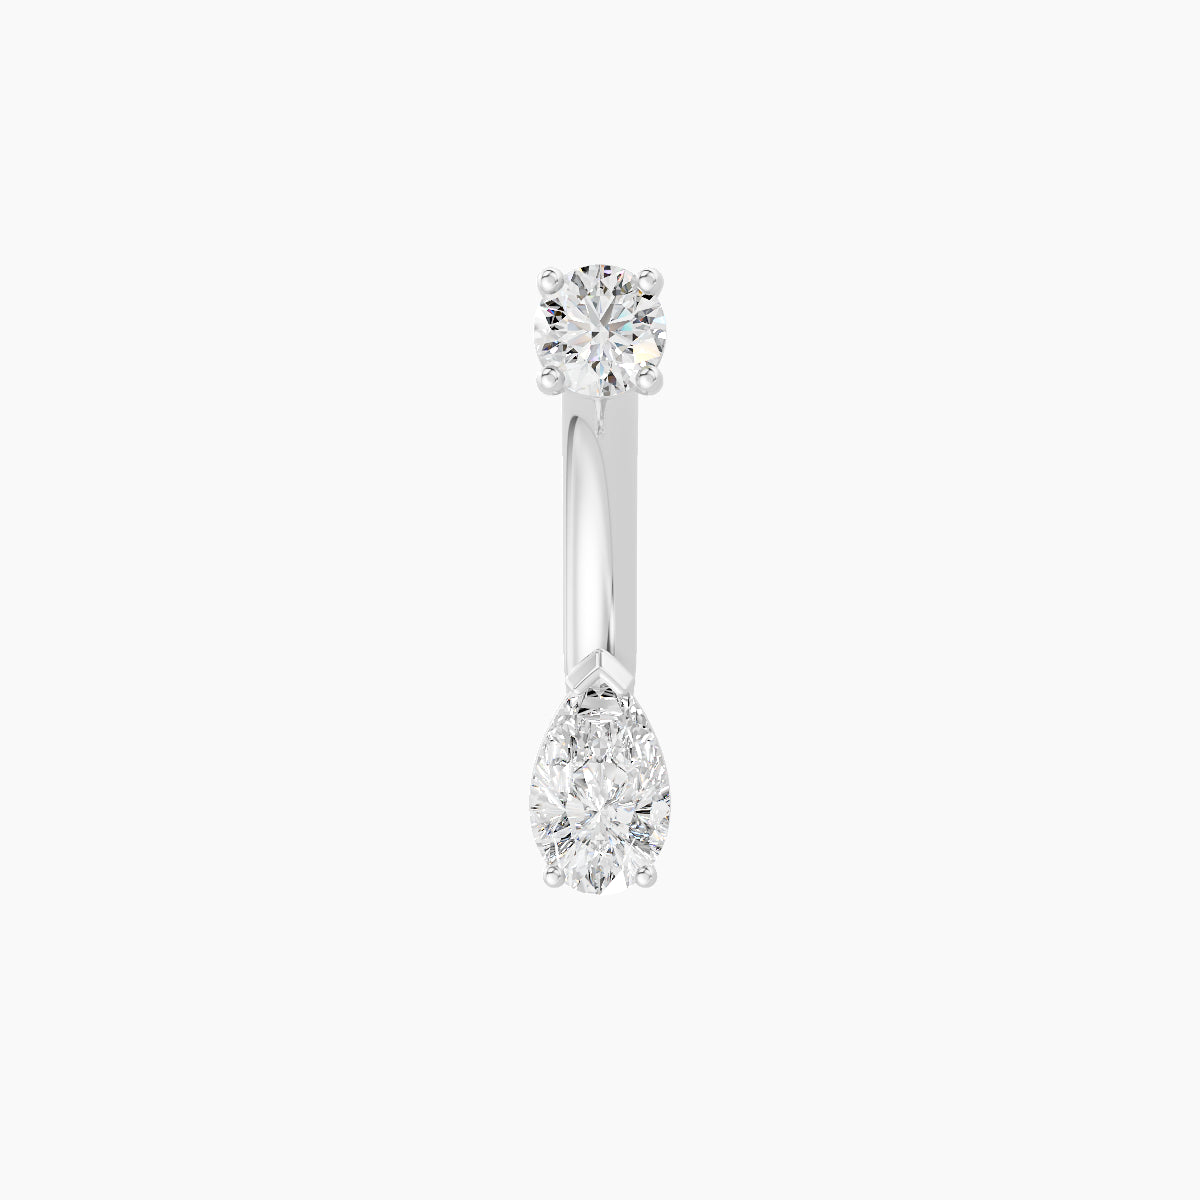
The standard gauge for a belly button piercing (navel piercing) is 14G (1.6 mm).
This is the universal size used by most professional piercers and is compatible with the majority of belly button piercing jewelry.
The bar length (measured excluding the threading) depends on your anatomy and the stage of healing:
- Initial jewelry: typically 10 mm to 12 mm, to allow room for swelling after the piercing
- After healing: the bar can often be downsized to 8 mm to 10 mm for better comfort and a more fitted look
➝ A bar that is too long can lead to snagging and irritation.
➝ A bar that is too short can put pressure on the skin and interfere with healing.
For rings or horseshoes, the recommended inner diameter is usually between 8 mm and 9.5 mm, depending on your anatomy.
Choosing the right material is especially important during the healing phase.
Recommended materials:
- Implant-grade titanium (ASTM F-136)
- Solid 14k or 18k gold (nickel-free)
- Certified surgical steel (ASTM F-138)
Materials to avoid during healing:
- Sterling silver (can tarnish and irritate the skin)
- Plated metals (coating can wear off)
- Low-quality metals containing nickel
High-quality materials help reduce the risk of irritation, allergic reactions, and rejection.
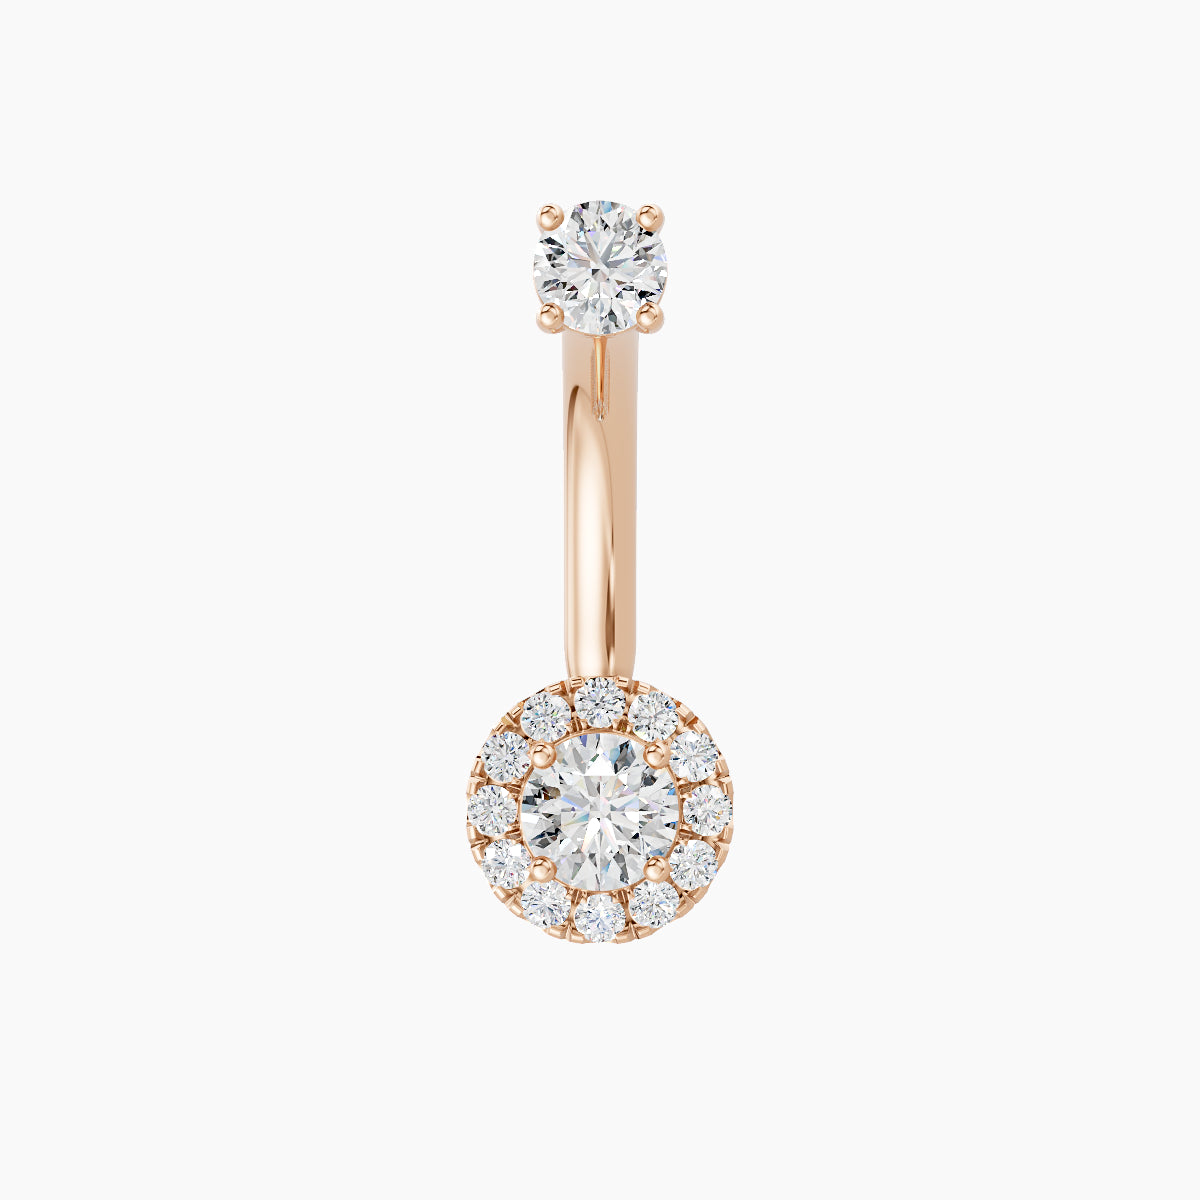
Once your belly button piercing is fully healed, choosing the right jewelry becomes key to both comfort and style. Well-proportioned, high-quality jewelry enhances your navel piercing and complements your silhouette.
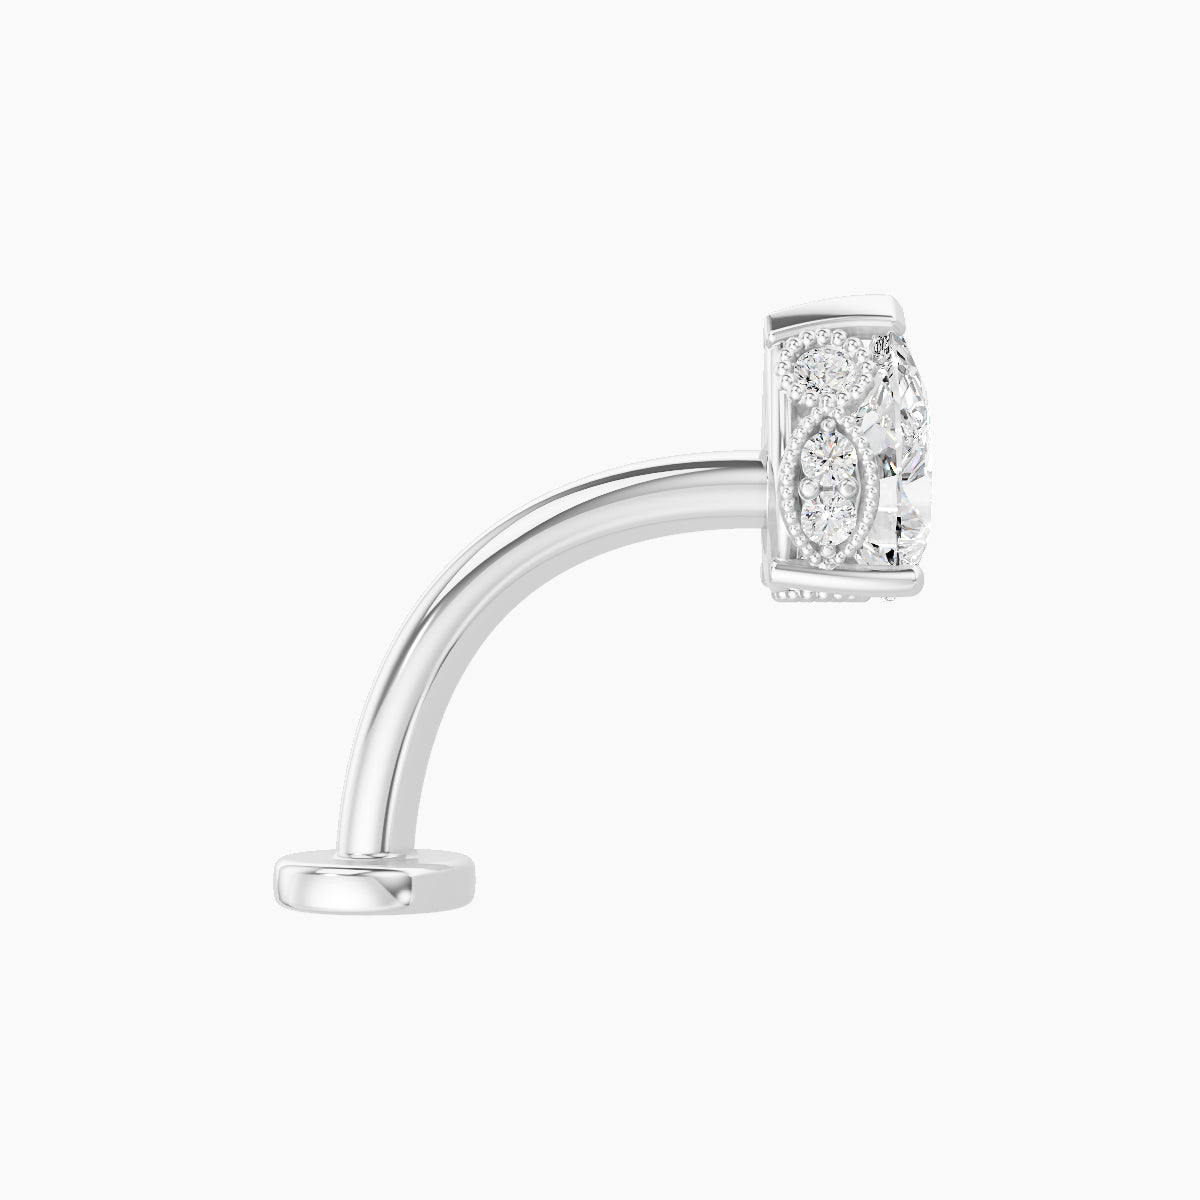
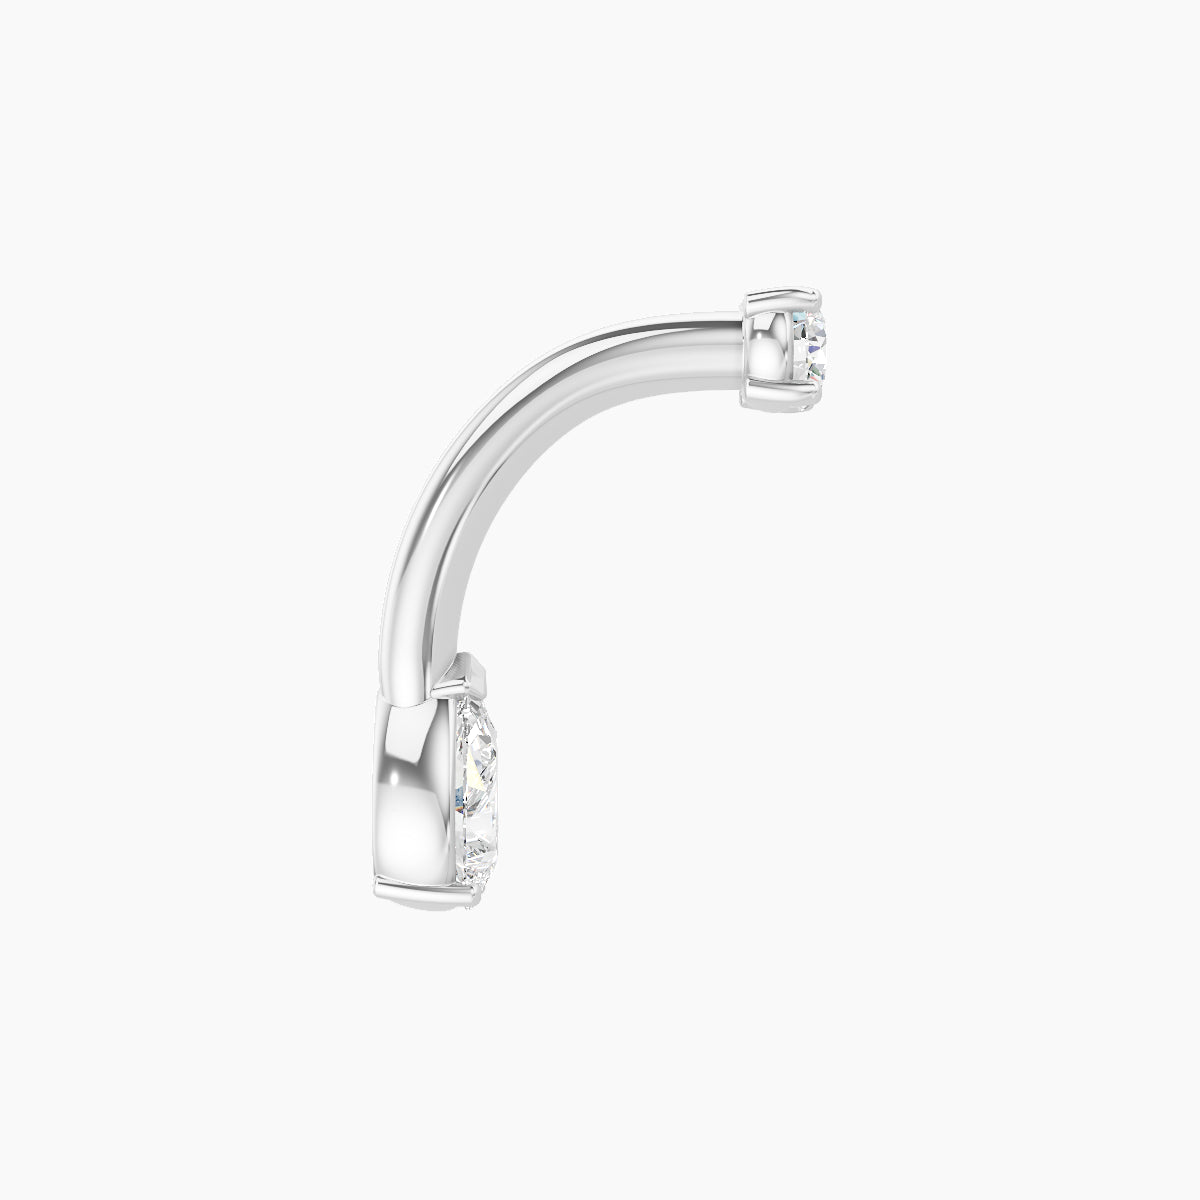
Discover our collection of 18k gold belly button piercings, available in multiple sizes for a perfect fit, as well as our diamond belly button jewelry, designed to combine elegance, safety, and long-lasting quality.
What to Expect During Healing
Healing a belly button piercing takes several months. During this time, everyday habits can directly impact how well your piercing heals. Adapting your routine helps reduce irritation, prevent infection, and support proper healing.
Exercise and physical activity
Pair text with an image to focus on your chosen product, collection, or blog post. Add details on availability, style, or even provide a review.After getting a belly button piercing, it is recommended to avoid activities that put pressure on the abdominal area during the first few weeks:
- Core exercises (sit-ups, crunches, planks)
- Yoga poses that compress the navel
- Contact sports
- Repetitive movements that cause friction on the piercing
➝ Light activity is generally fine, but it’s important to clean your belly button piercing after sweating.
Swimming, pools, and water exposure
Water exposure can increase the risk of complications during belly button piercing healing:
- Swimming pools: chlorine can irritate the skin
- Ocean and lakes: bacteria exposure
- Hot tubs: high risk of infection
➝ It is recommended to avoid swimming for at least 1 month, and ideally until the belly button piercing is fully healed (6 to 12 months).
Sleeping positions
Your sleeping position can affect healing:
- Avoid sleeping on your stomach
- Prefer sleeping on your back to reduce pressure
- Consider wearing loose clothing at night to prevent friction
Constant pressure during sleep can slow down healing and cause irritation.
Clothing: what to wear and what to avoid
Clothing plays a key role in belly button piercing healing.
Avoid:
- High-waisted jeans
- Tight belts
- Tight or compressive clothing (leggings, shapewear)
Choose:
- Loose-fitting, breathable clothing
- Soft fabrics that reduce friction
➝ Repeated friction is one of the main causes of irritation and delayed healing.
Best time of year to get a belly button piercing
Timing can also impact healing.
➝ Fall or winter are often the best seasons to get a belly button piercing because:
- Clothing is less likely to irritate the area
- You can avoid swimming and sun exposure
- The piercing has time to heal before summer
Belly Button Piercing and Pregnancy: What You Need to Know
Pregnancy brings significant changes to the body, especially in the abdominal area. If you have a belly button piercing, it’s important to adapt your routine to avoid discomfort, tension, or complications.
Yes, you can usually keep your belly button piercing during pregnancy if it is fully healed before becoming pregnant.
If your navel piercing is recent or still healing, it is strongly recommended to remove it to reduce the risk of infection or complications.
As your belly grows, the skin around your navel stretches.
A standard belly button piercing jewelry piece may become too short, causing pressure, irritation, or even distortion of the piercing.
For this reason, it is recommended to switch to pregnancy-safe jewelry.
There are specific belly button piercing jewelry options designed for pregnancy, typically made from PTFE (polytetrafluoroethylene):
- Longer to accommodate your growing belly
- Flexible for increased comfort
- Designed to reduce pressure on the skin
These pieces allow you to keep your belly button piercing more comfortably throughout pregnancy.
After pregnancy, the shape of your belly button may change.
Your navel piercing may appear stretched or slightly repositioned.
➝ Before reinserting standard jewelry, it is recommended to consult a professional piercer to assess the condition of your piercing.
If you remove your jewelry for an extended period, the piercing hole may partially or completely close, especially if the piercing is relatively new.
Age and Regulations for Belly Button Piercing
Before getting a belly button piercing, it’s important to understand the rules and legal requirements, especially regarding age restrictions.
What age can you get a belly button piercing?
In many countries, there is no universal legal minimum age for a belly button piercing. However, most professional piercing studios set their own policies, typically requiring clients to be at least 16 years old.
Belly button piercing for minors: what are the requirements?
For minors, getting a belly button piercing is usually allowed under specific conditions:
- Written parental consent is required
- A parent or legal guardian is often required to be present during the appointment
- Identification may be requested for both the minor and the parent
These measures are in place to ensure safety and informed consent.
Regulations may vary by country
Rules regarding the minimum age for a belly button piercing can vary depending on the country or region.
Some locations enforce strict legal age limits, while others leave it to individual studios to define their policies.
➝ It is always recommended to check with a professional piercer beforehand to understand the specific requirements in your area.
FAQ – Belly Button Piercing
The cost of a belly button piercing typically ranges from $30 to $100, with most studios charging around $40 to $60. This usually includes the piercing procedure and basic starter jewelry. Additional costs may include aftercare products and jewelry upgrades after healing, especially if you choose higher-quality materials like titanium or 18k gold.
A belly button piercing is generally considered a moderate pain level piercing, often rated around 5/10. The sensation is usually a quick pinch followed by slight pressure as the needle passes through the skin. The pain is brief and manageable for most people, though it can vary depending on individual sensitivity and stress levels.
A belly button piercing typically takes 6 to 12 months to fully heal. While it may appear healed on the outside after a few weeks, internal healing takes much longer. Proper aftercare, avoiding friction, and not changing the jewelry too early are essential to ensure smooth and complete healing.
A suitable belly button for piercing has a well-defined upper rim with enough skin to hold the jewelry securely. If your navel flattens or closes when sitting, it may not be ideal. A professional piercer can assess your anatomy and recommend the most appropriate type of belly button piercing.
Yes, you can usually keep your belly button piercing during pregnancy if it is fully healed beforehand. However, as your belly grows, it’s recommended to switch to flexible, longer pregnancy jewelry to avoid discomfort. If the piercing is recent or not healed, removing it is strongly advised.
Signs of an infected belly button piercing include persistent redness, swelling, increasing pain, and yellow or foul-smelling discharge. Unlike normal healing, these symptoms tend to worsen over time. If you suspect an infection, continue cleaning with saline solution and seek medical advice if symptoms persist.
You should wait at least 6 months before changing your belly button piercing jewelry, and ideally confirm with your piercer. Changing it too early can cause irritation, infection, or delay healing. Always ensure the piercing is fully healed internally before switching to new jewelry.
It is not recommended to swim with a new belly button piercing. Pools, oceans, lakes, and hot tubs can expose the piercing to bacteria or chemicals that may cause irritation or infection. It’s best to avoid swimming for several weeks, and ideally until the piercing is fully healed.
The best materials for belly button piercing jewelry are implant-grade titanium, surgical steel, and 14k or 18k gold (nickel-free). These materials are safe, hypoallergenic, and suitable for healing. Avoid low-quality metals or plated jewelry, as they can cause irritation or allergic reactions.
Yes, a belly button piercing can close if the jewelry is removed, especially if it is not fully healed. Even healed piercings may shrink or partially close over time. The longer the jewelry is out, the higher the chance of closure, so it’s best to avoid removing it unnecessarily.
You can exercise with a new belly button piercing, but with caution. Avoid activities that put pressure on the abdomen, such as core workouts or contact sports. Light exercise is usually fine, but it’s important to clean the piercing after sweating and avoid friction to support proper healing.
A floating navel piercing is a variation designed for people whose anatomy is not suitable for a traditional piercing. It uses specific jewelry, often with a flat or discreet bottom, creating the illusion that the decorative part “floats” on the skin. It’s ideal for flatter or collapsing navels.
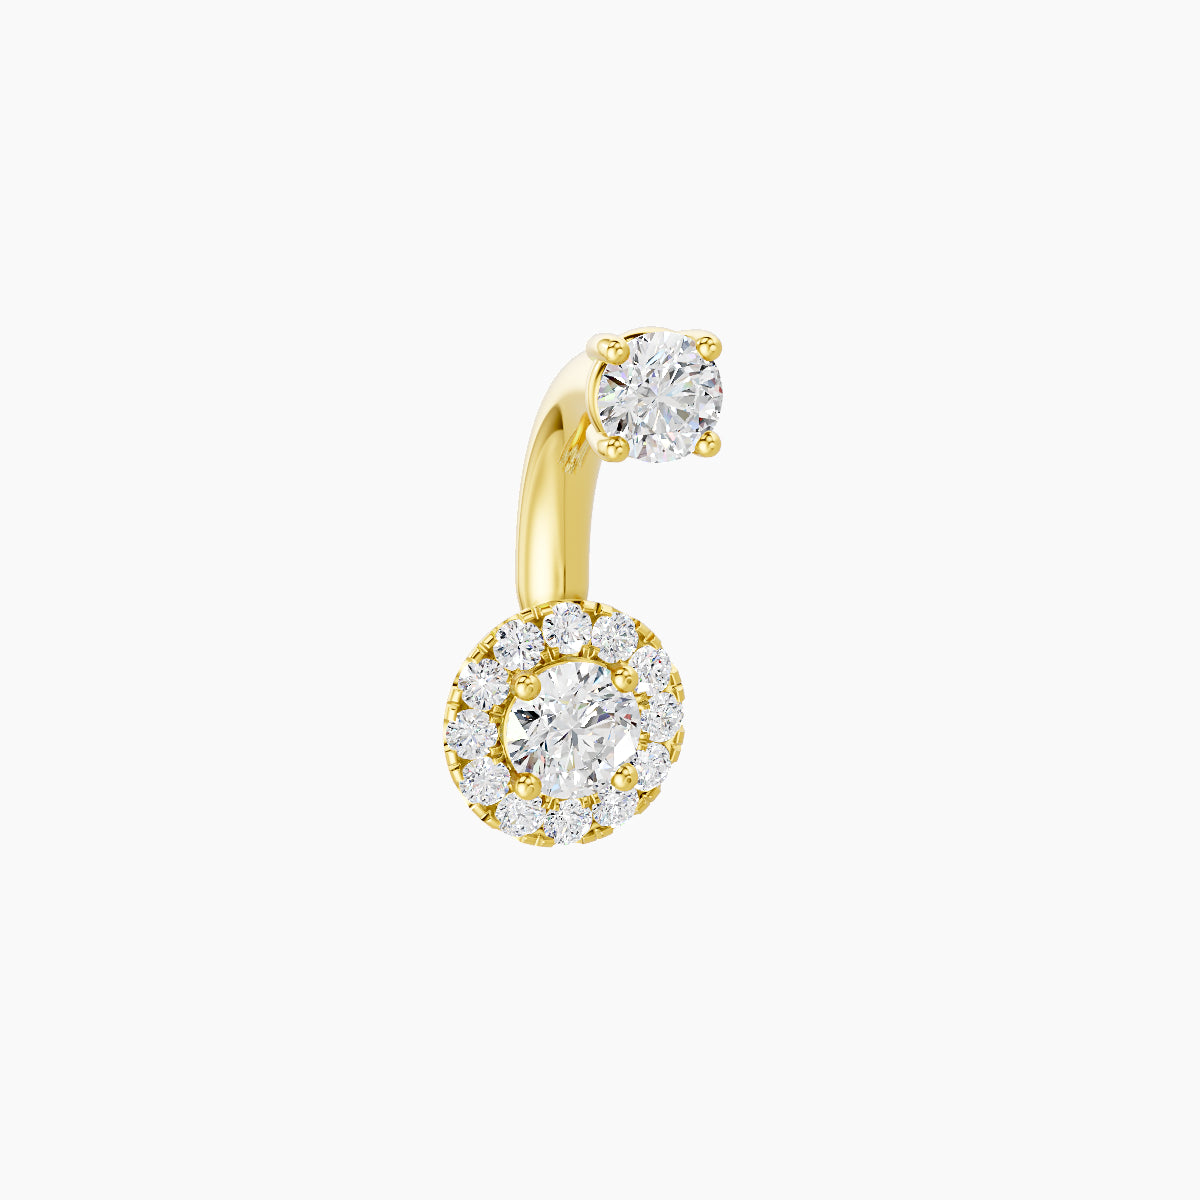
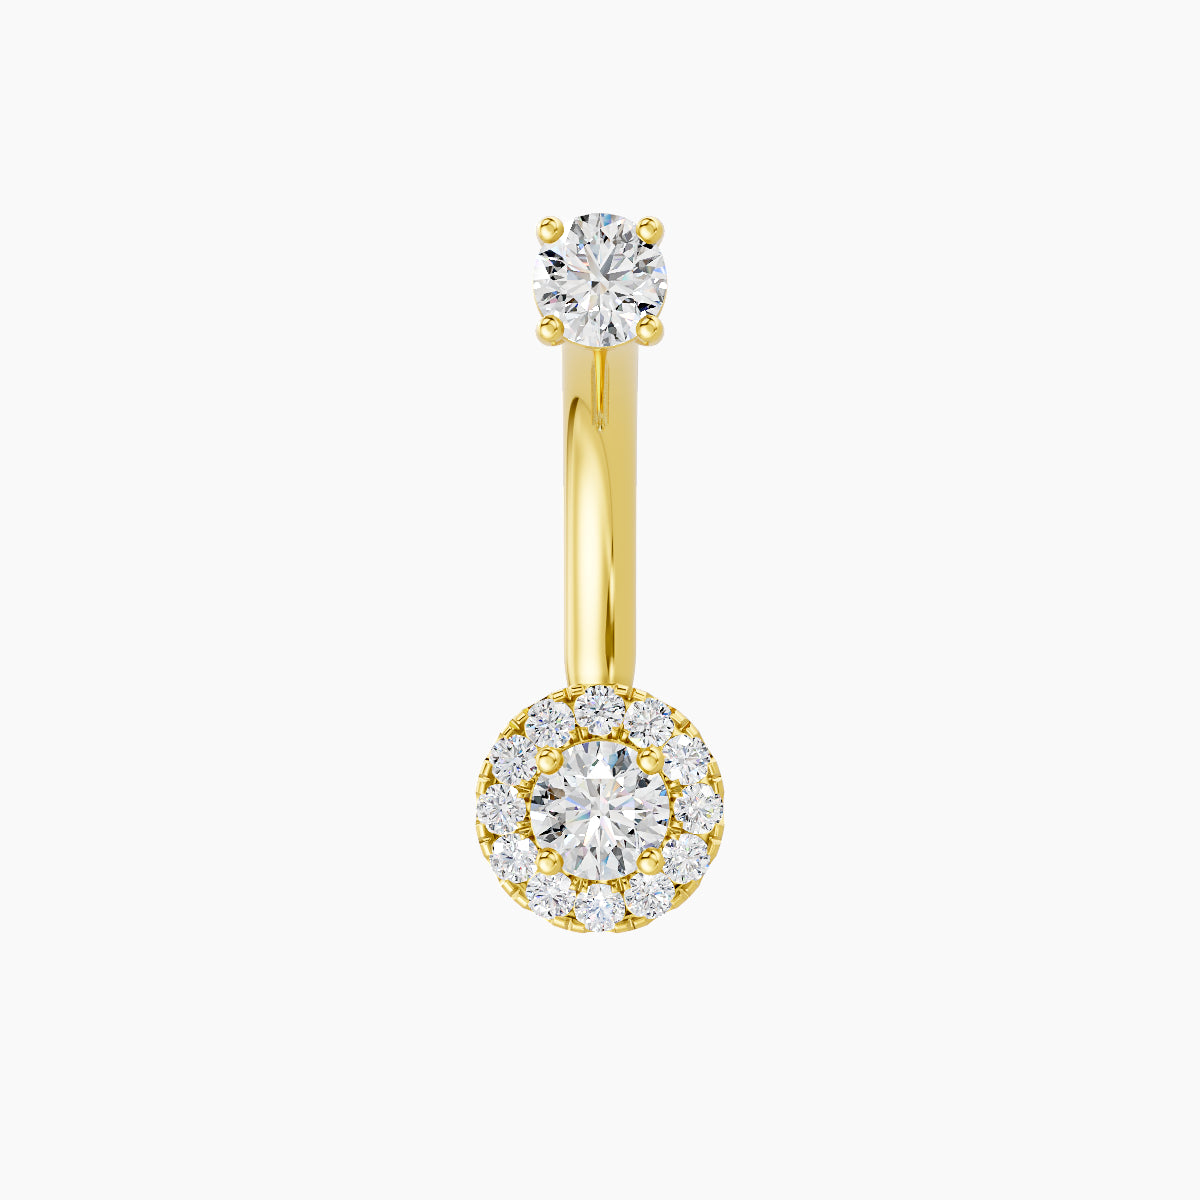
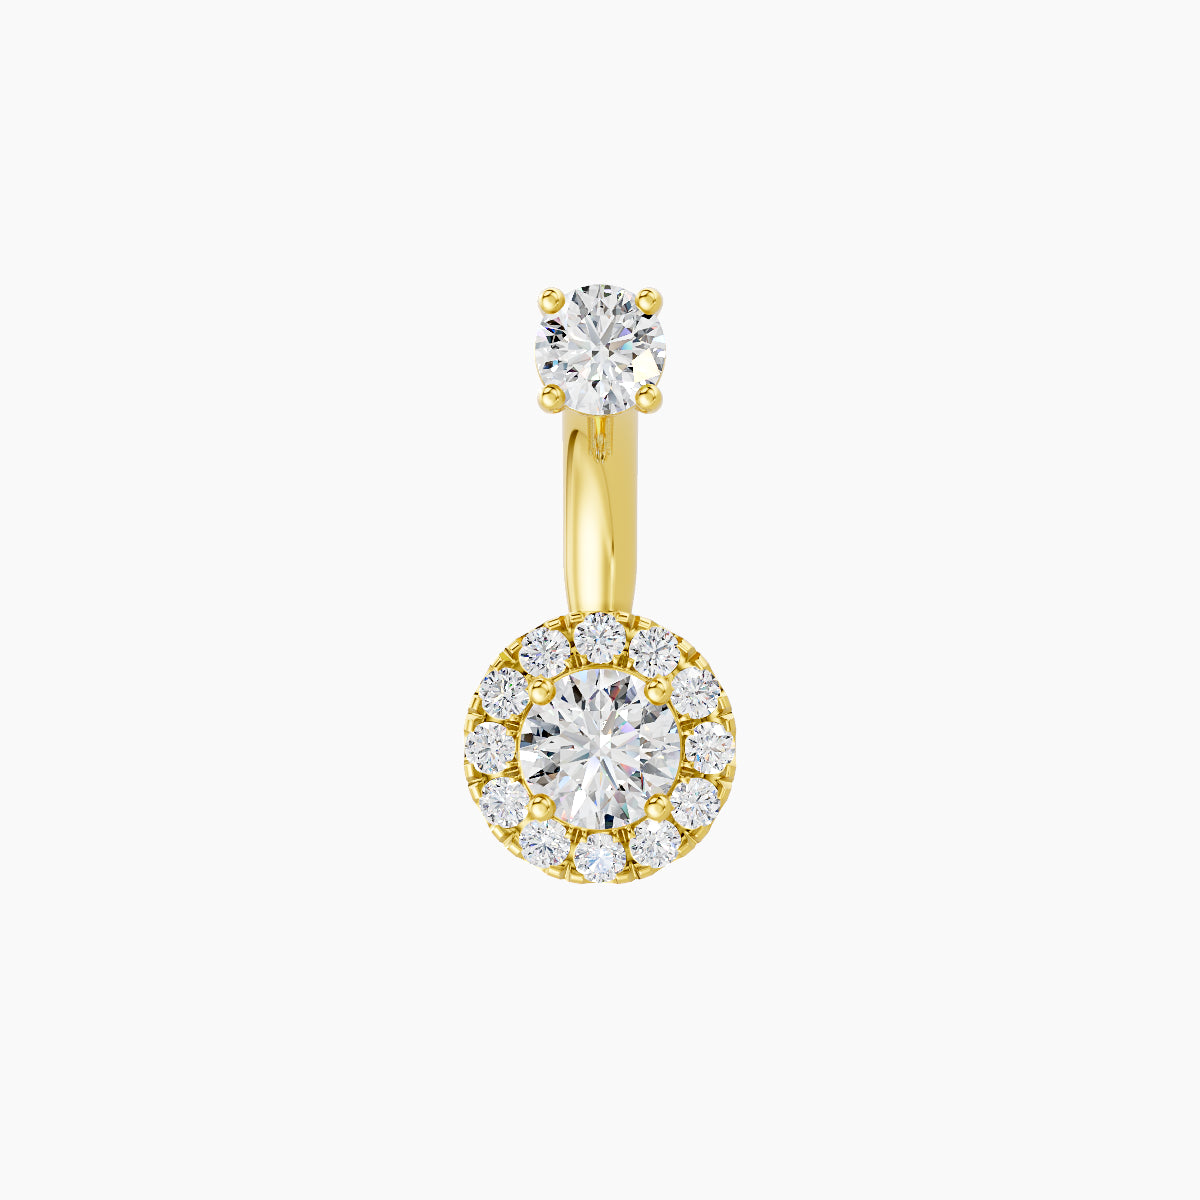
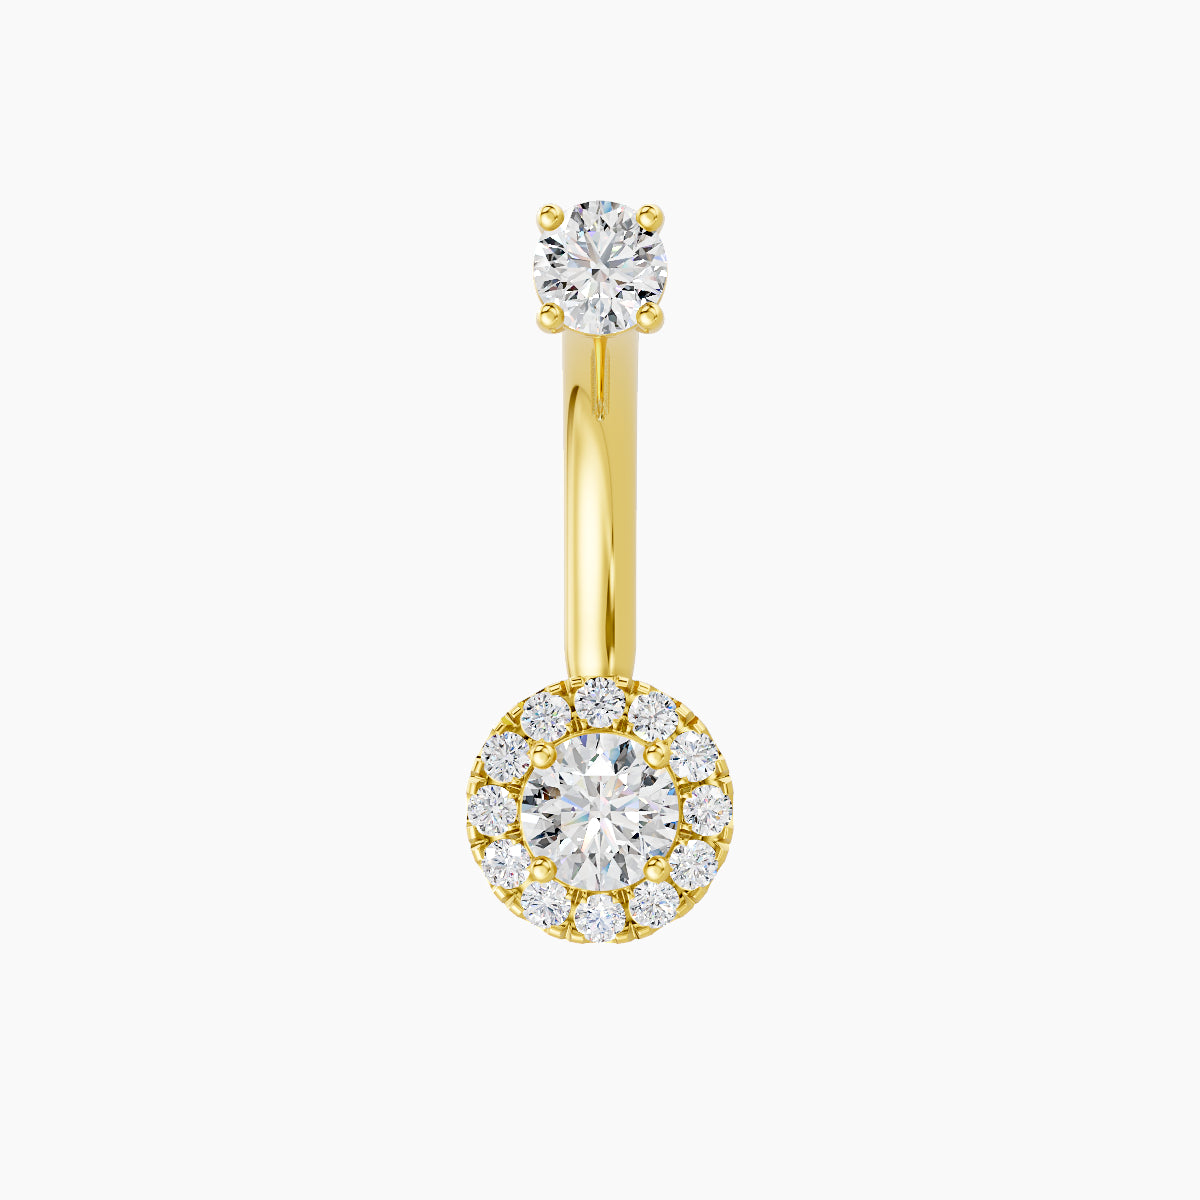
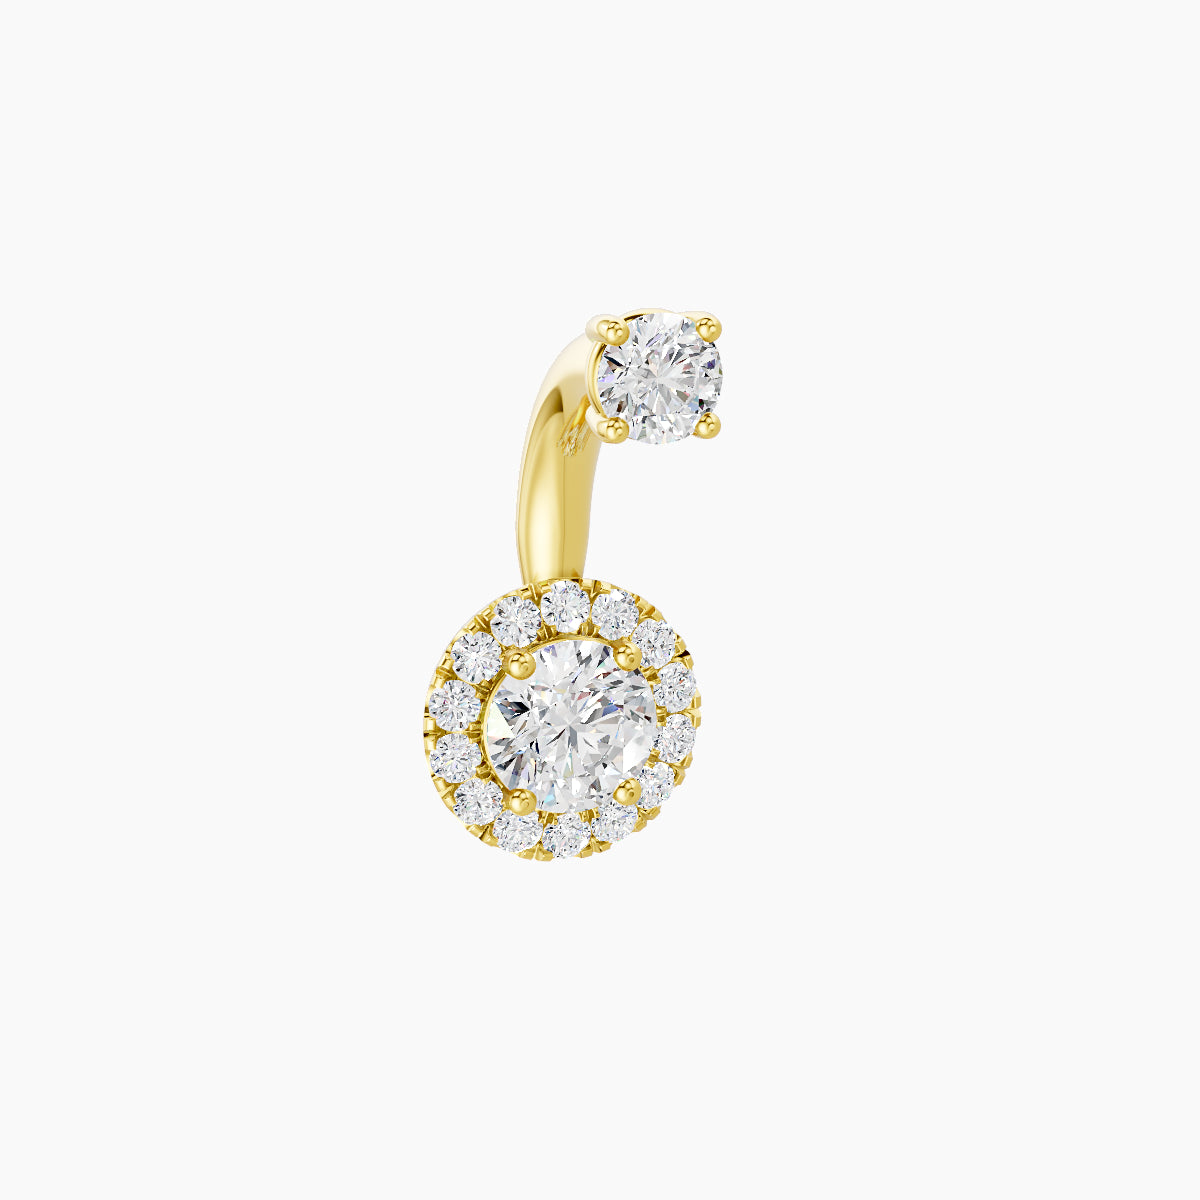
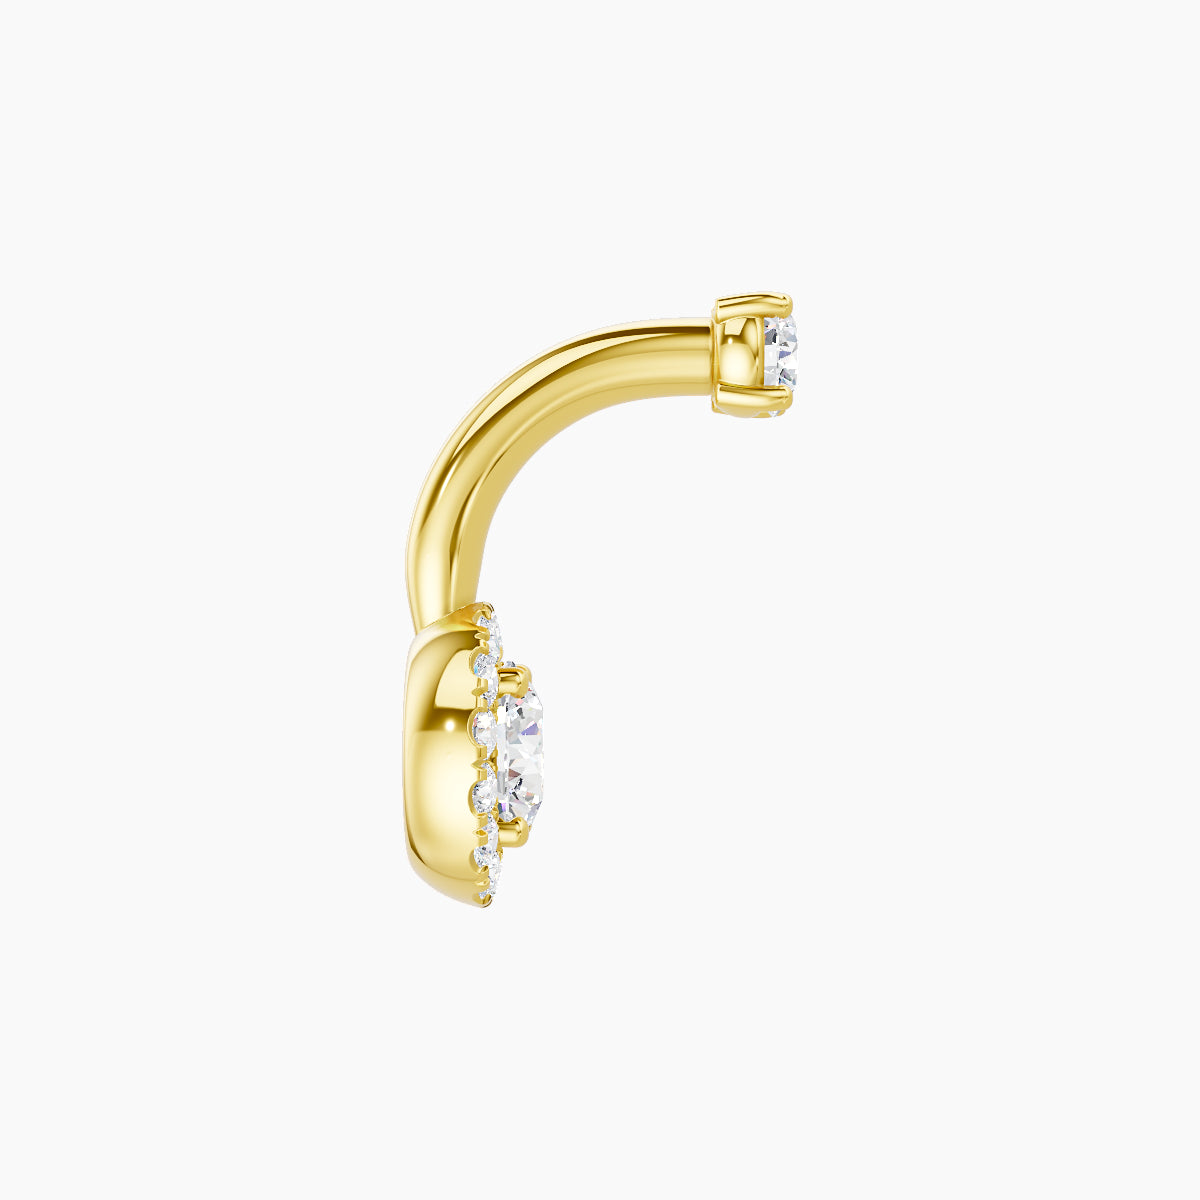
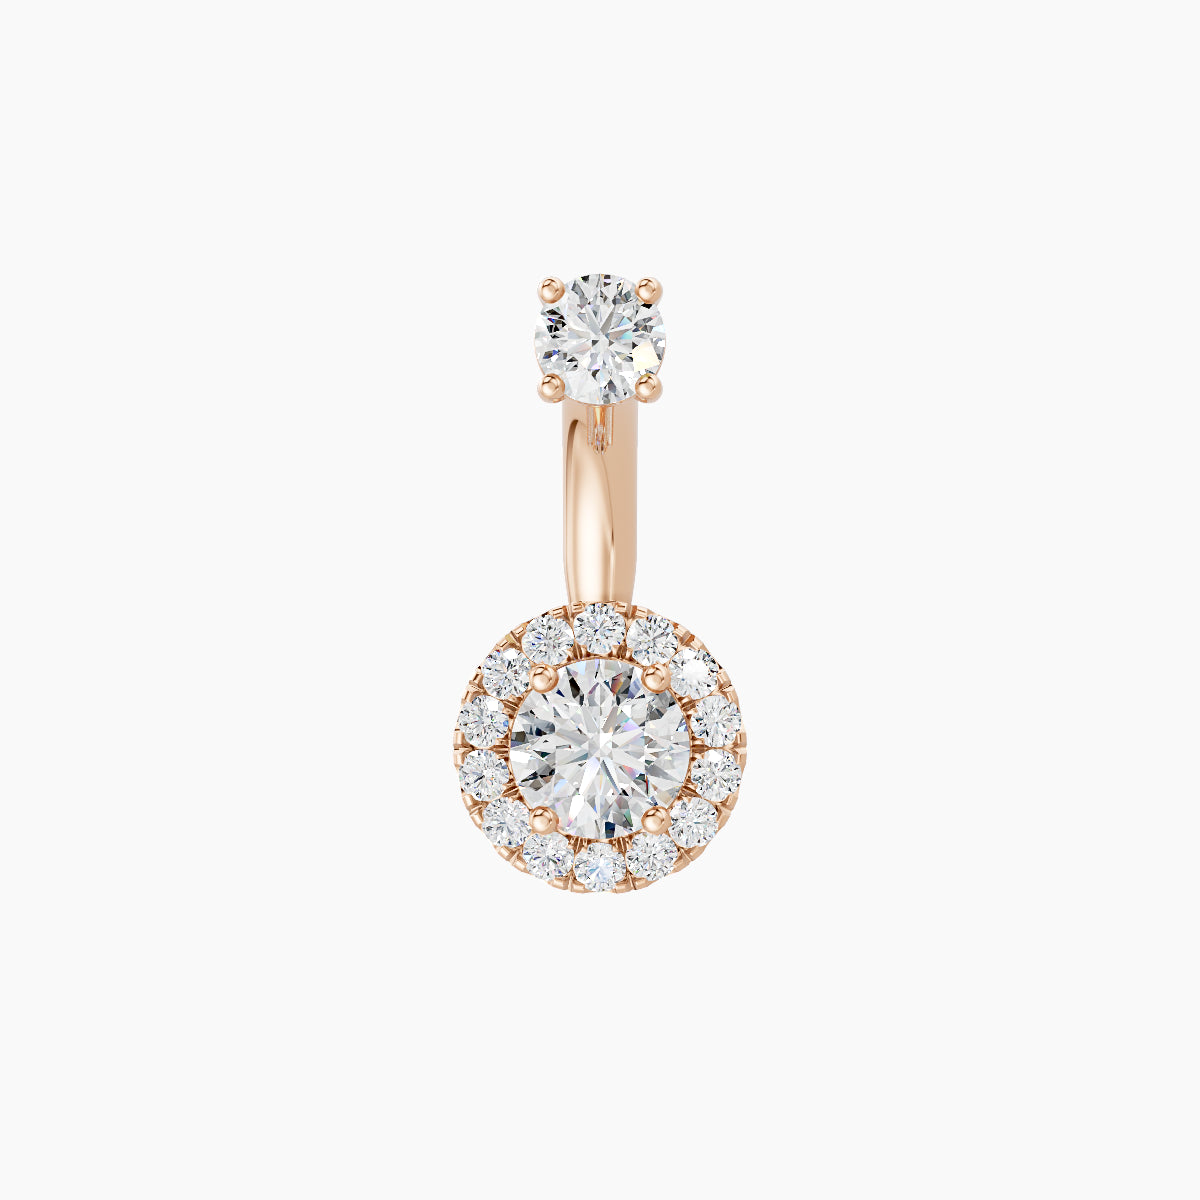
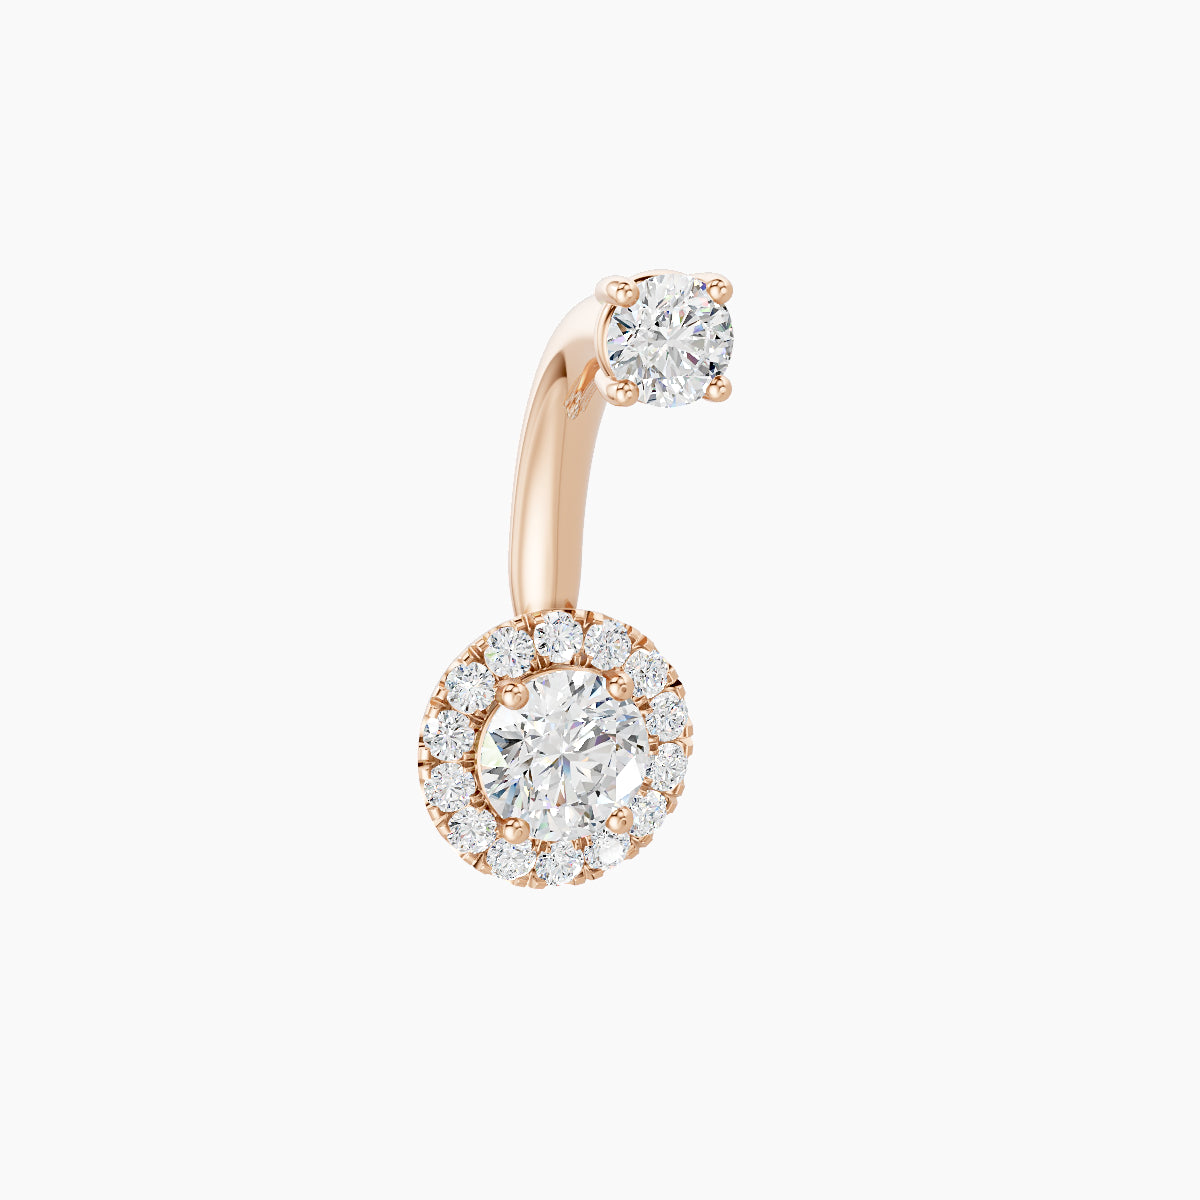
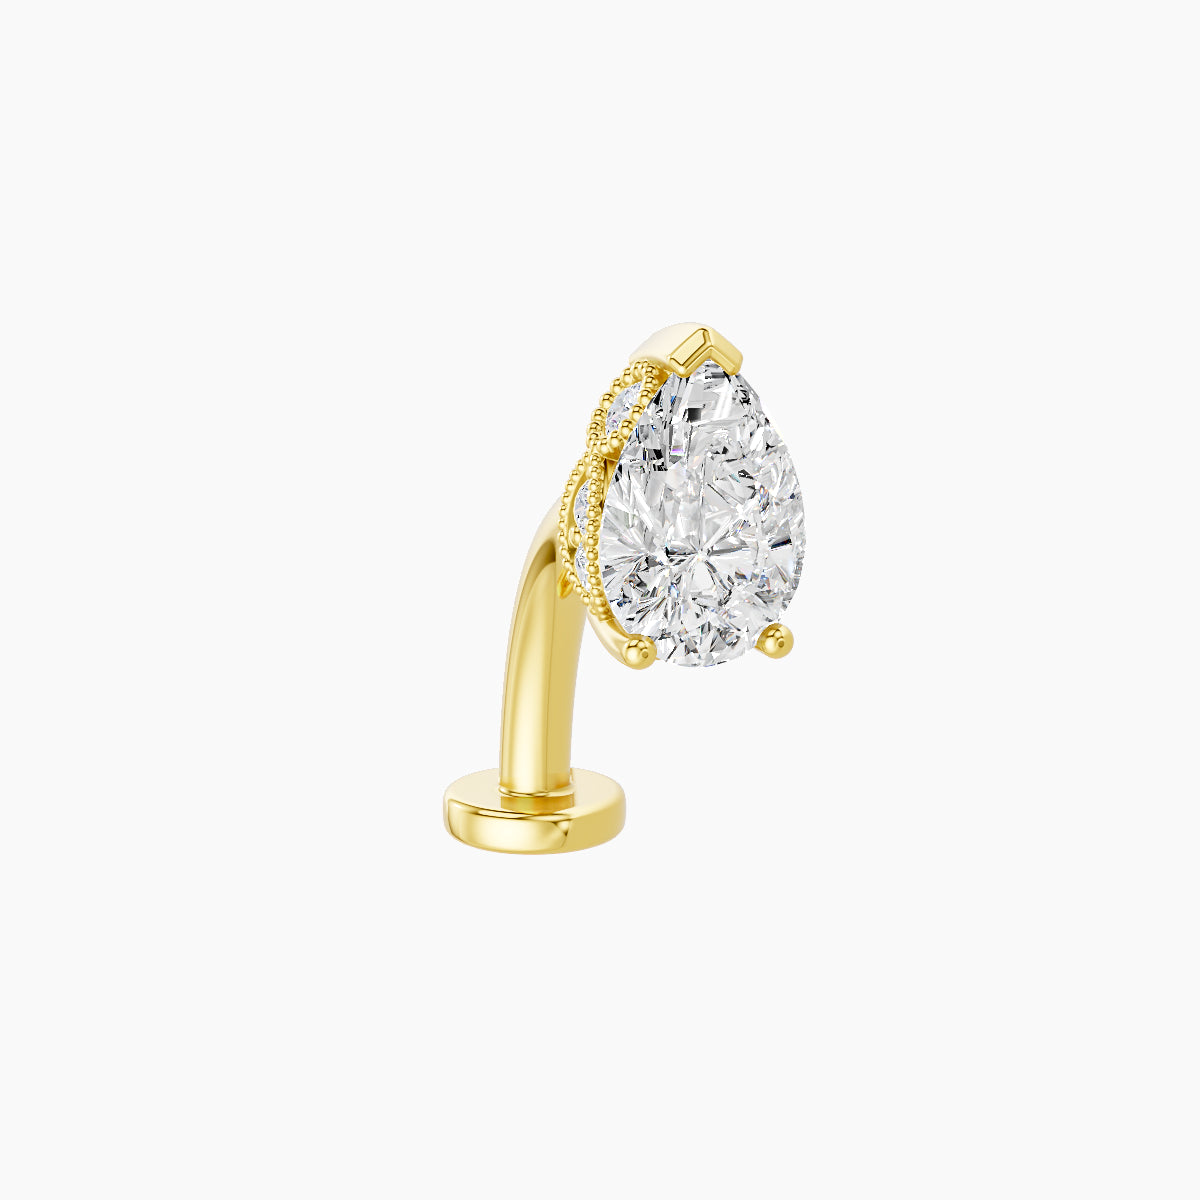
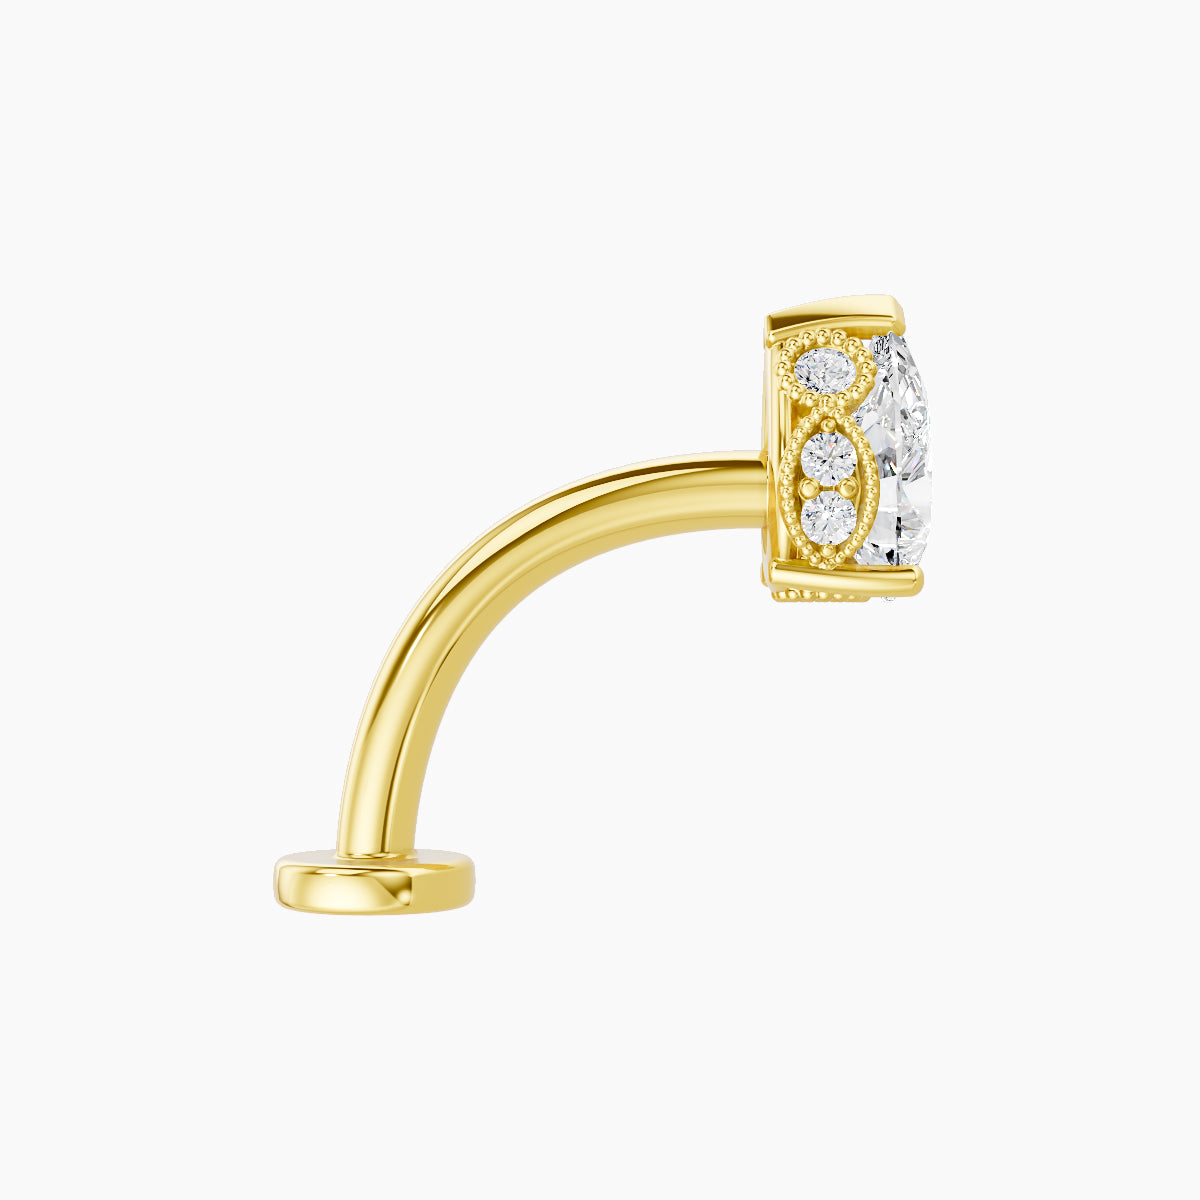
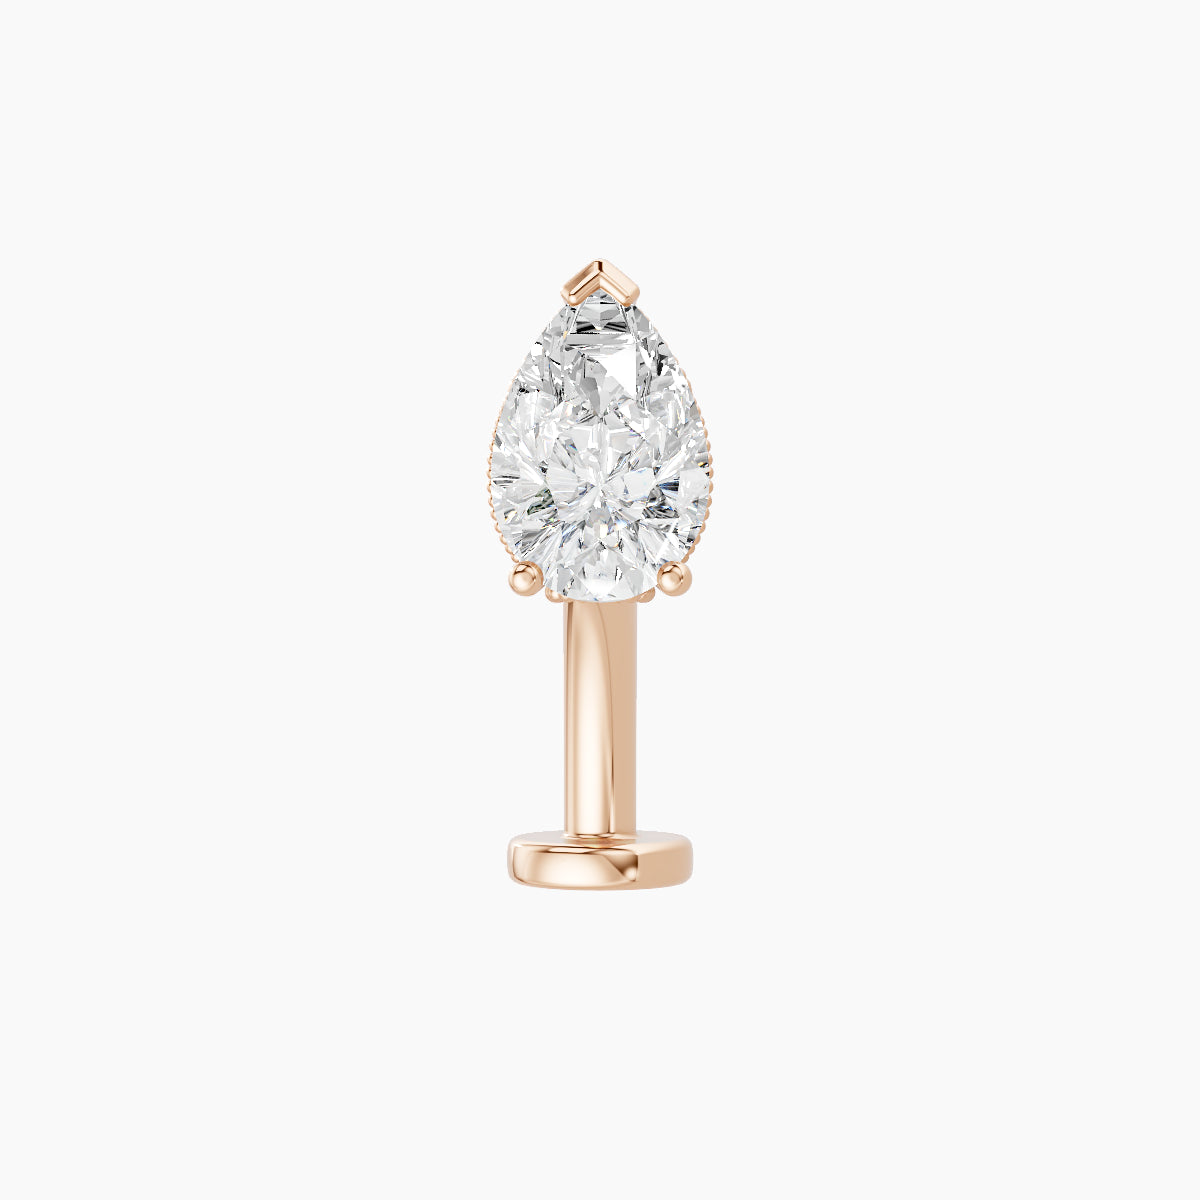
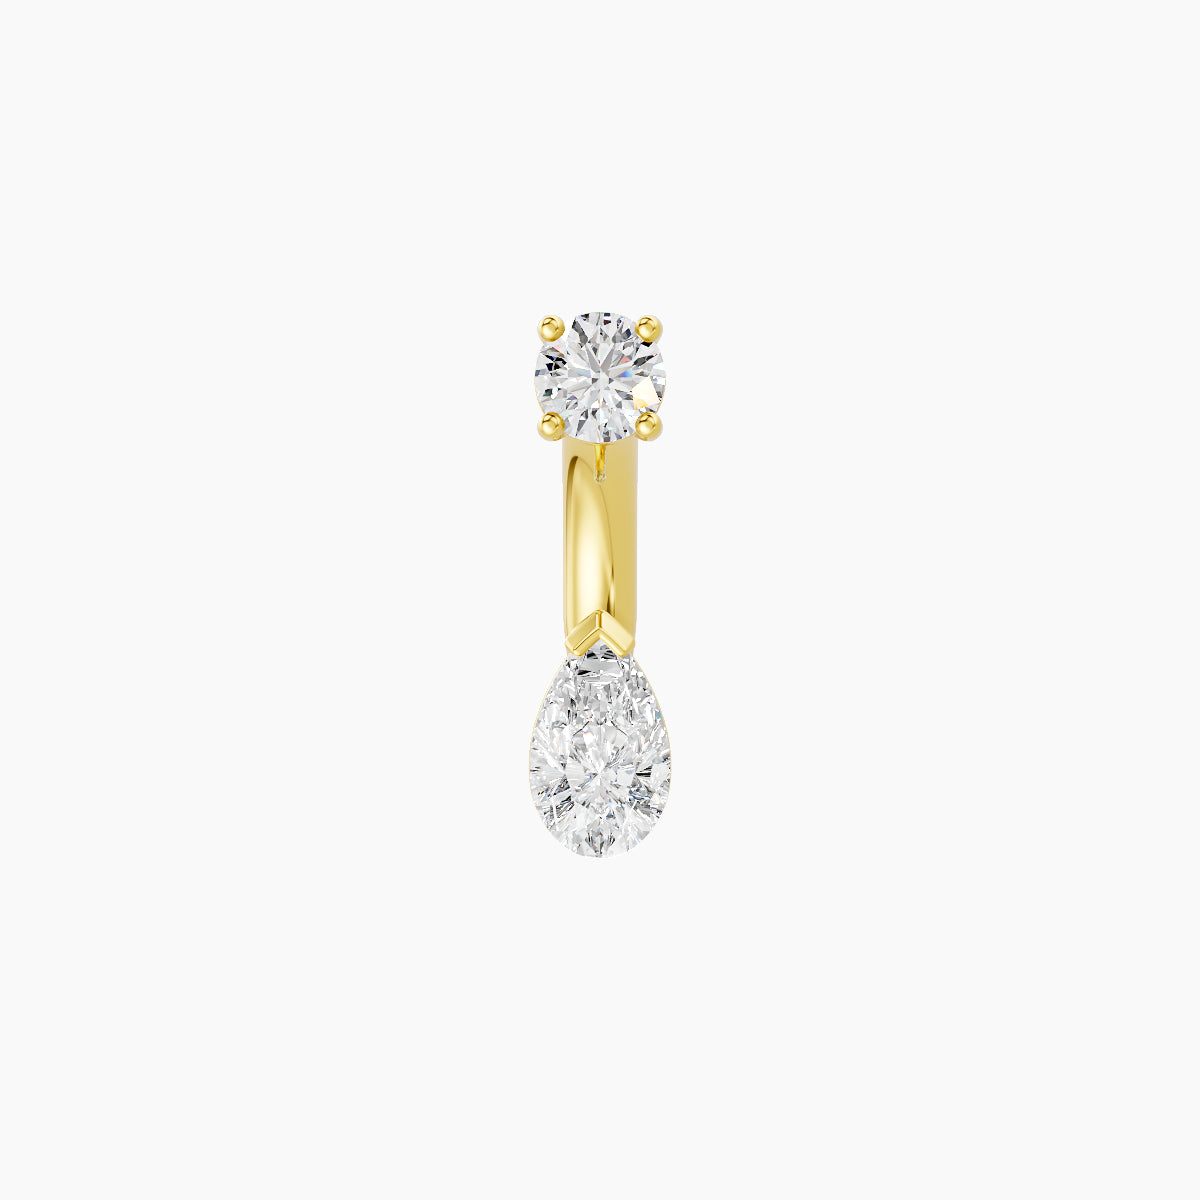
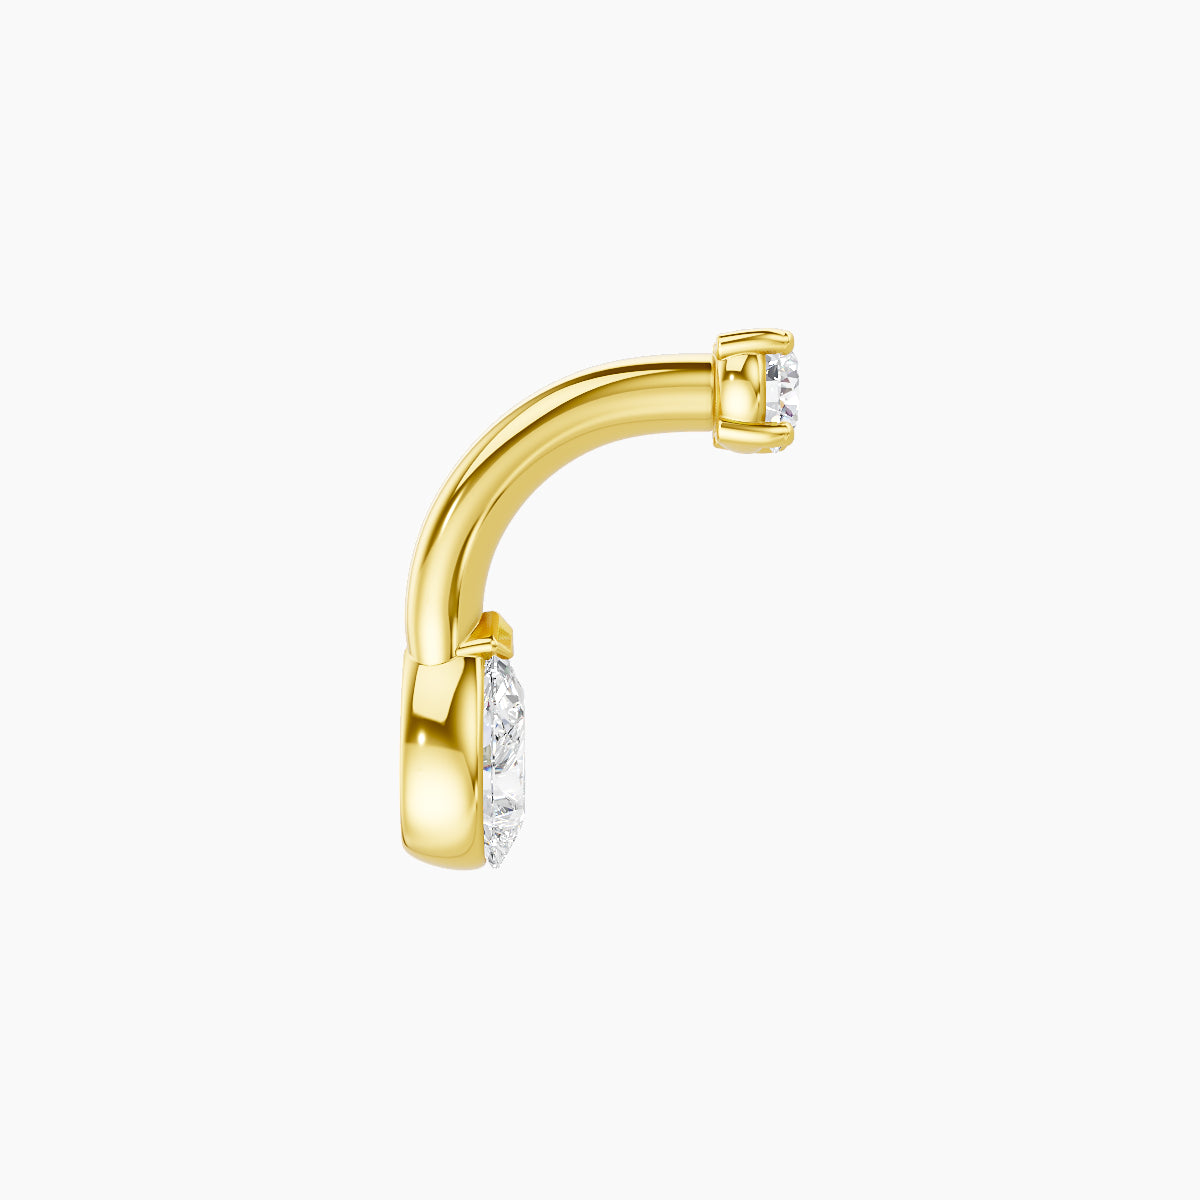
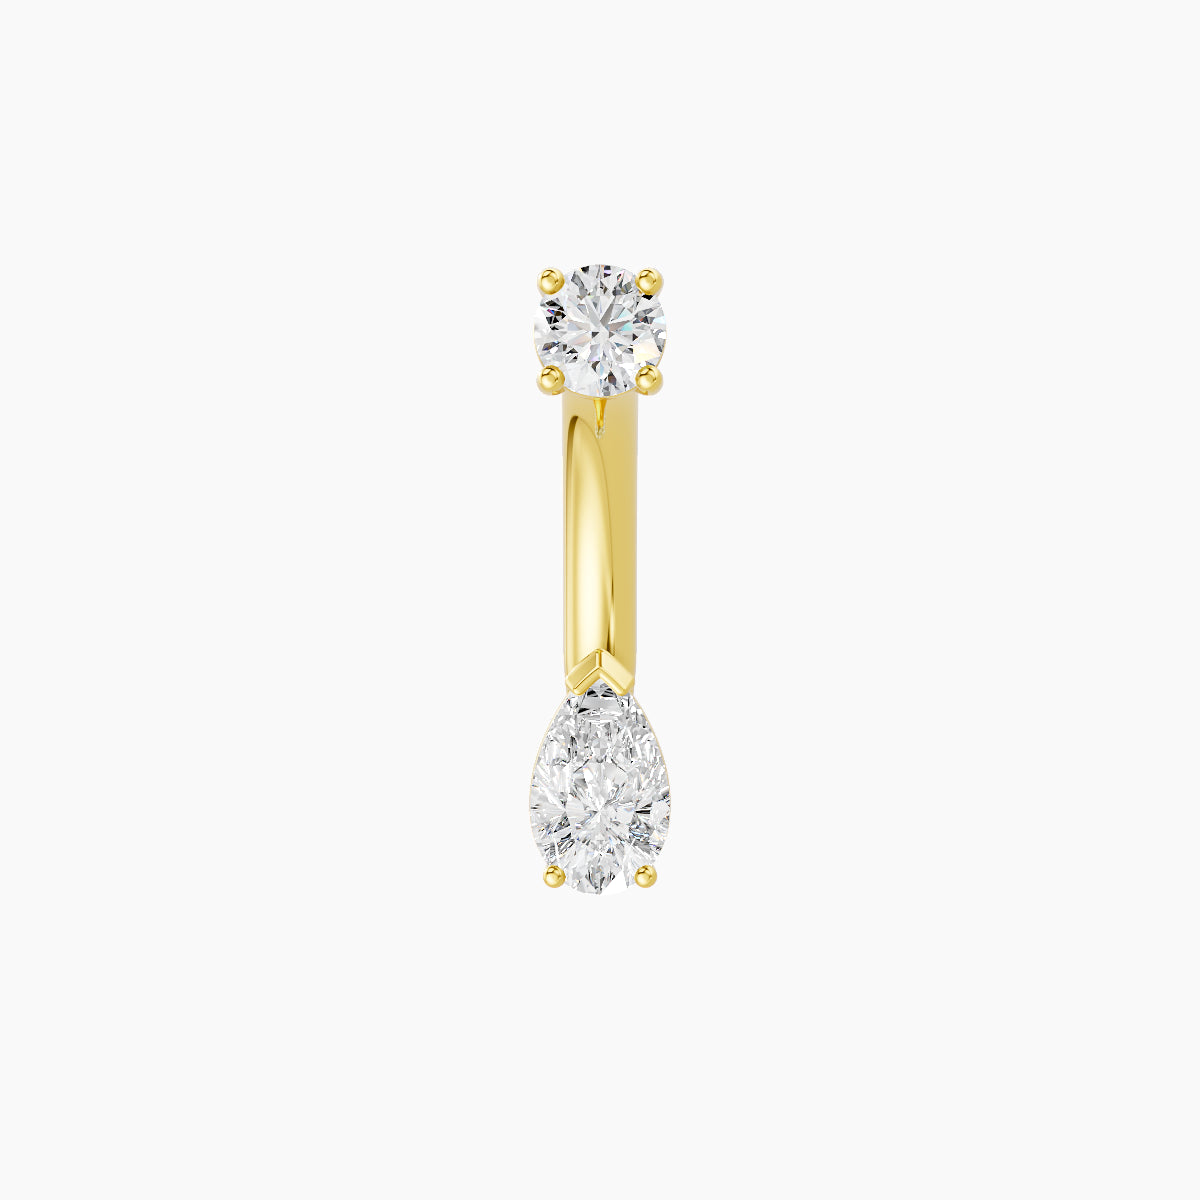
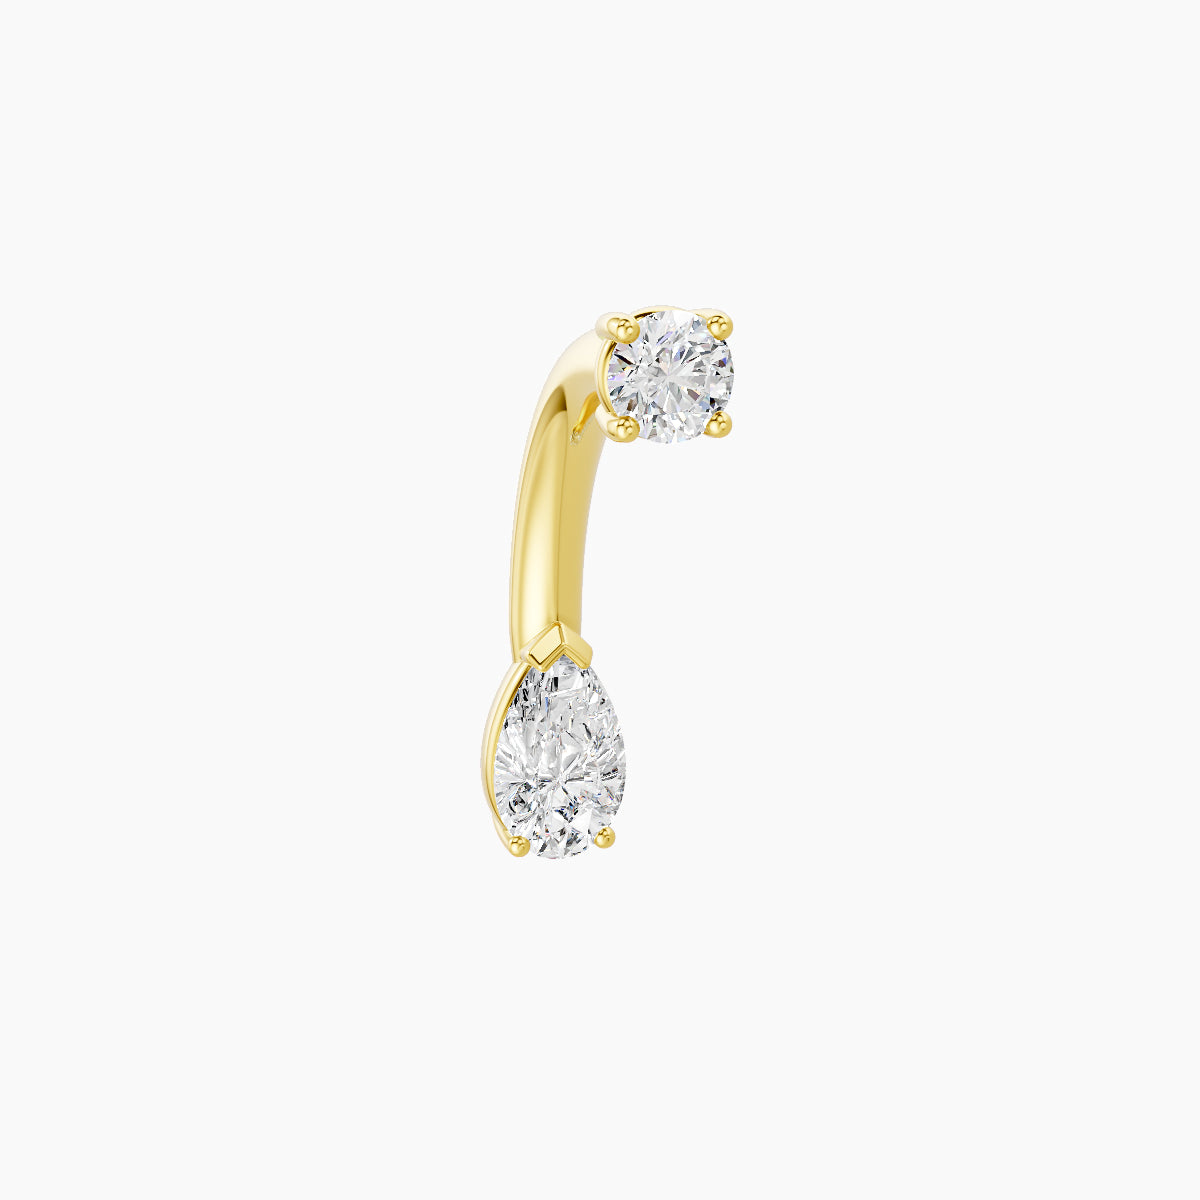
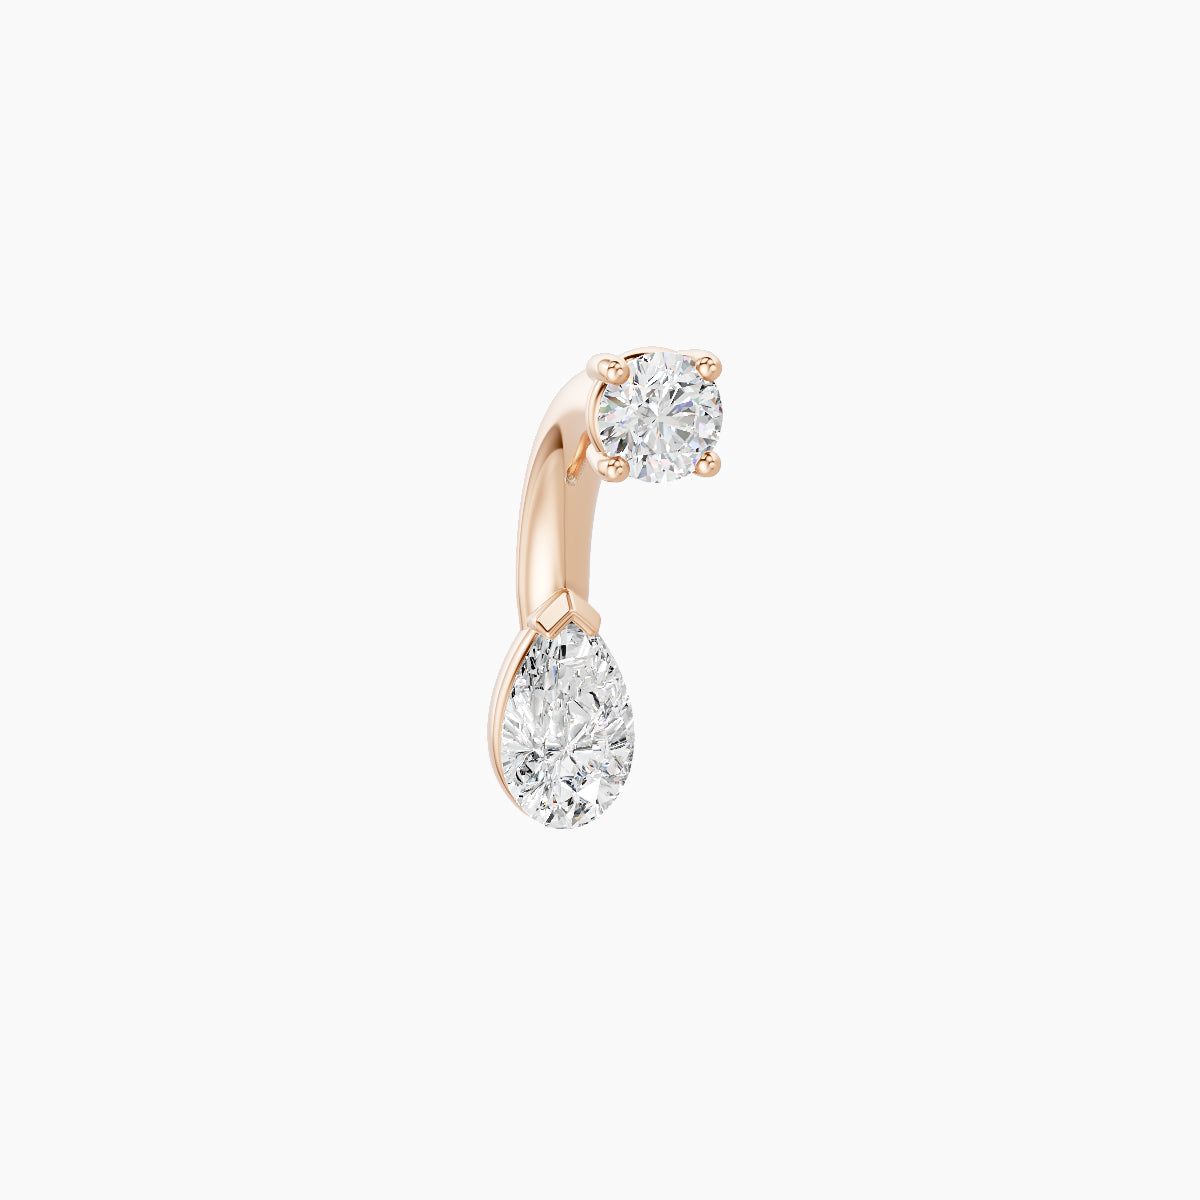
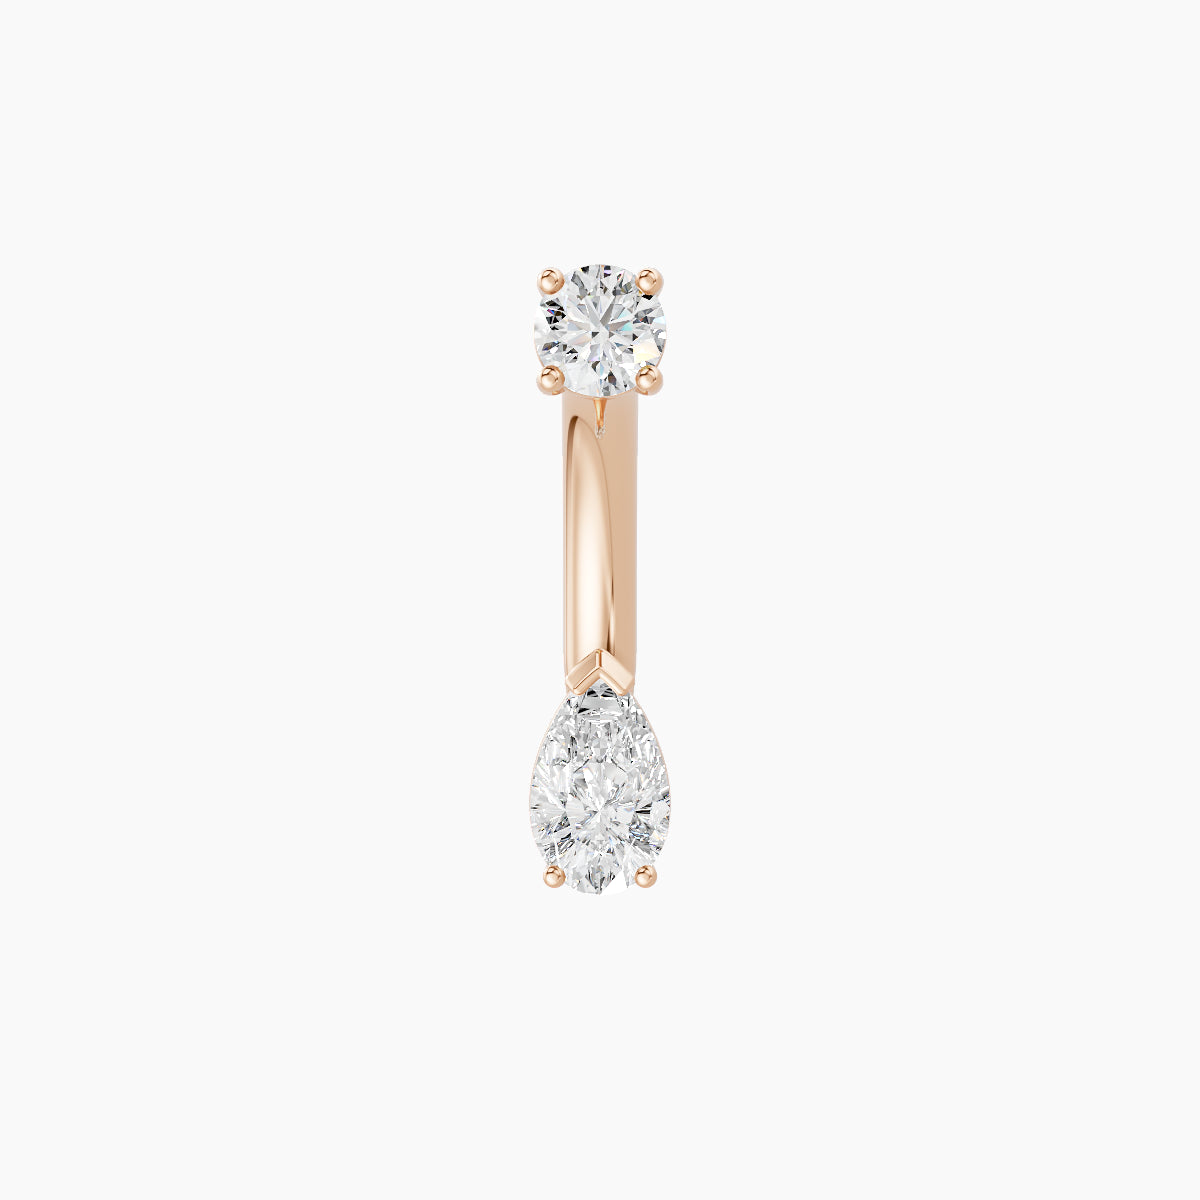
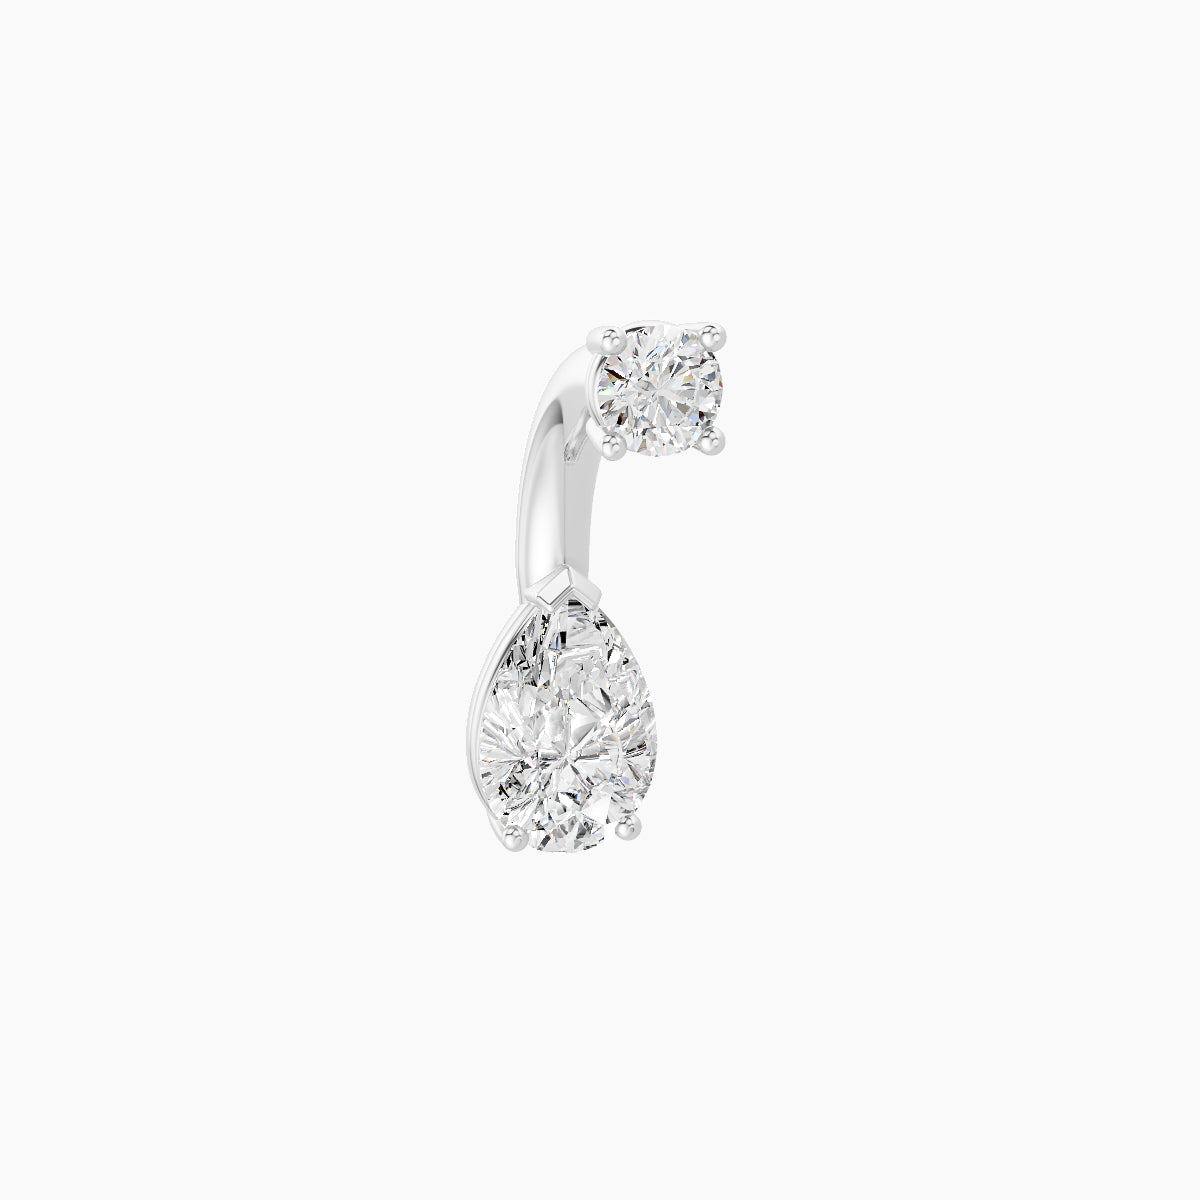
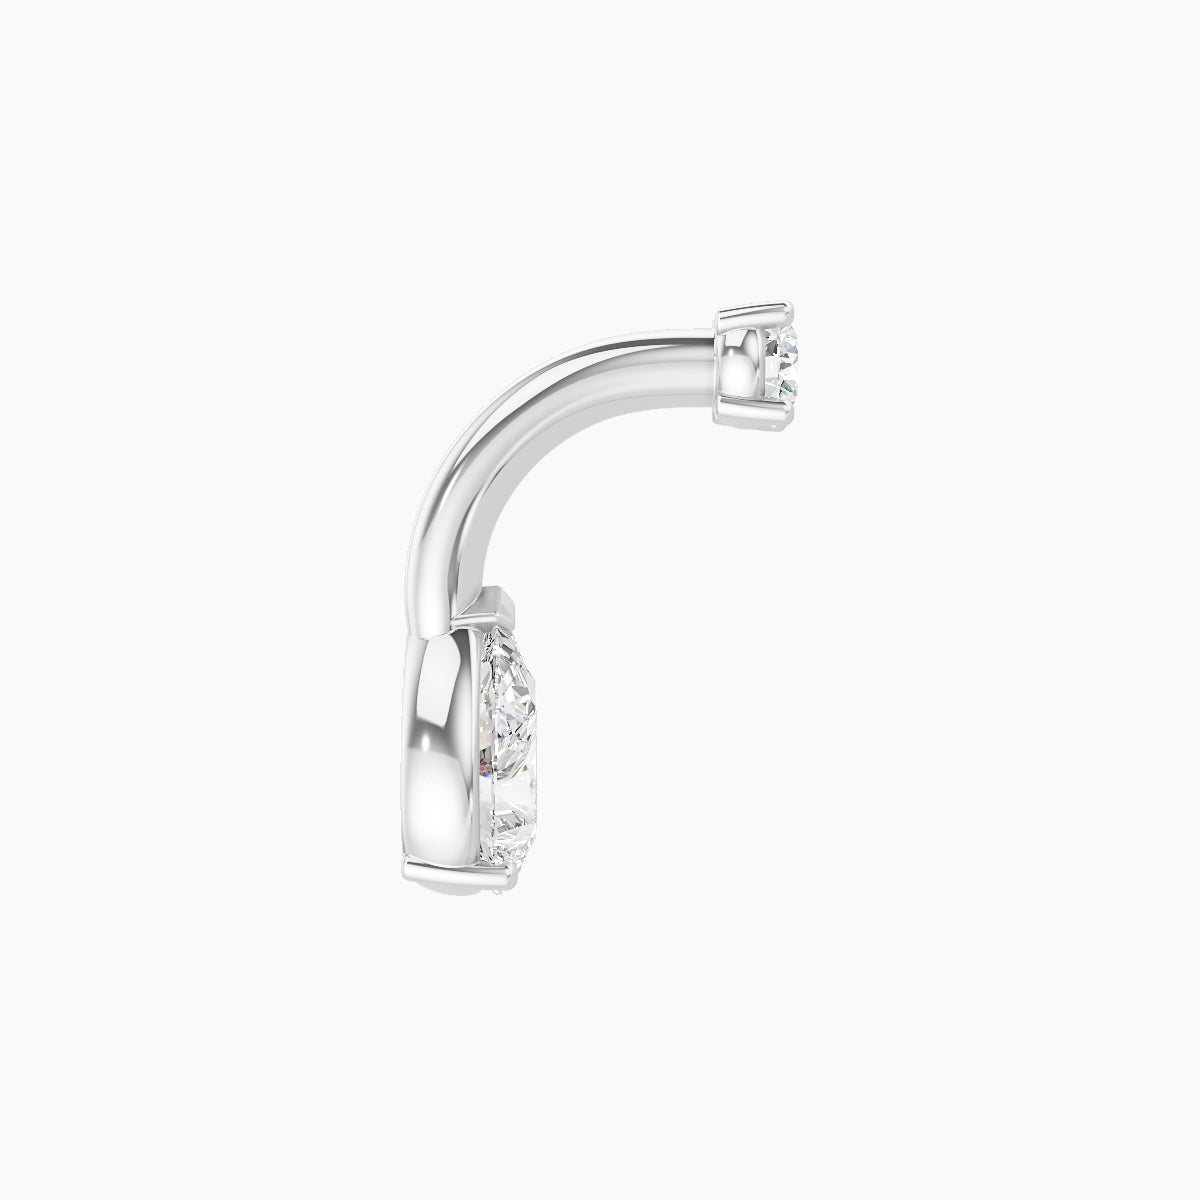
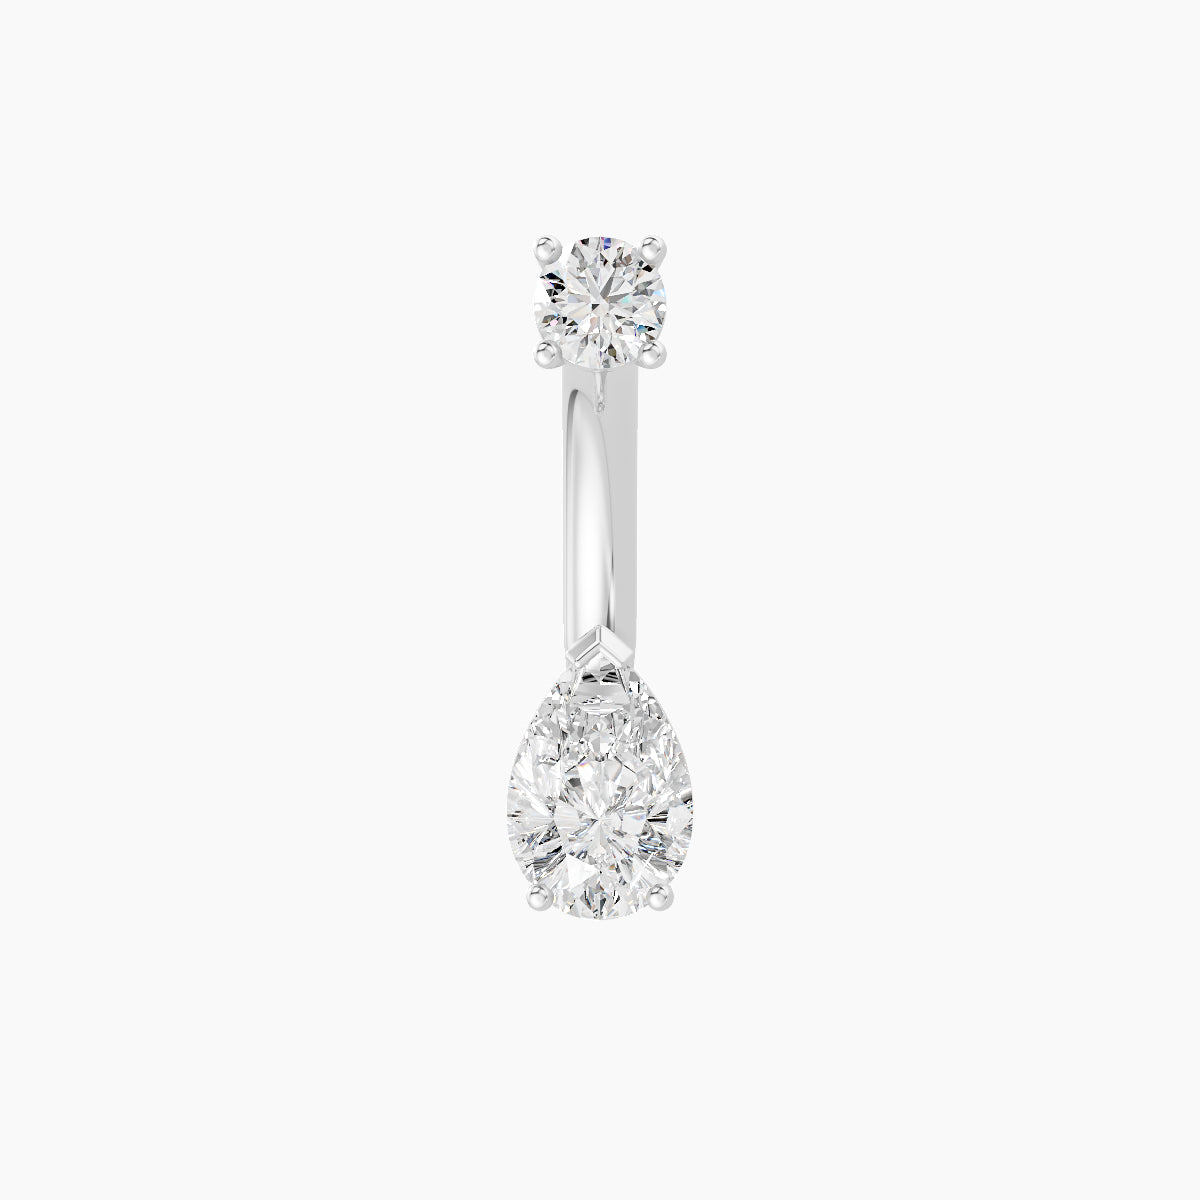
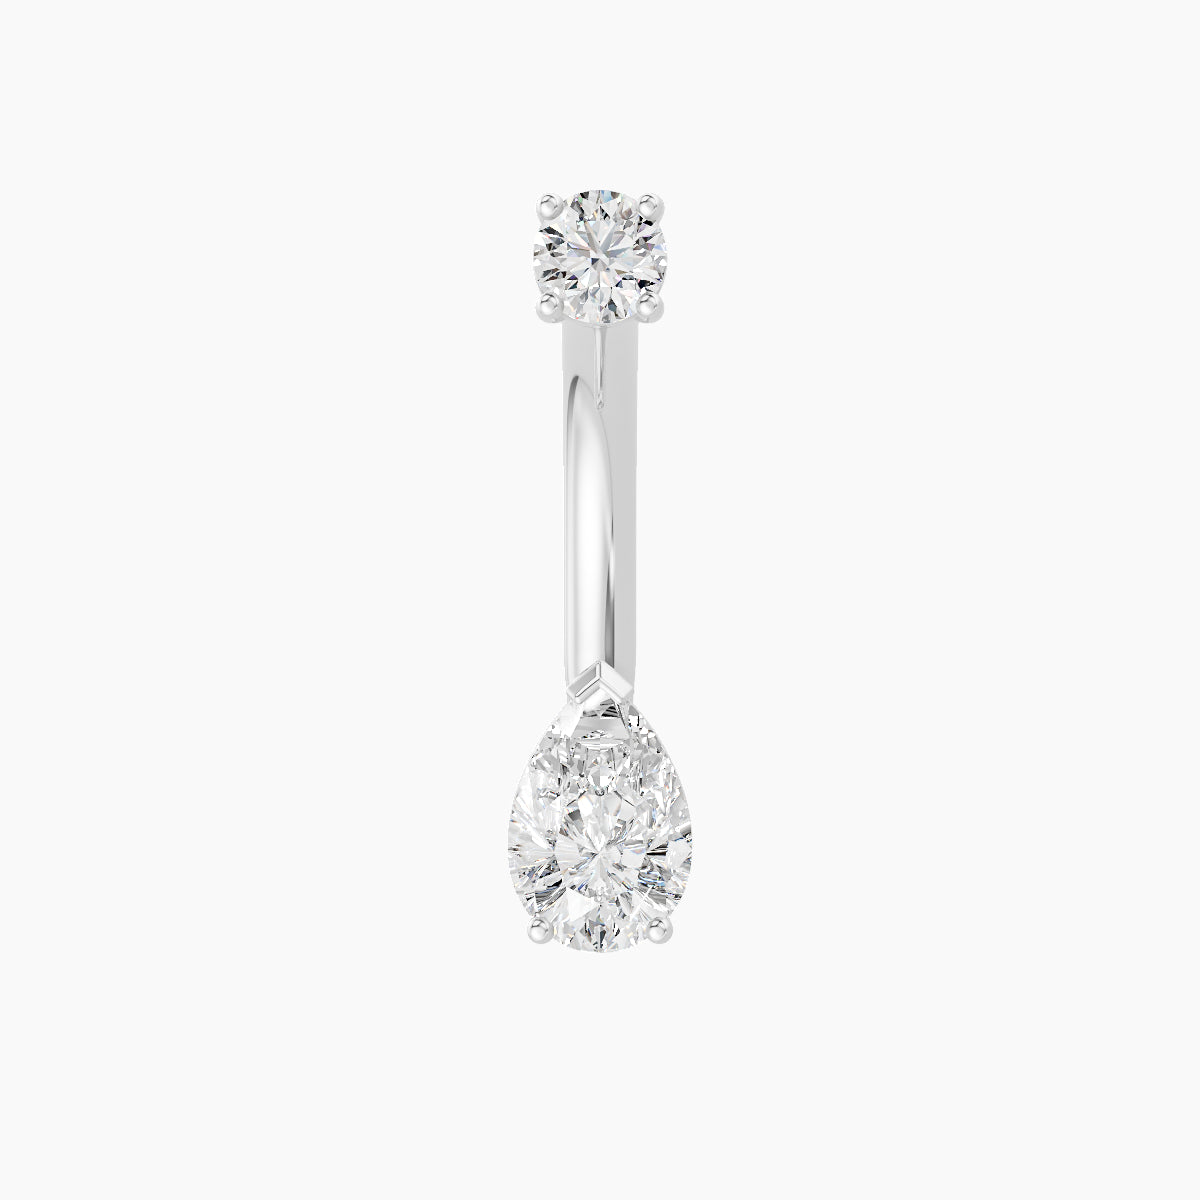
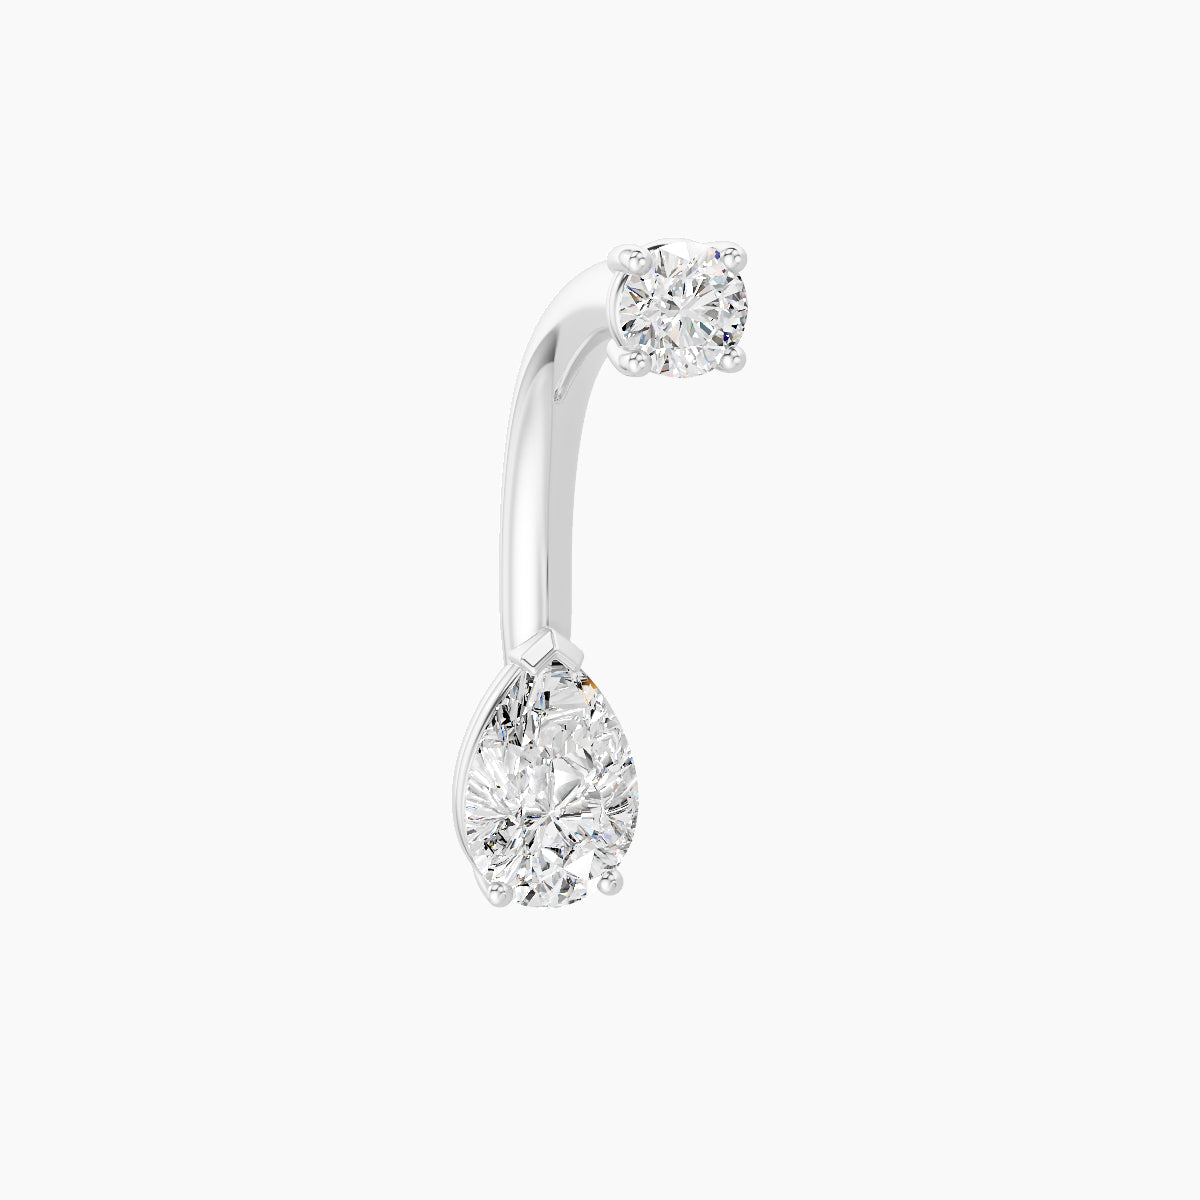
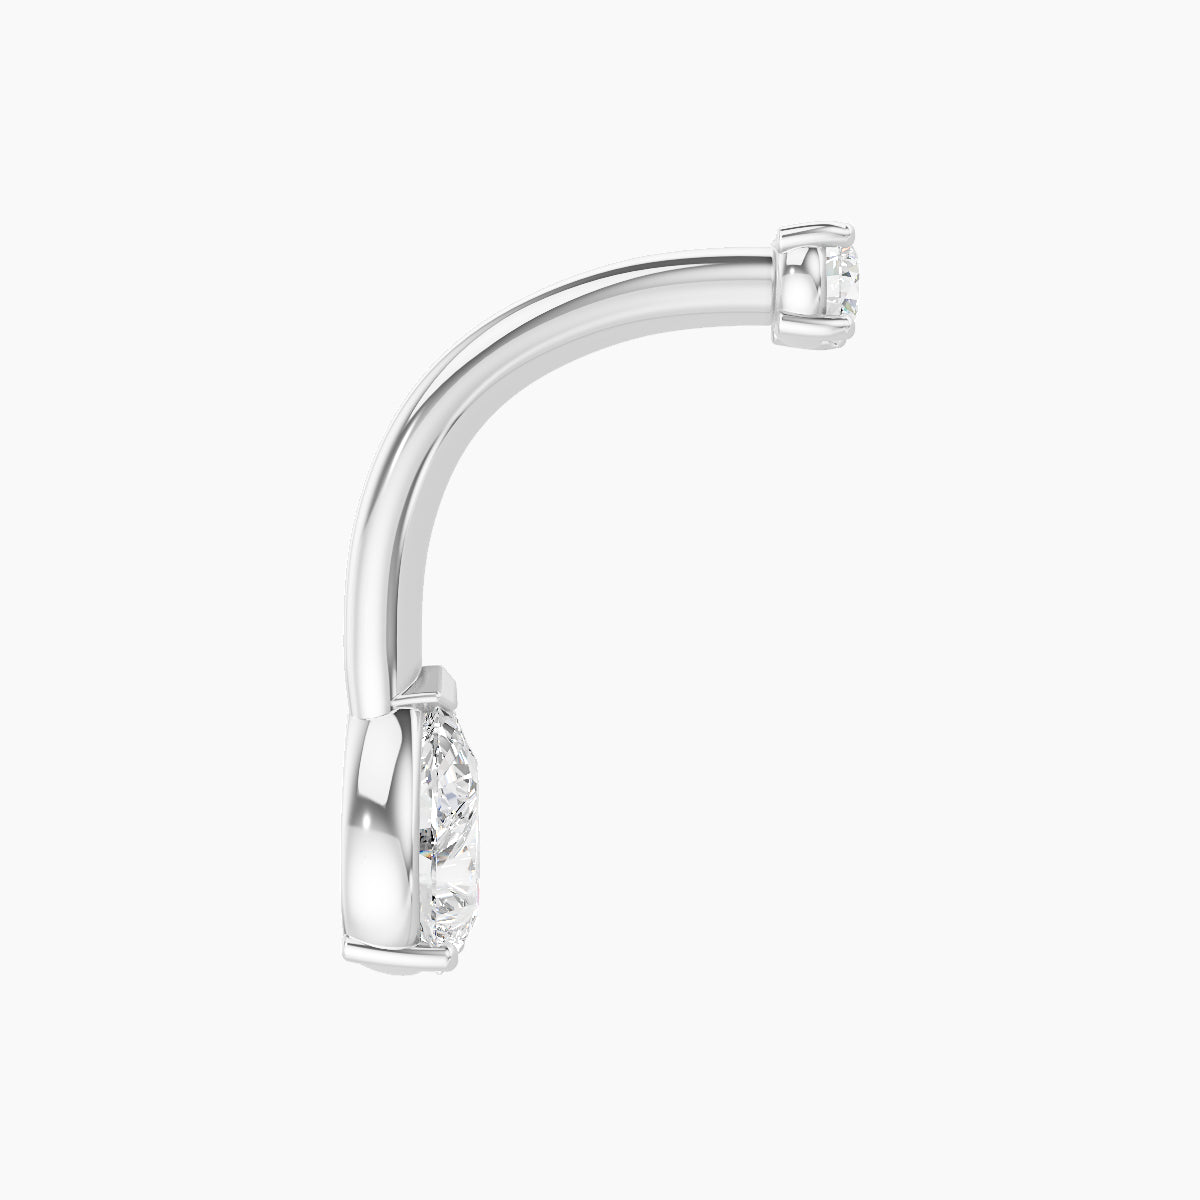
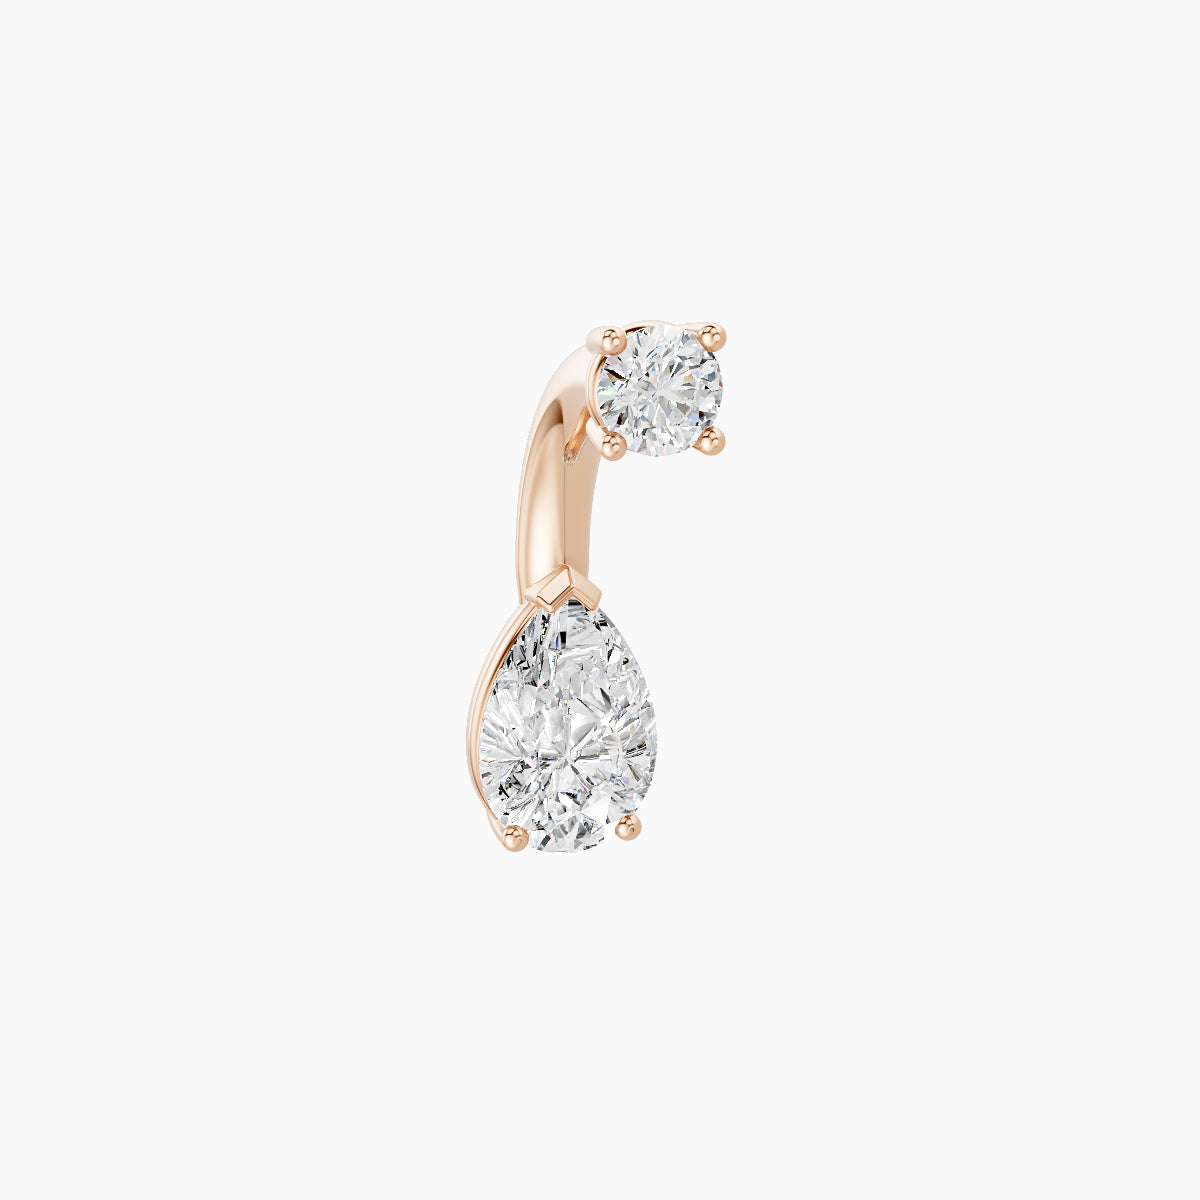
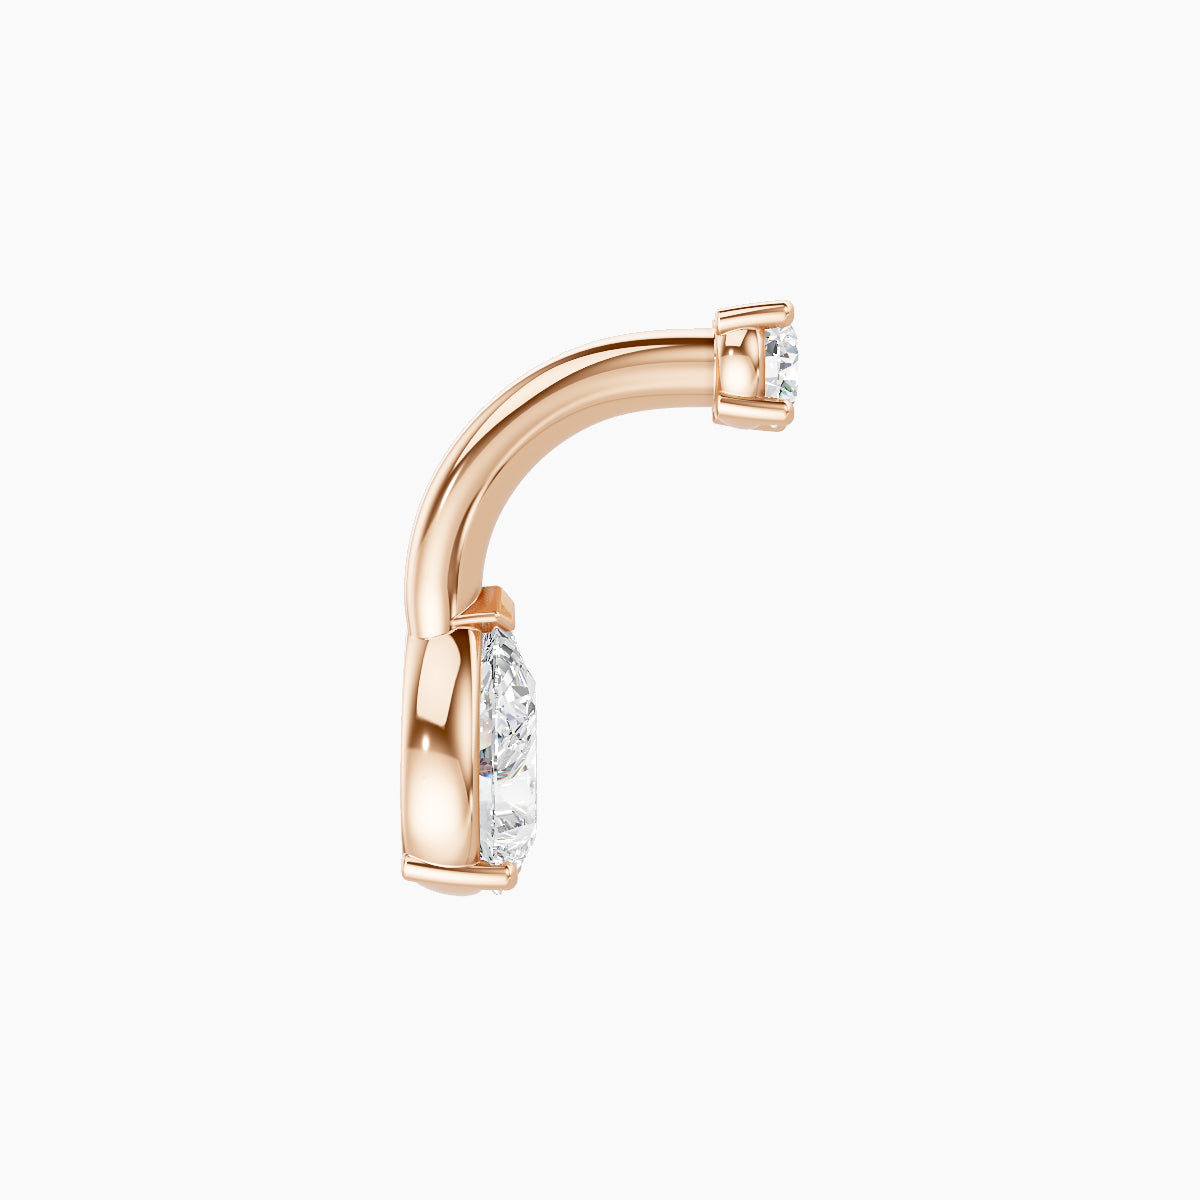
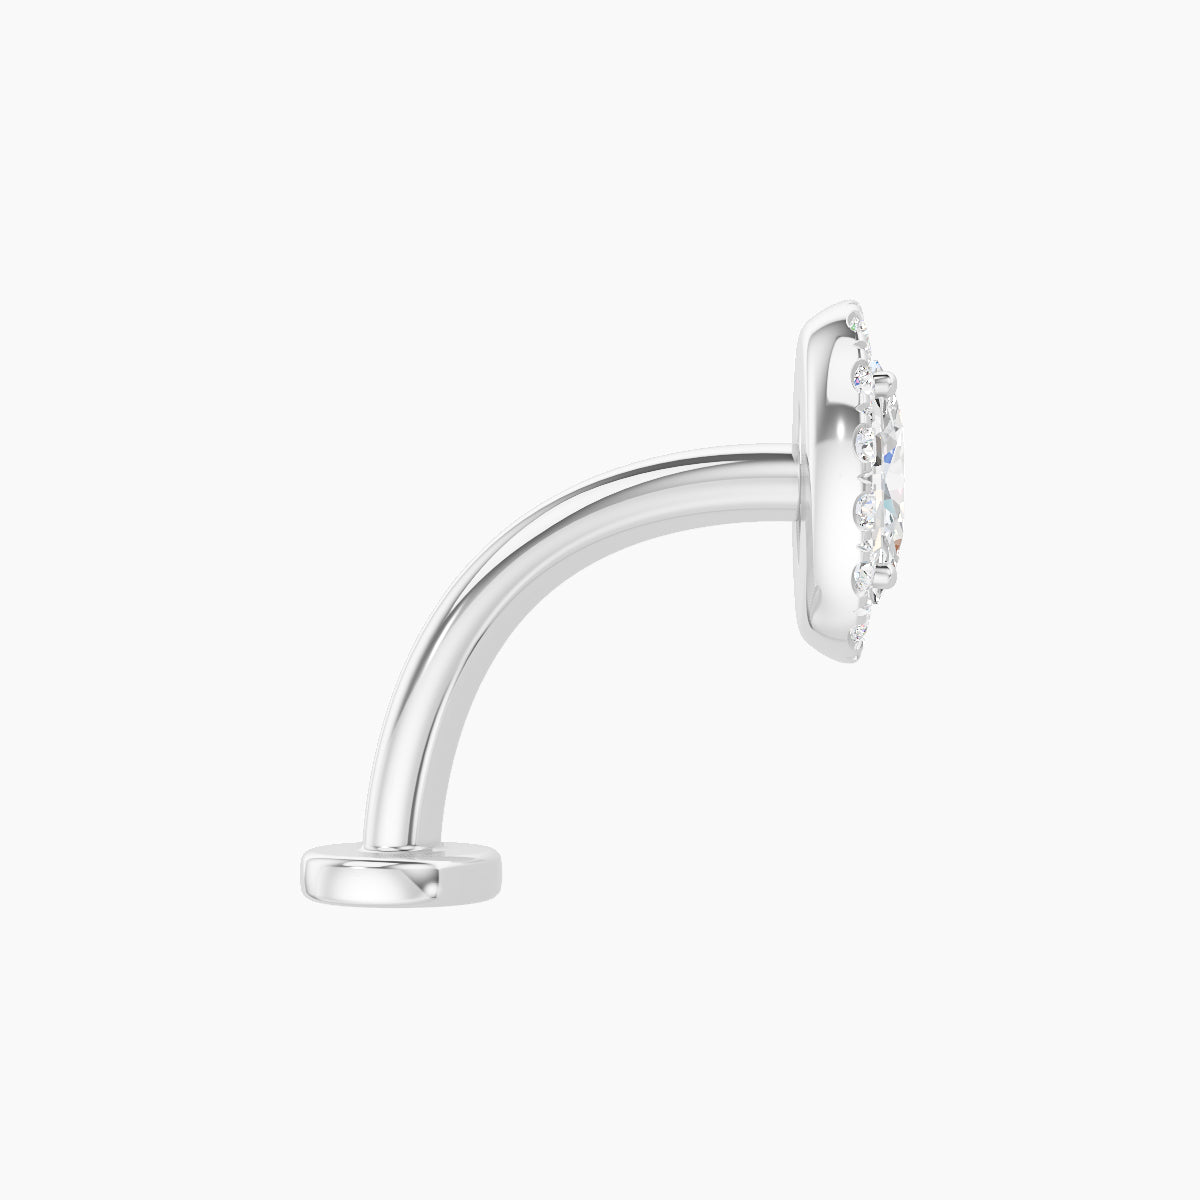
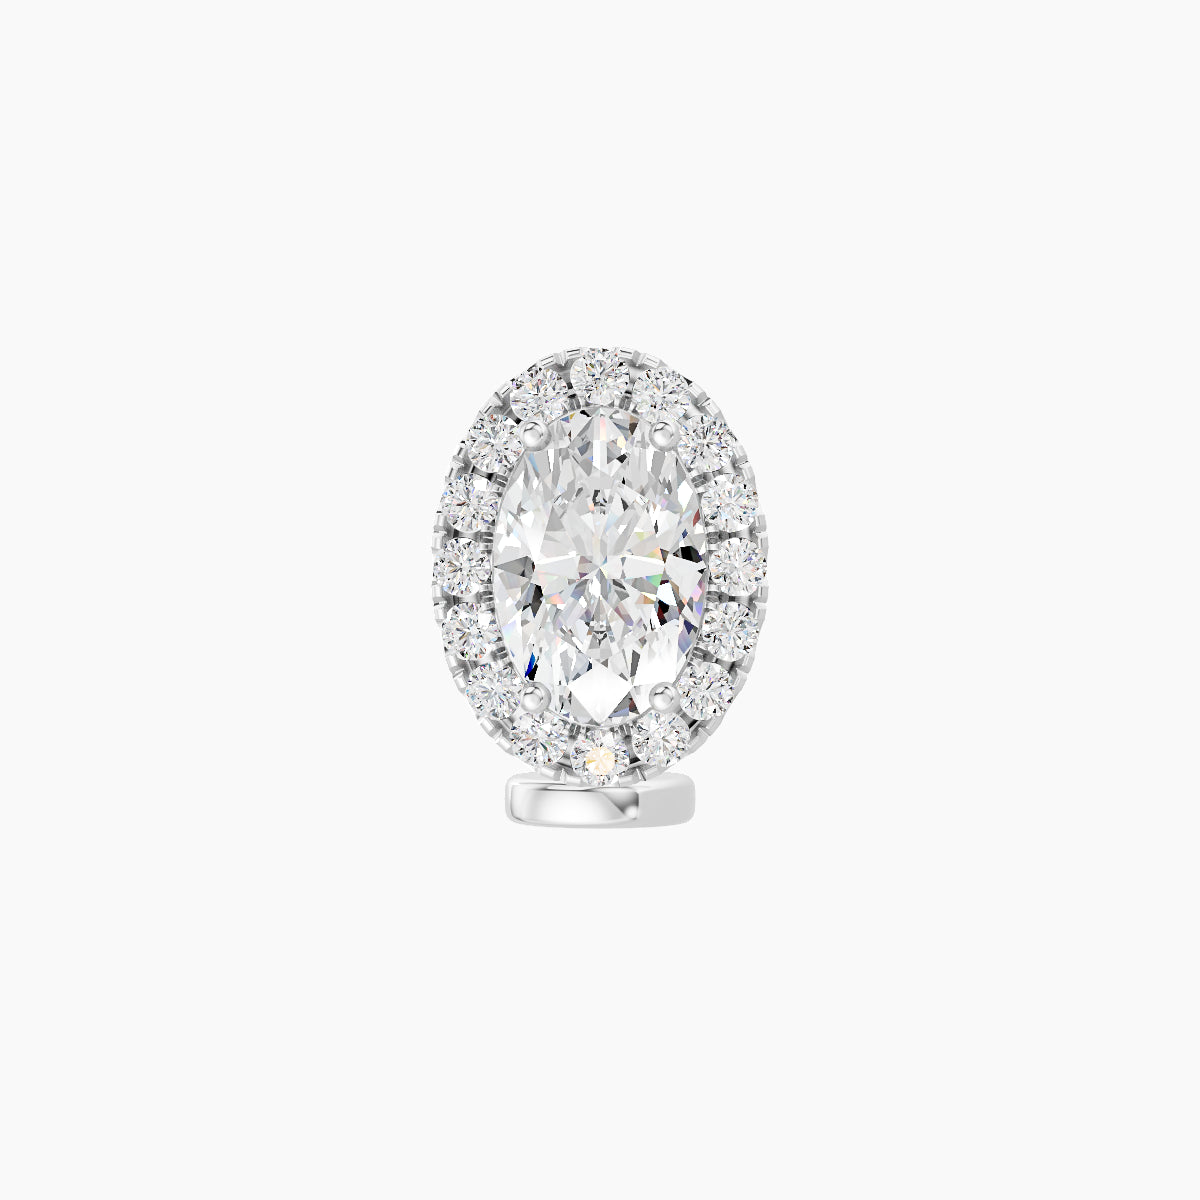
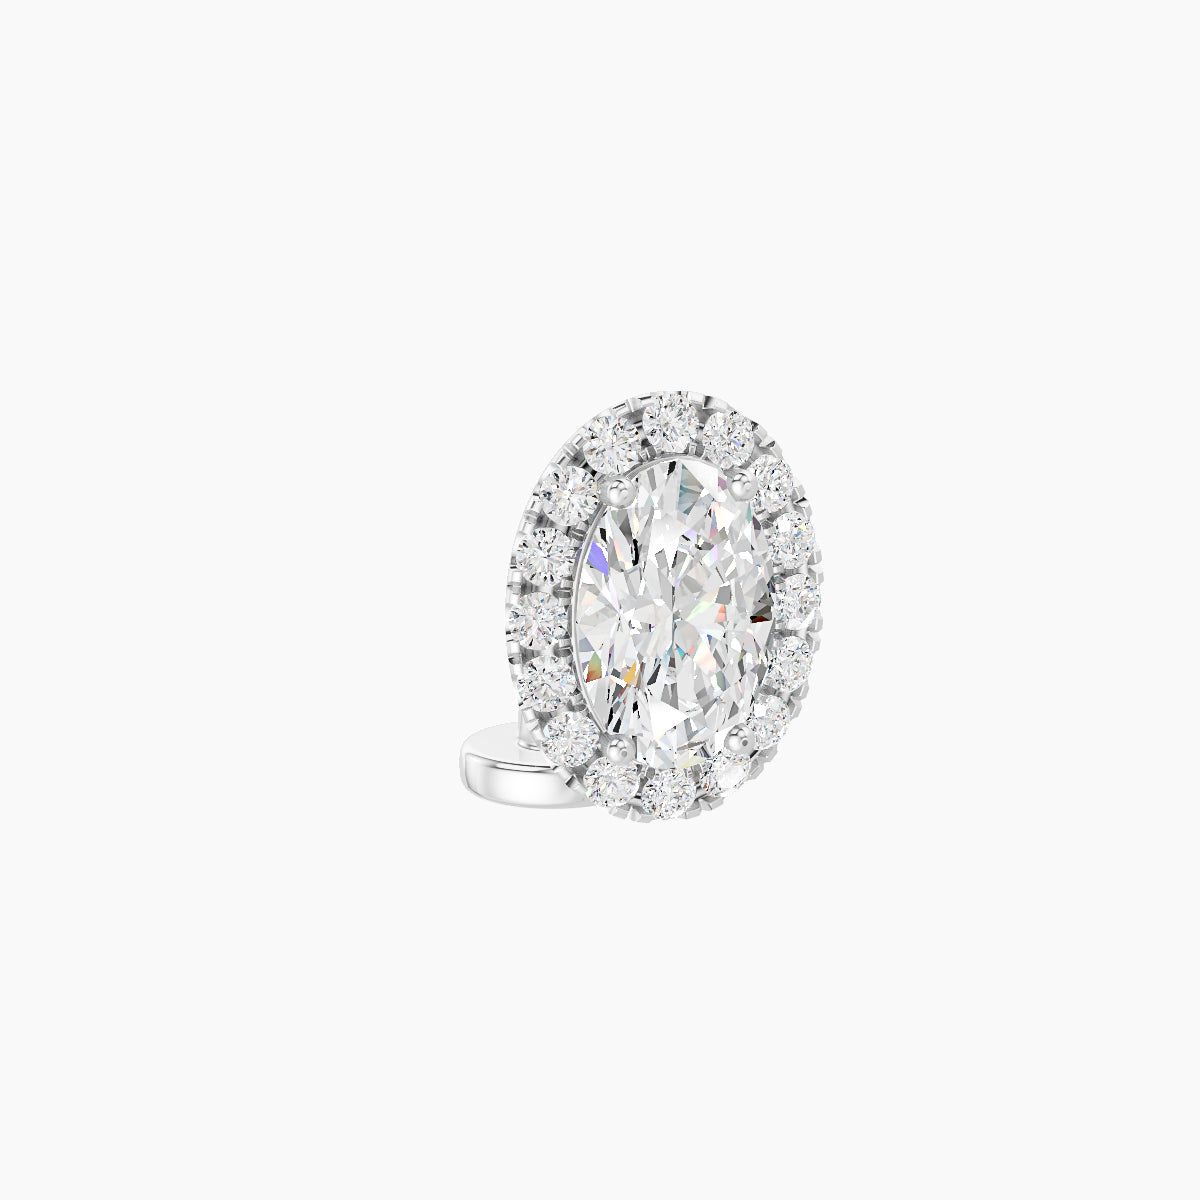
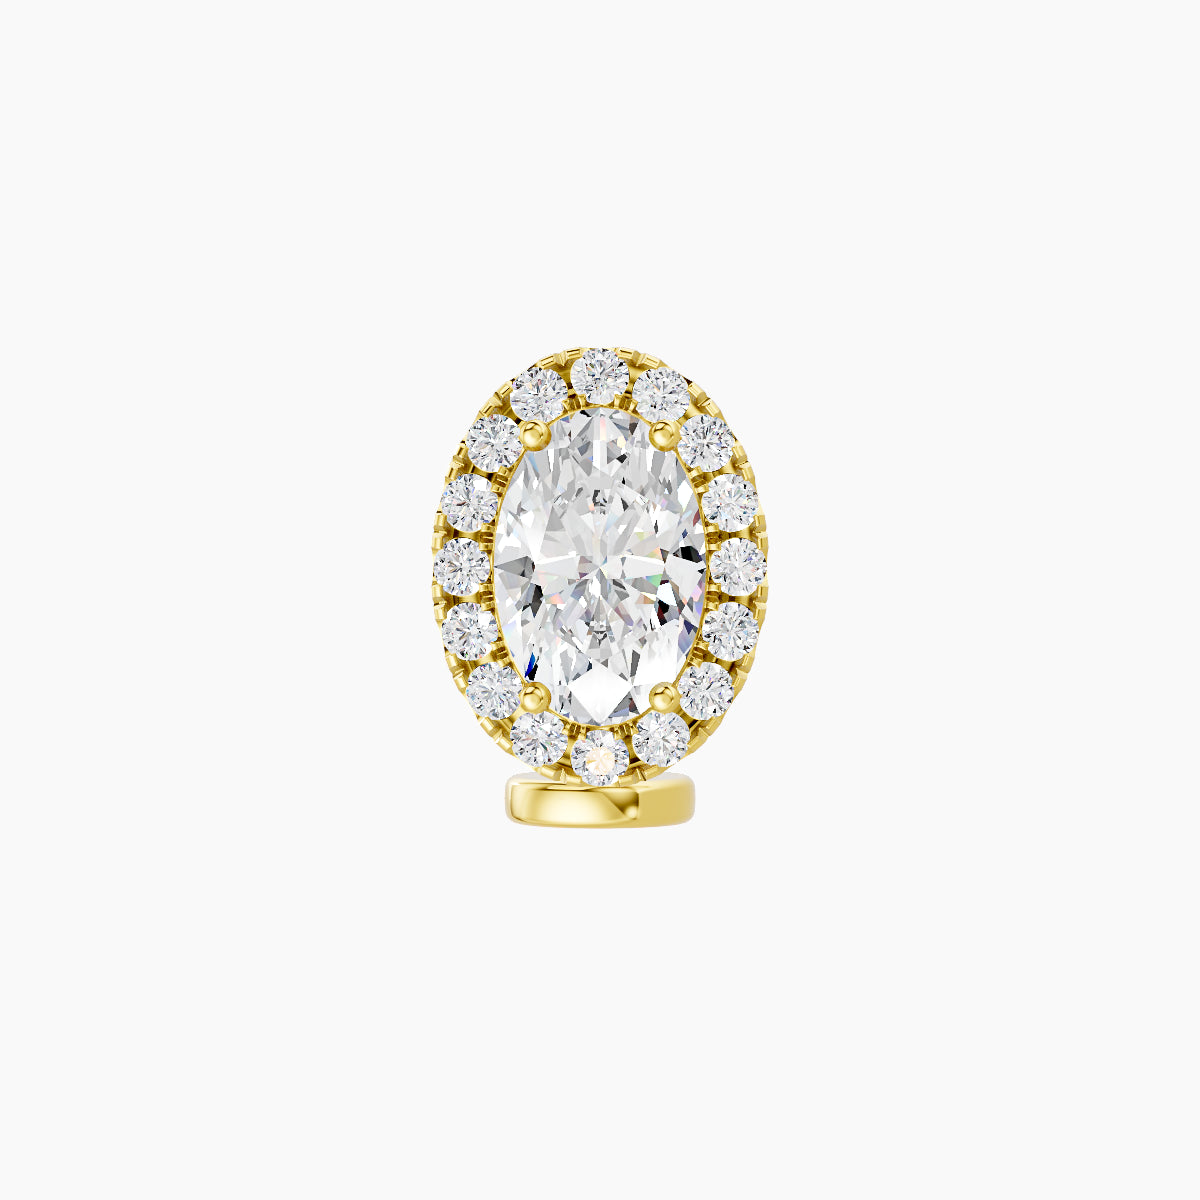
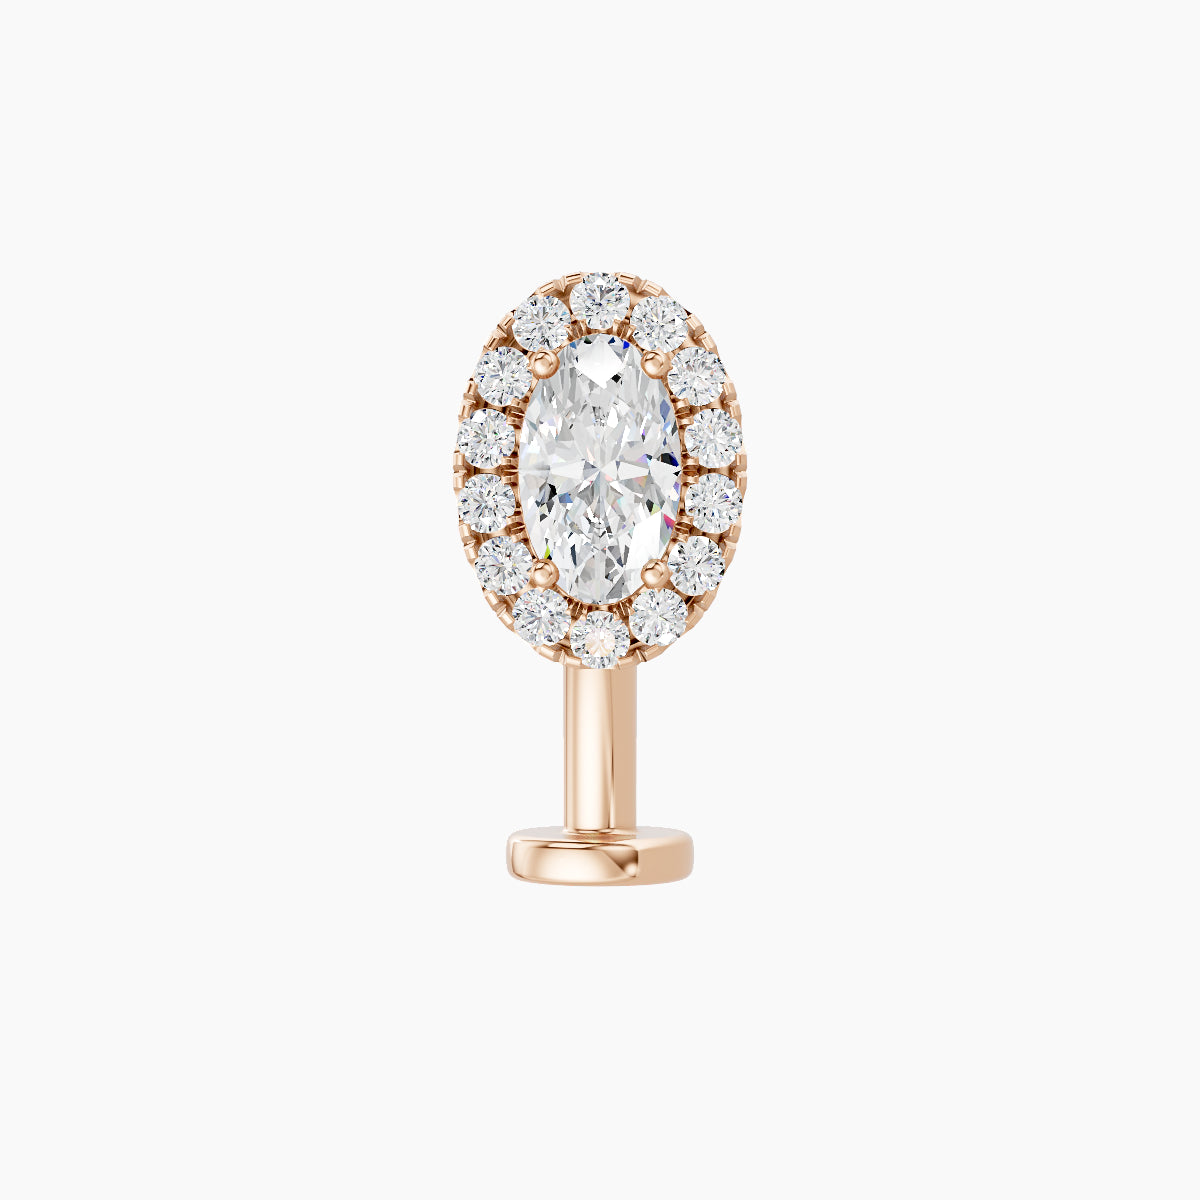
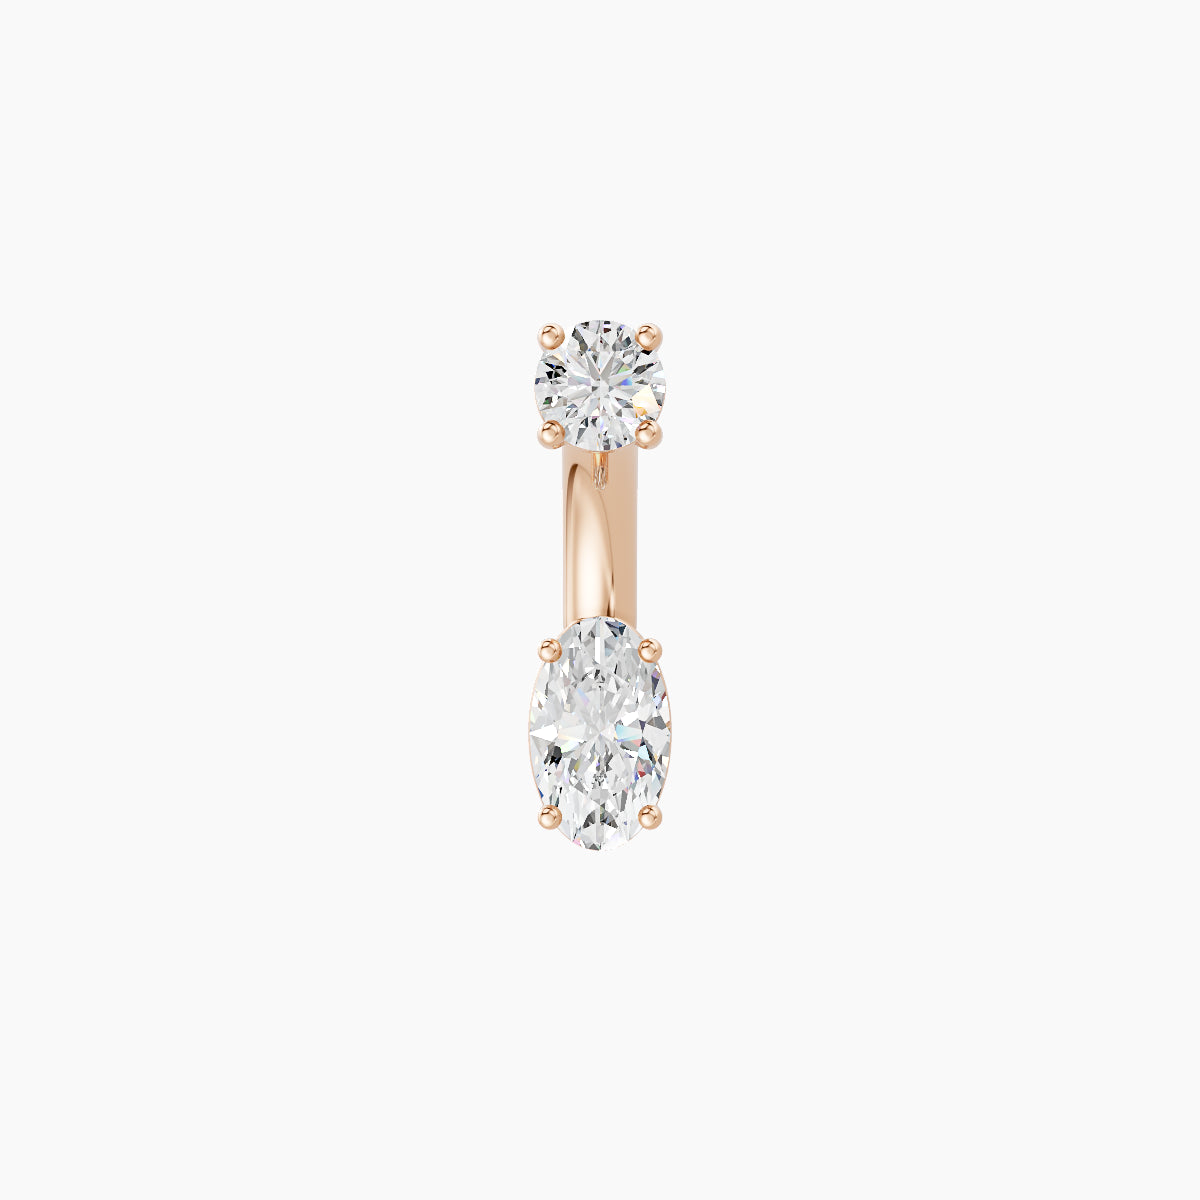
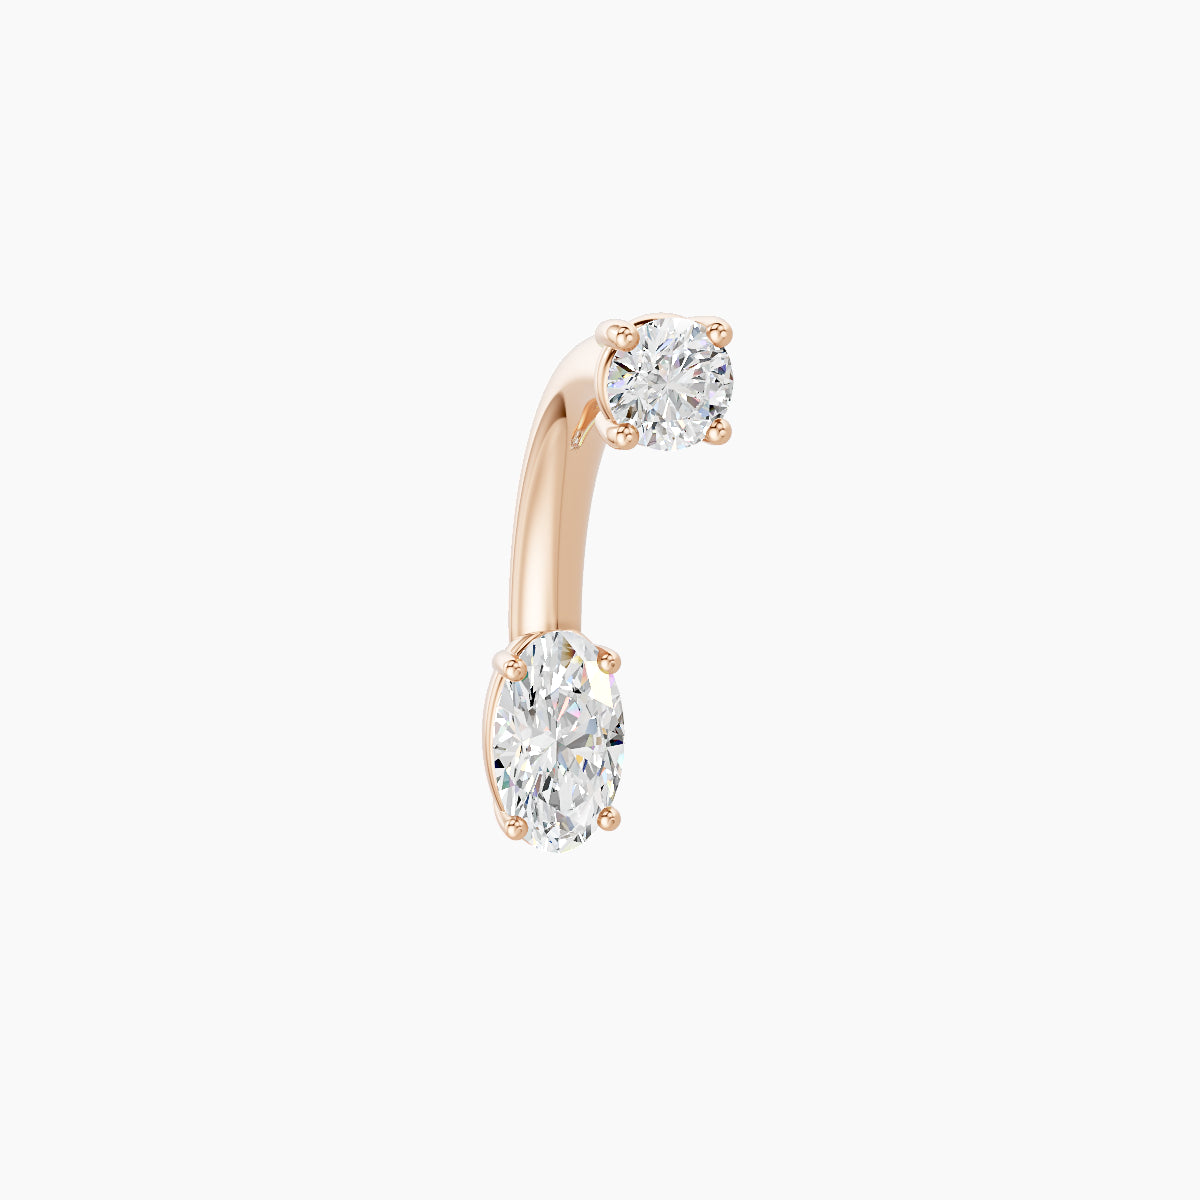
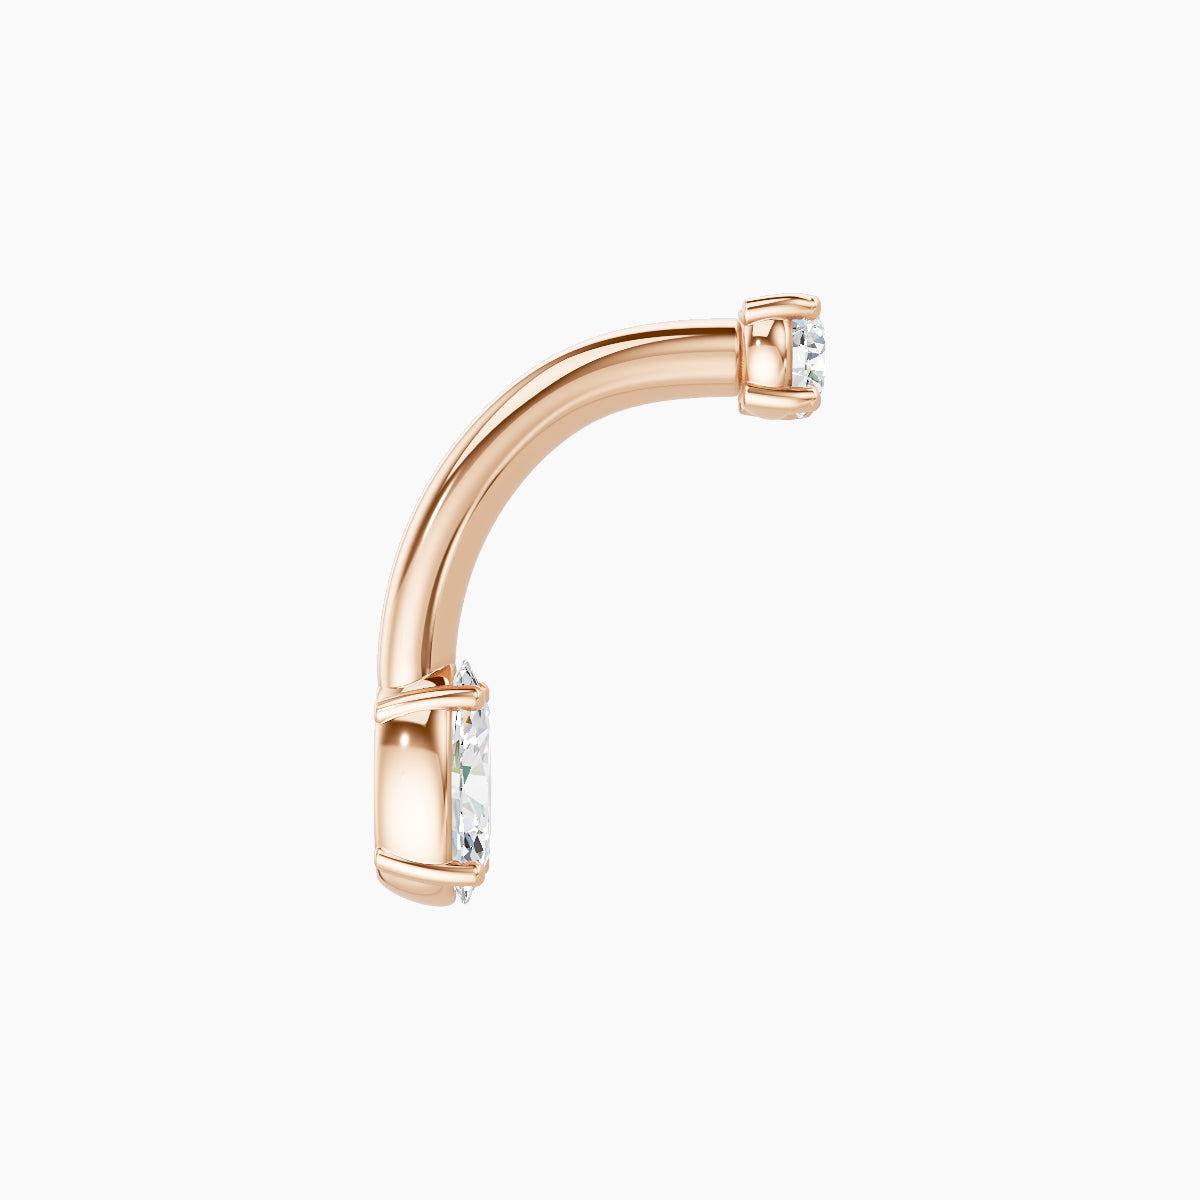
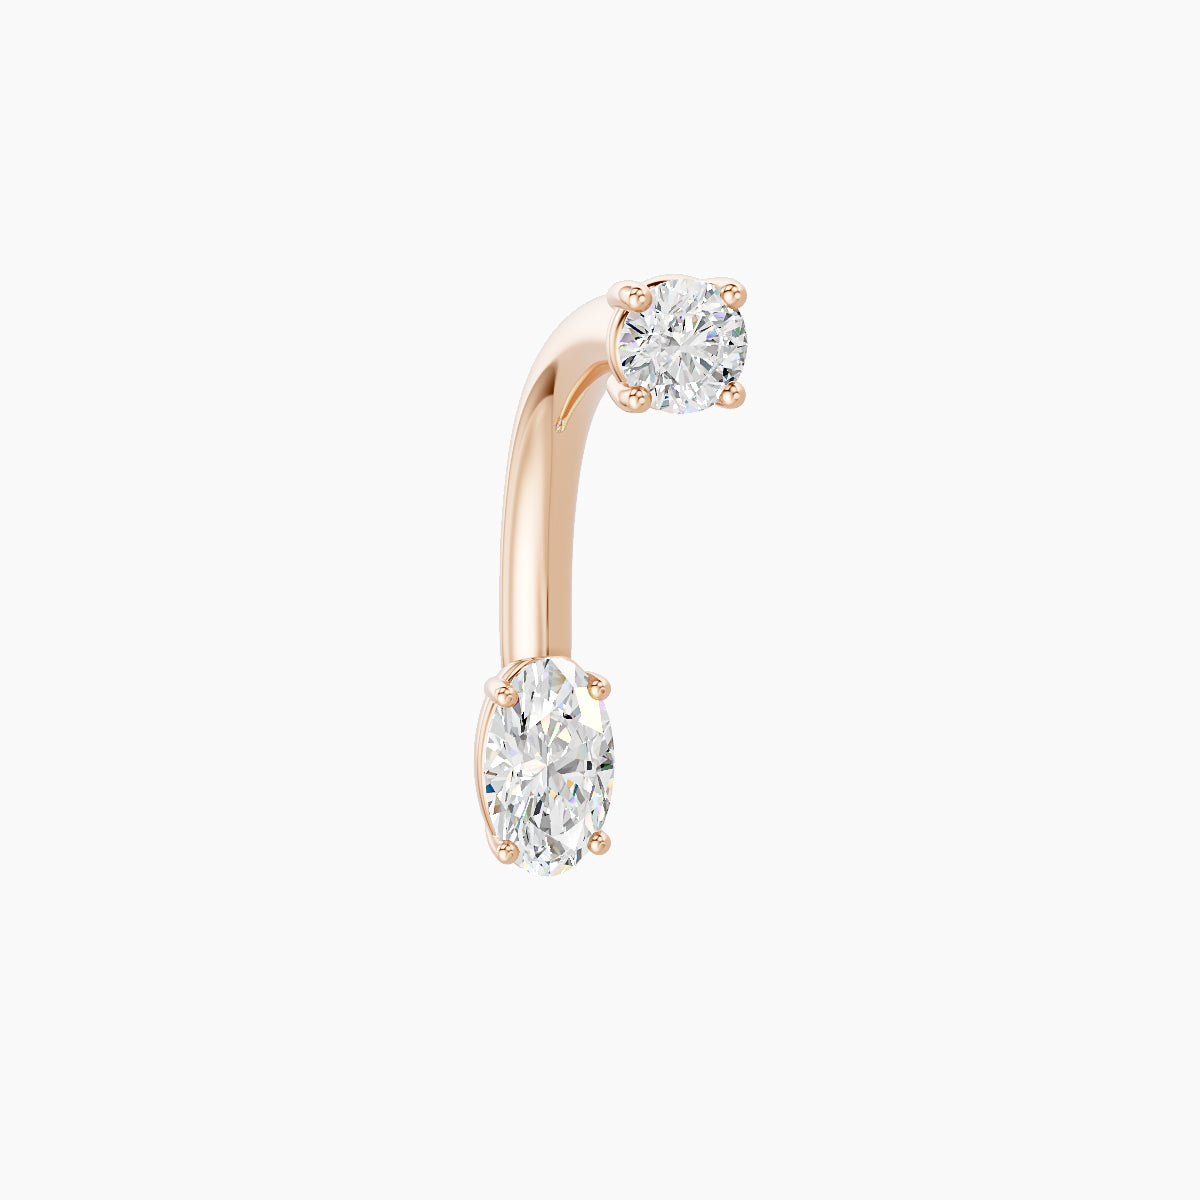
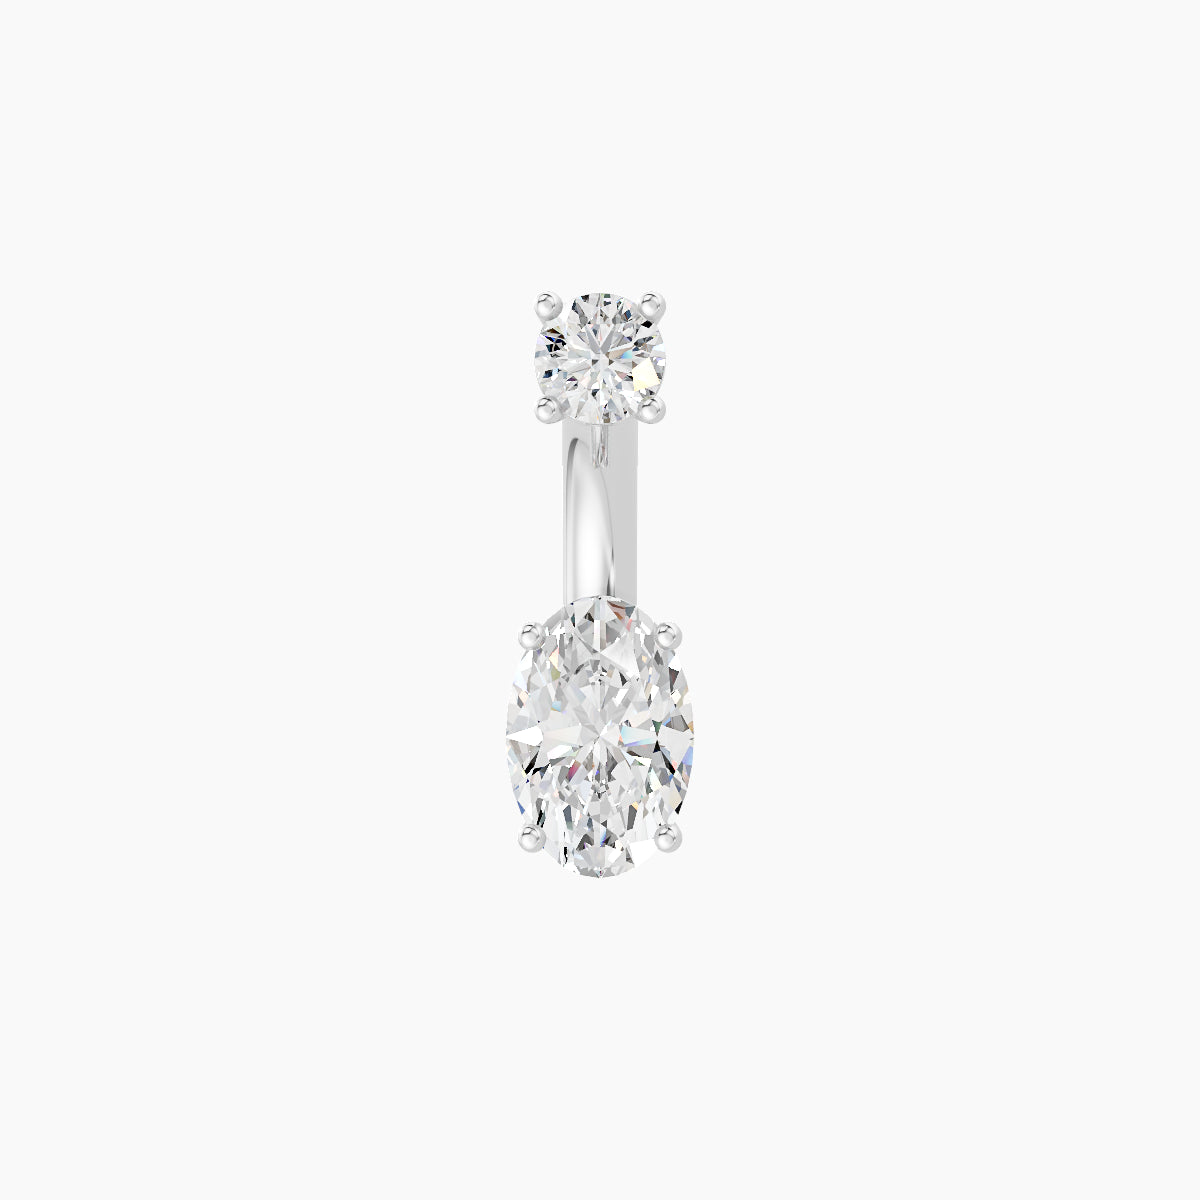
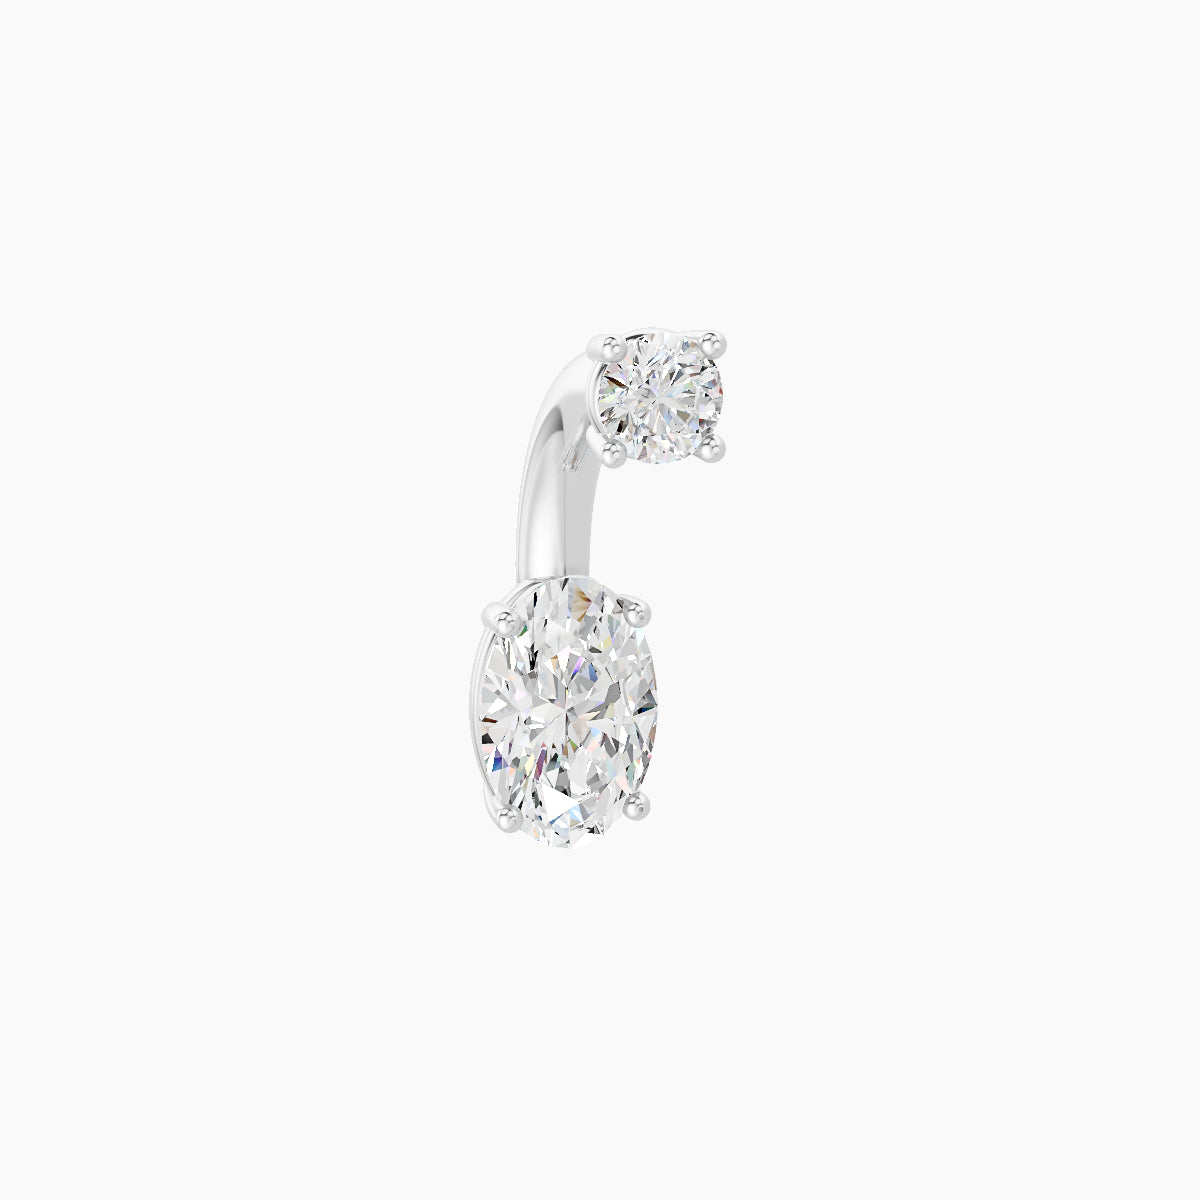
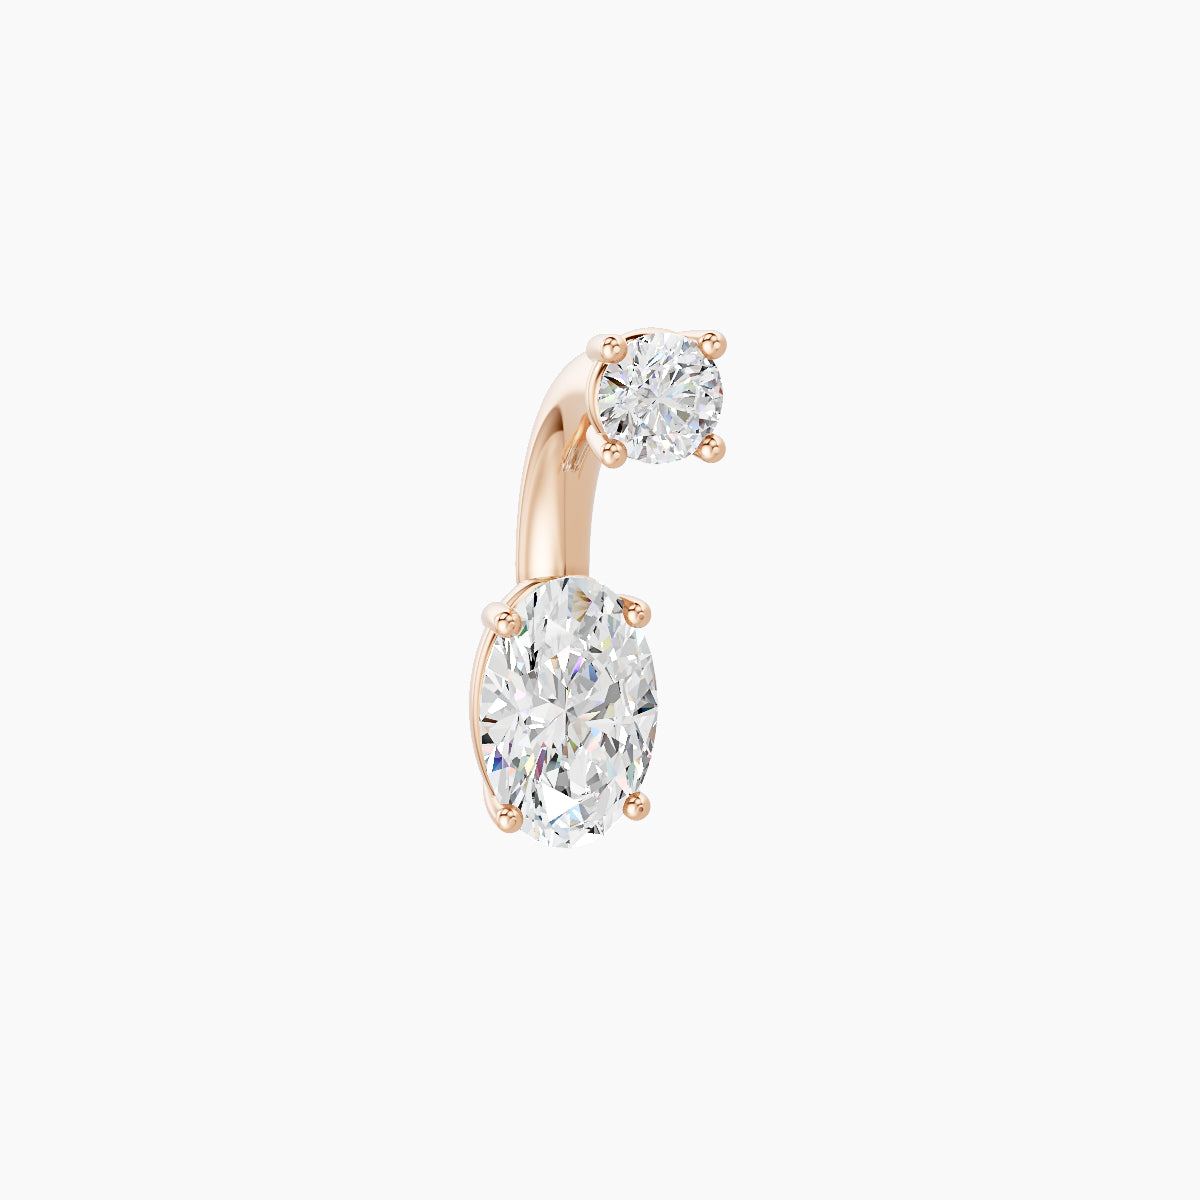
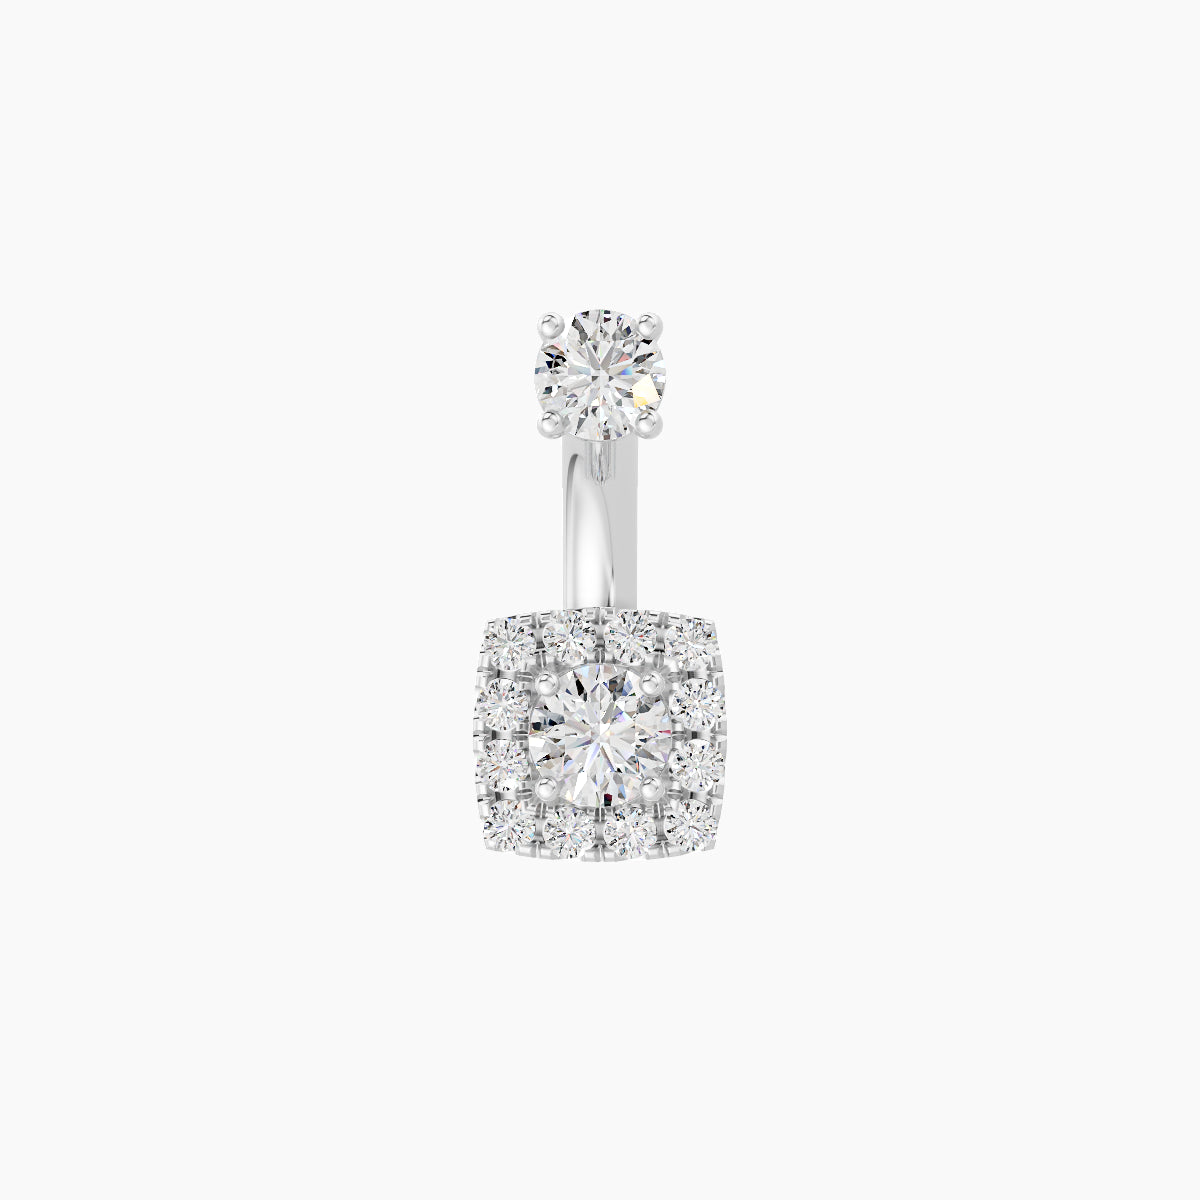
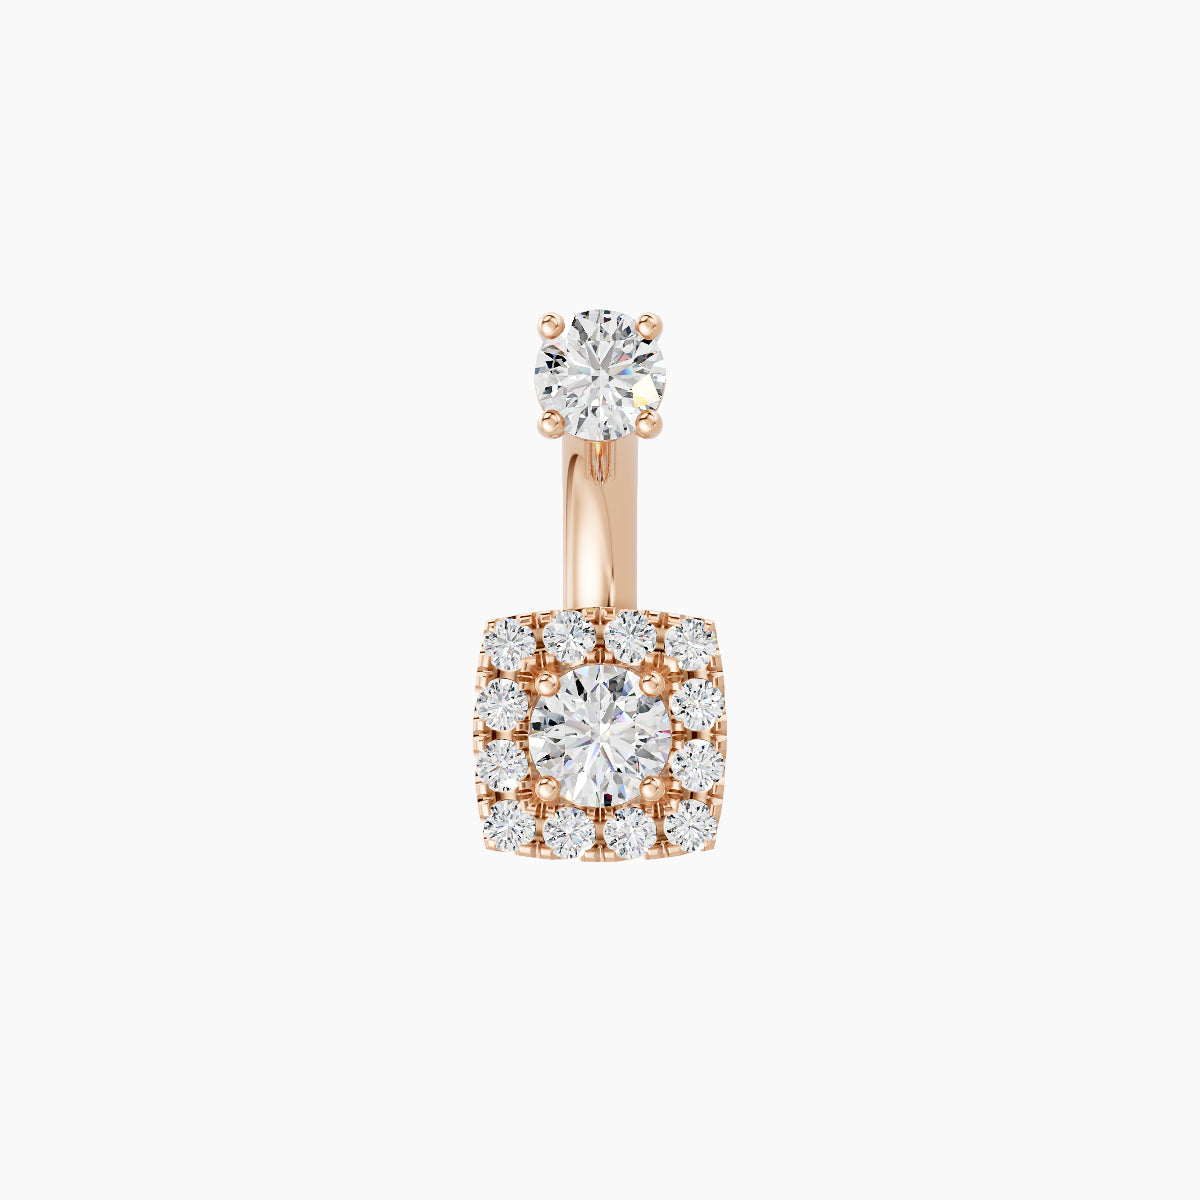
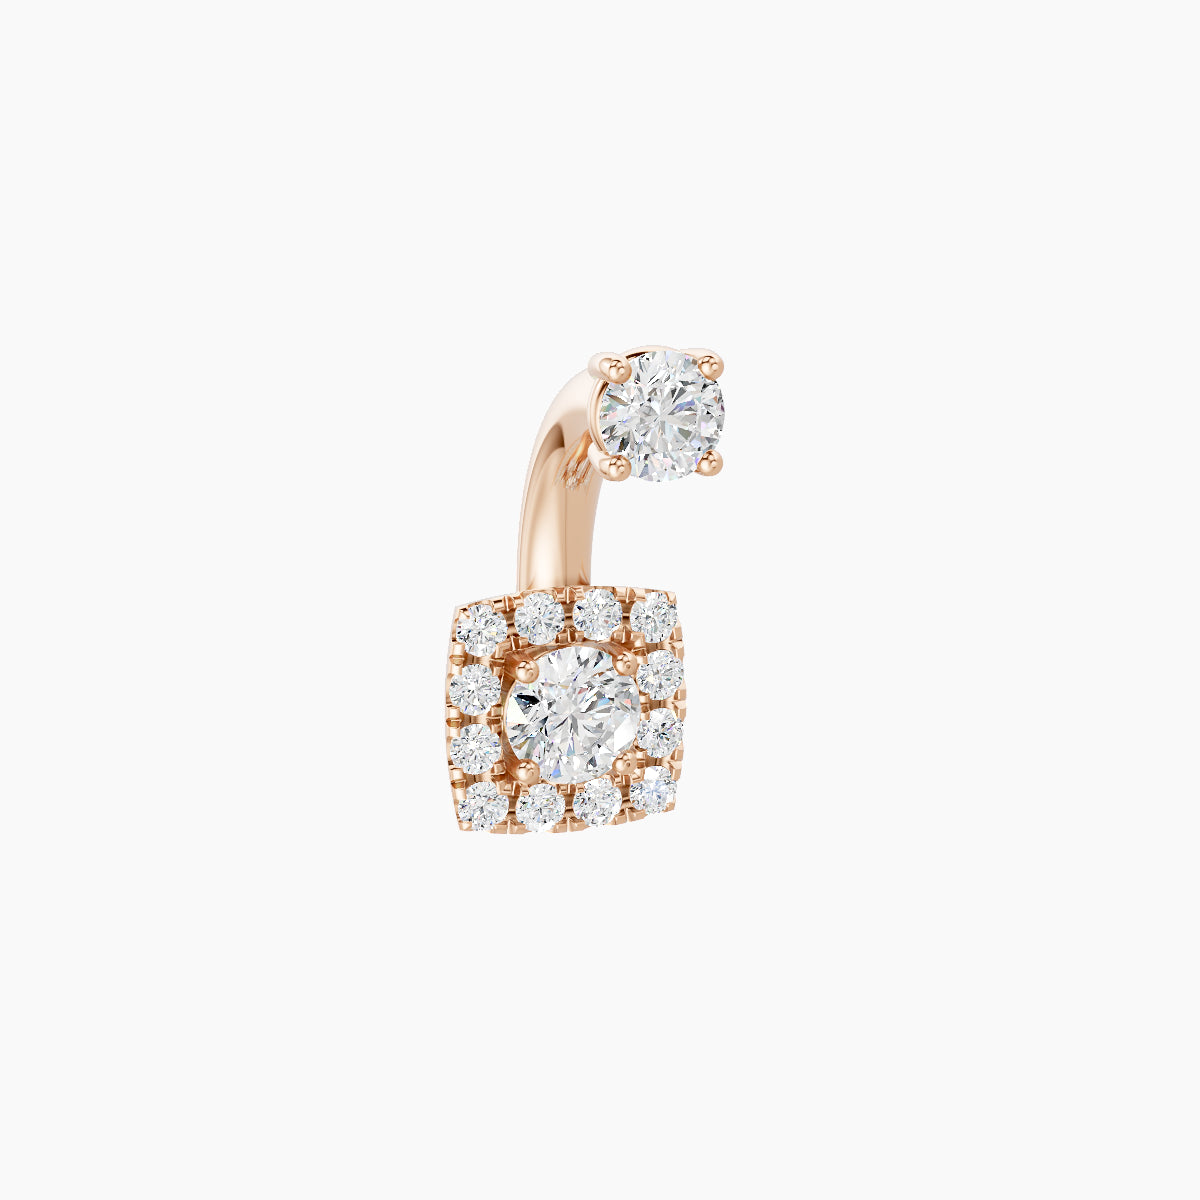
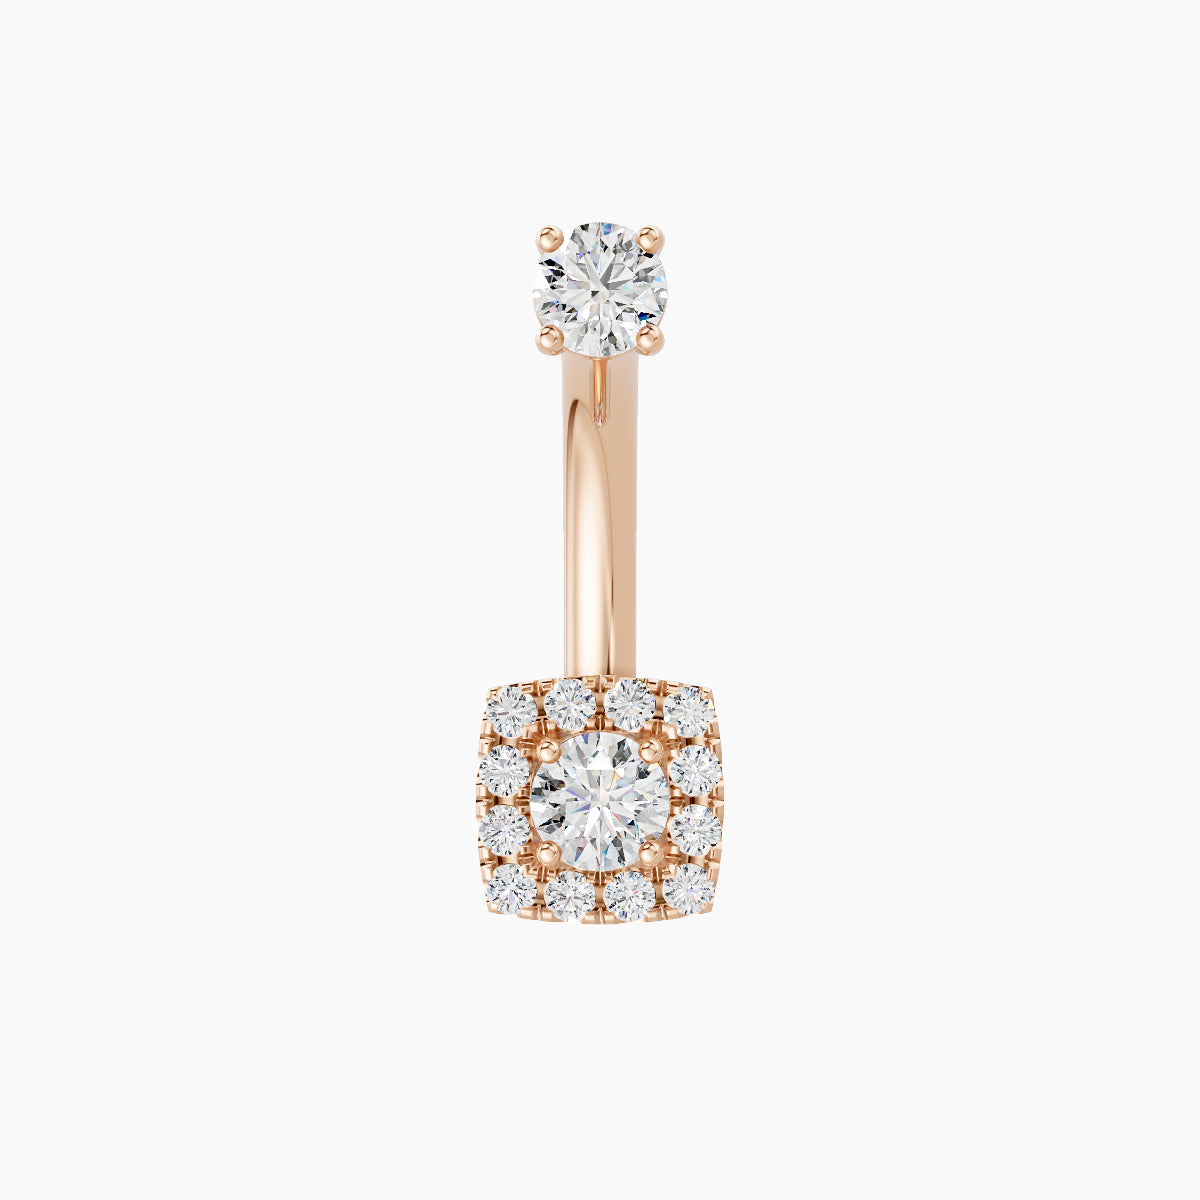
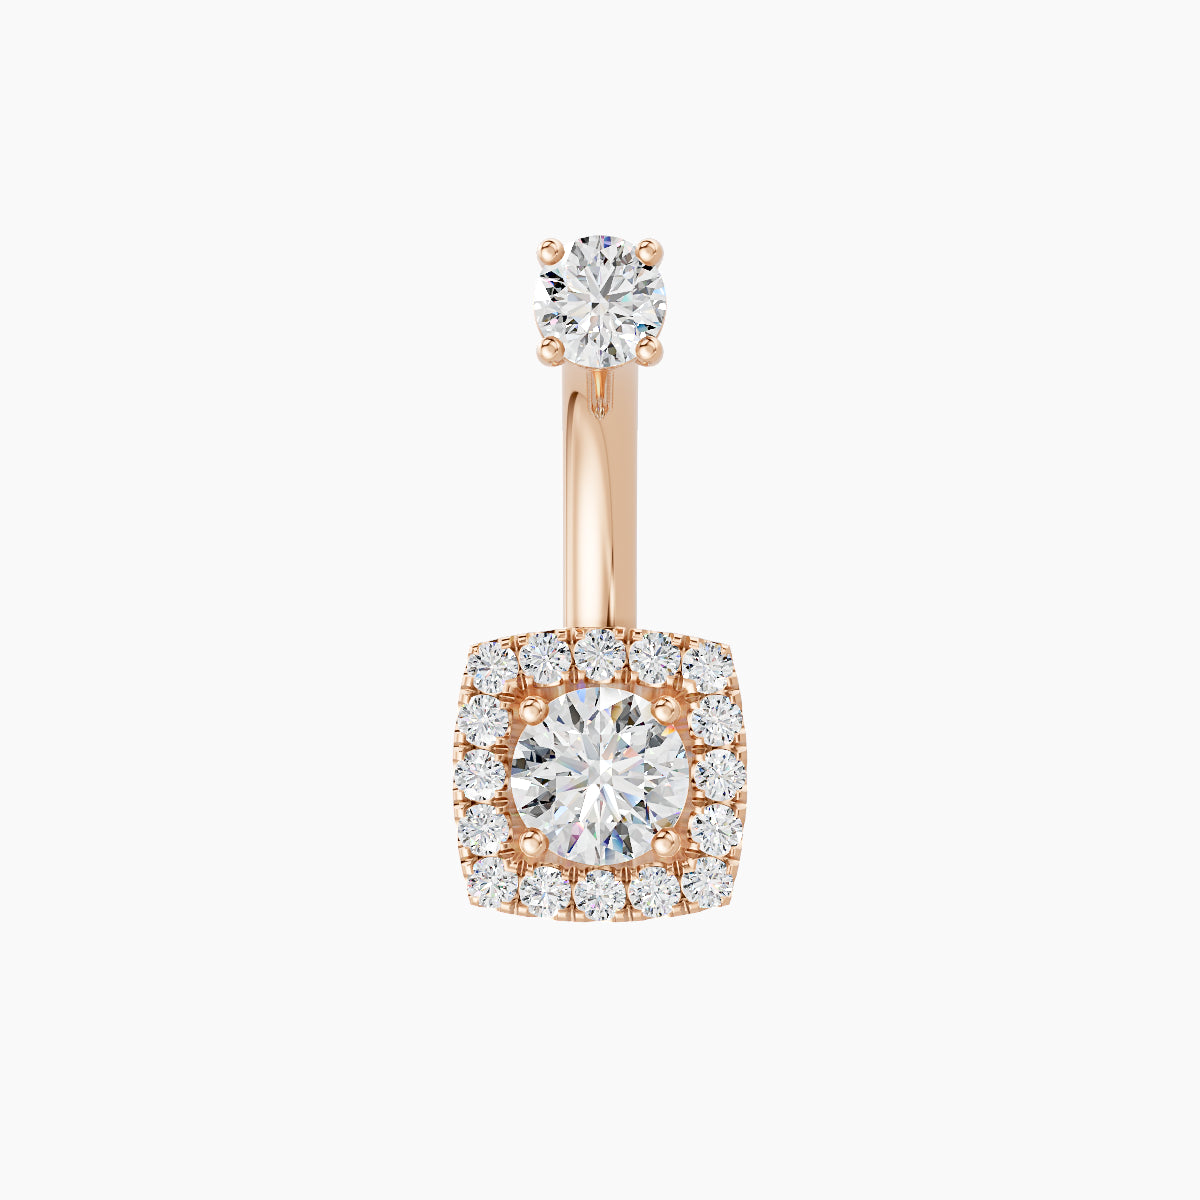
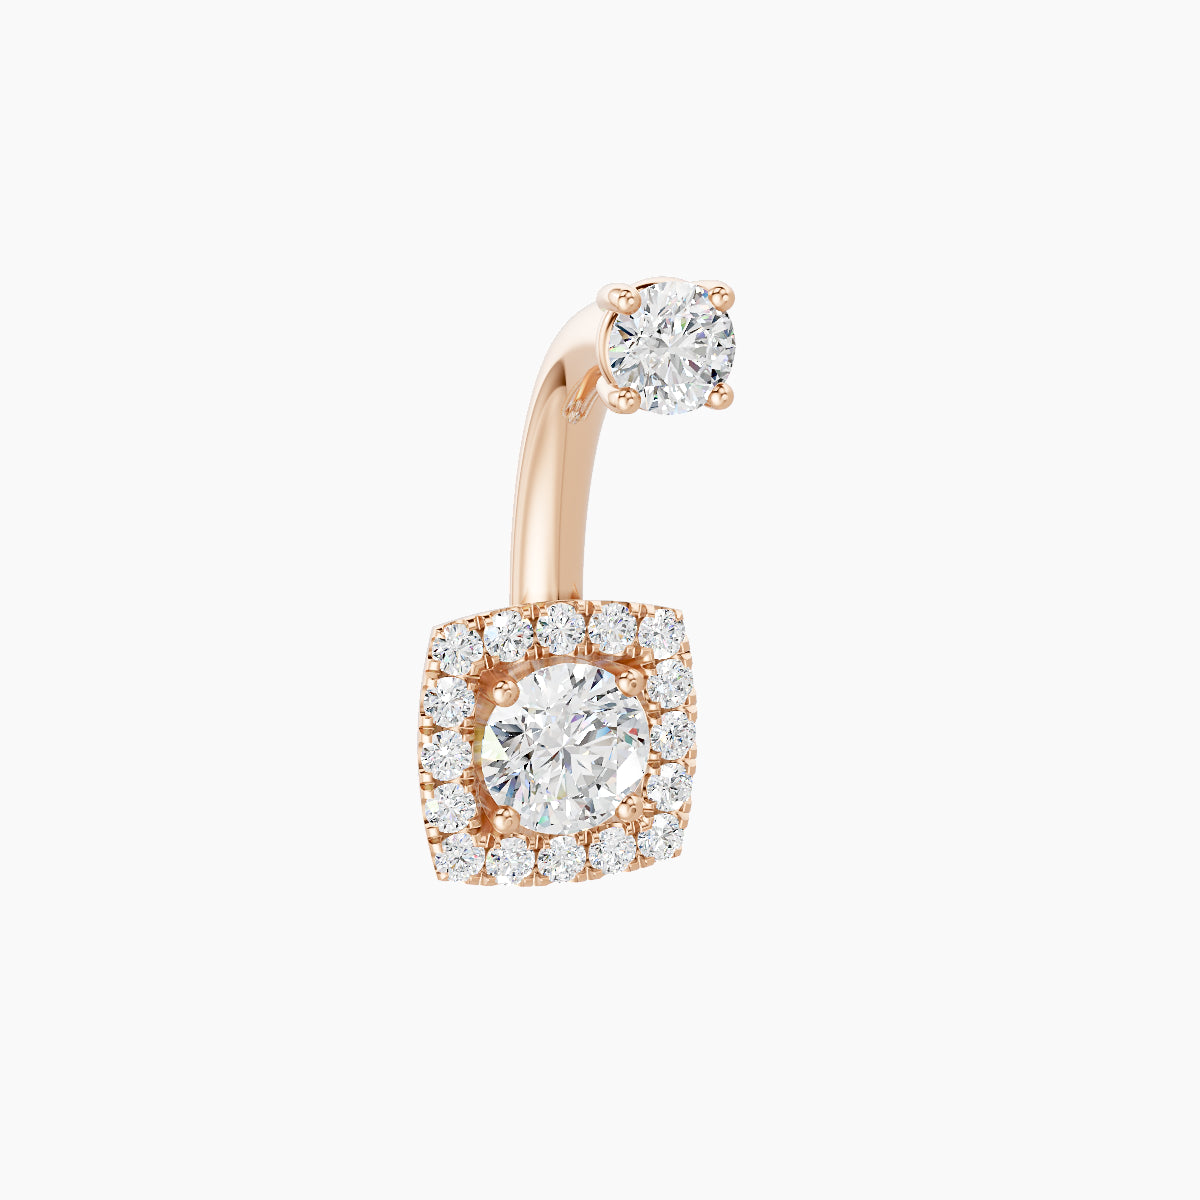
Discover Our
Diamond Belly Button Piercings Collection