Education
HELIX PIERCING FULL GUIDE
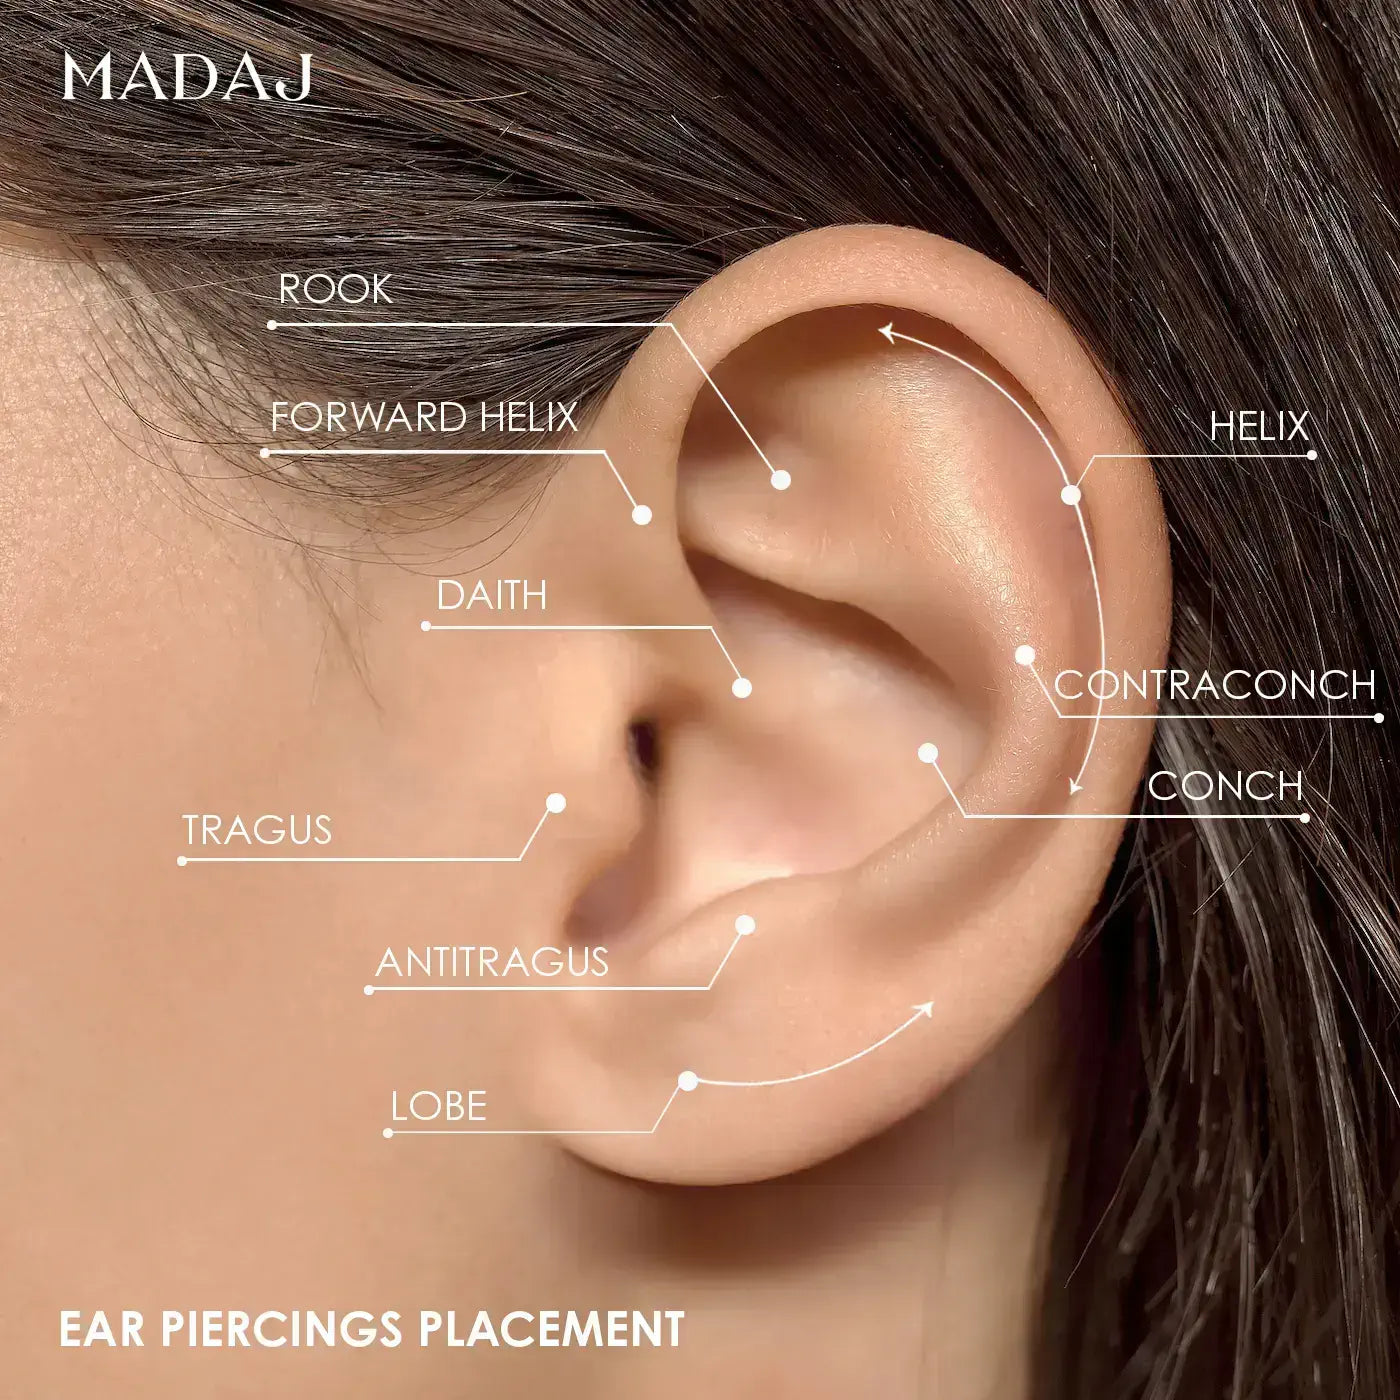
The helix piercing is placed along the outer rim of the upper ear cartilage. Its versatility and clean silhouette have made it one of the most timeless choices in modern ear styling. Whether worn solo or combined with lobe and conch piercings, it brings structure and sophistication to the ear.
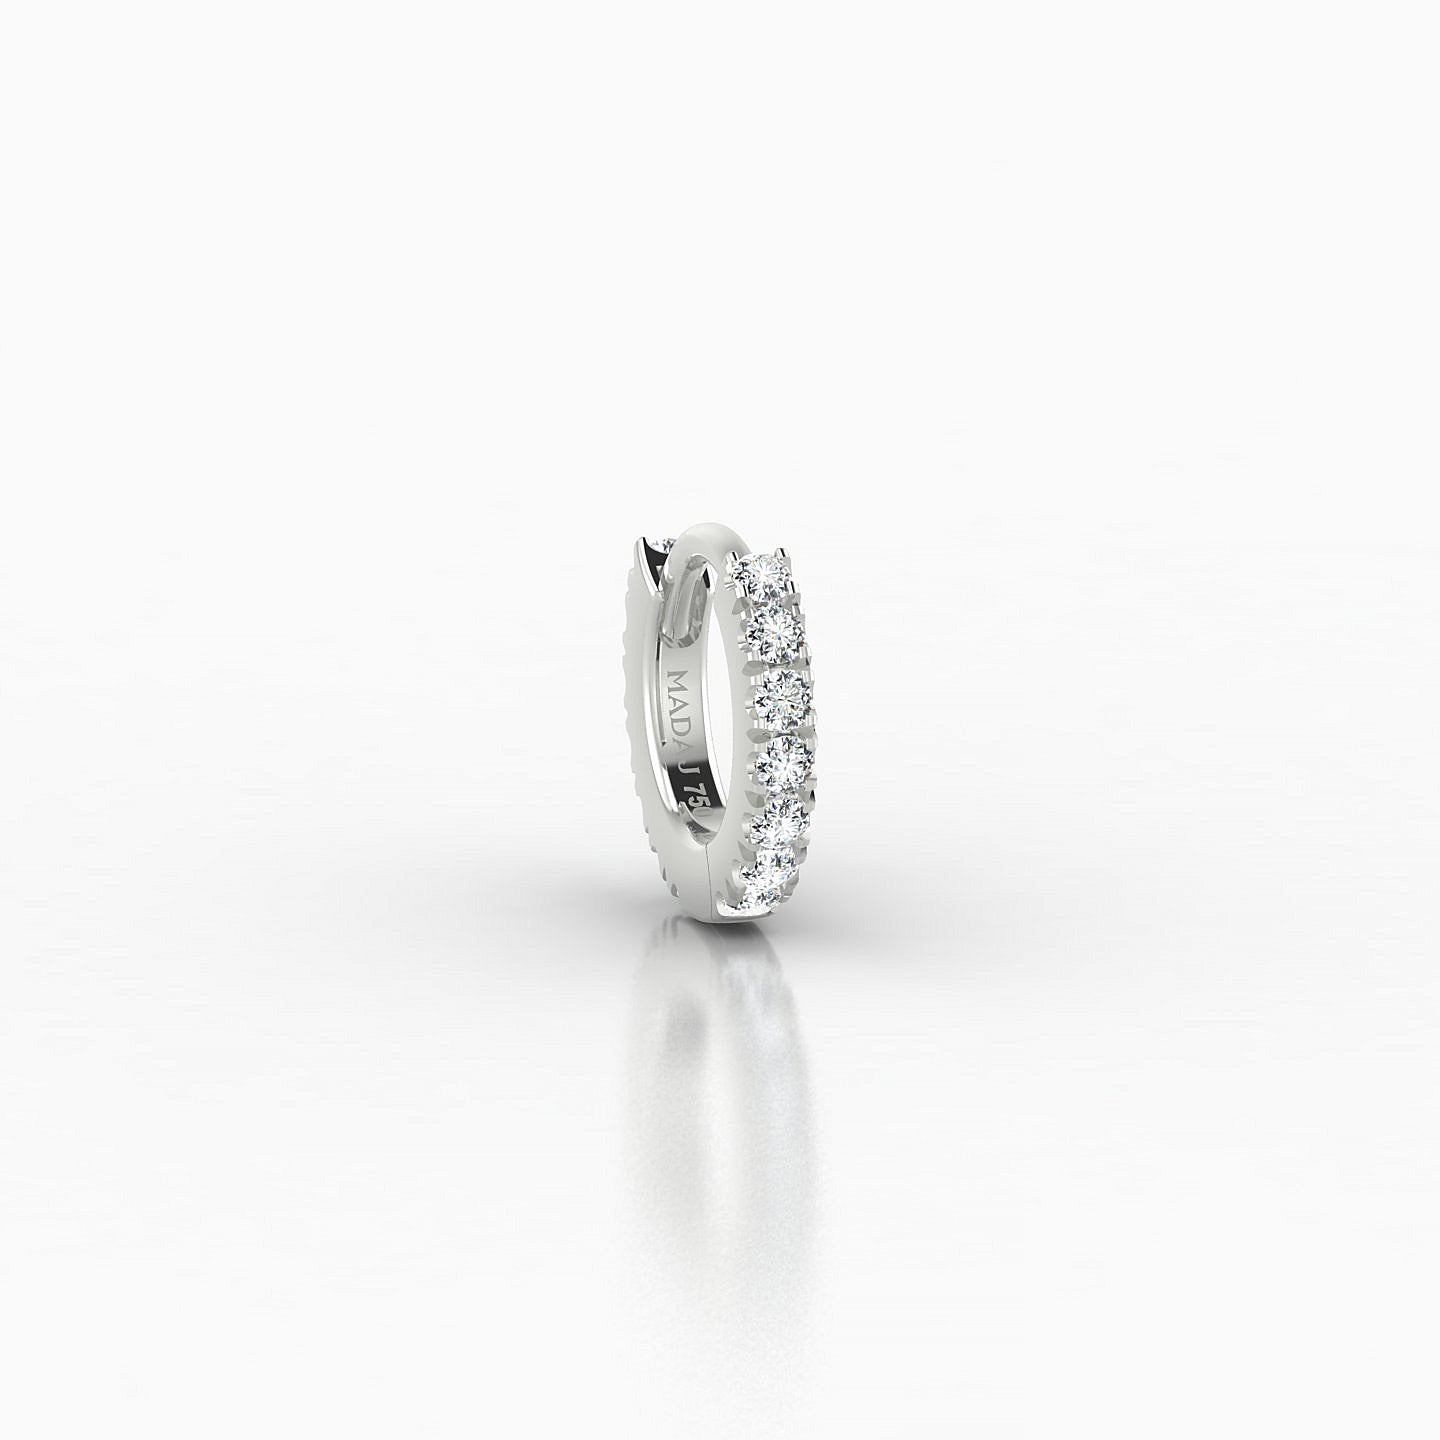
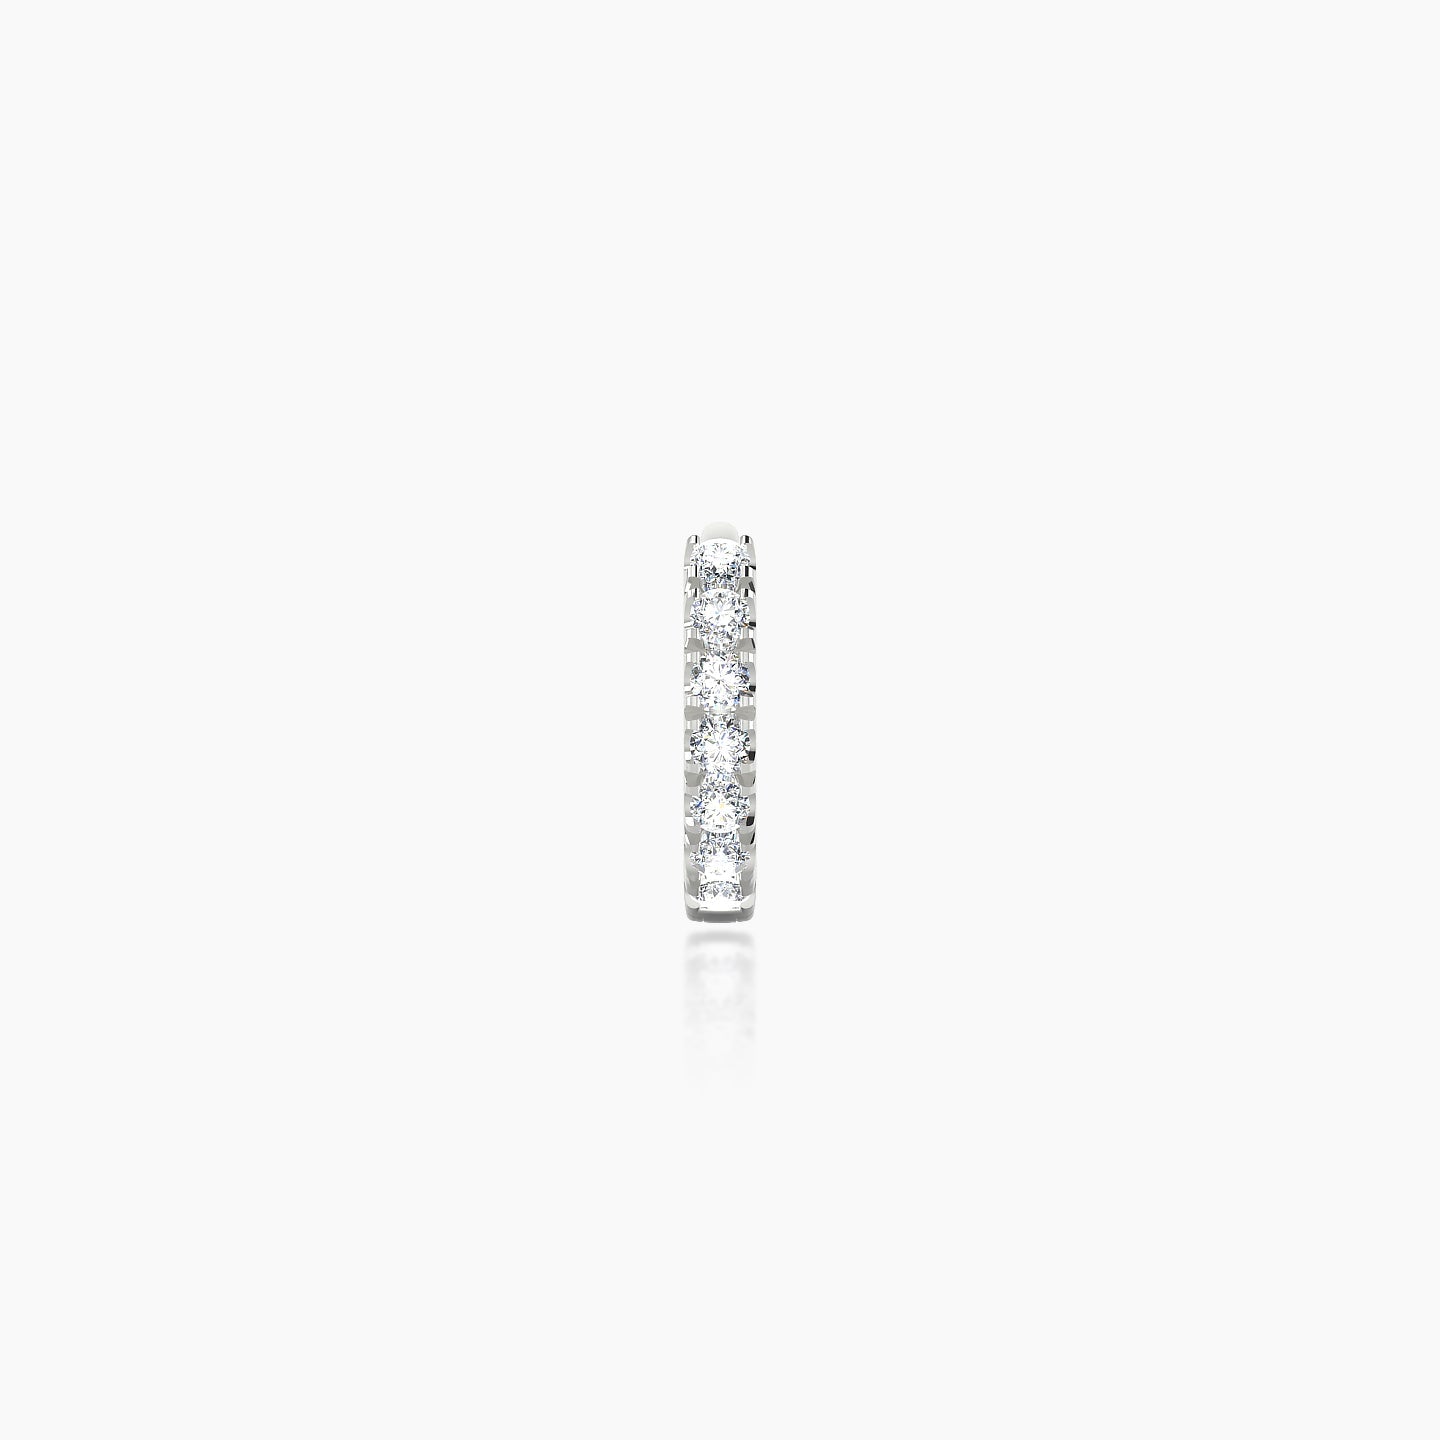
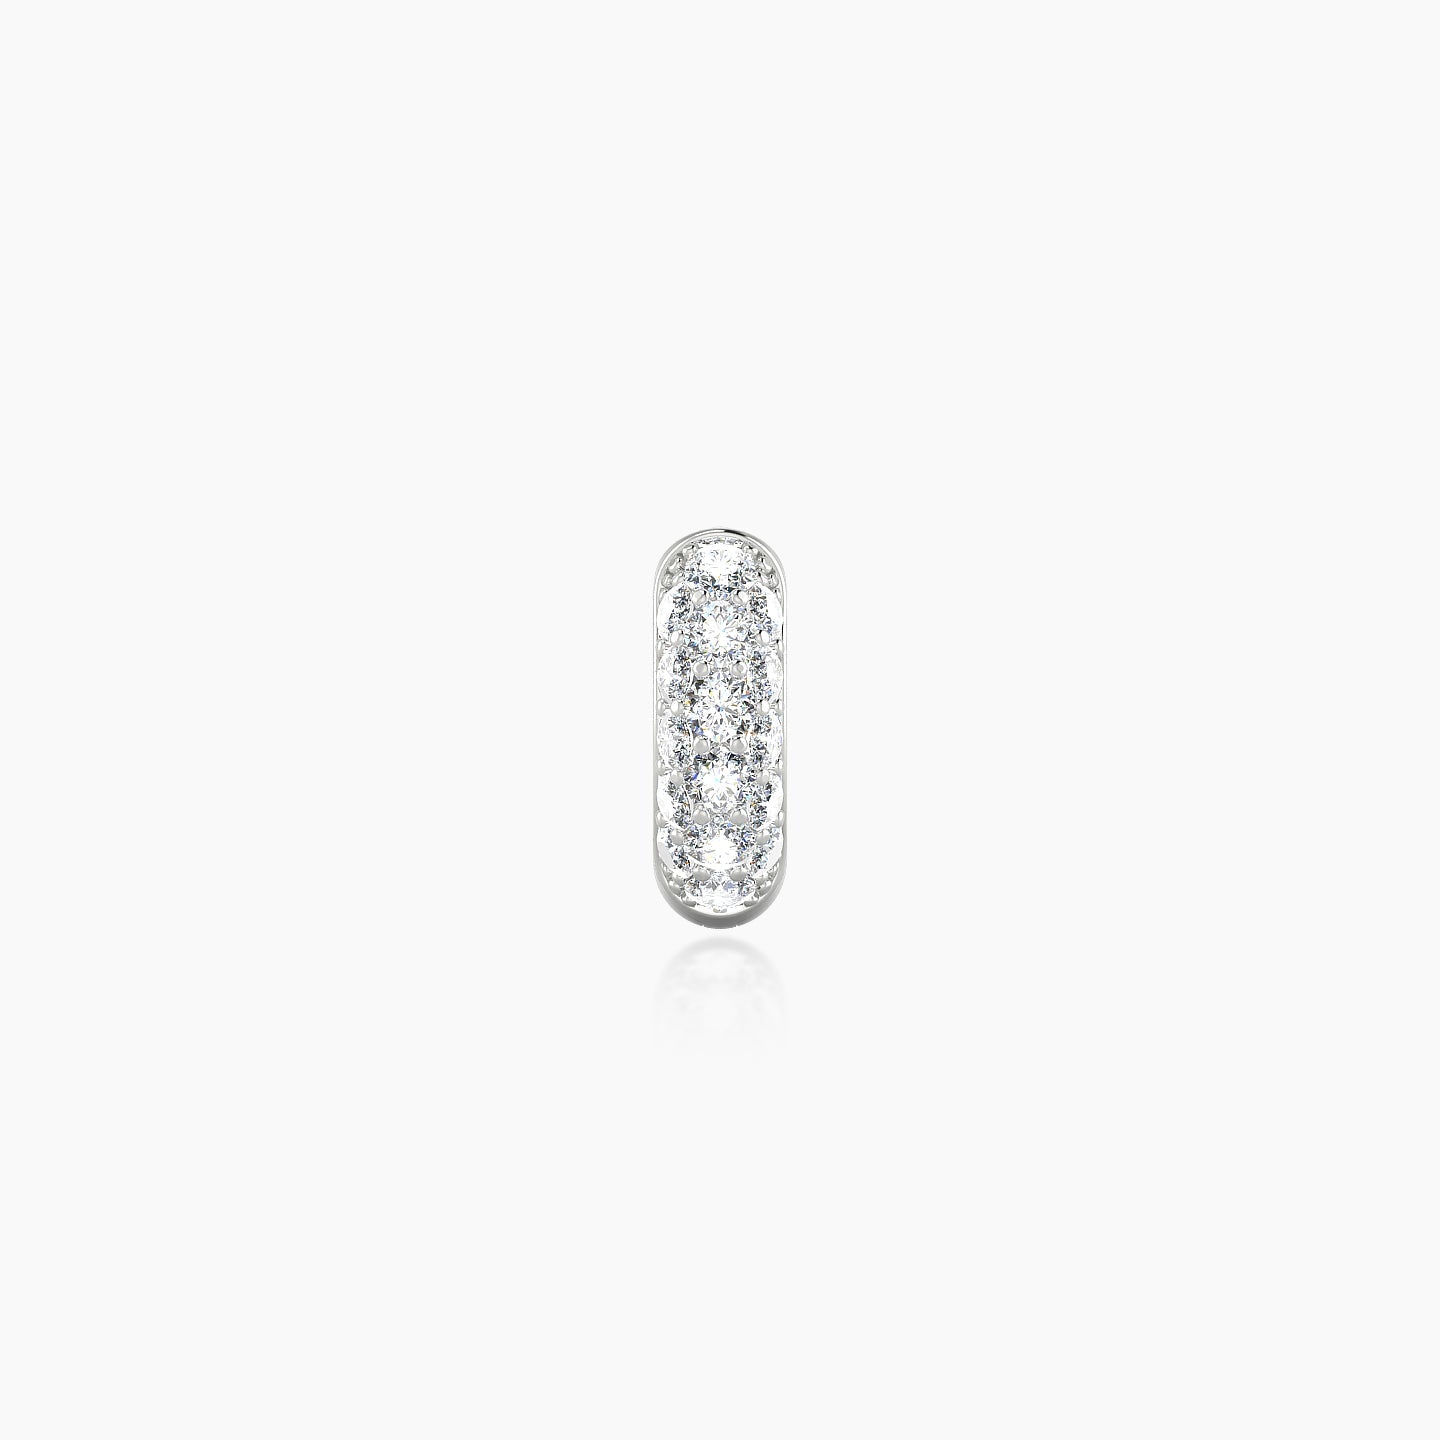
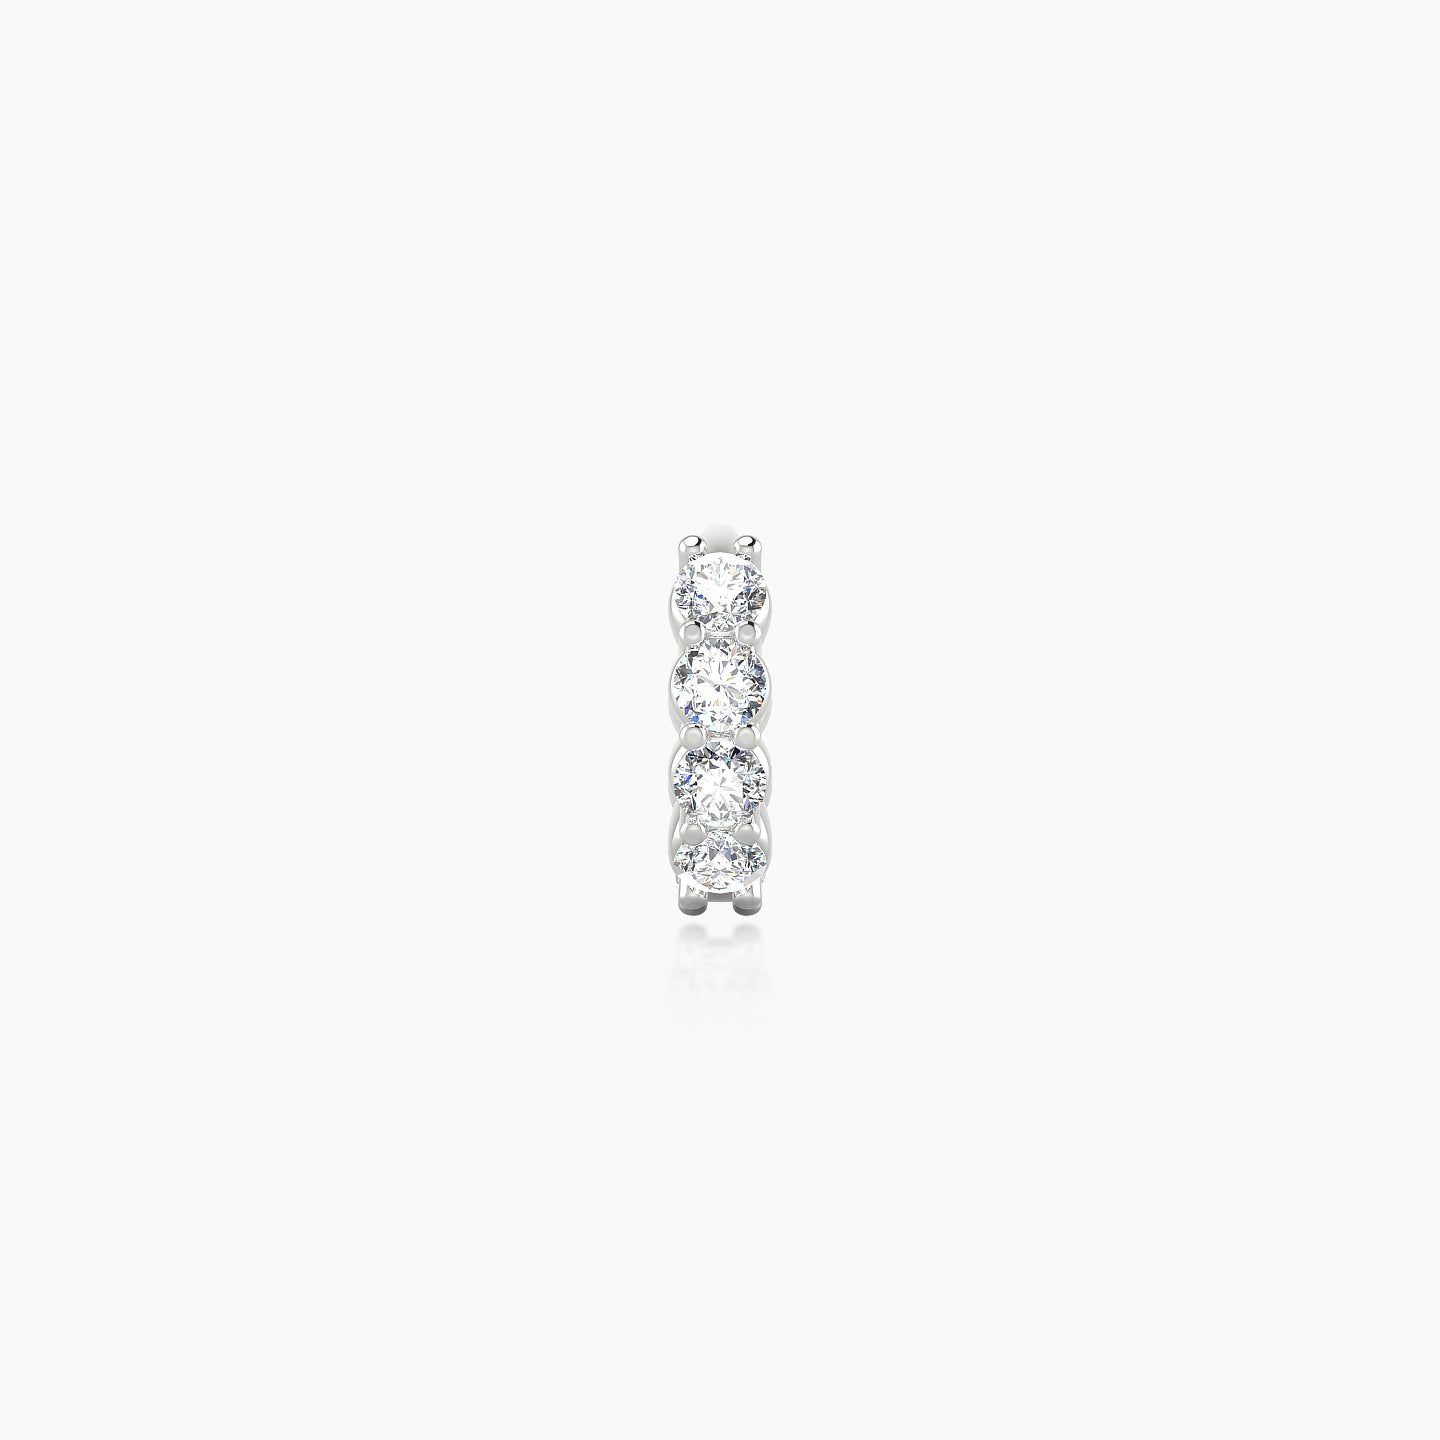
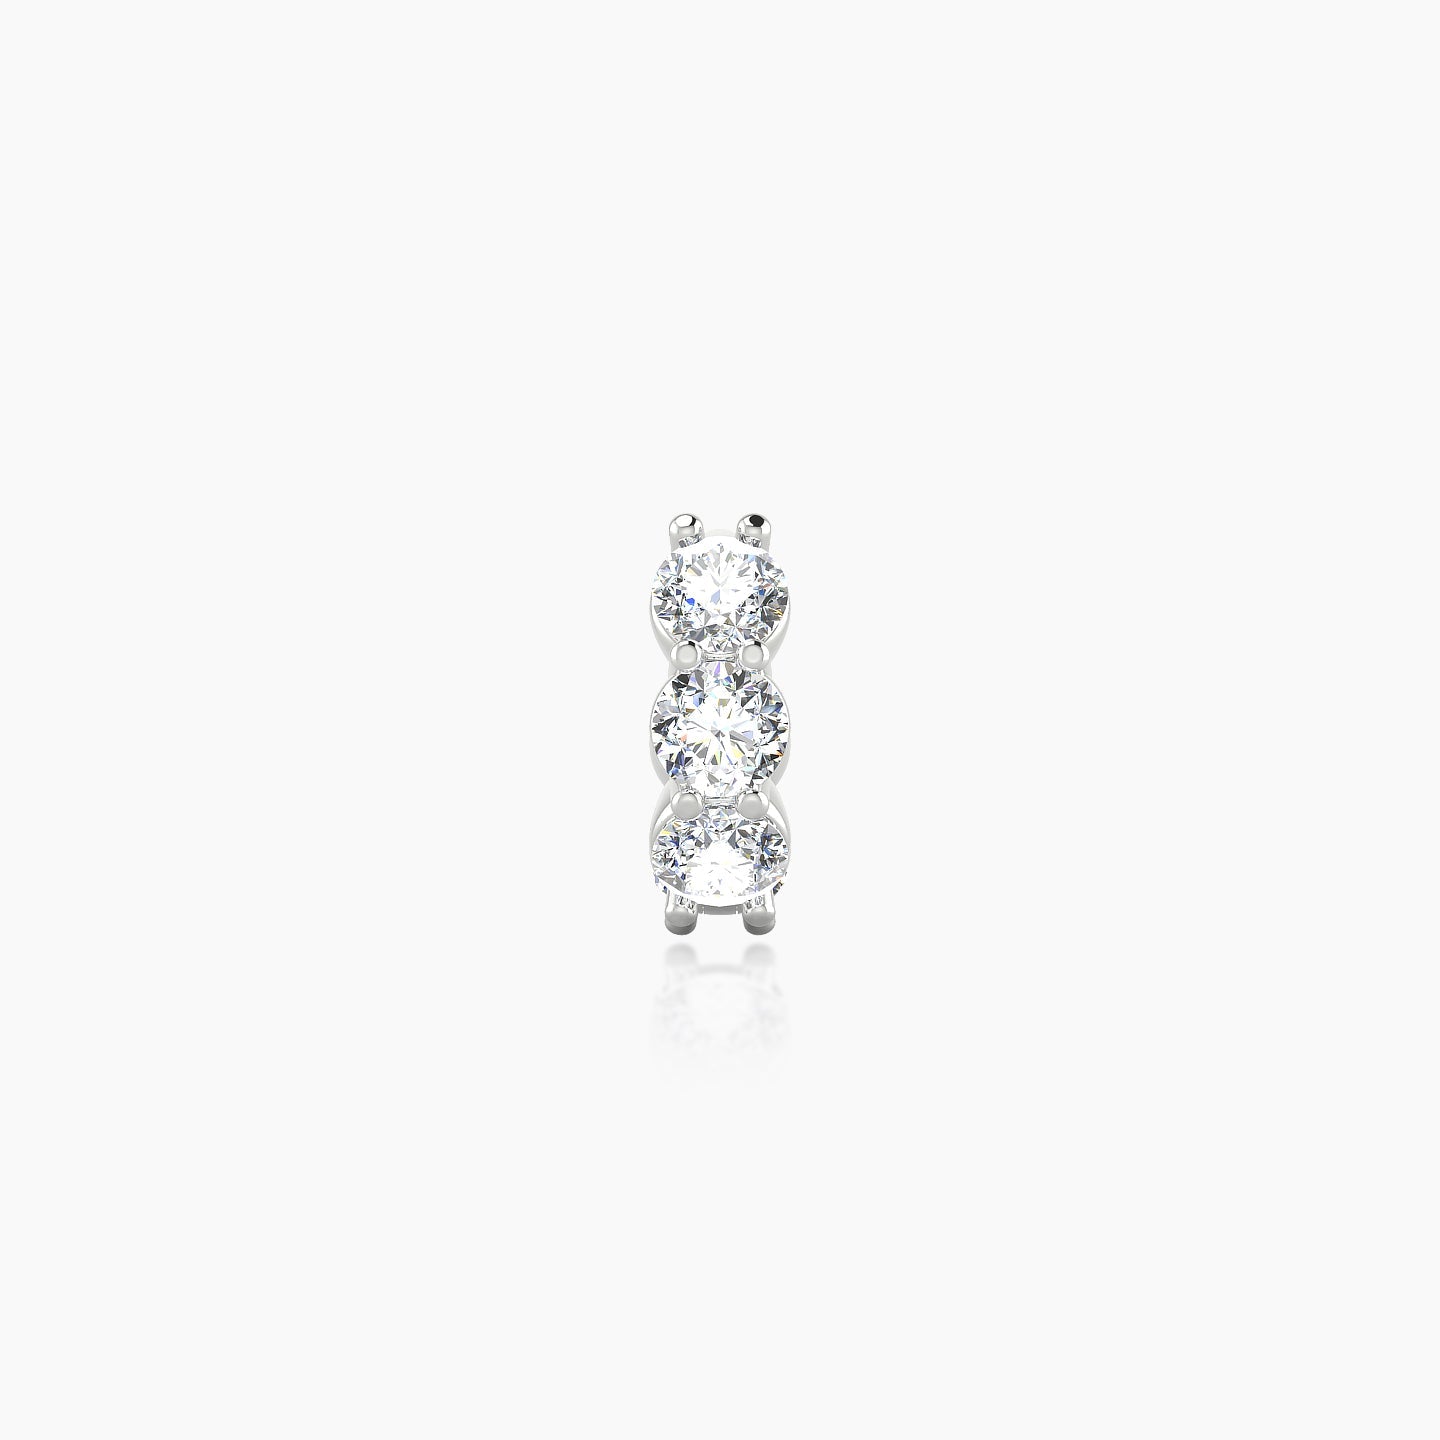
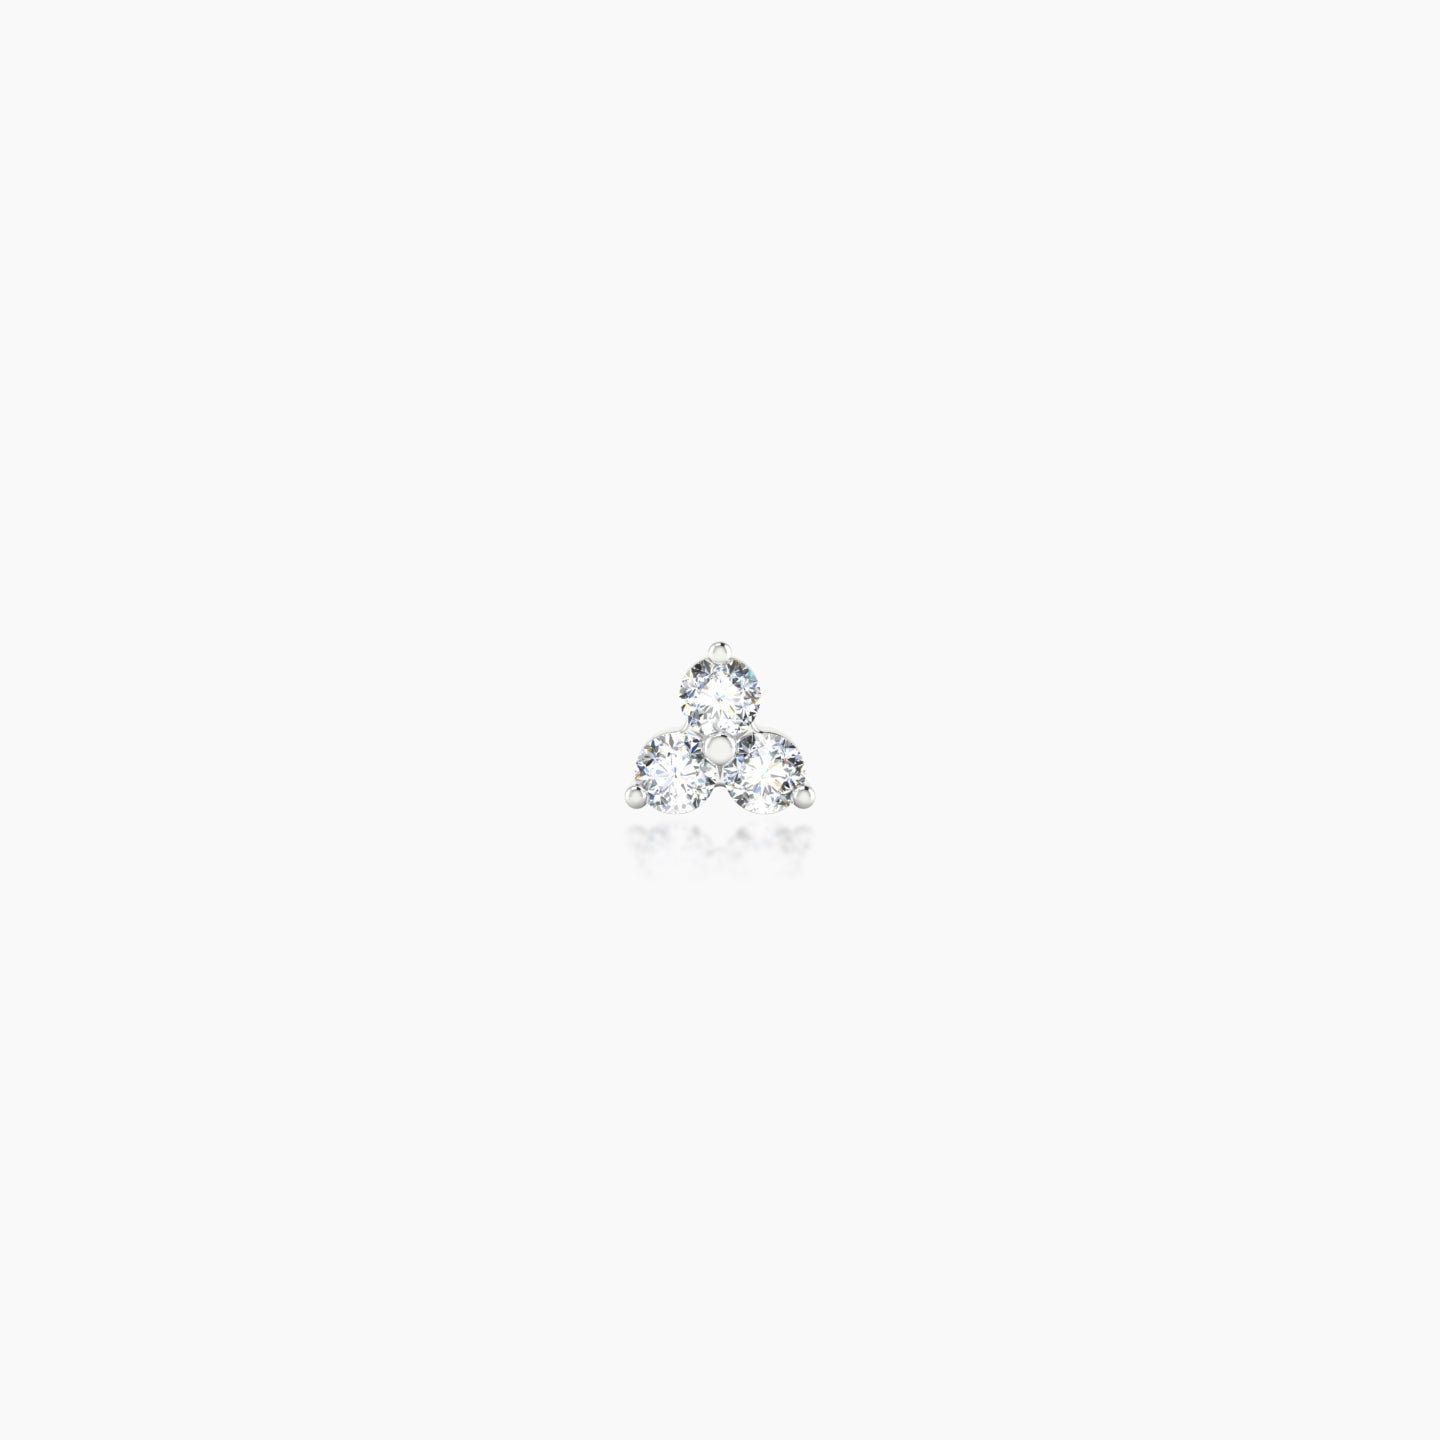
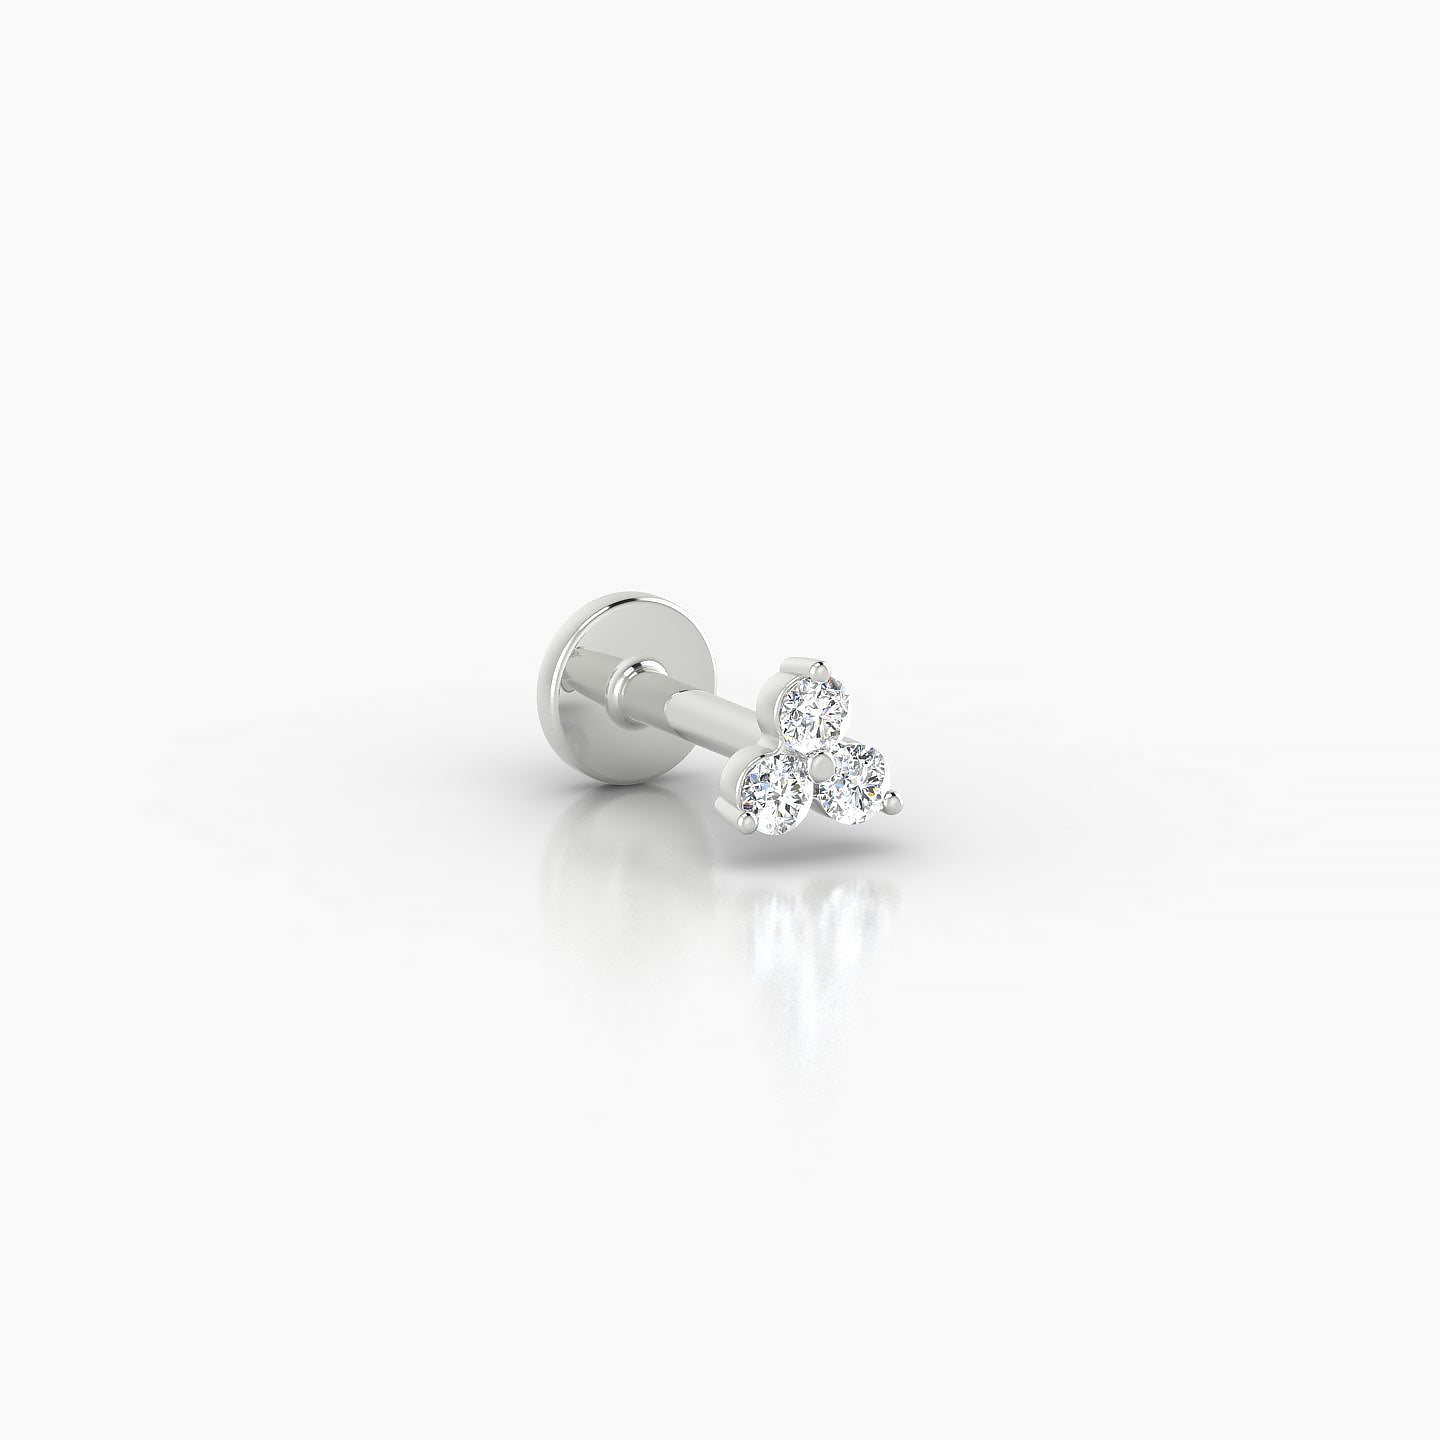
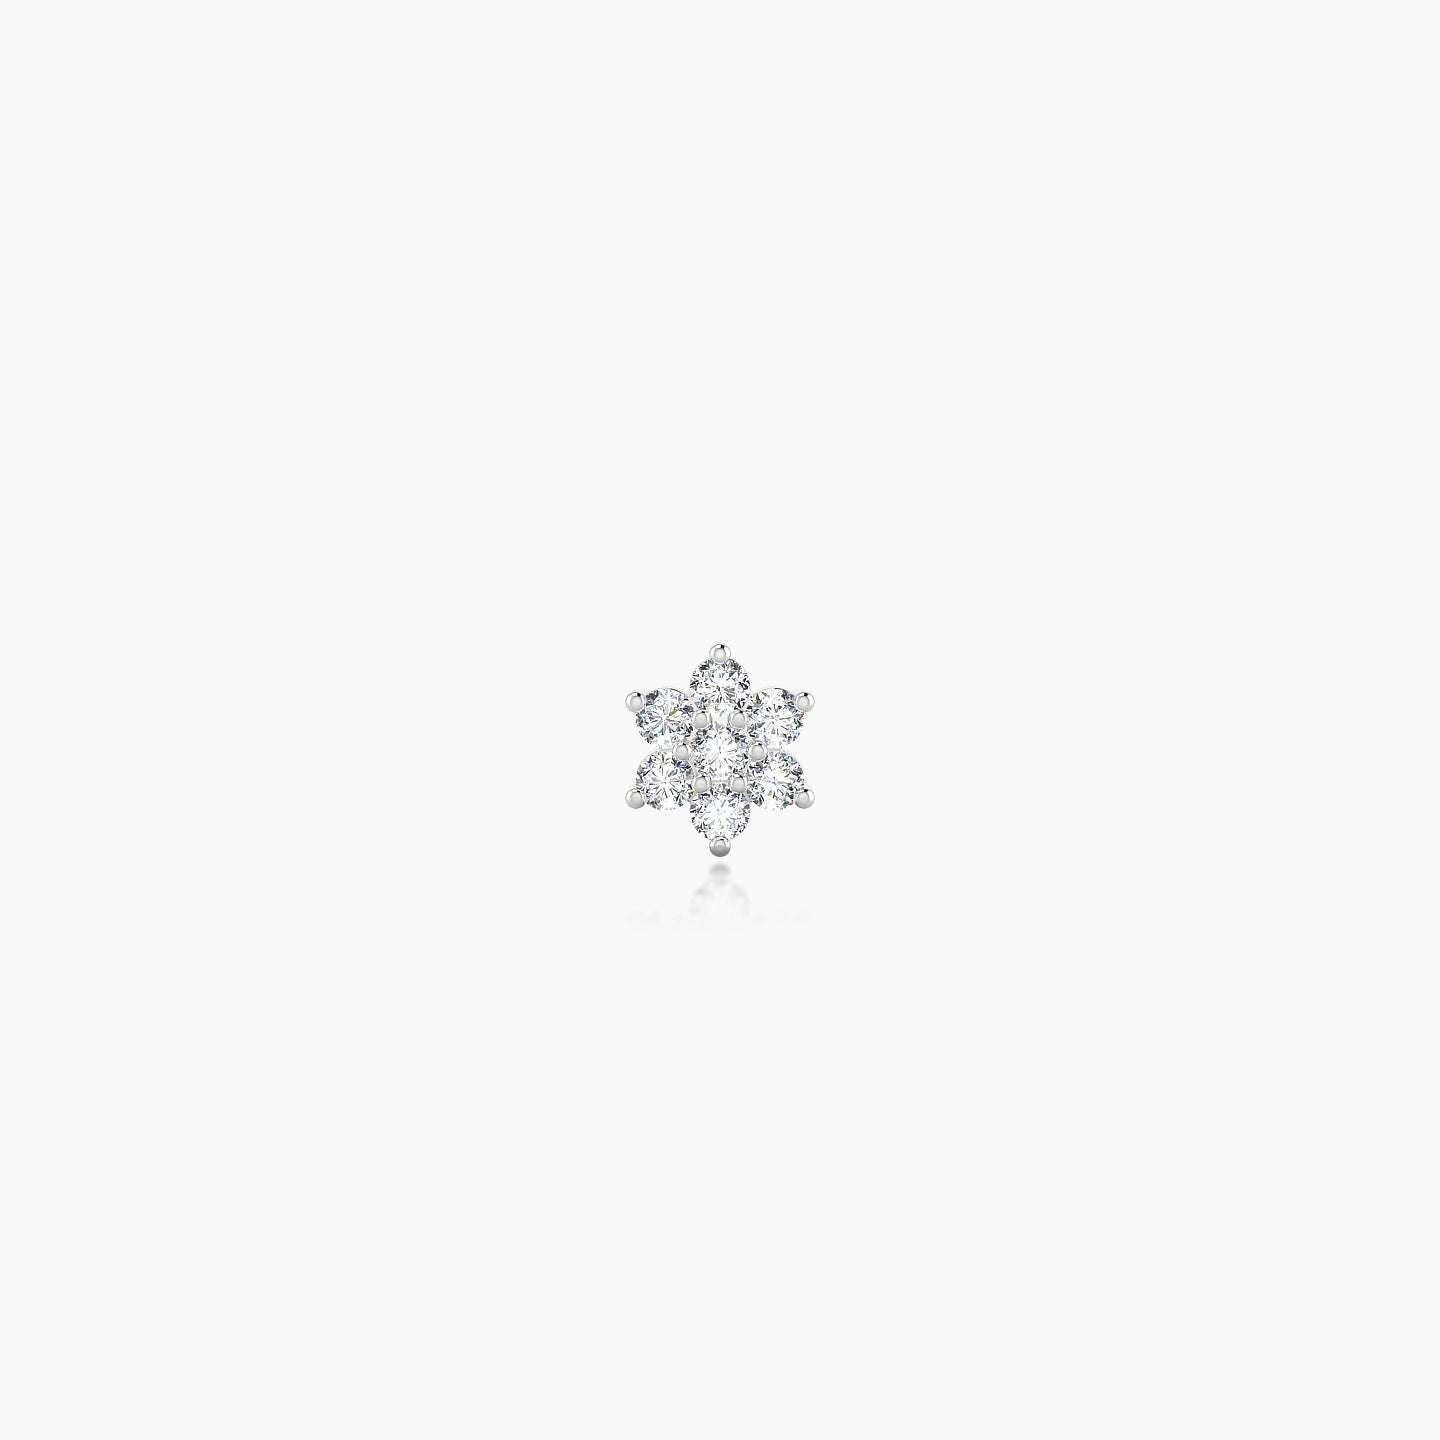
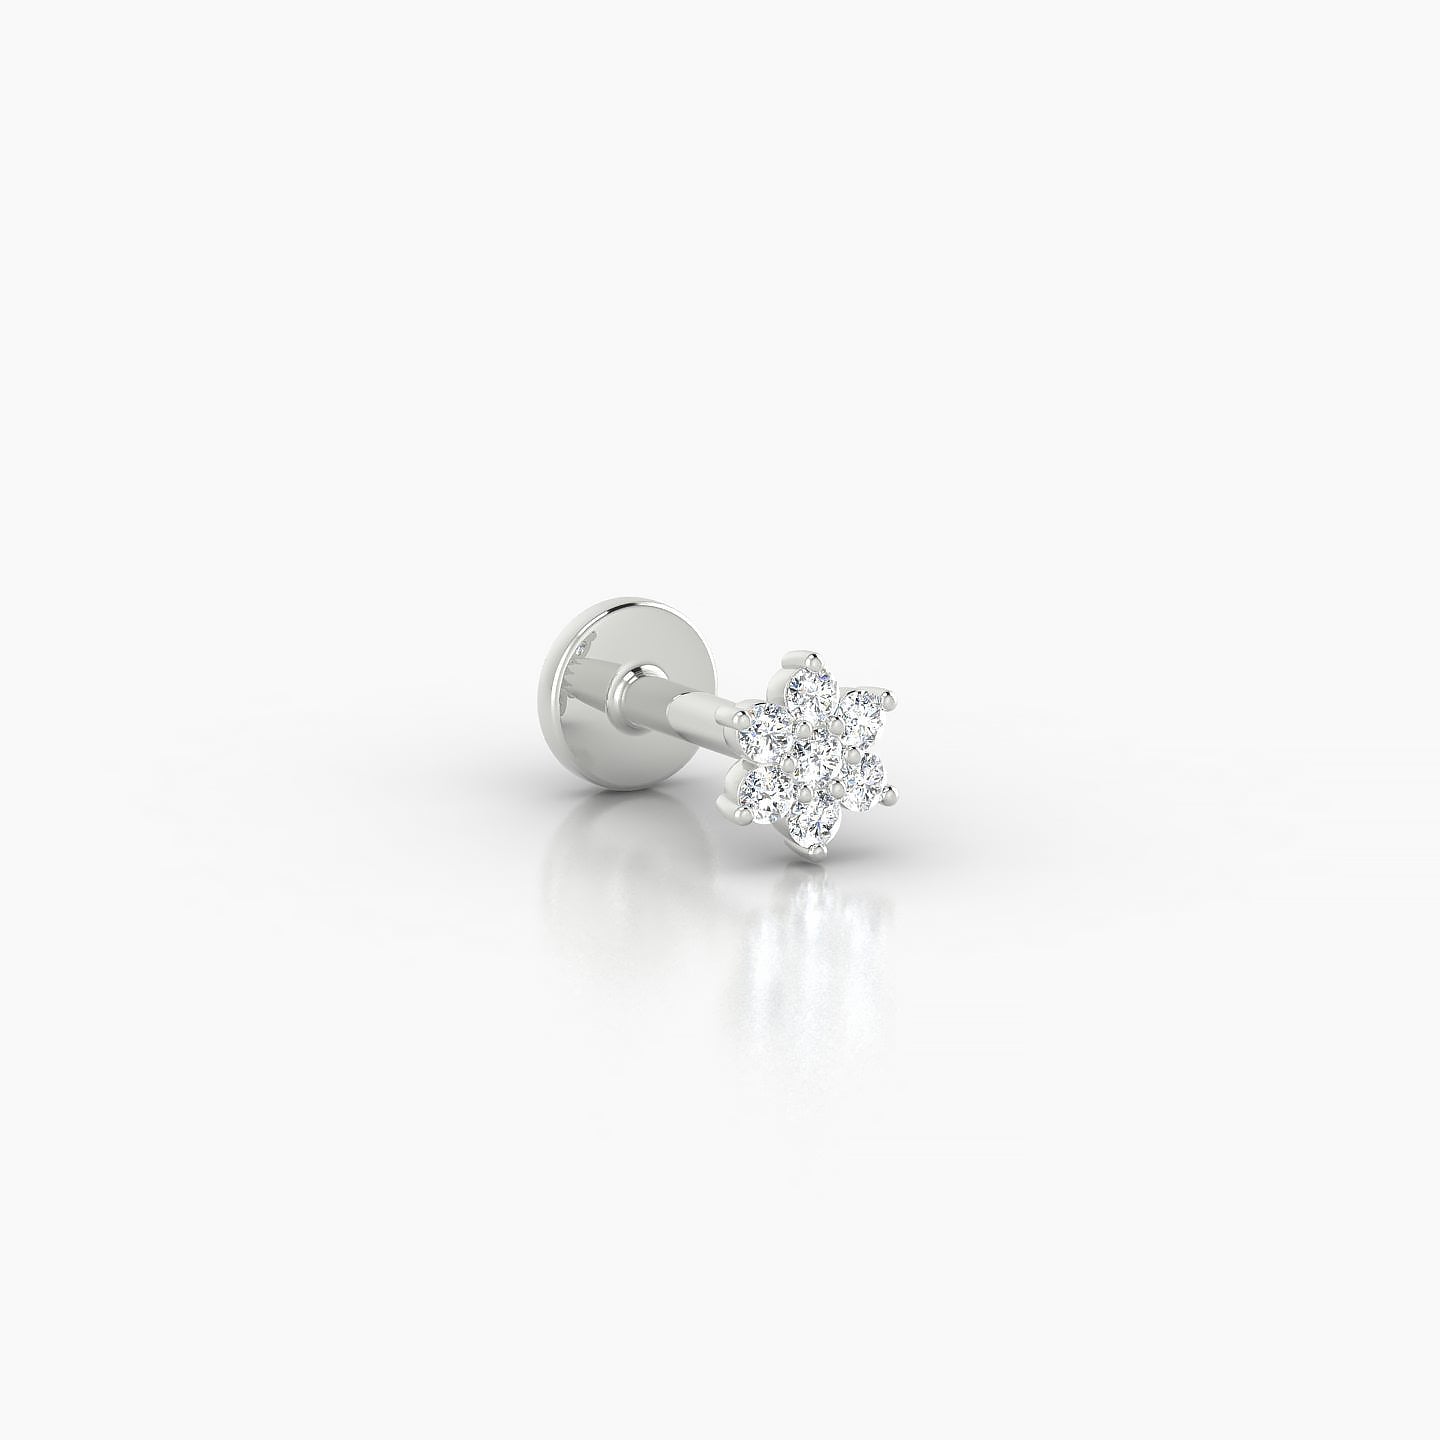
At MADAJ, our helix jewelry is crafted in solid 18k gold, set with natural diamonds and precious stones—designed to elevate every detail of your look.
Explore our ear piercing ideas for refined styling inspiration and discover how to curate a composition that reflects your personal aesthetic.

HELIX PIERCING PLACEMENT
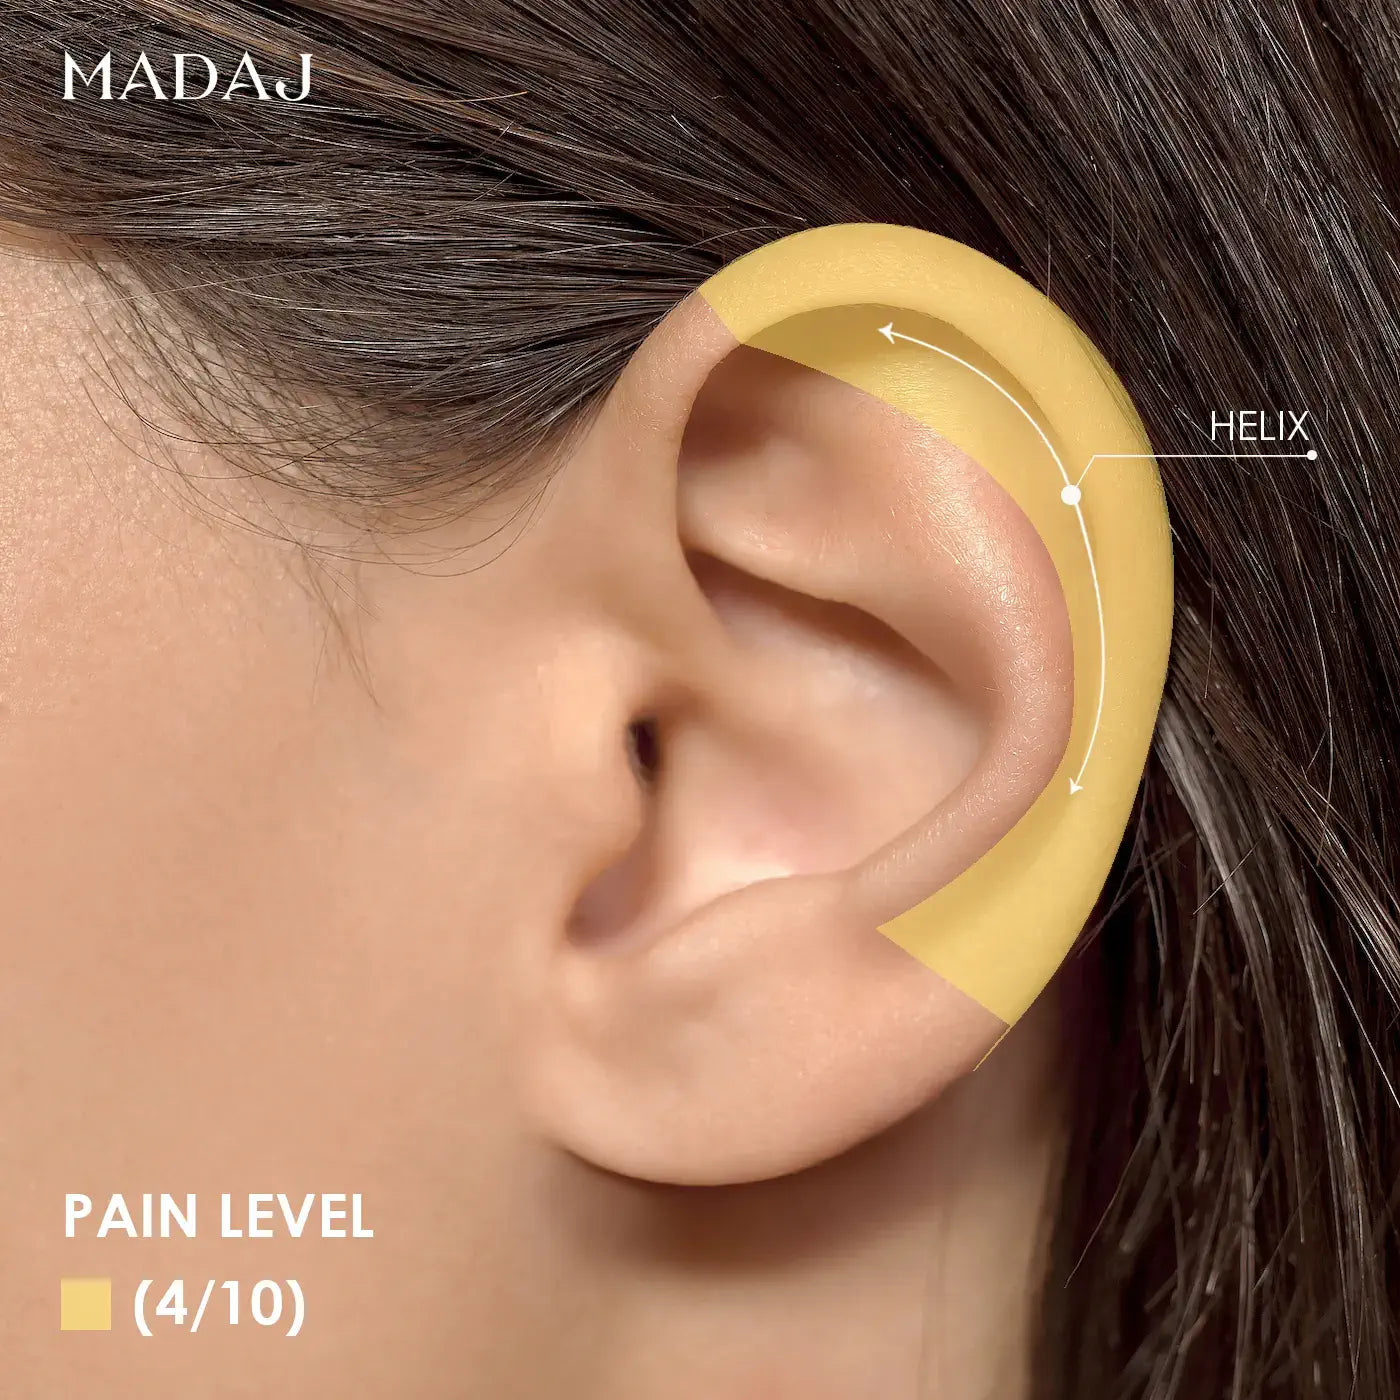
The helix piercing is typically positioned along the upper outer rim of the ear. This is the curved cartilage area that follows the natural contour of the ear.
Within the upper cartilage area, the exact placement can vary. Some people choose to have their helix piercing closer to the top of the ear, while others may opt for a placement that is slightly lower down.
It’s common for individuals to have multiple helix piercings along the upper cartilage, either in a vertical line or spaced out around the ear’s curve.
HELIX PIERCING PAIN LEVEL
Pain Level of Helix Piercing: (4/10)
The pain of helix piercing is generally considered moderate. Since it involves piercing through cartilage, it can be more painful than earlobe piercing. You may experience sharp pain during the procedure, followed by sensitivity and discomfort for a few days to a few weeks after the piercing.
How can I minimize the pain experienced during my helix piercing?
There are solutions to minimize pain during helix piercing, such as the use of lidocaine-based numbing cream (EMLA or generics).
This cream is available in pharmacies by prescription.
It is recommended to apply it on the area of the helix between 30 minutes to 1 hour before piercing.
To learn more about reducing the pain of an helix piercing, discover our Guide on Ear Piercing Pain Levels.

HELIX PIERCING PROCEDURE
- The area around the helix is cleaned with an antiseptic solution to minimize infection risk.
- The piercer marks the exact spot for the piercing, ensuring it aligns with your anatomy and aesthetic preferences.
- A sterilized, fine-gauge needle is used for the piercing. The piercer carefully pushes the needle through the cartilage, which can be slightly more painful than a lobe piercing due to the thickness of the cartilage. It is important to note that pain levels can vary significantly from one person to another.
- Once the needle is through, the initial jewelry, typically a small barbell or hoop, is inserted.

CLEANING INSTRUCTIONS FOR HELIX PIERCING
- Clean your piercing twice a day with a sterile saline solution on a sterile gauze as a gentle compress – once in the morning and once in the evening. Consistency is key to preventing infection and promoting healing.
- Maintain regular cleaning of your piercing throughout its healing period, which may extend to several months, varying according to your individual healing process.
- To prevent bacterial growth, it's essential to keep the pierced area dry. After cleaning, gently pat the area with sterile non-woven gauze or use a hairdryer on a cool setting to ensure thorough dryness.

HEALING TIME & PROCESS FOR HELIX PIERCING
The healing process : Right after the piercing of the Helix, it's normal to experience pain, redness, and swelling.
Regular cleaning with a saline solution is crucial to prevent infection and promote healing.
A clear or slightly yellowish discharge may form around the jewelry. This is lymph fluid and is normal during the healing process.
Over time, the swelling, redness, and pain should gradually decrease.
The average healing time for a Helix Piercing is typically between 6 to 12 months.
Discover Our

